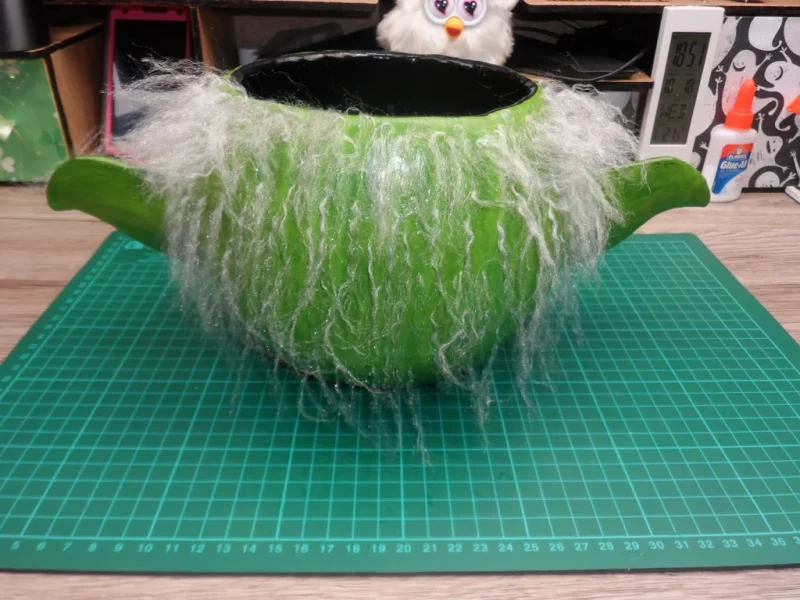
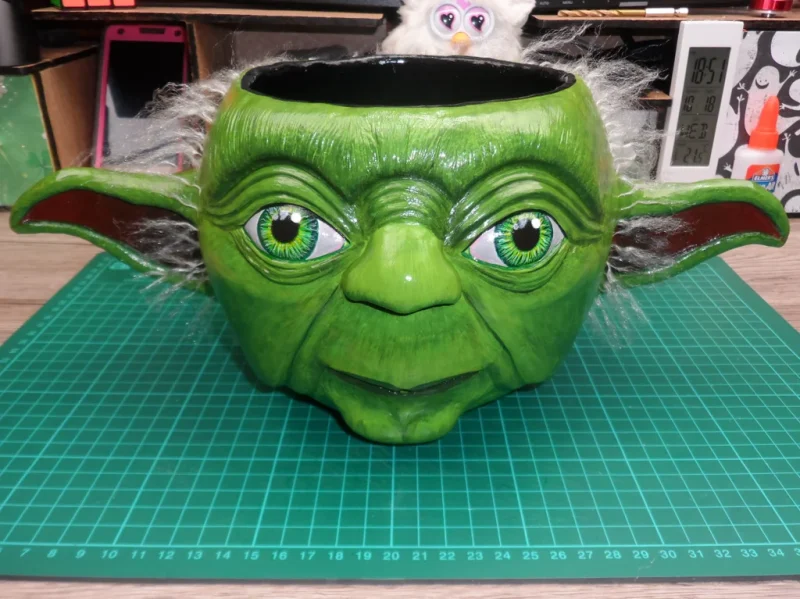
Yoda Yarn Bowl
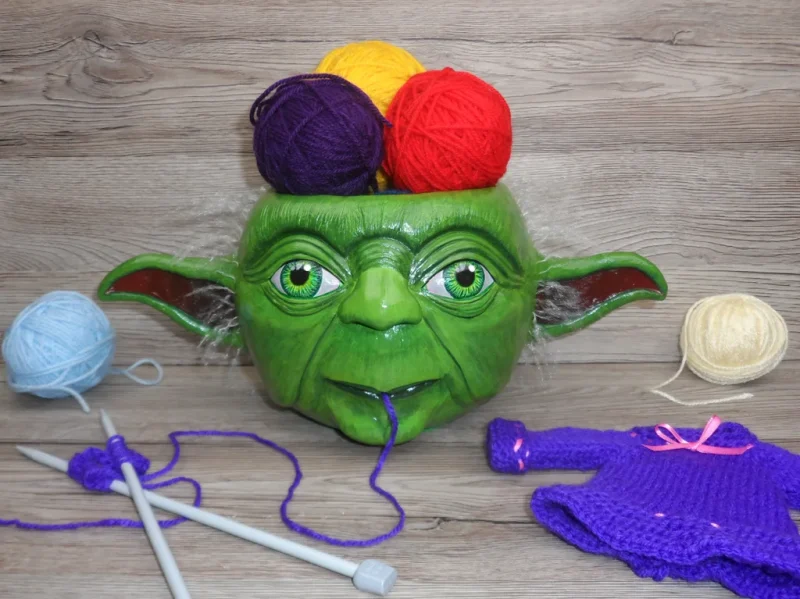
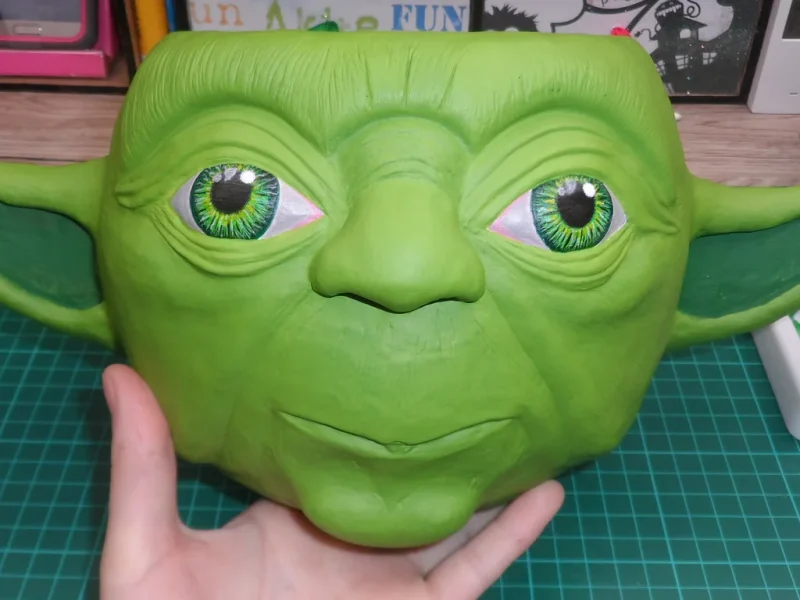
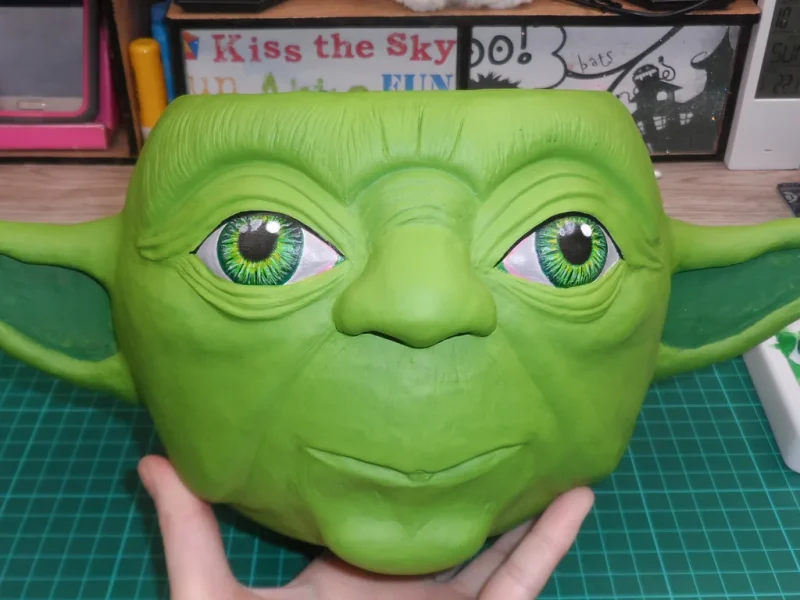
Ever since I started playing with yarn, I’ve been yearning for a yarn bowl, and now I finally decided to make one. I know there are plenty of easier designs out there, but I wanted something special and I also love Star Wars. And so the idea of Yoda Yarn Bowl was born 😀
This was easily one of my most time consuming projects, since it took me about 40 hours (plus drying time) to make him, but I fell in love with him and he was definitely worth it 😀
Materials And Tools
Materials:
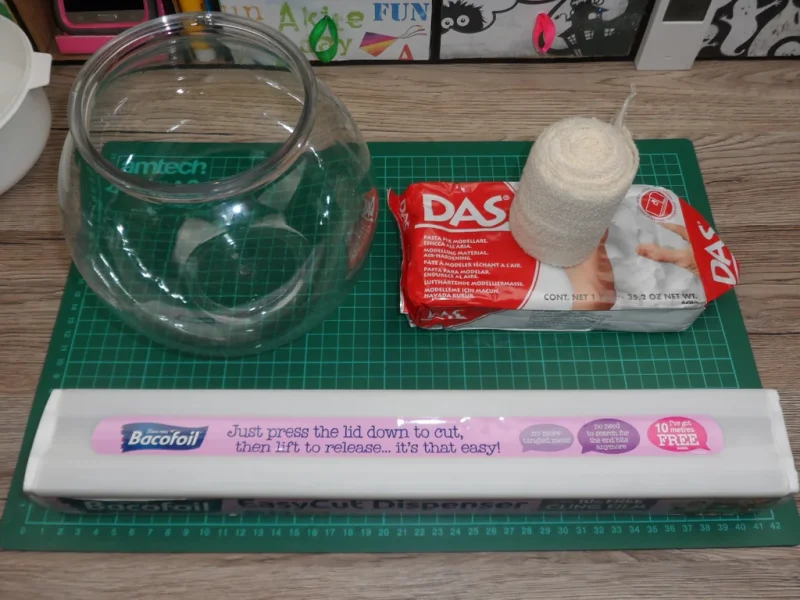
- 2 packs (2kg) air drying clay
- 2 packs conforming bandages
- cocktail straw
- wire
- set of acrylic paint
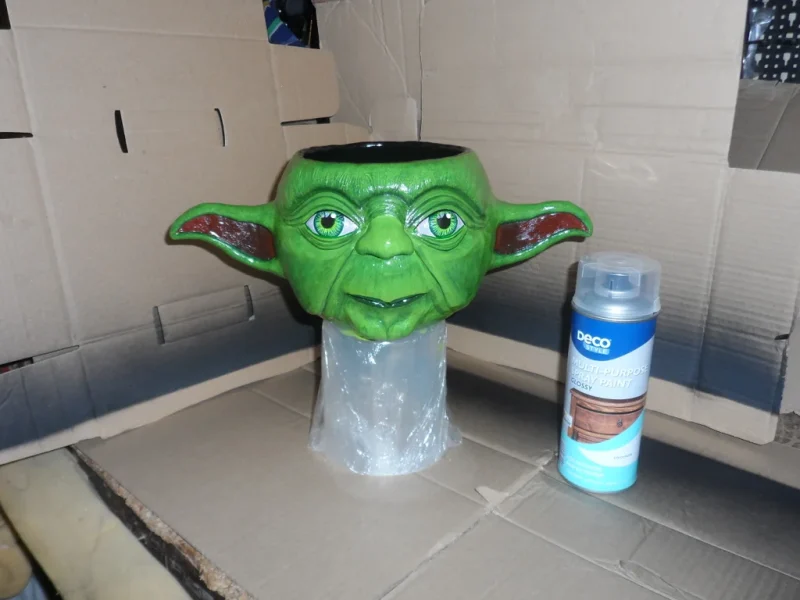
- clear lacquer
- felt
- cream yarn
- clear gloss polyurethane craft varnish
Tools:
- cocktail bowl
- cling film
- rolling pin
- clay modeling tools
- scissors
- palette knife
- wide brush
- pencil
- drill bit
- paint brushes
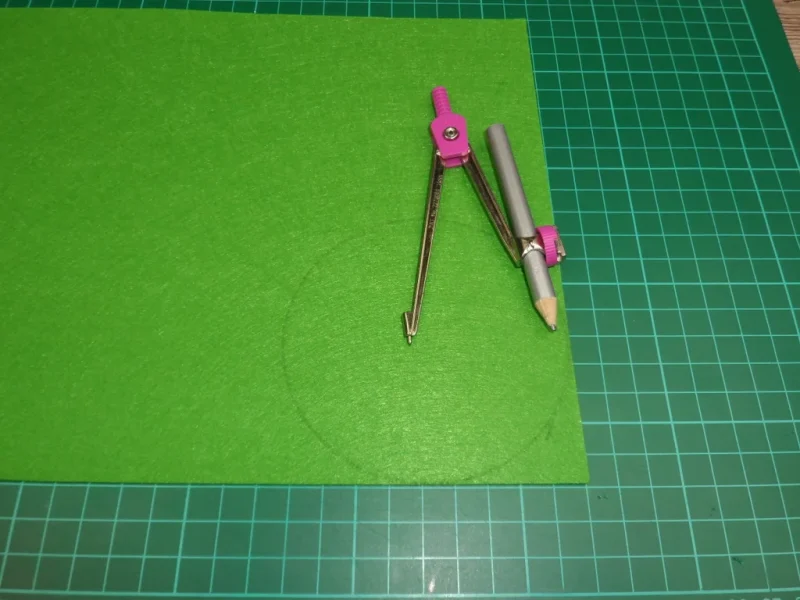
- compass
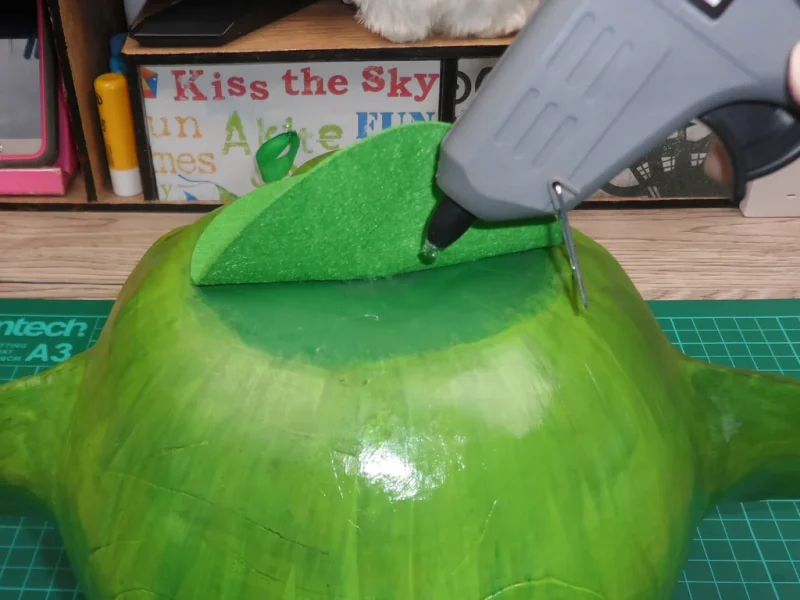
- hot glue gun
- tweezers
- toothbrush
Step 1: Making the Bowl
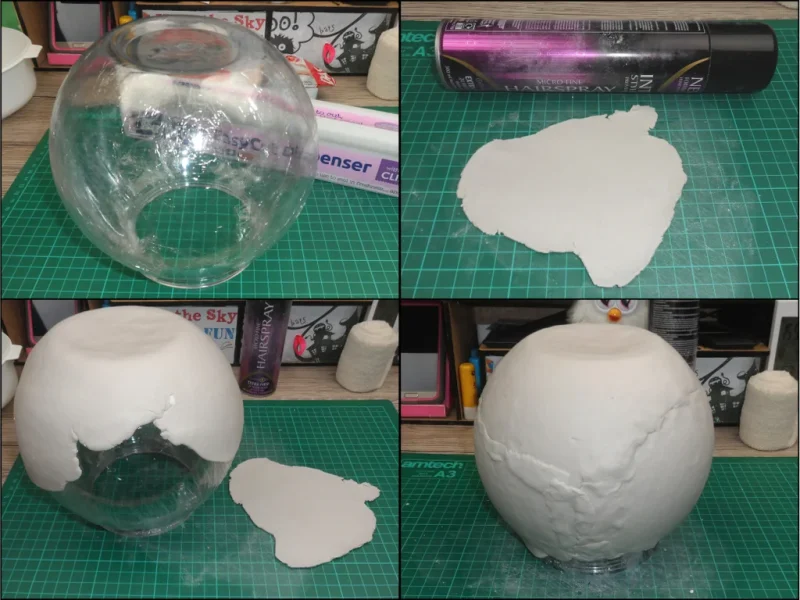
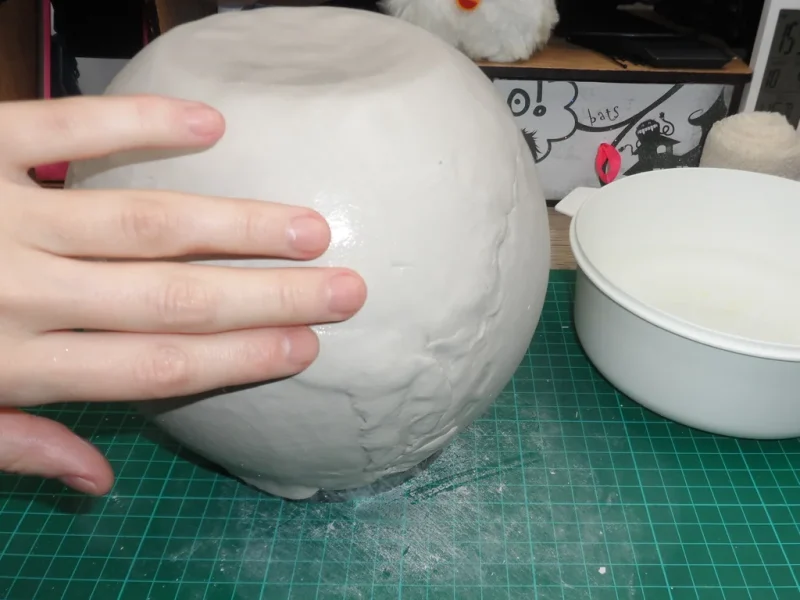
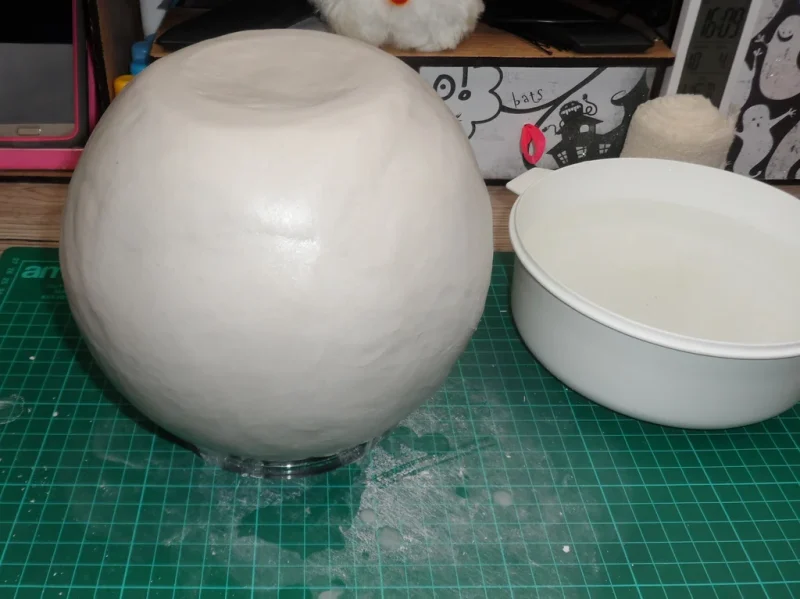
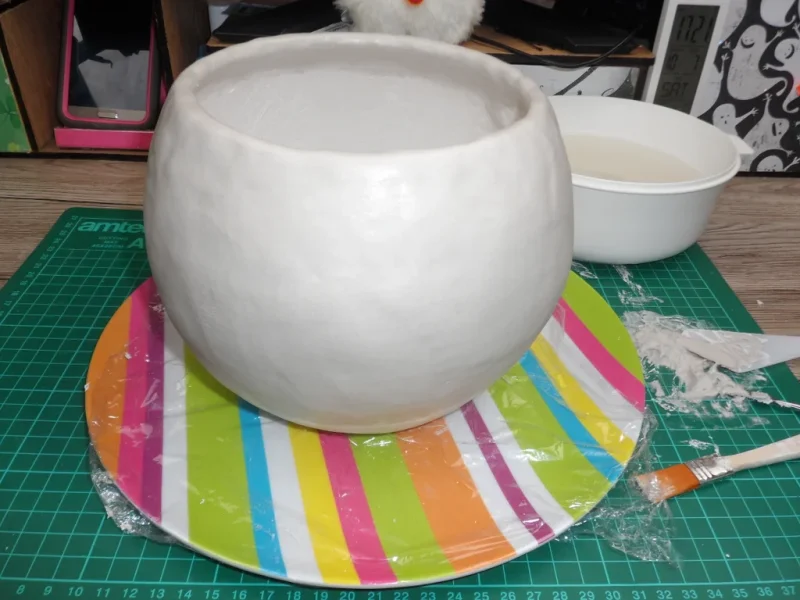
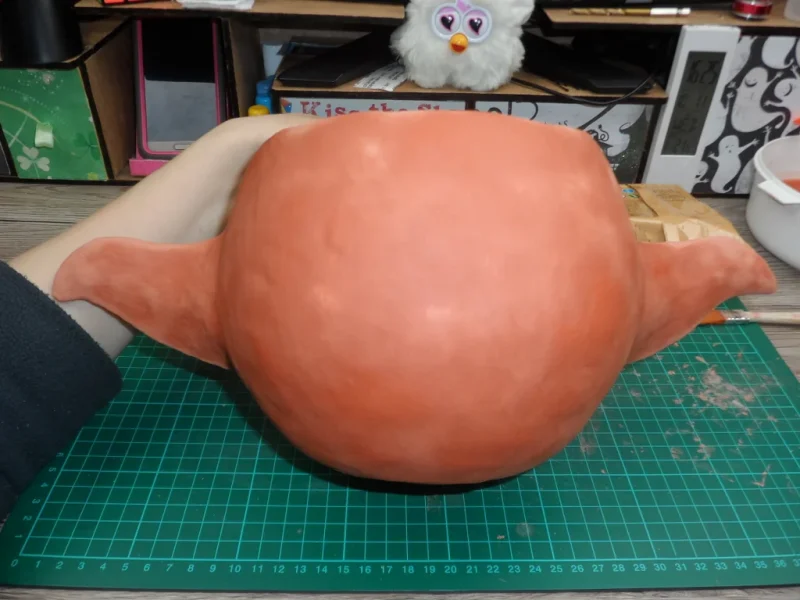
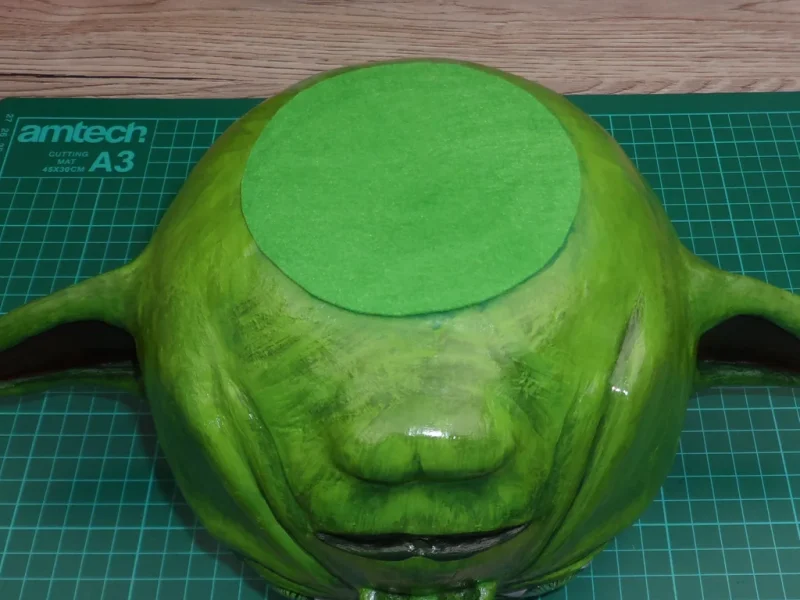
Wrap the cling film around the cocktail bowl. Roll out a piece of clay and press it firmly onto the bowl. Repeat until the bowl is fully covered. Dunk your hand in water and smooth out the clay joints.
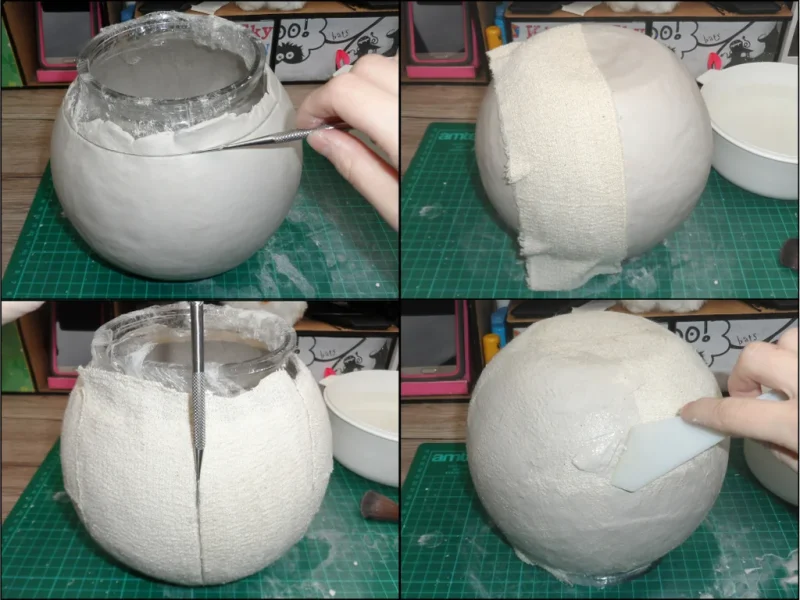
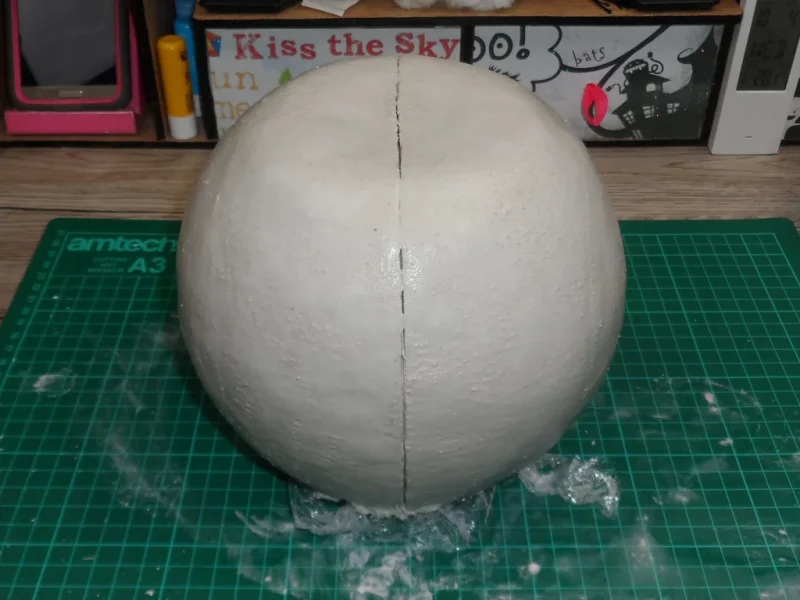
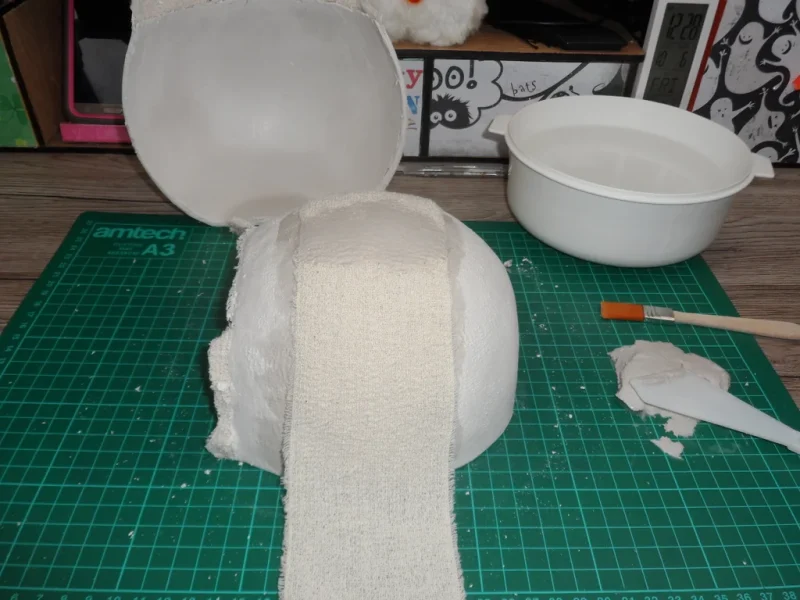
With a knife tool, cut away the excess clay from the top of the bowl. Take a piece of the conforming bandage and stretch it over one half of the bowl. Take another piece of bandage and stretch it over the other half of the bowl. Fill out any leftover spots with more bandages, cutting off the excess as necessary. With the knife tool, score a line between the two central bandages, separating the two halves.
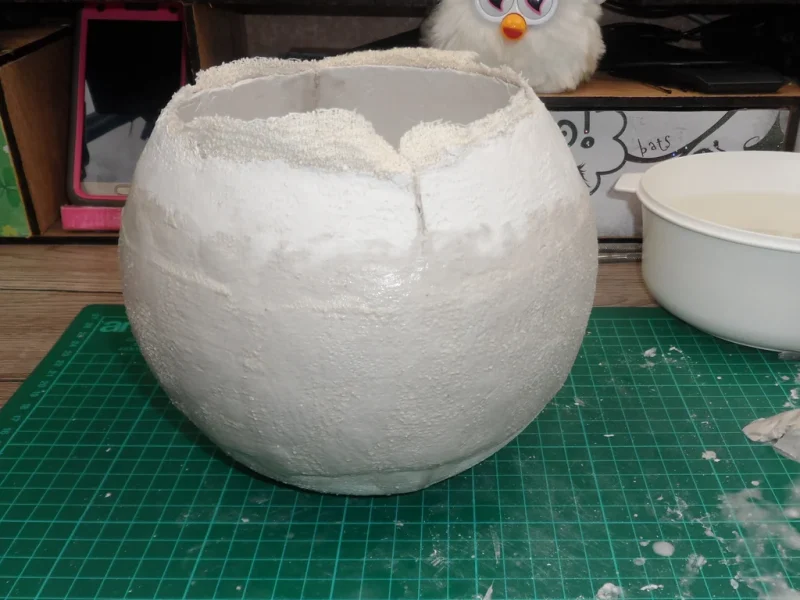
Take a piece of clay and mix it with some water, you should get a paste like consistency. With the palette knife, work the paste into the bandages all over the bowl. Don’t be afraid to use more water if it becomes difficult.
Once done let it dry overnight.
Step 2: Making the Bowl Part 2
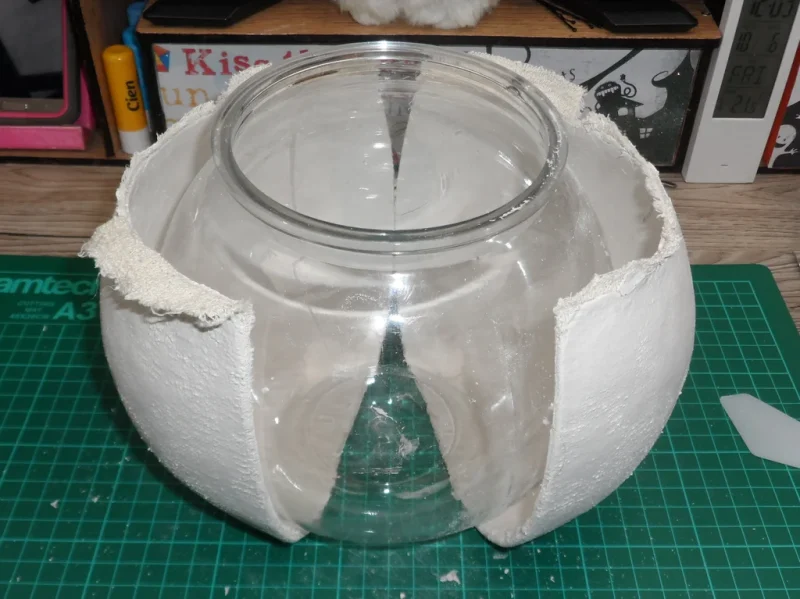
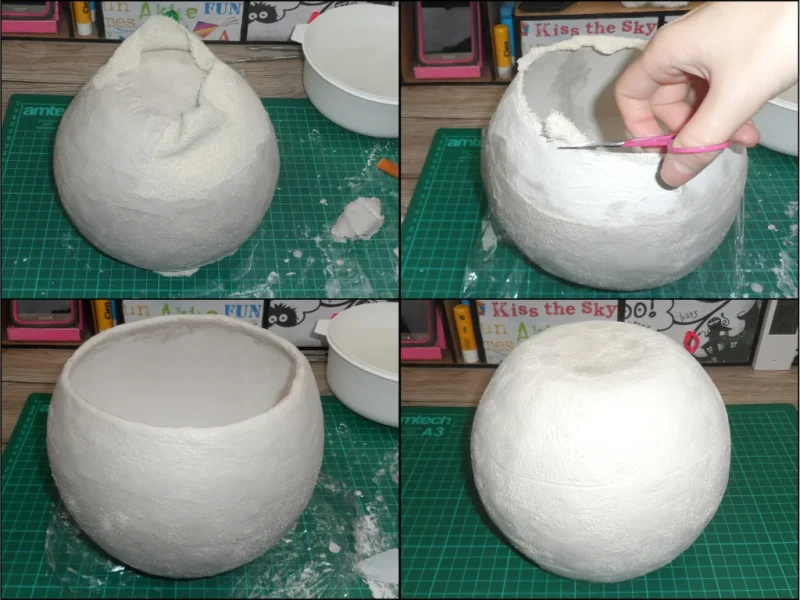
Score the central line again and separate the two halves. They might not want to part easily, but if the halves are fully dried, they should be quite flexible. Repeat the process with bandages and clay paste, but this time apply them horizontally and make sure that the joints are not aligned with the prior ones. When you get to the top row of bandages, cut off the excess layer of the prior bandages and then fold the new one over to create a nice edge on the bowl.
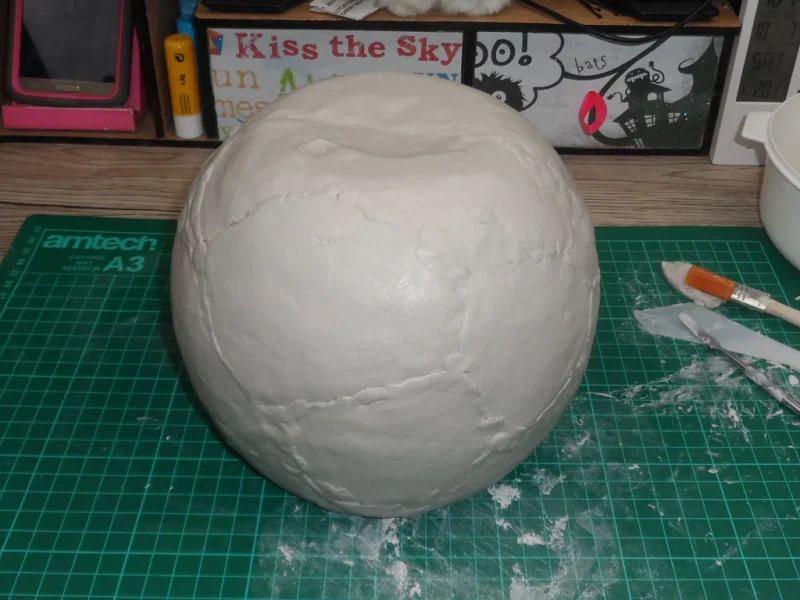
Roll out a piece of clay and press it onto the bowl. Repeat until the bowl is fully covered. Dunk your hand in water and smooth out the clay joints.
Let it dry for 24 hours.
Step 4: Face
At this point I ran out of the white clay, but as far as I can tell there isn’t any difference between the white and terracotta air drying clay.
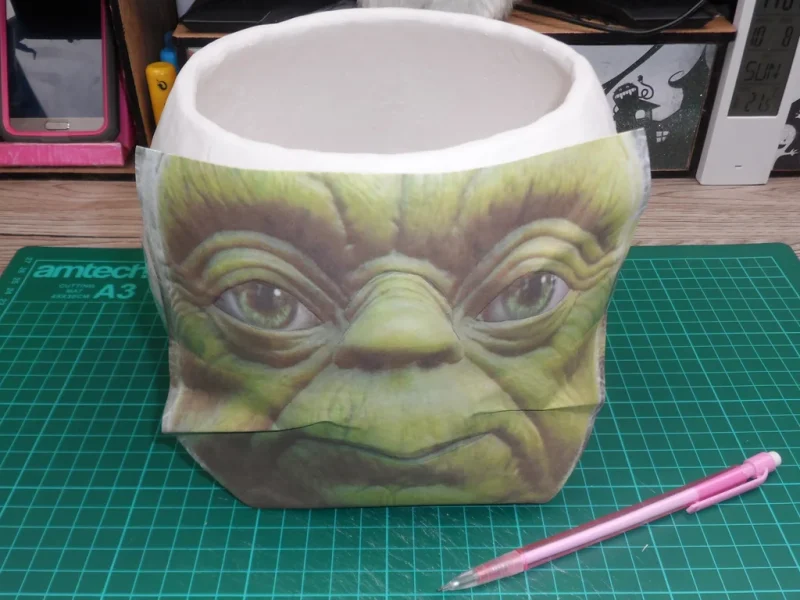
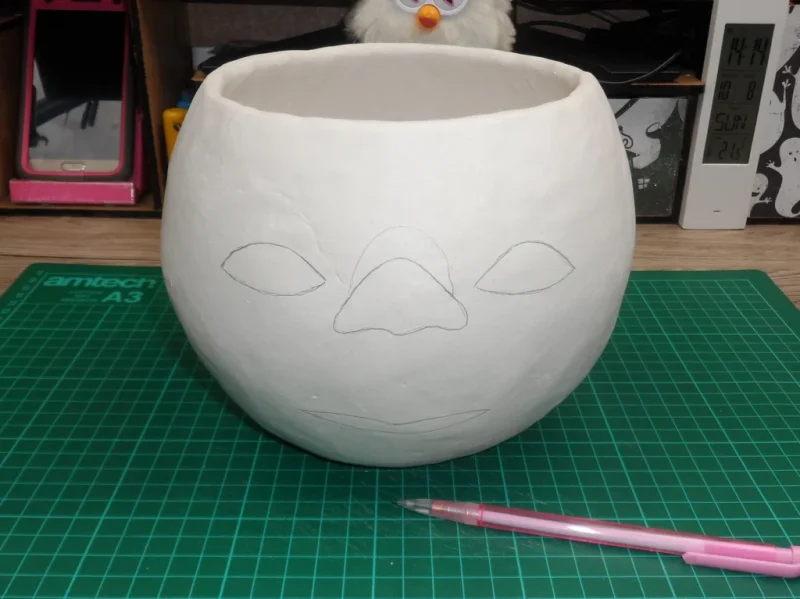
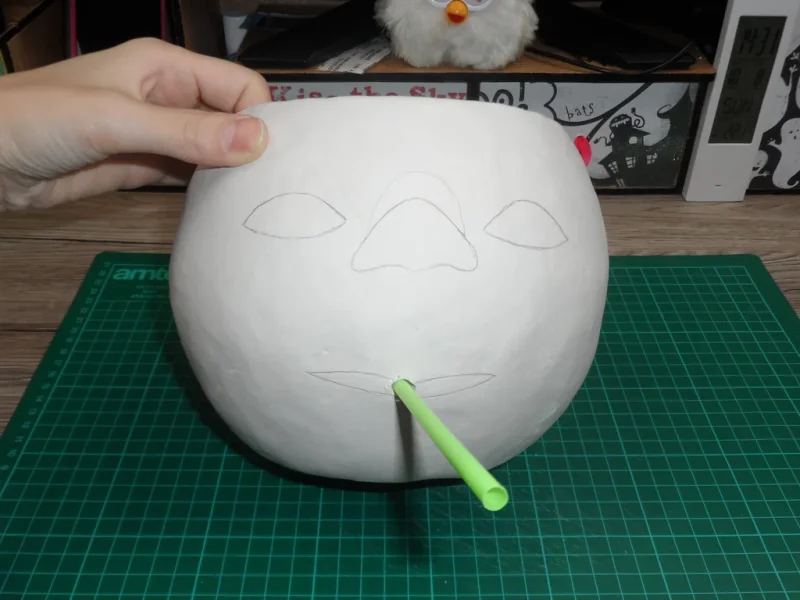
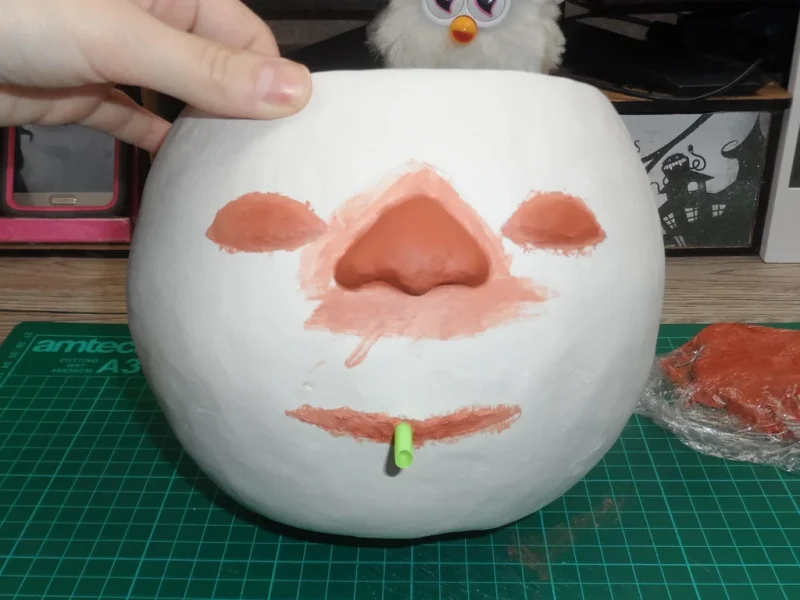
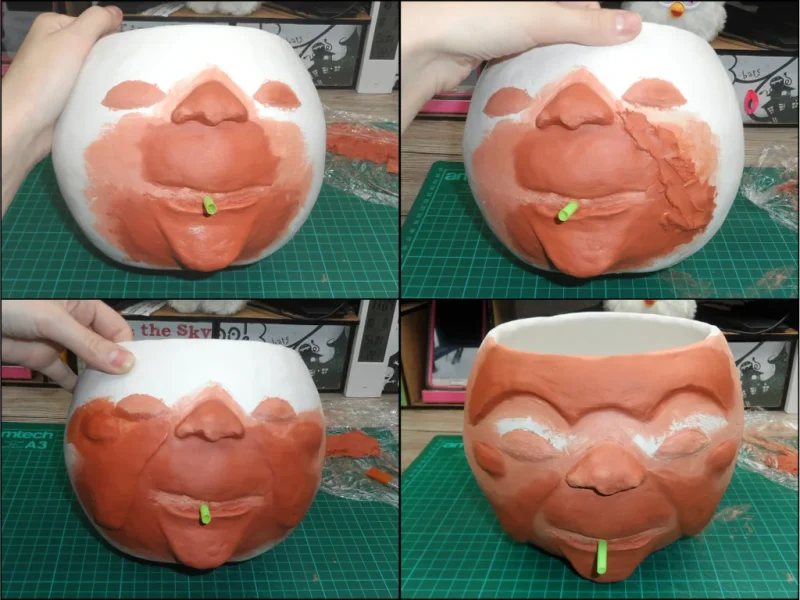
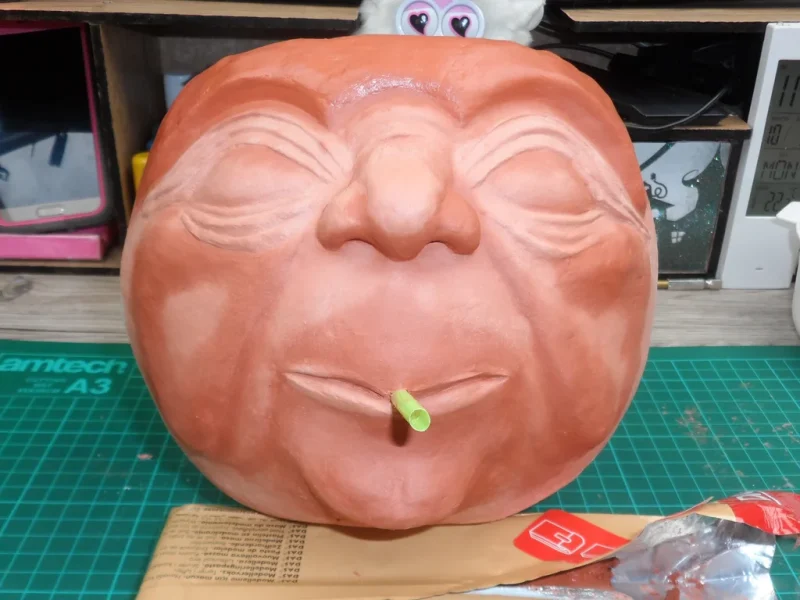
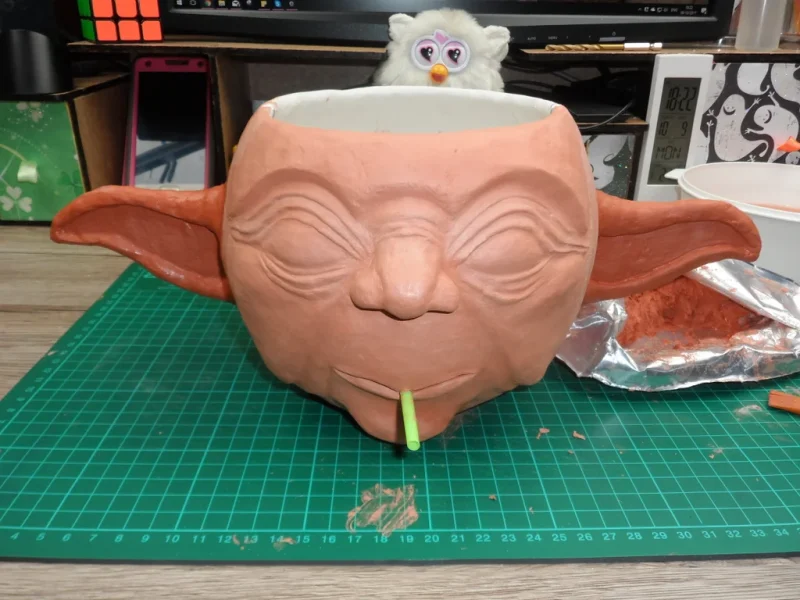
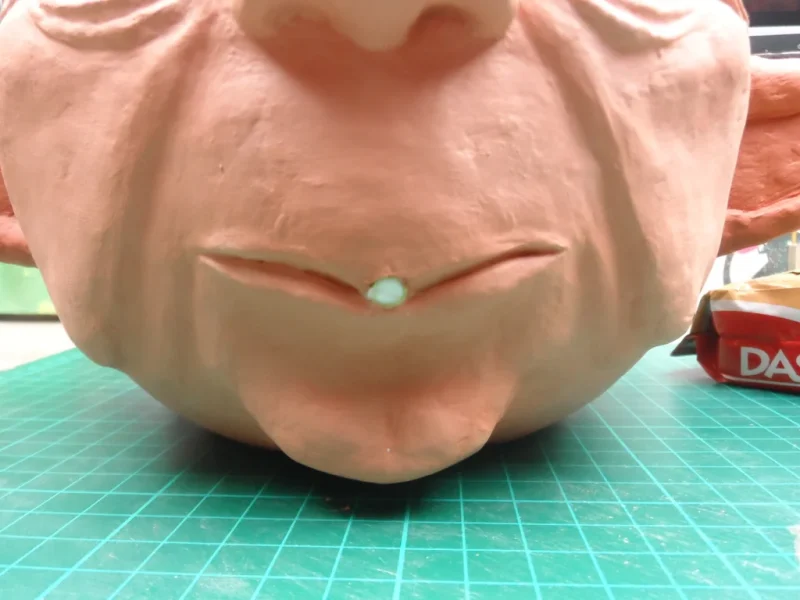
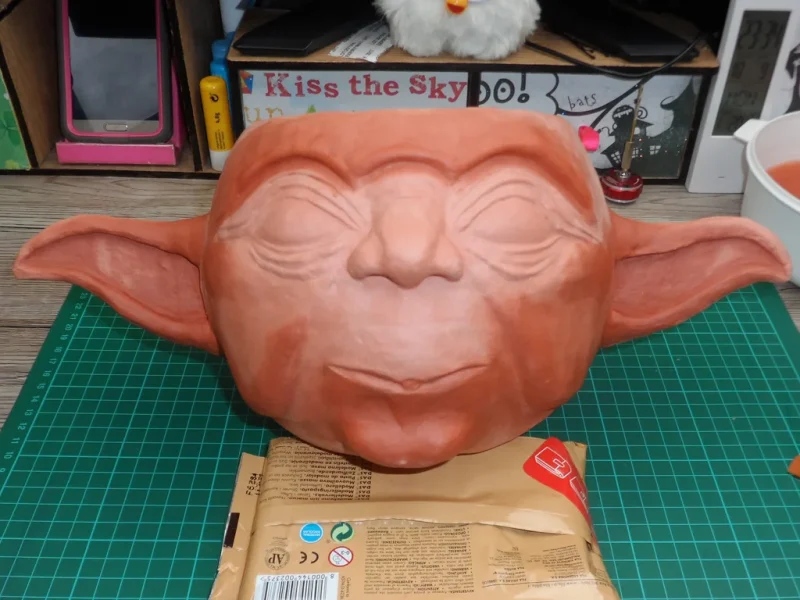
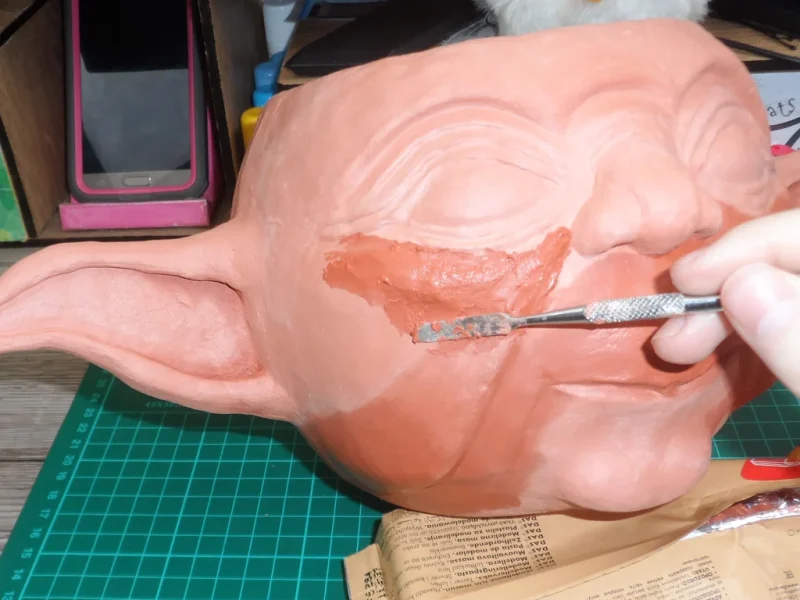
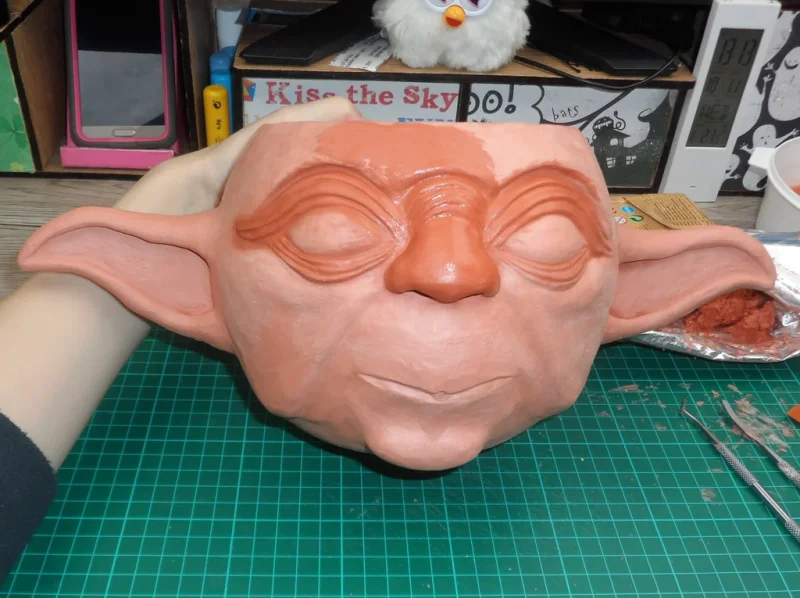
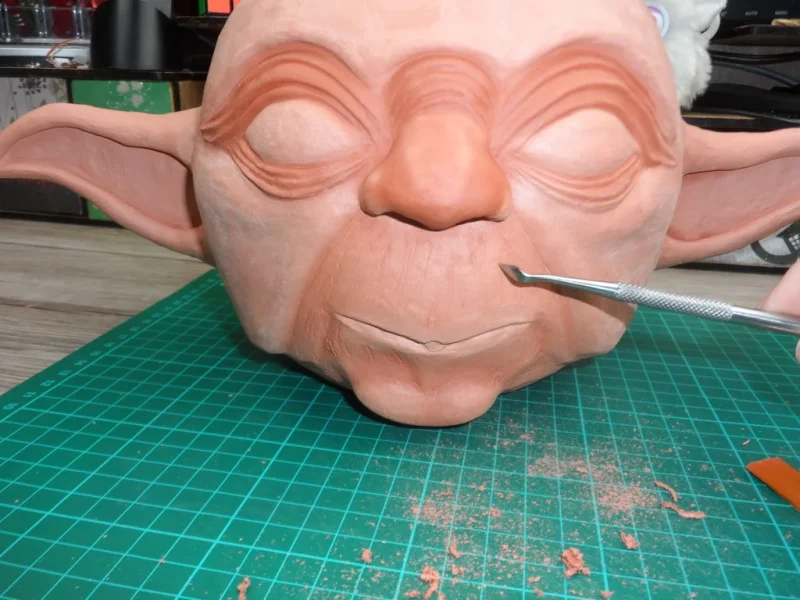
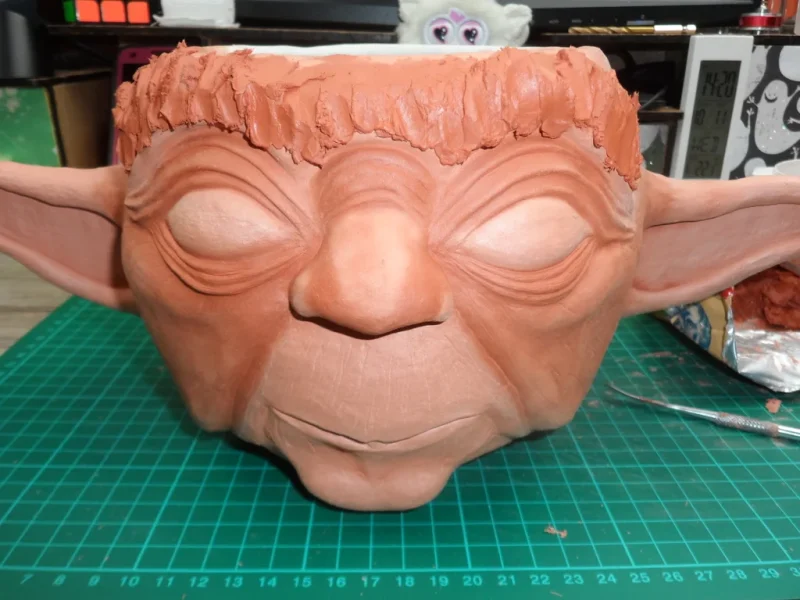
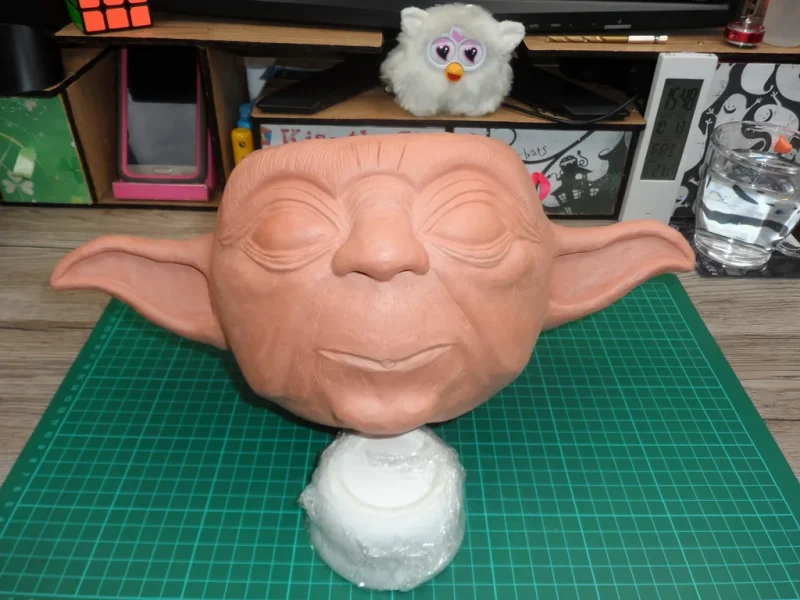
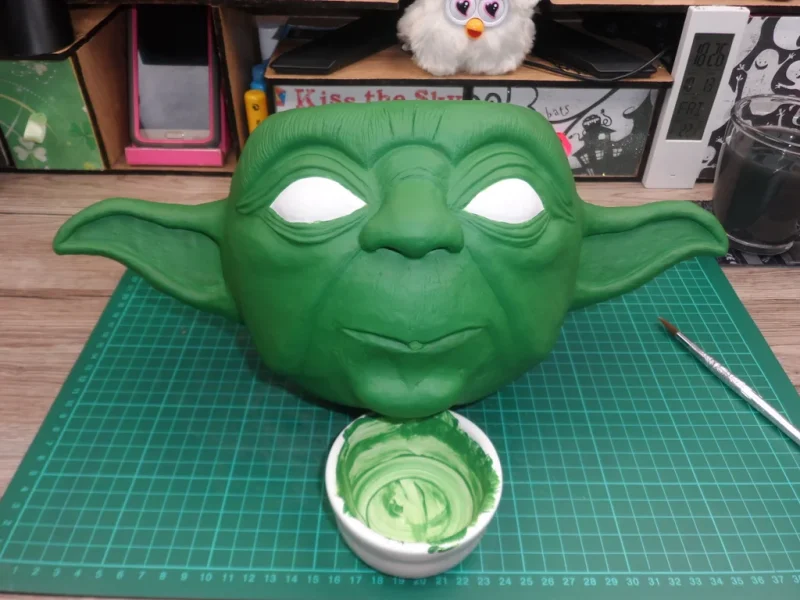
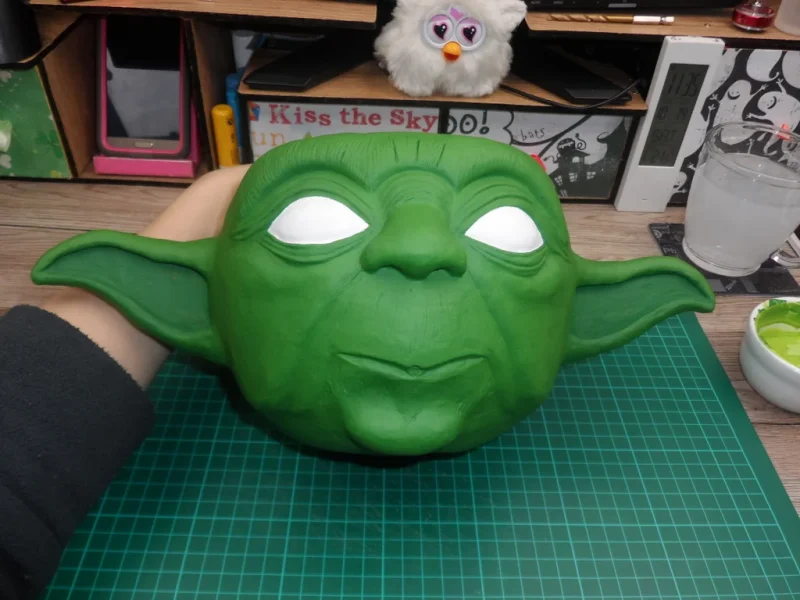
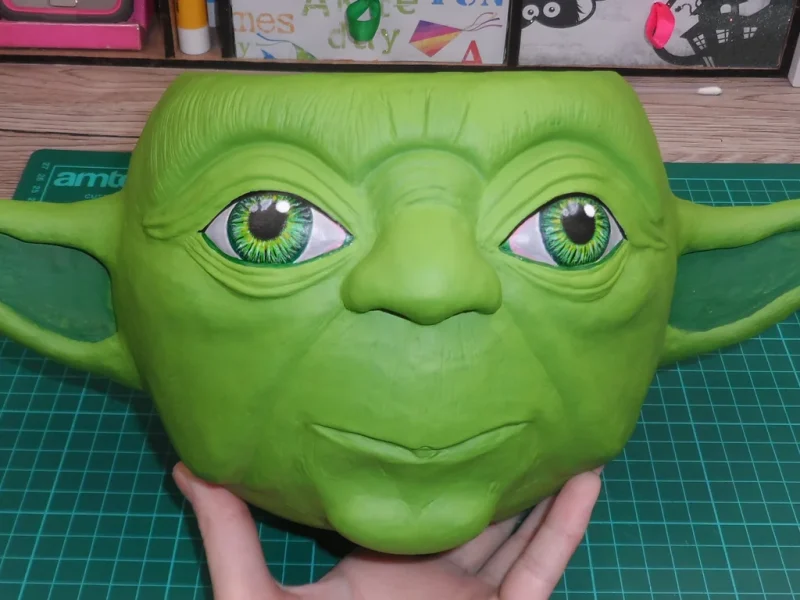
Roughly shape the nose, eyes and the mouth. I’m not sure what is the proper way to do this, I was just adding more clay as I went along. Hopefully the photos will give you good enough idea as to what I did 😉
Step 5: Ears
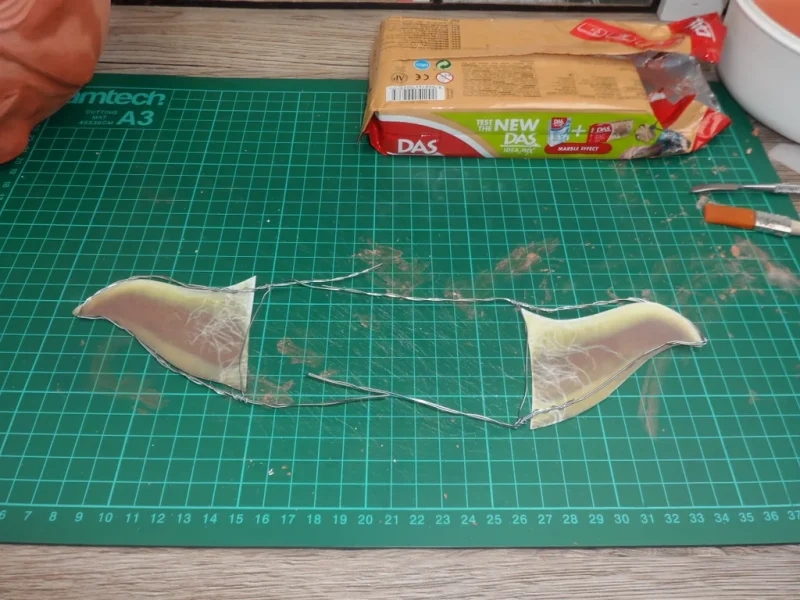
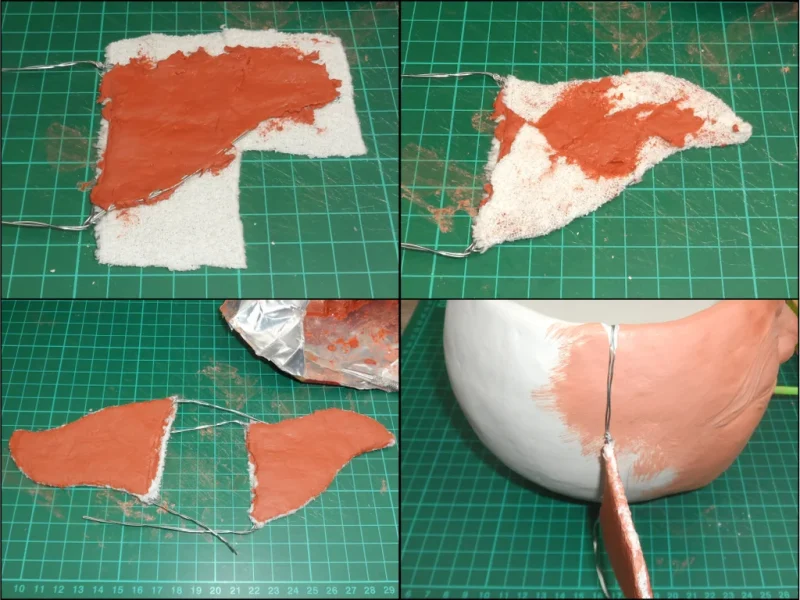
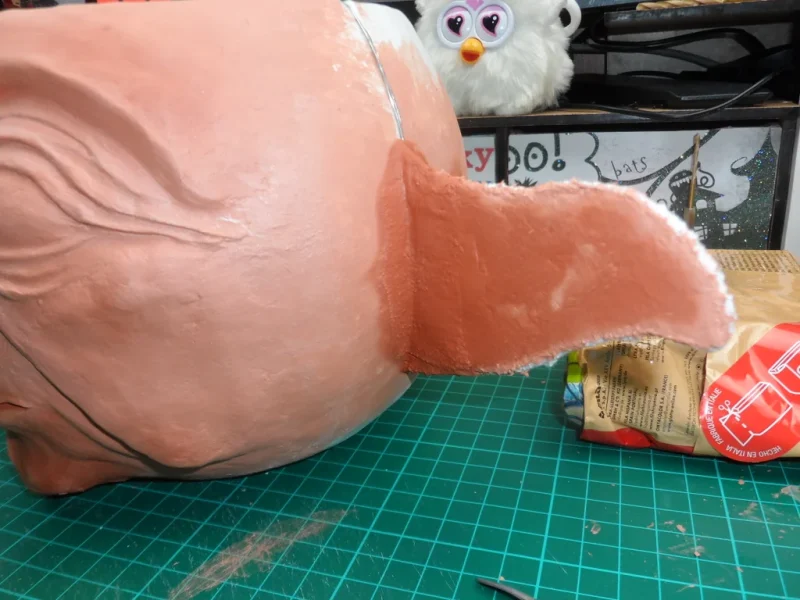
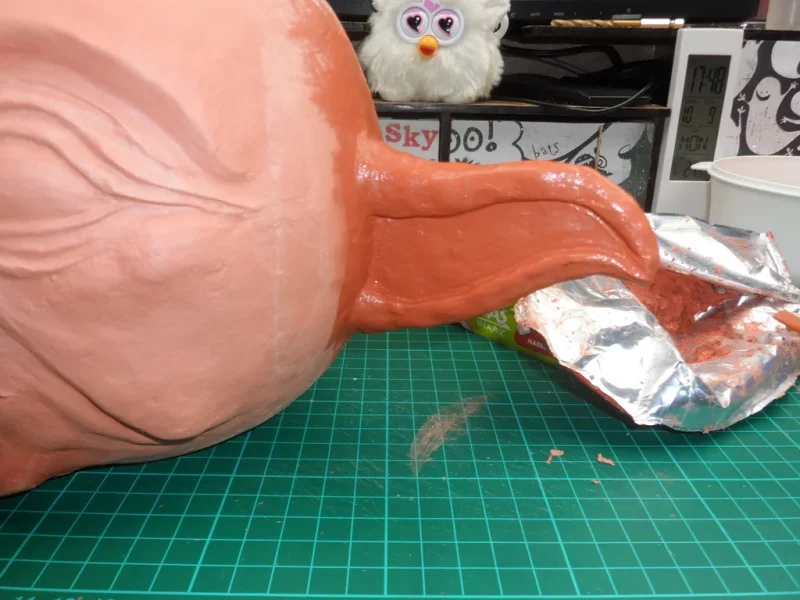
Again I printed out a template for the ears. Trace the wire around the ears and place onto the bandage. Fill it out whit the clay and bend the bandage ends over to wrap the wire shape in. Apply the clay paste all around the ear and allow to dry.
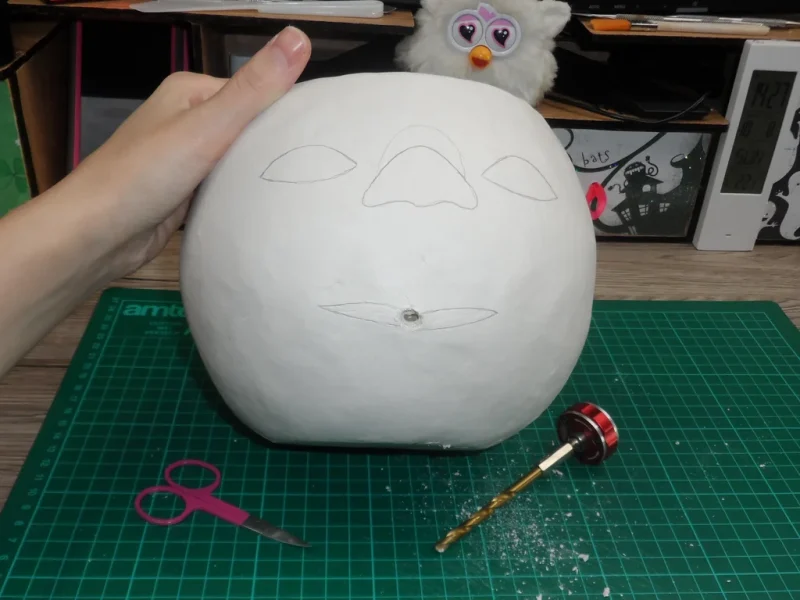
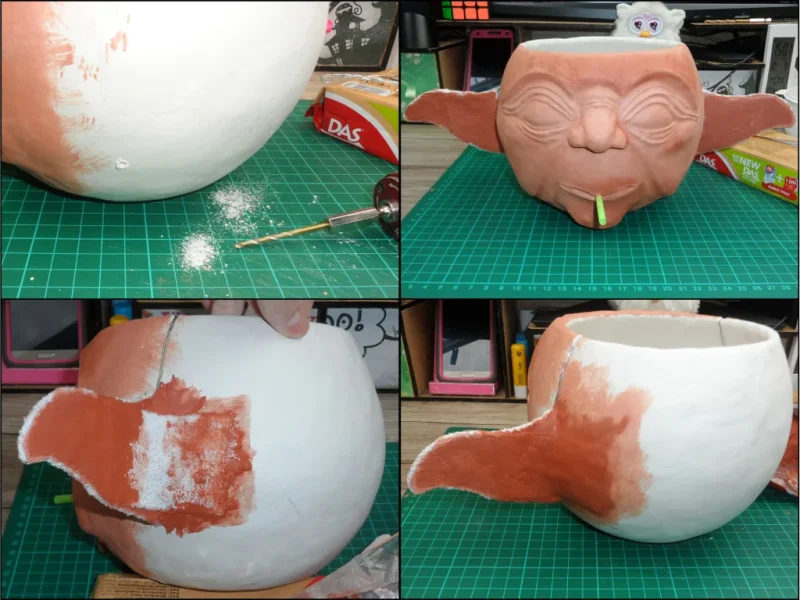
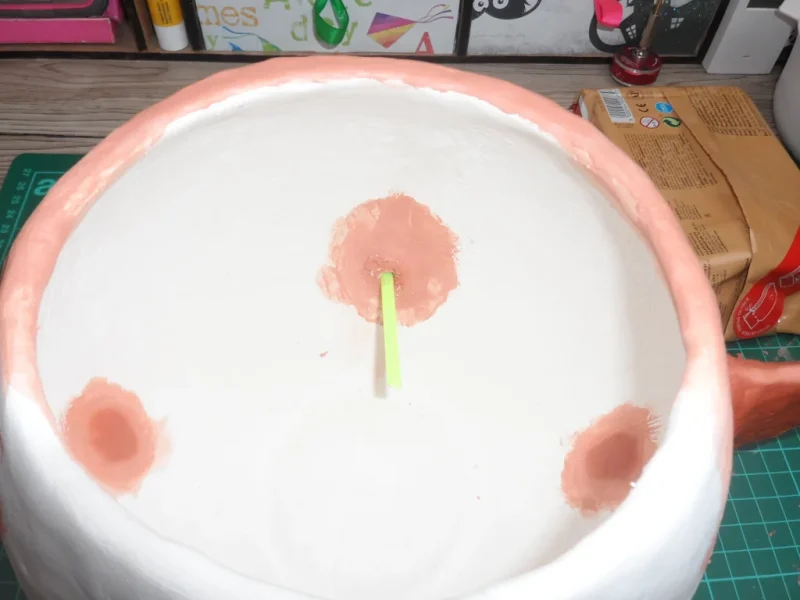
Hang the ears onto the head and create small groves in the top of the bowl where the wires hang. At the bottom part of the ears, drill a small hole so that you can poke the bottom wire through the head. Apply more bandages to the back of the ears and cover with clay. Create a ridge around the ears to make them look more realistic.
Step 6: Finishing Off the Face
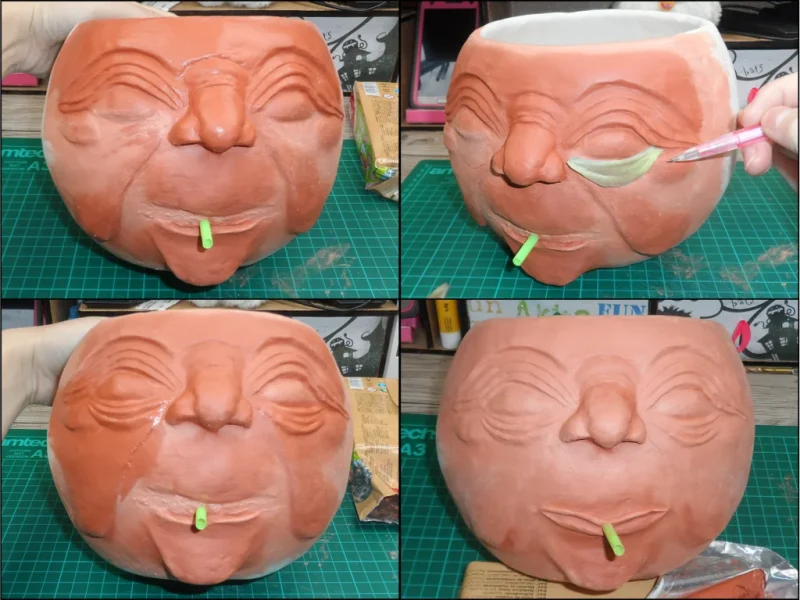
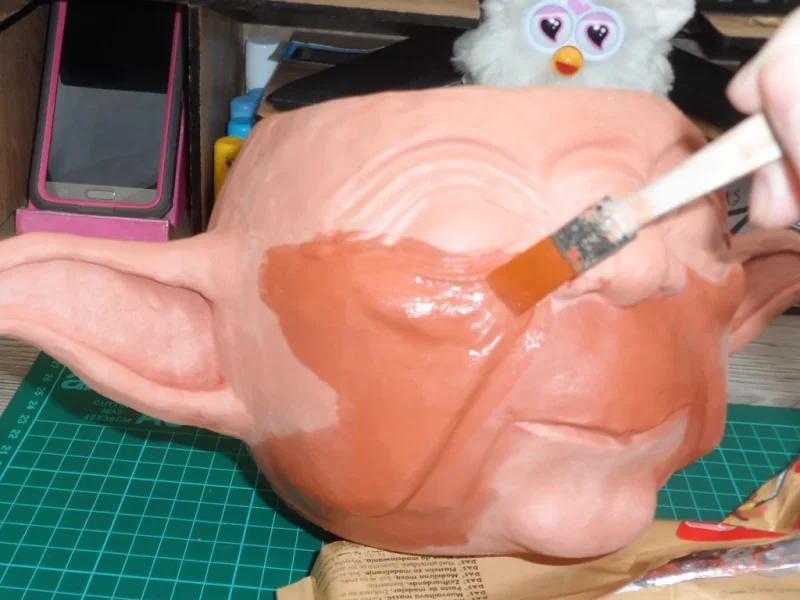
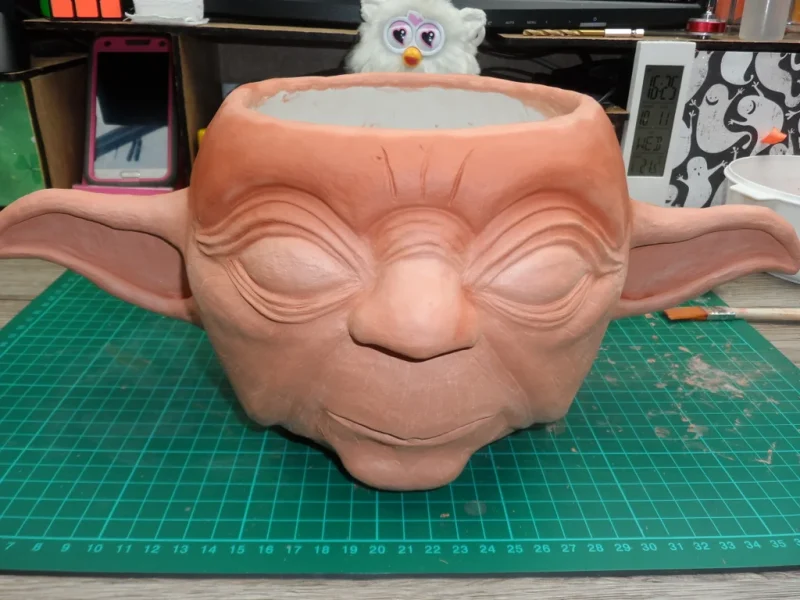
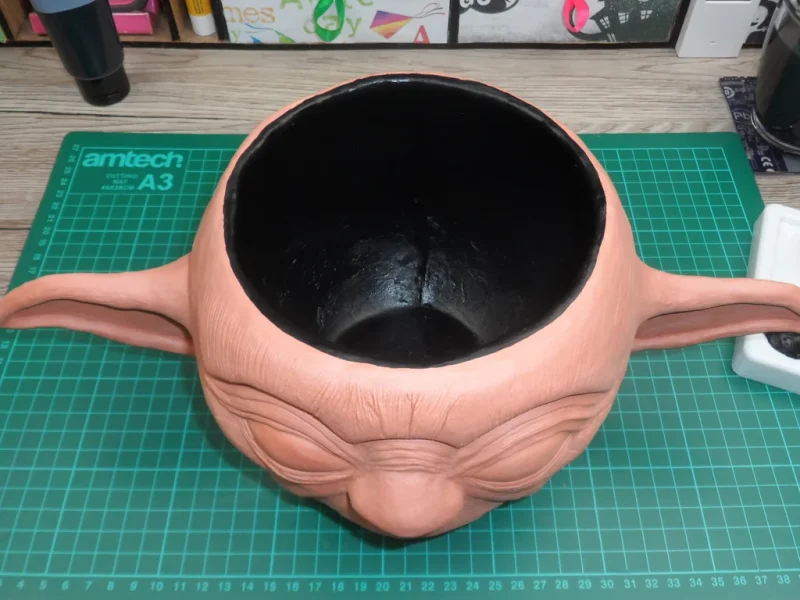
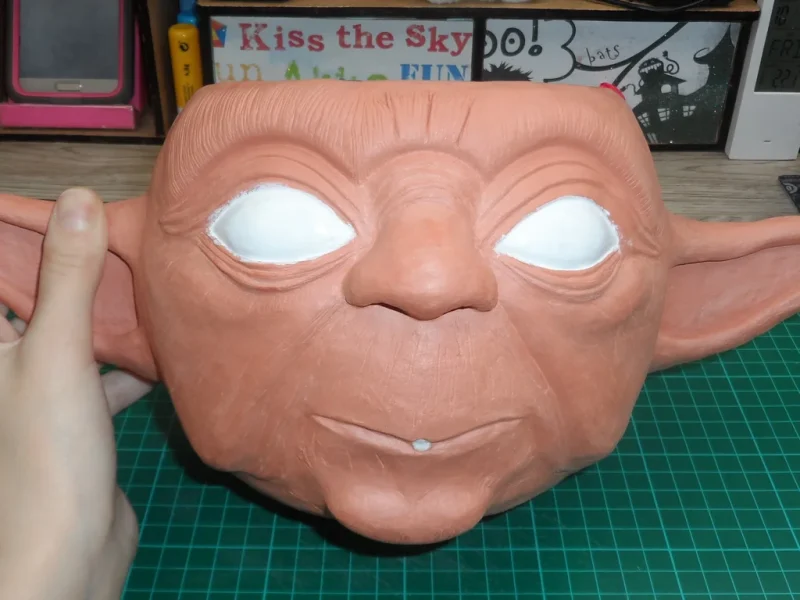
Cut the straw inside and out and fill out any gaps. Cut off the wires inside the bowl, leaving about 3cm and cover with clay. At this point I just carried on adding more clay until I was satisfied with the facial features. To smooth out the clay you can use a flat paint brush dunked in water.
Step 8: Face Painting
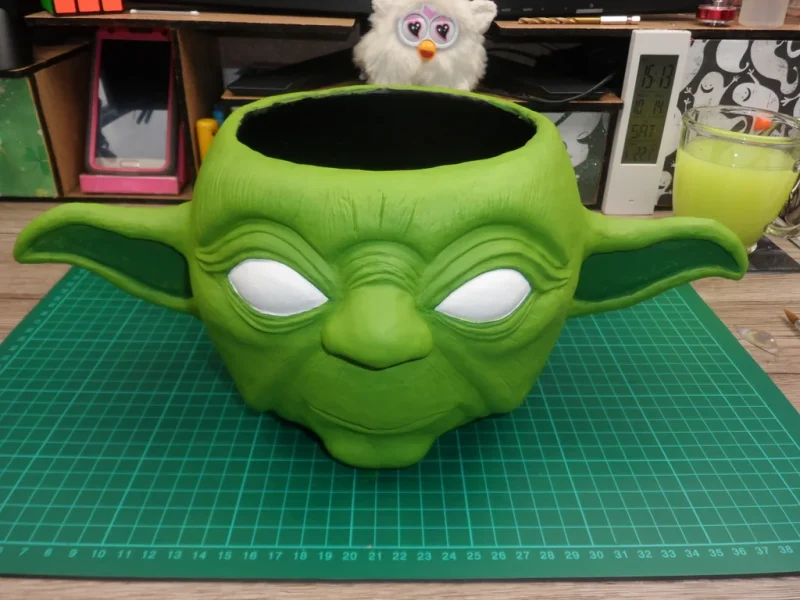
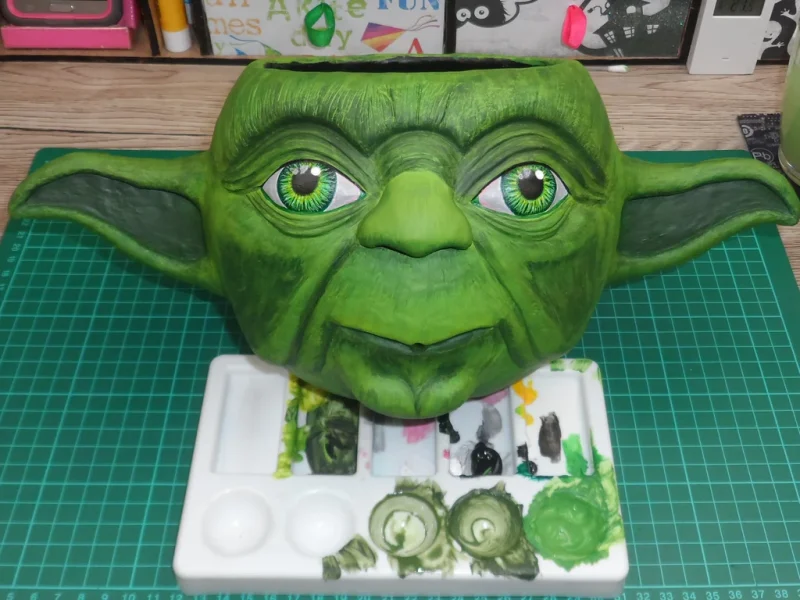
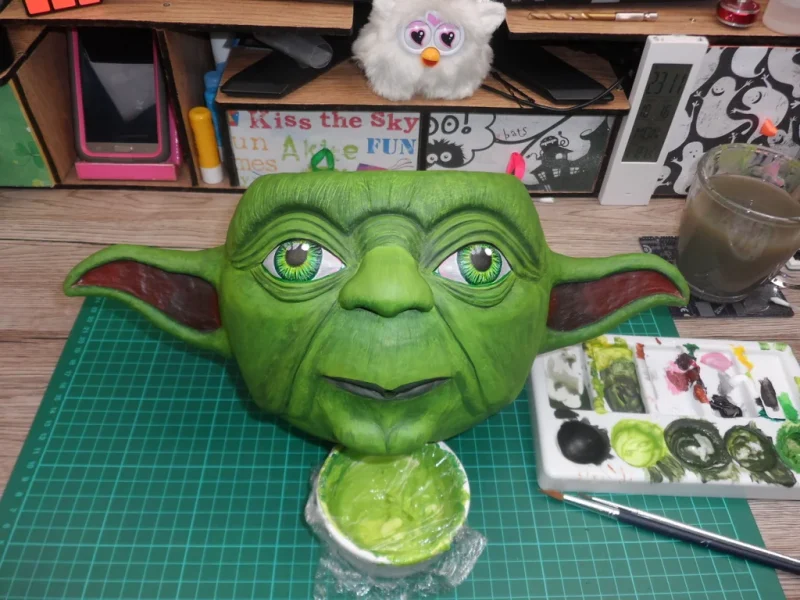
Paint the inside of the bowl with the black acrylic paint and the eyes with white paint. Next mix blue and yellow acrylic paint to create a green one, unless you already have green paint. It took me three tries to get the shade of the green right-ish. But in the end I was satisfied.
Step 9: Eyes
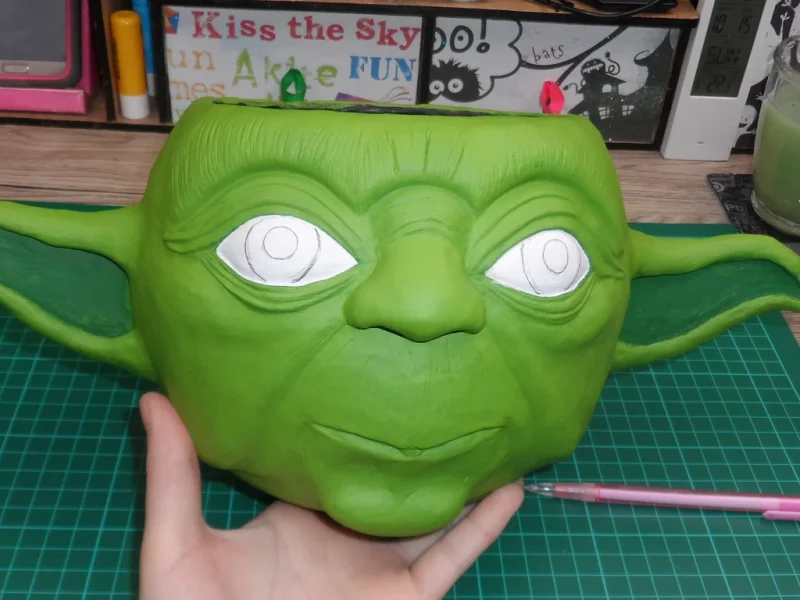
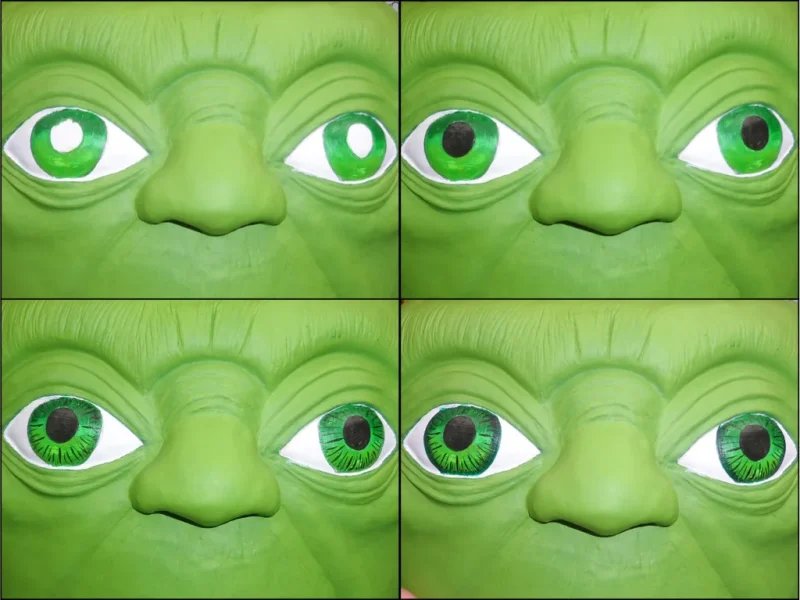
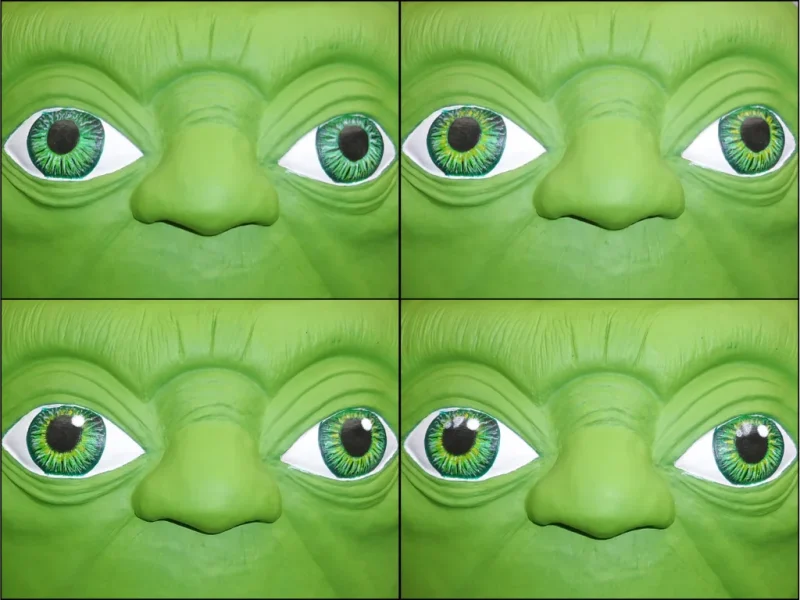
With a pencil, draw the iris and the pupil. Paint the iris green, adding darker green to the top and a little yellow to the bottom of the iris. Colour the pupil black. Paint straight black lines into the iris. Use dark green to trace around the iris. Paint wavy white and yellow lines into the iris. Paint two or three white dots onto the eye.
Paint the inside of the eye with a mixture of grey and white, adding a little pink to the tear duct. Paint a black line onto the top of the eye and a dark green line onto the bottom of the eye.
Step 10: Shading
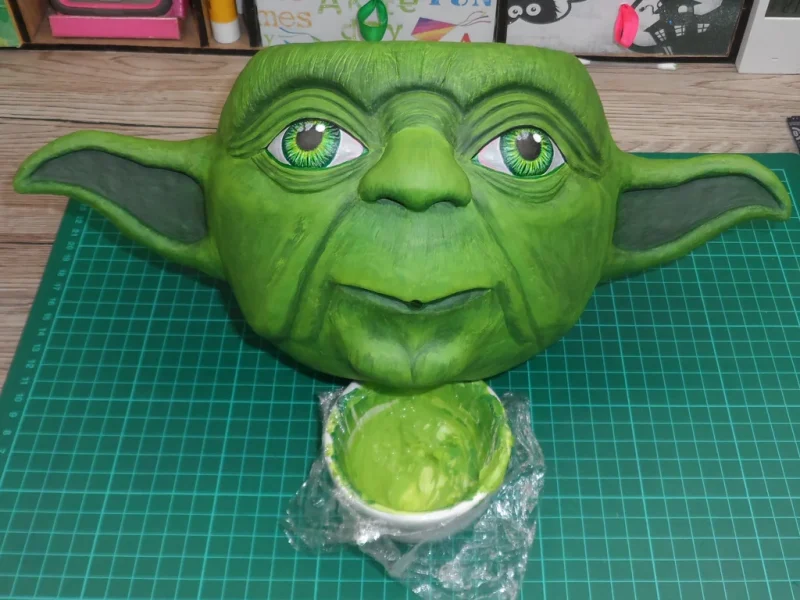
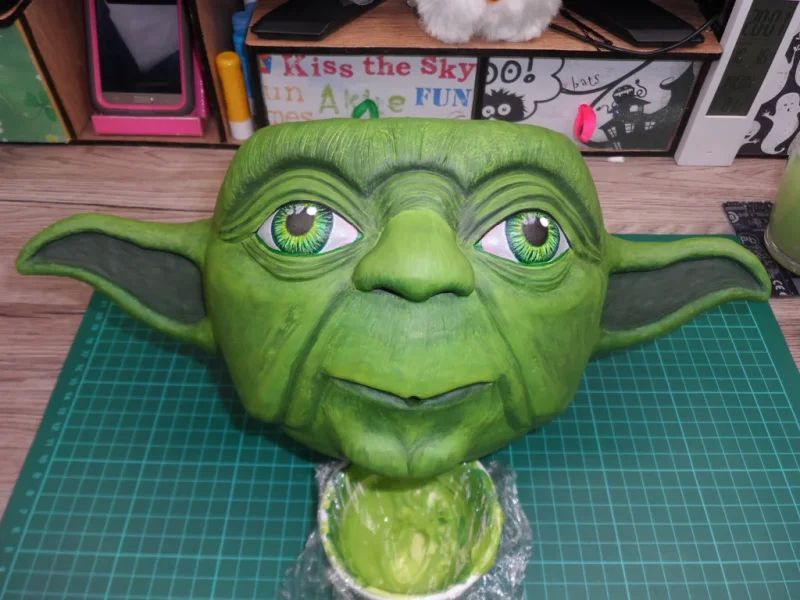
Mix the dark green with some water and paint the forehead, eyelids, top of the nose, cheeks, chin etc. If you manage to overdo it like I did, go over with light green paint, this should soften it. Paint the inside of the ears with the brown paint (lighter brown towards the outside).
Step 12: Hair Transplantation
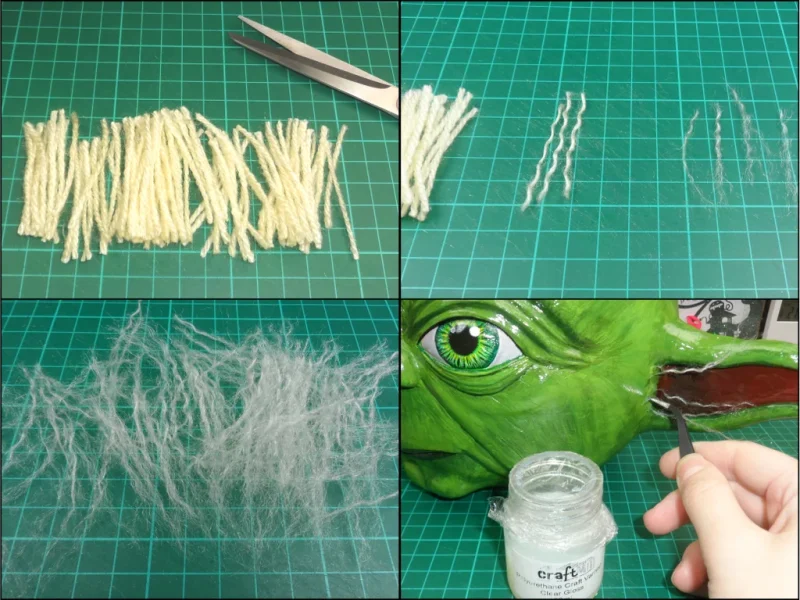
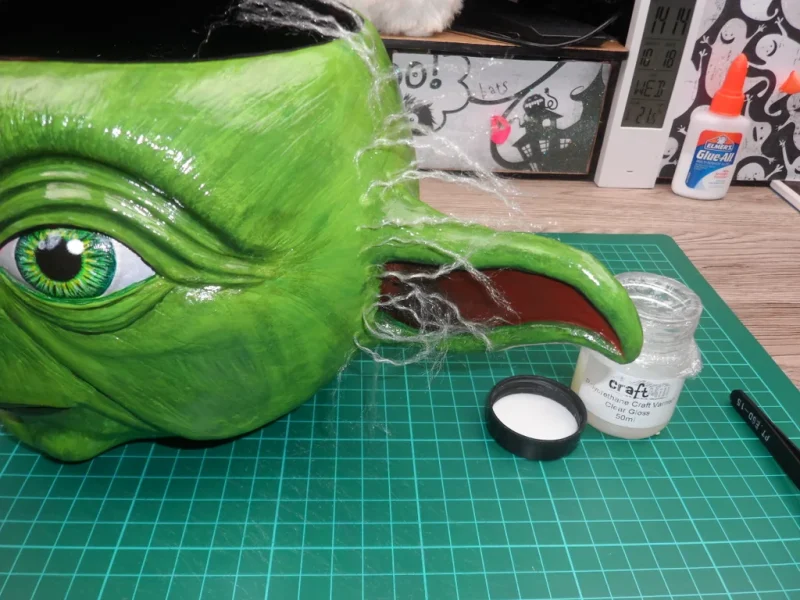
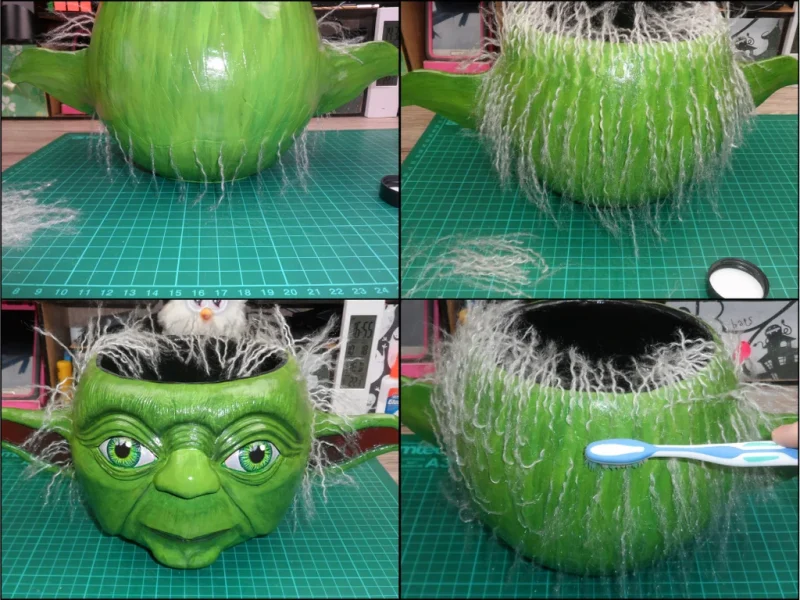
Cut some yarn into roughly 5cm pieces. Divide each piece into three strands and each of those three strands into another three strands. Dunk the end of a strand in the polyurethane varnish and attach onto the head. Repeat until you end up with a “Yoda style head of hair”. When fully dried, brush the hair with a toothbrush.
As I carried on adding the hair, I couldn’t stop thinking of Albert Einstein. After a little bit of googling I found out that Yoda’s face was in fact modeled off of Einstein’s face. We learn something every day 😀
May the Yarn be with you 😉

Runner Up in the
Hand Tools Only Contest 2017
Second Prize in the
Fiber Arts Contest 2017


