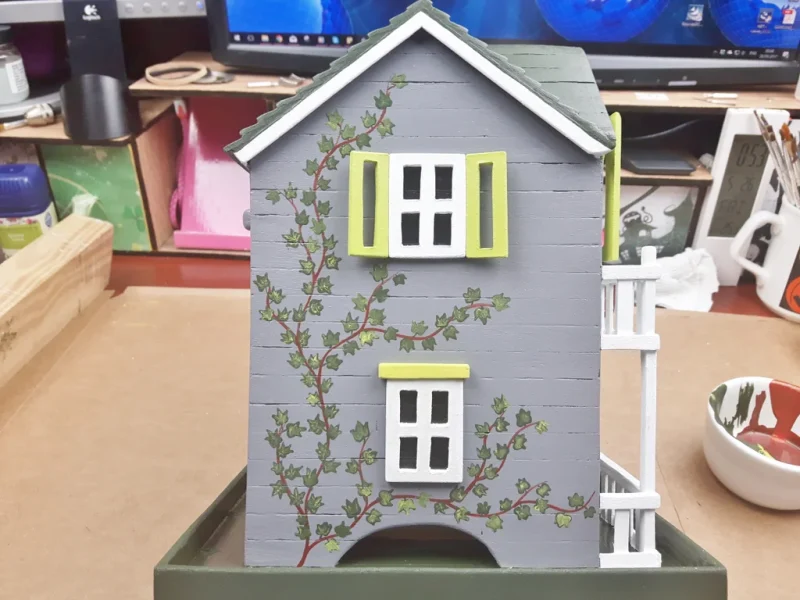
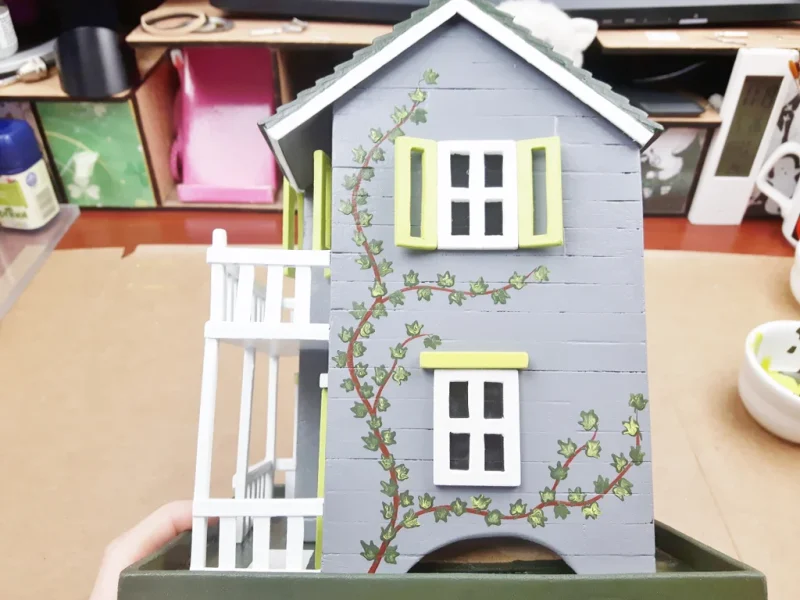
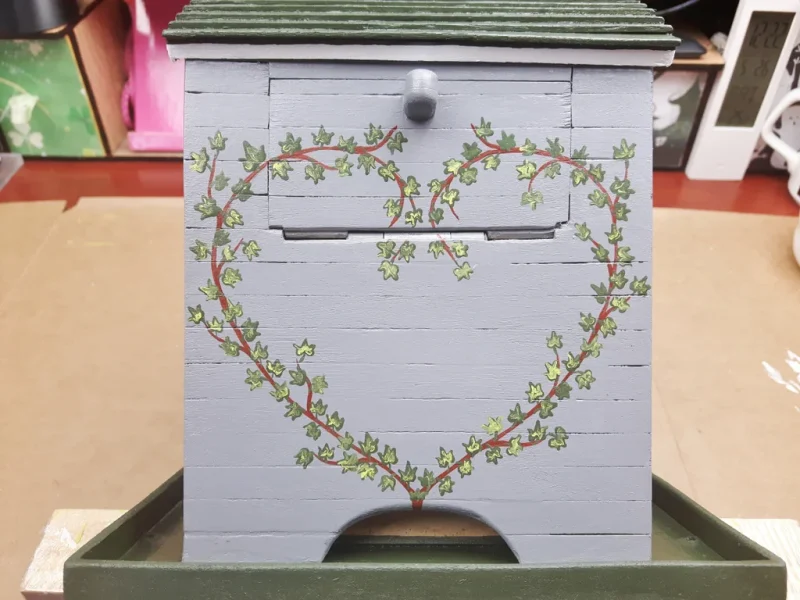
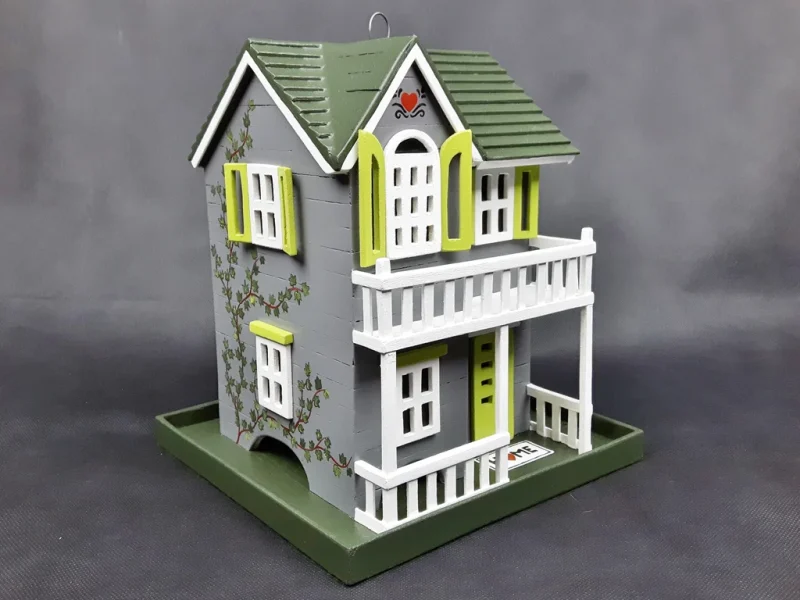
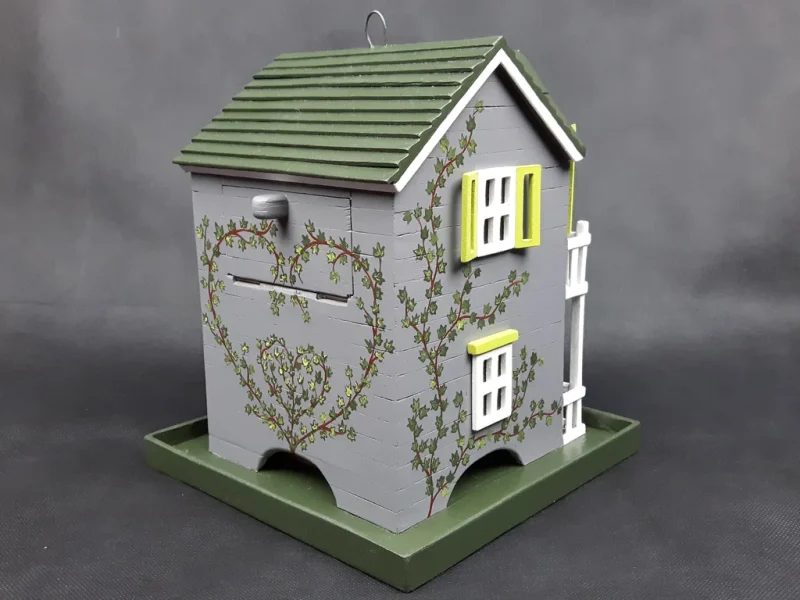
Wooden Bird Feeder
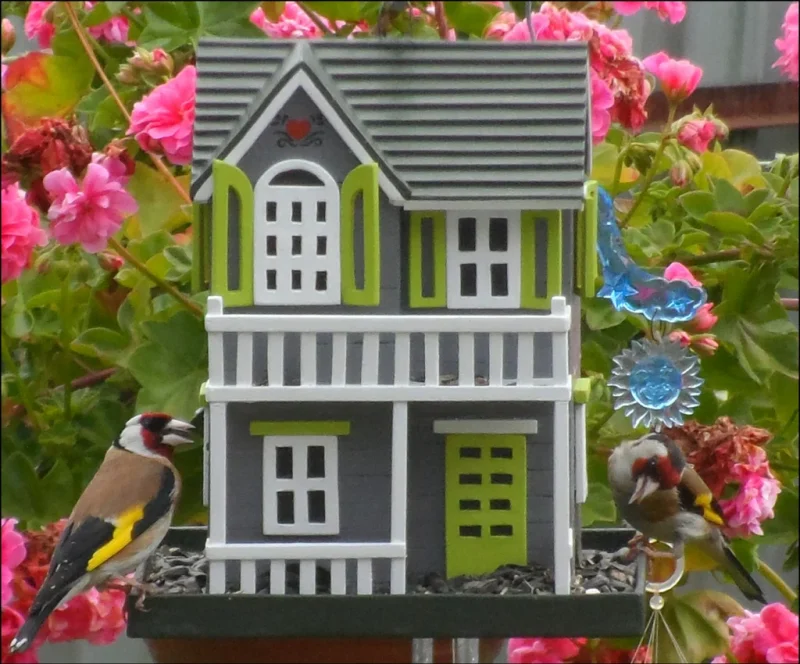
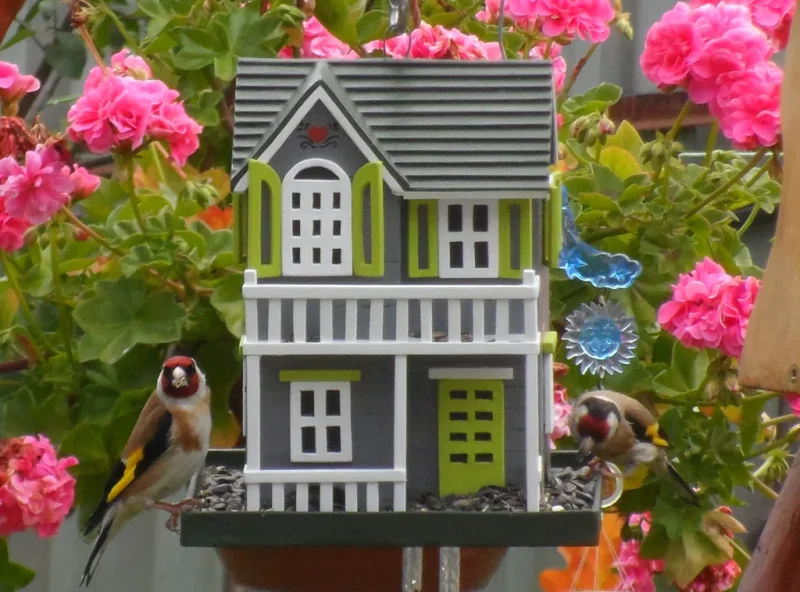
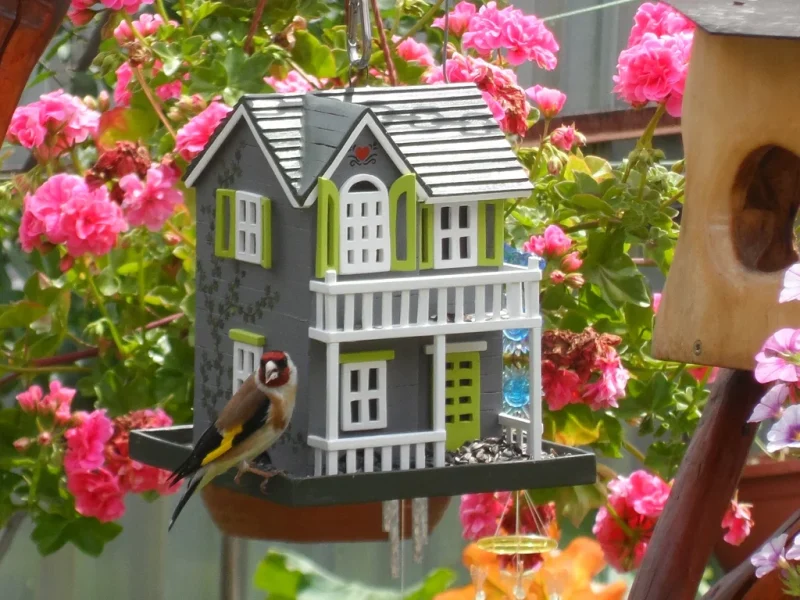
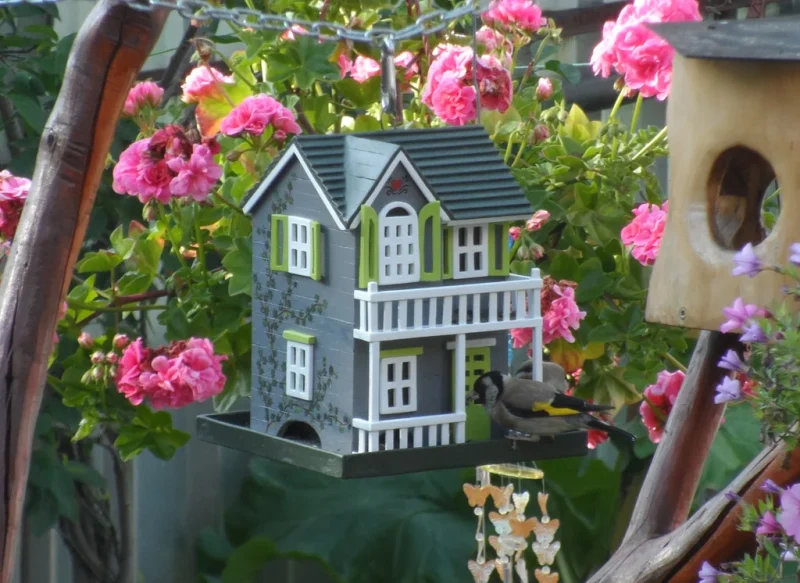
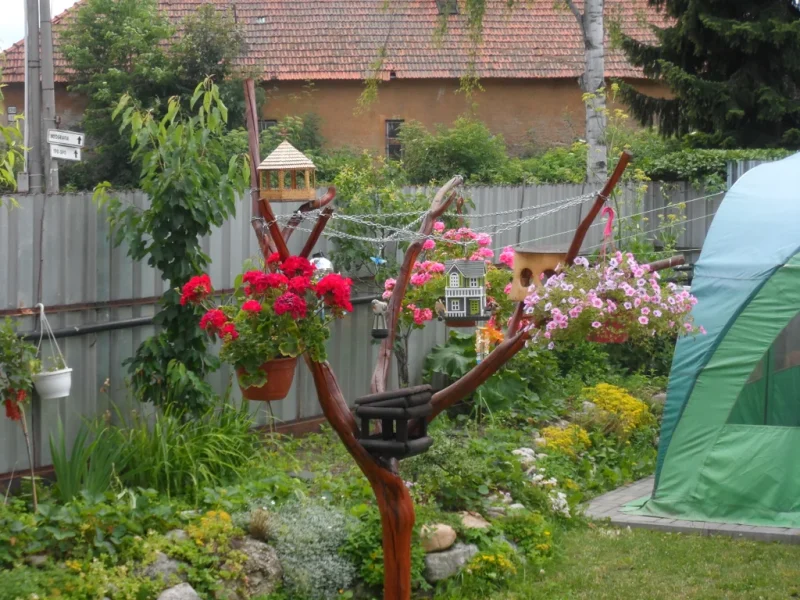
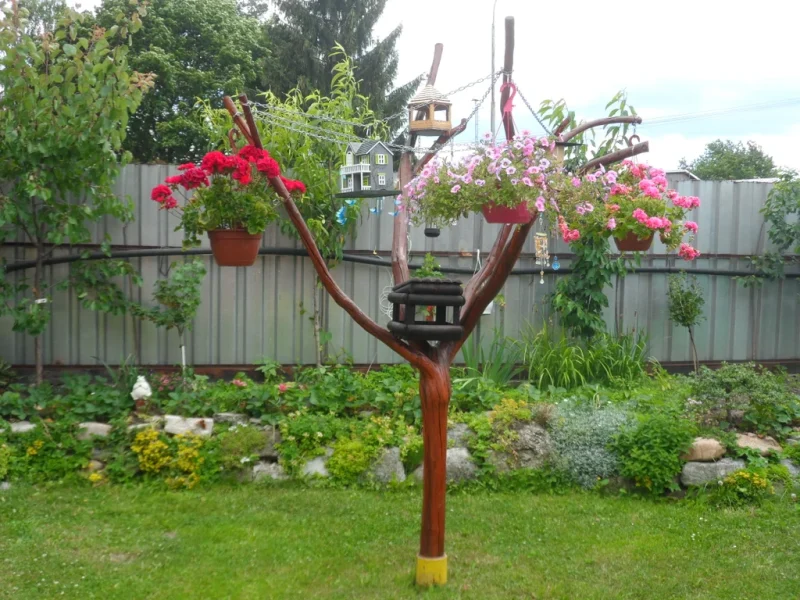
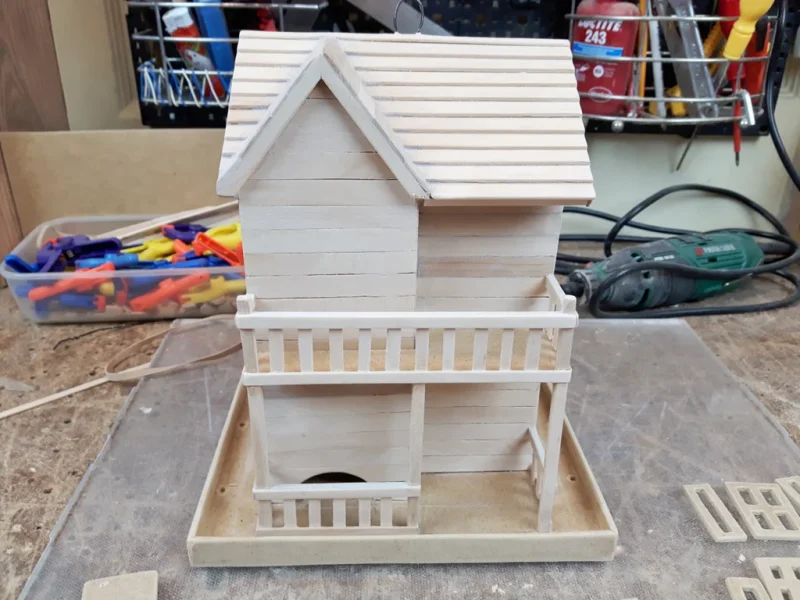
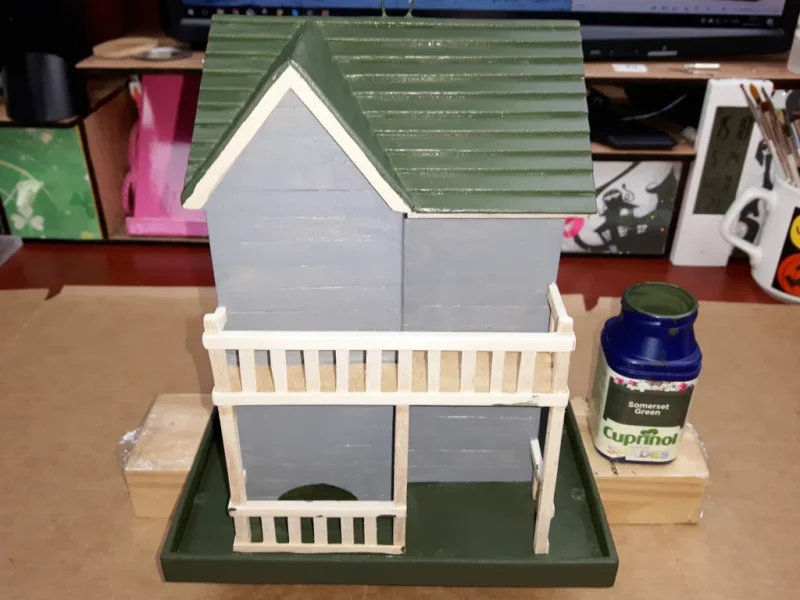
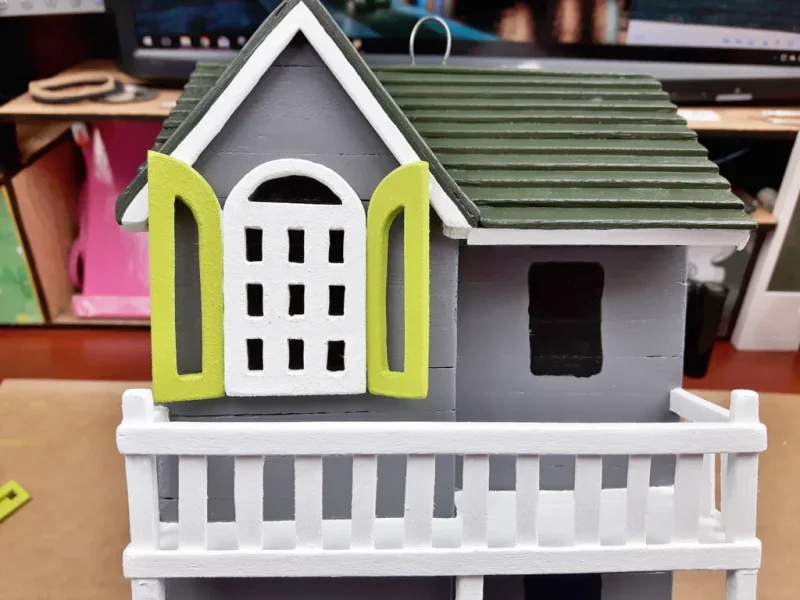
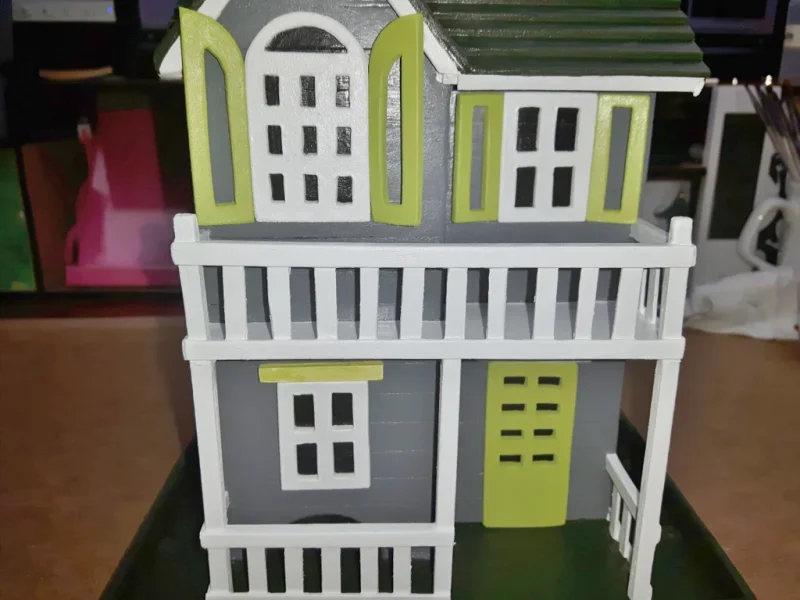
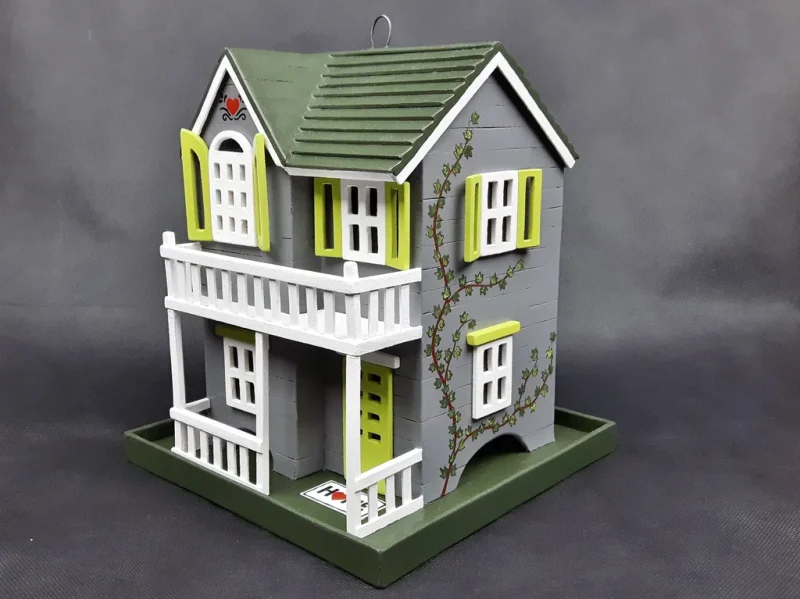
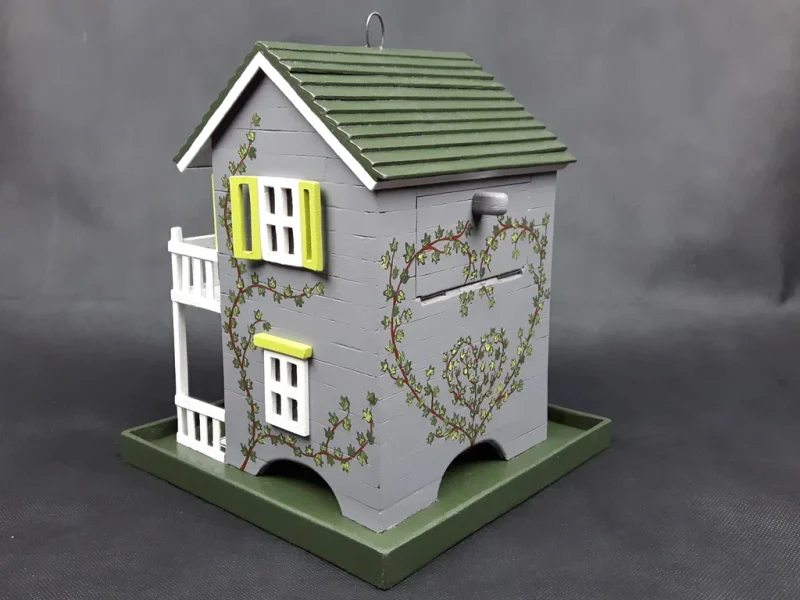
My mummy loves watching birds in her garden and she has this tree full of flowers and 4 bird feeders. Unfortunately one of the older bird feeders isn’t looking so well anymore, so I decided to make her a new one. She really likes it and so do the birdies. The whole project took about 35 hours to complete and if you fancy having a go here is how 😉
Materials And Tools
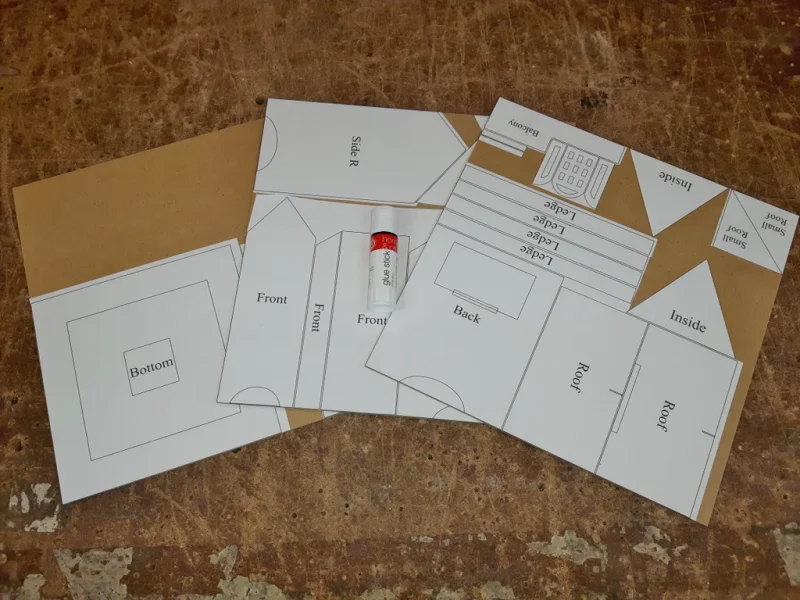
- glue stick
- 3 x 3mm MDF (mine were 305mm x 305mm MDF sheets)
- wood glue
- roughly 300 lollipop sticks
- roughly 40 x 18cm wood coffee stirrers
- steel wire
- 1 hinge
- 5 x 3.0x12mm wood screws
- wood filler
- wood paint (gray, green, white, lime green, red, black)
Tools:
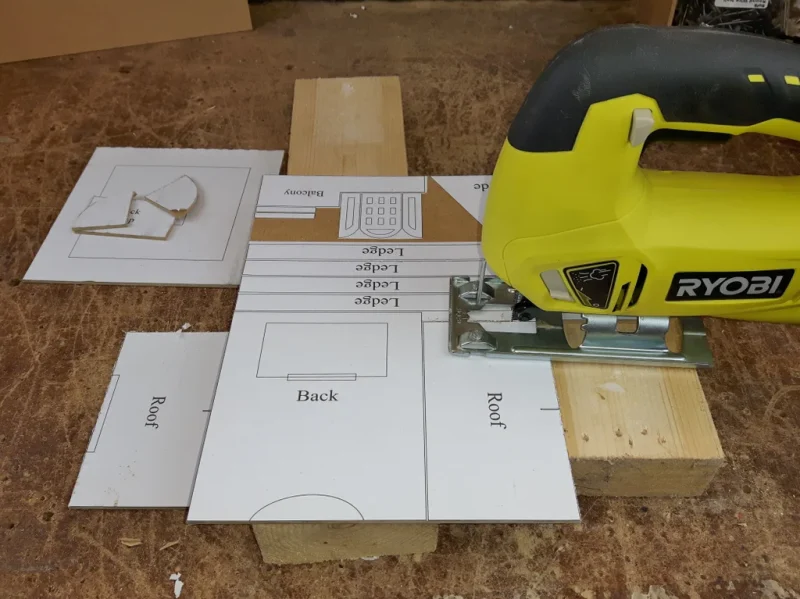
- jigsaw + modelling jigsaw
- sander
- sandpaper
- mitre block + hacksaw
- small chisel
- files
- clamps
- drill
- screwdriver
- dremel + sanding attachment
- 3 large rubber bands
- paint brushes
Step 2: Base
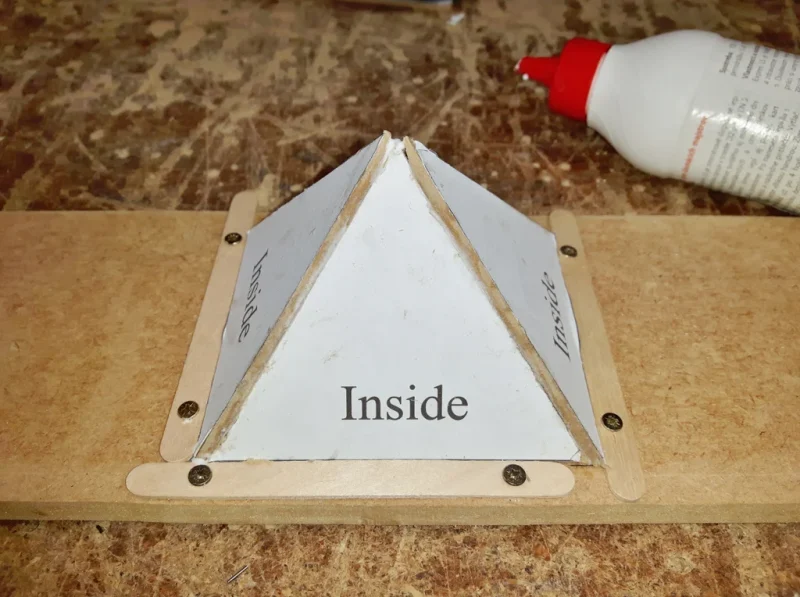
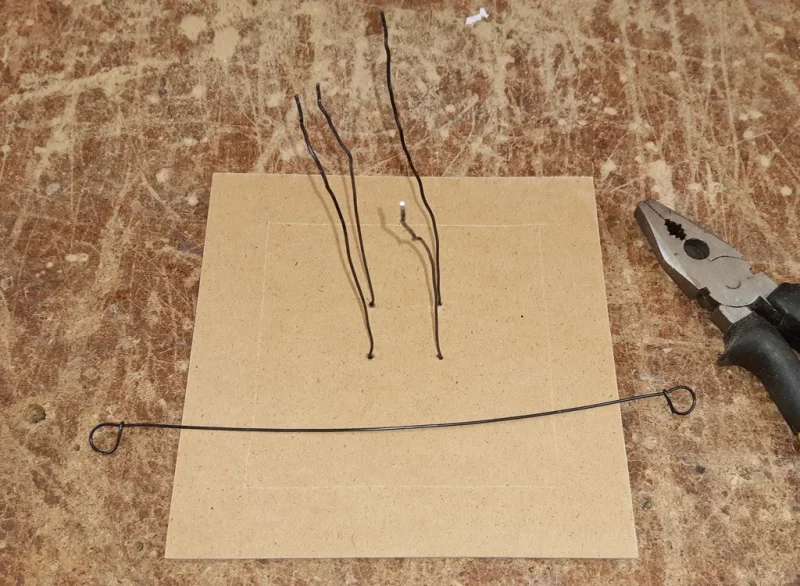
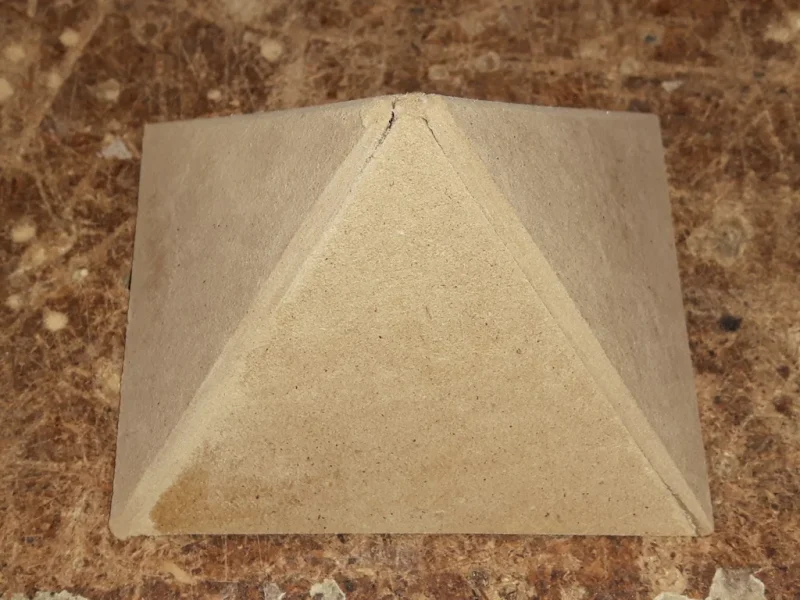
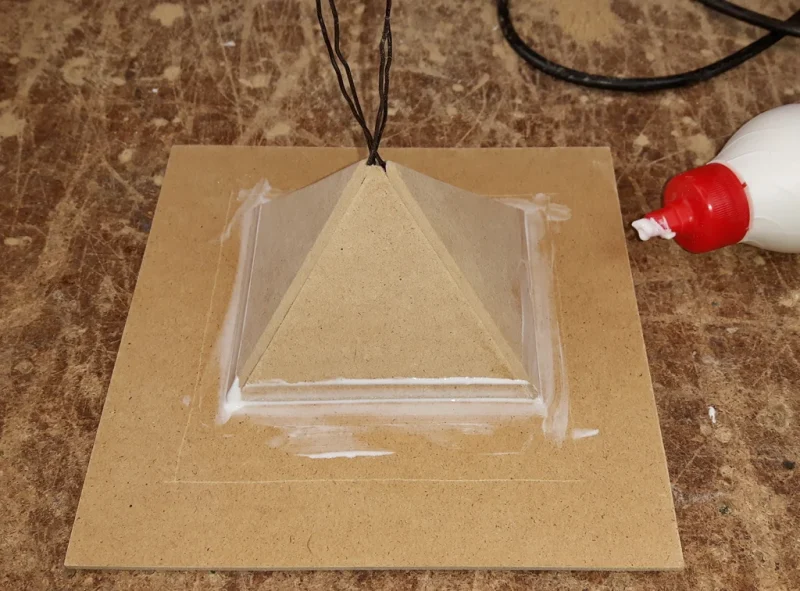
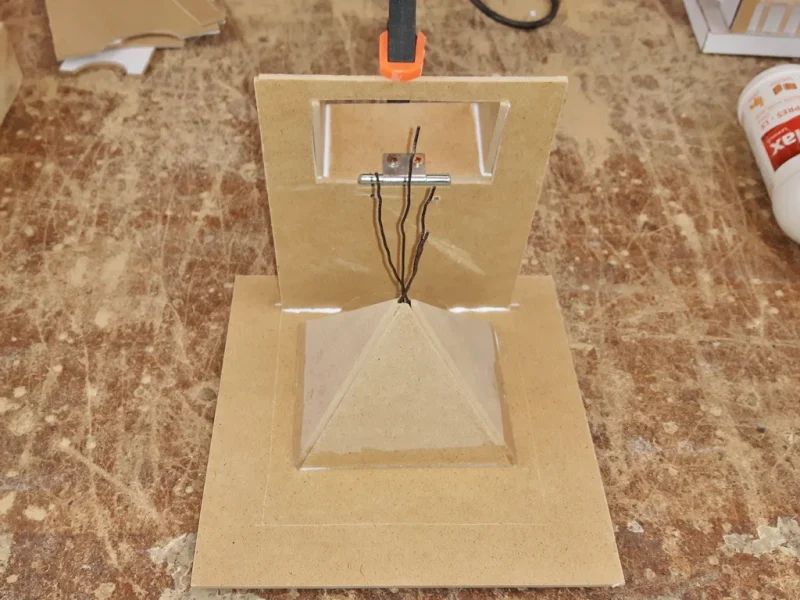
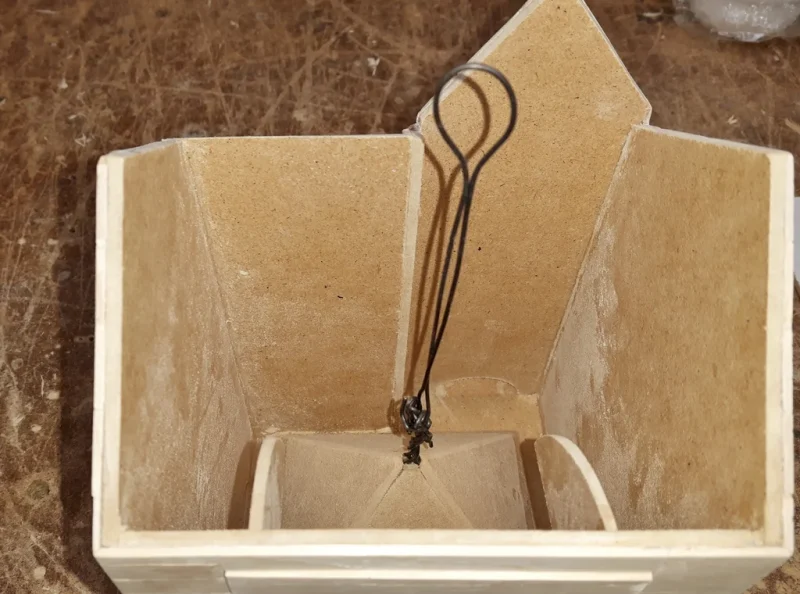
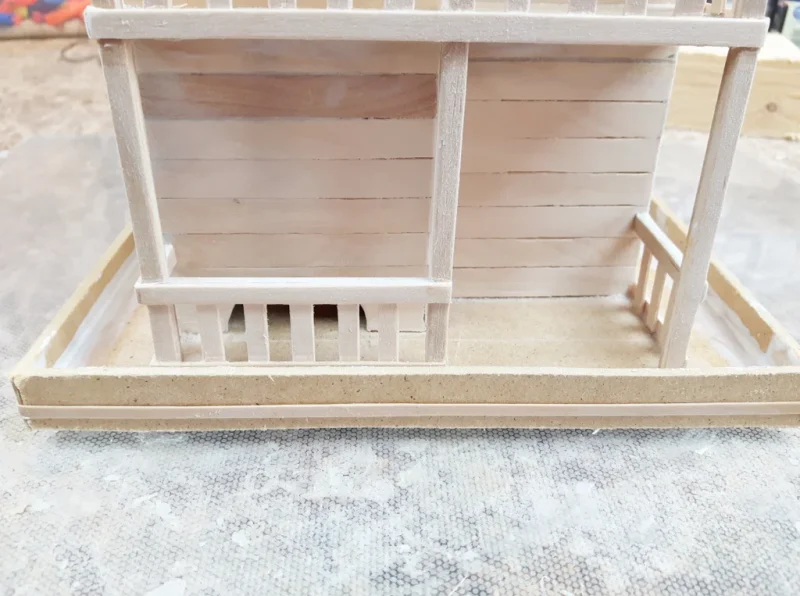
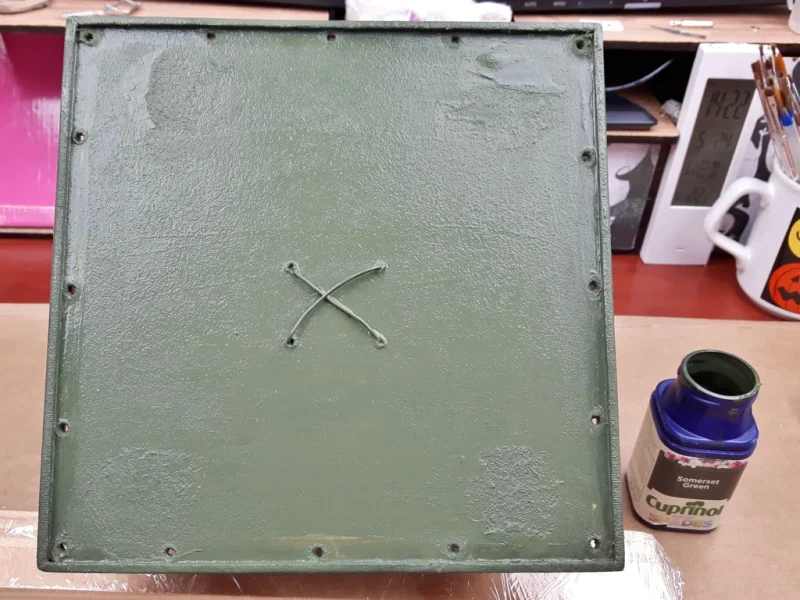
Make yourself a jig for the inner pyramid using a piece of wood, lollipop sticks and a few screws. Glue the pyramid together with wood glue and let it dry. Drill 4 holes in the bottom piece and feed the steel wire/wires through. Make sure that the holes and the pyramid are slightly off center, so that you will have enough space for the balcony later on. Drill another hole in the top of the pyramid, feed the steel wires through and glue it onto the base.
Step
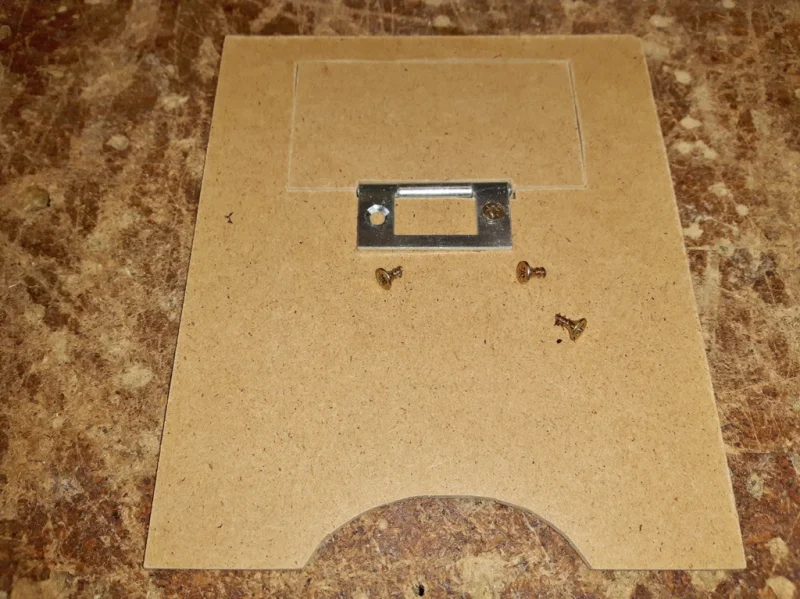
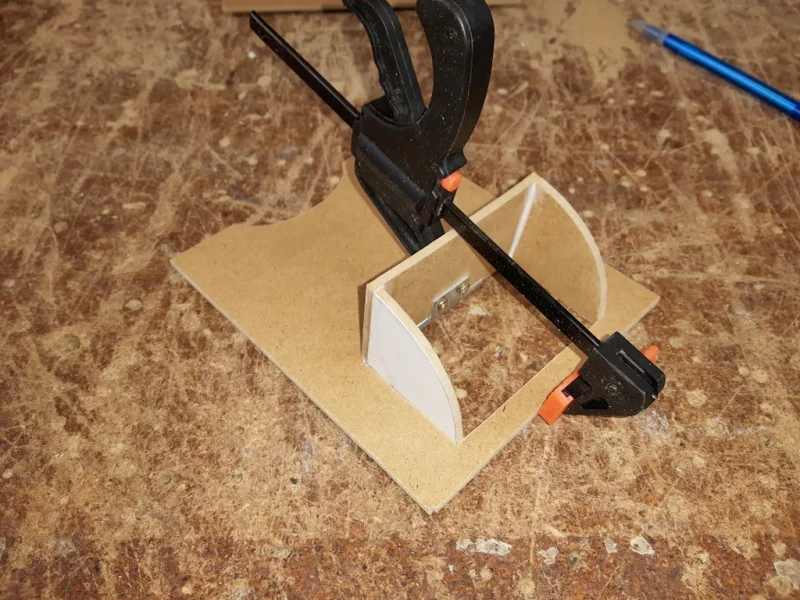
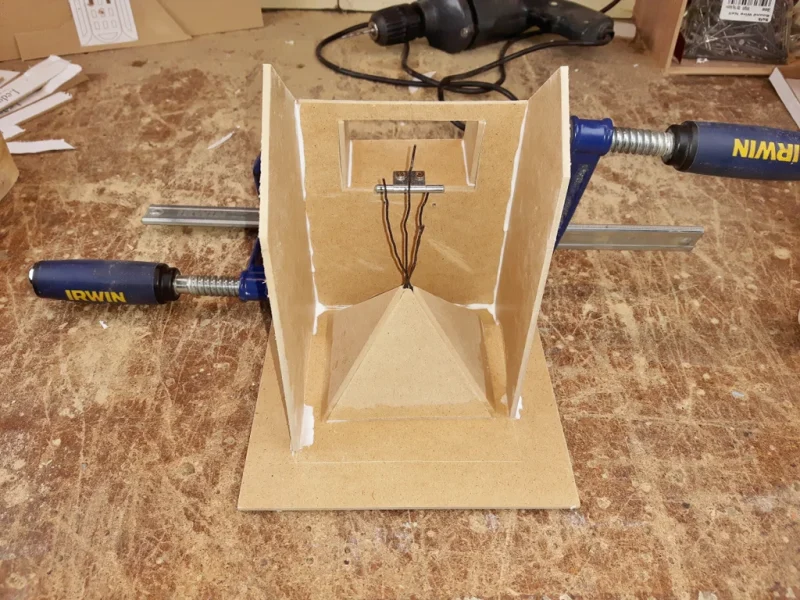
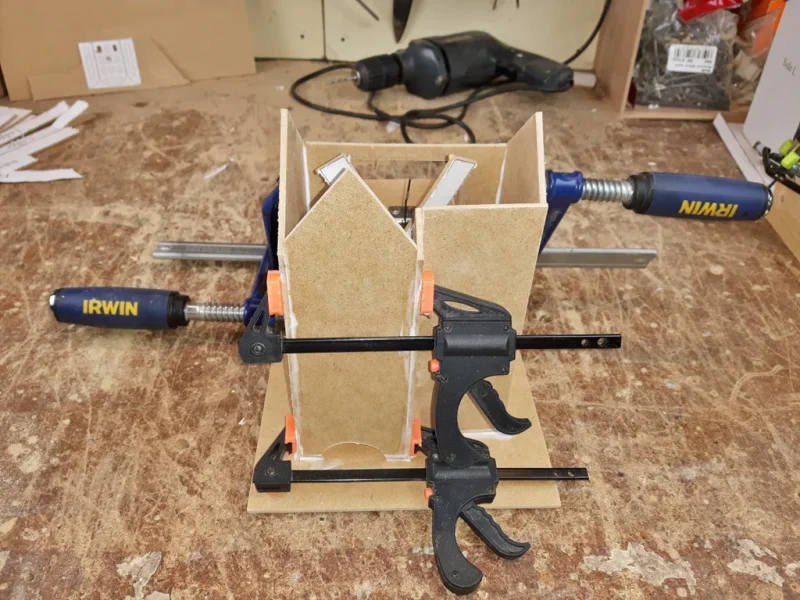
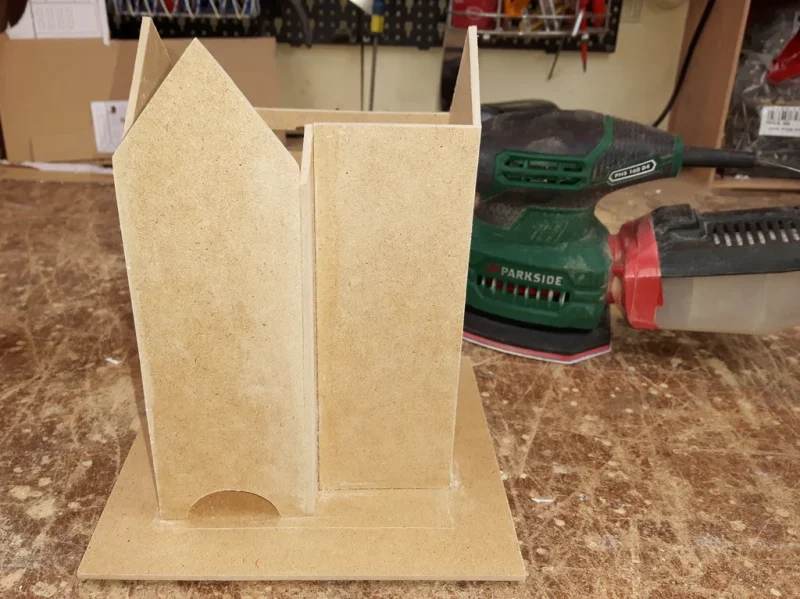
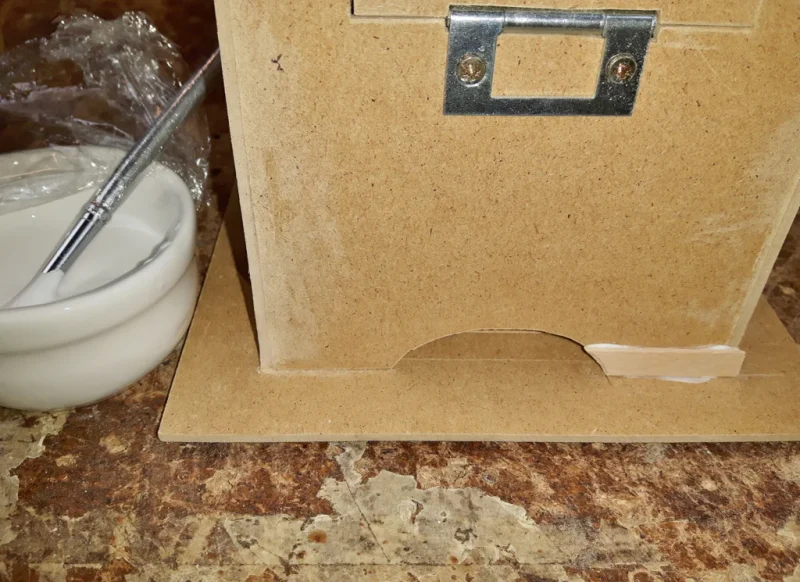
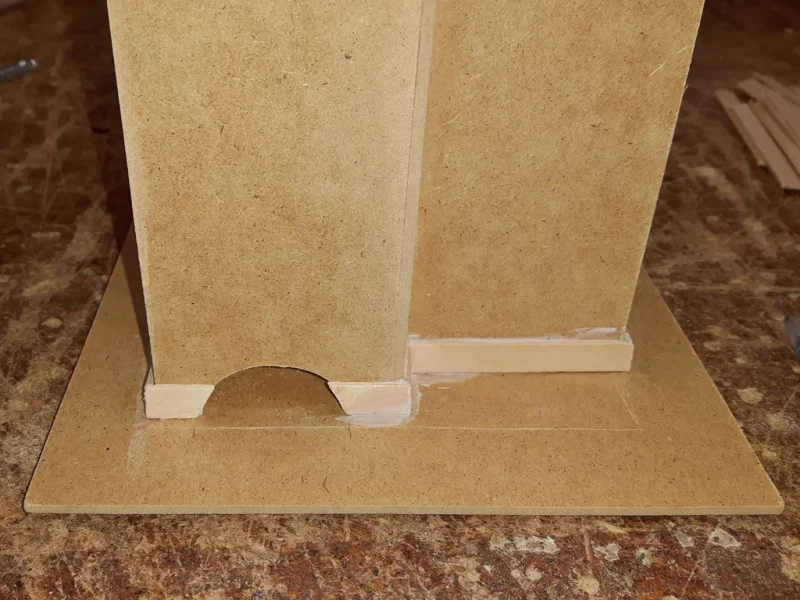
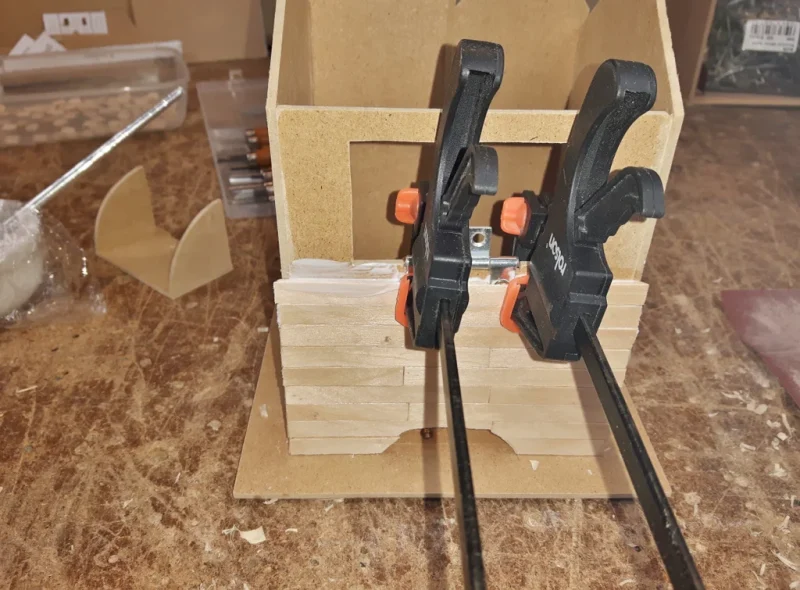
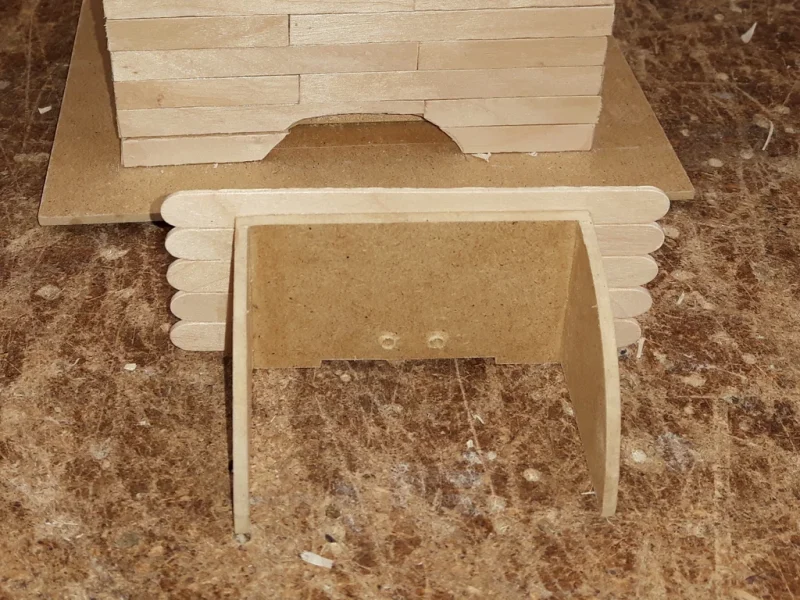
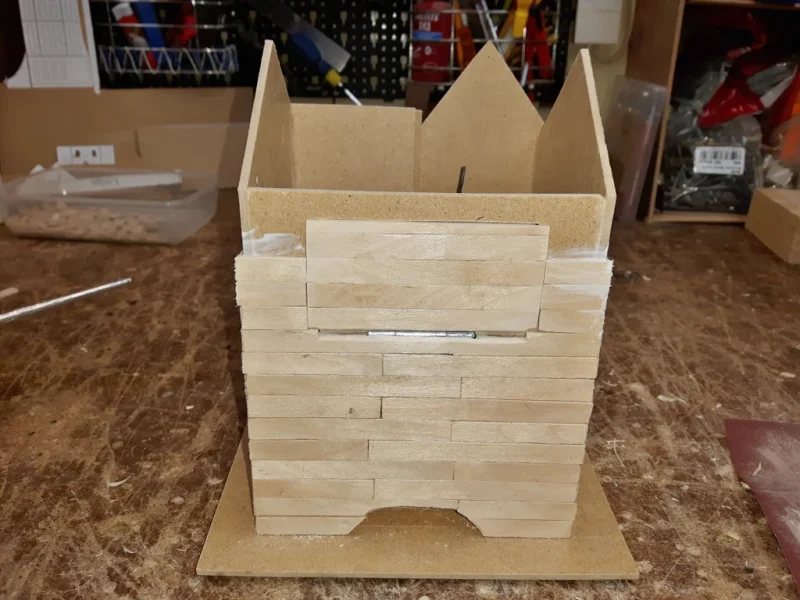
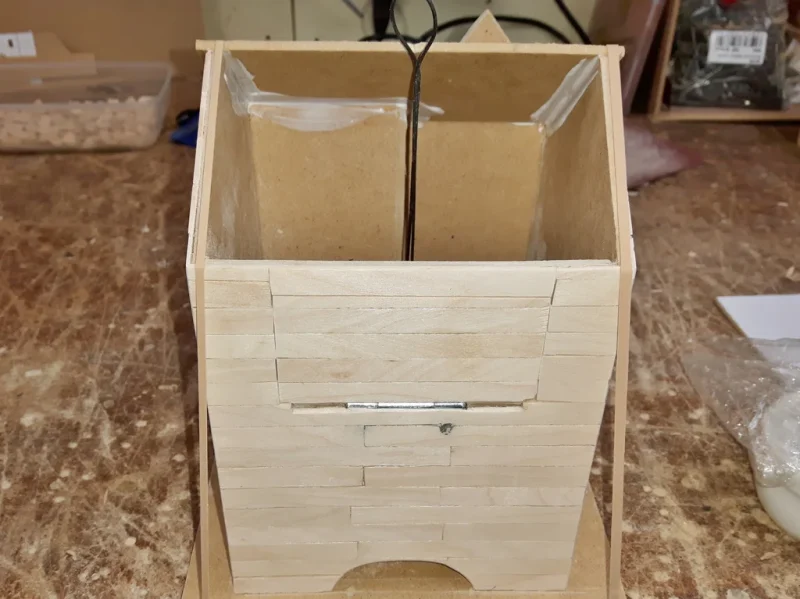
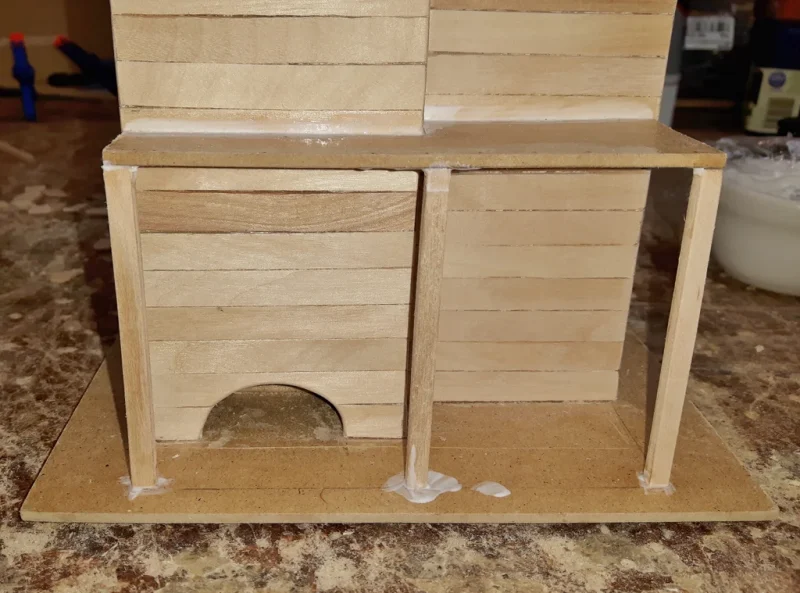
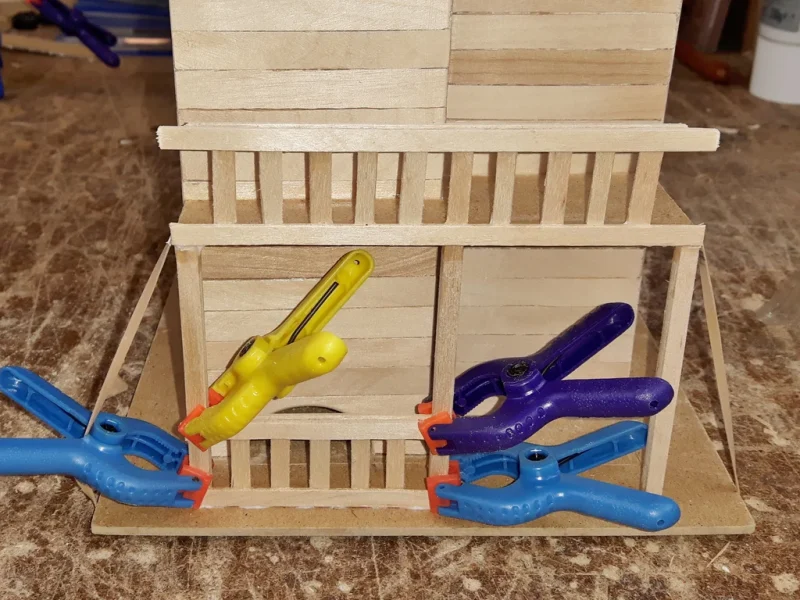
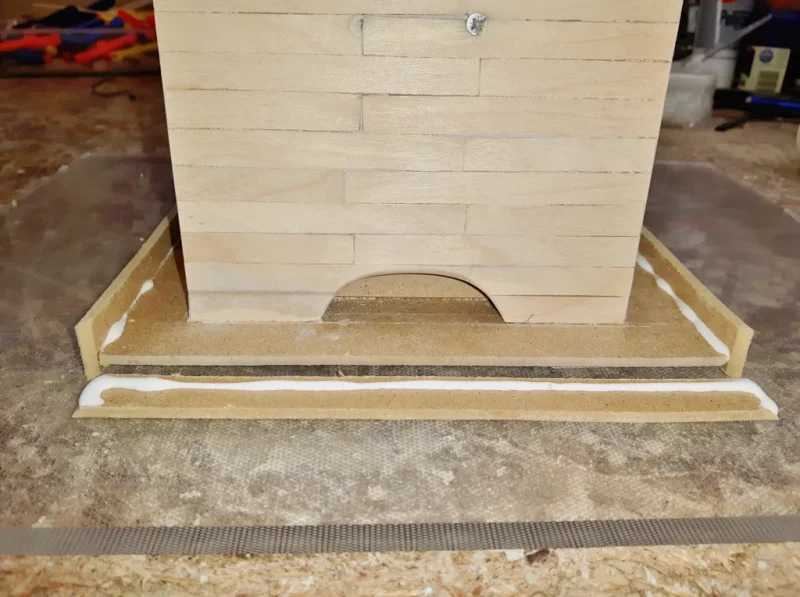
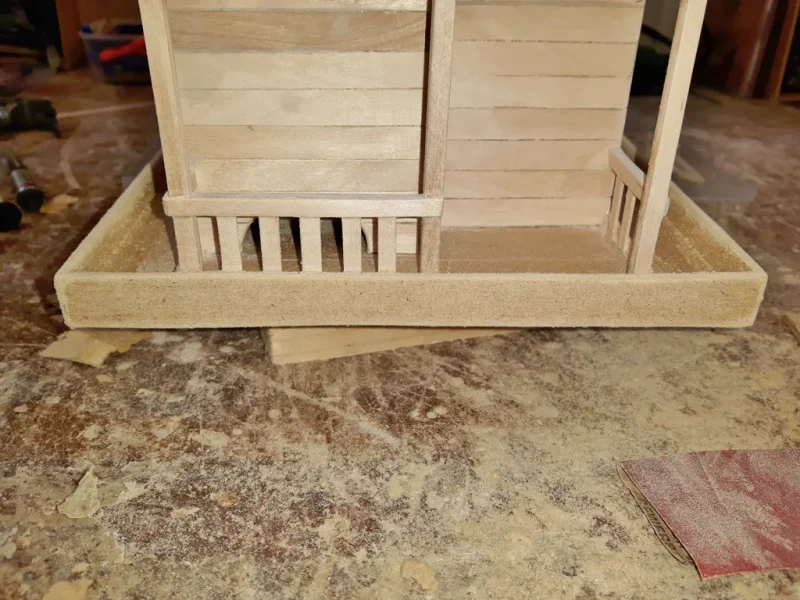
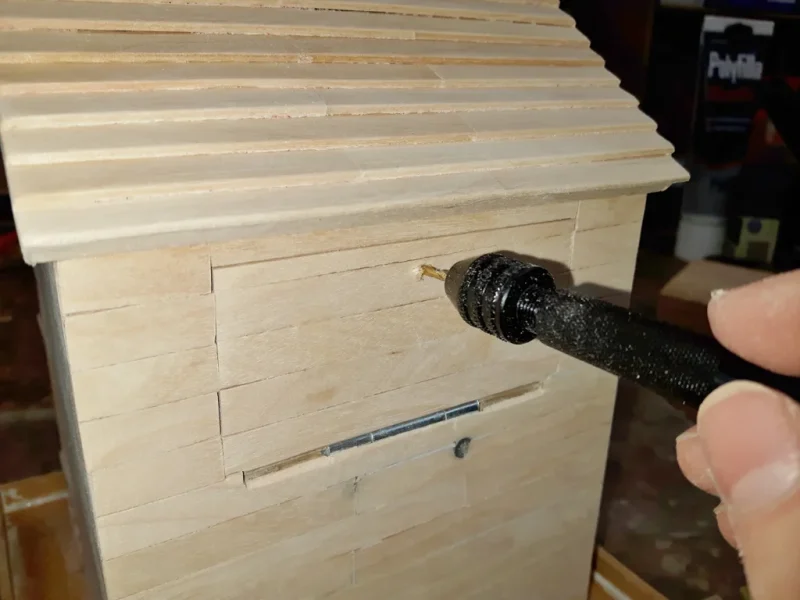
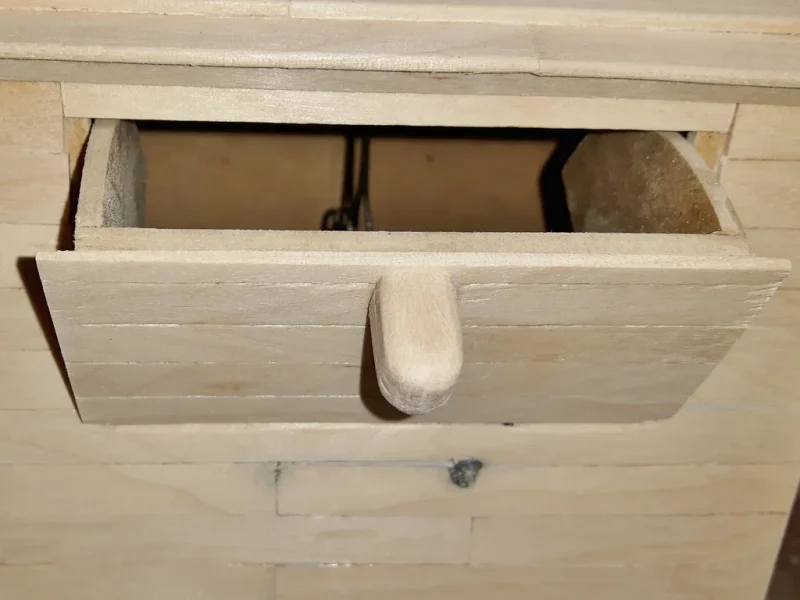
Place the hinge in between the two back pieces and mark positions for the screws. Shorten the screws to the required length with a junior hacksaw and screw in. Attach the two quarter circles to the back flap with wood glue. Glue all walls to the base and secure with clamps whilst the glue dries.
Step 5: Oh Lolli Lolli Lolli
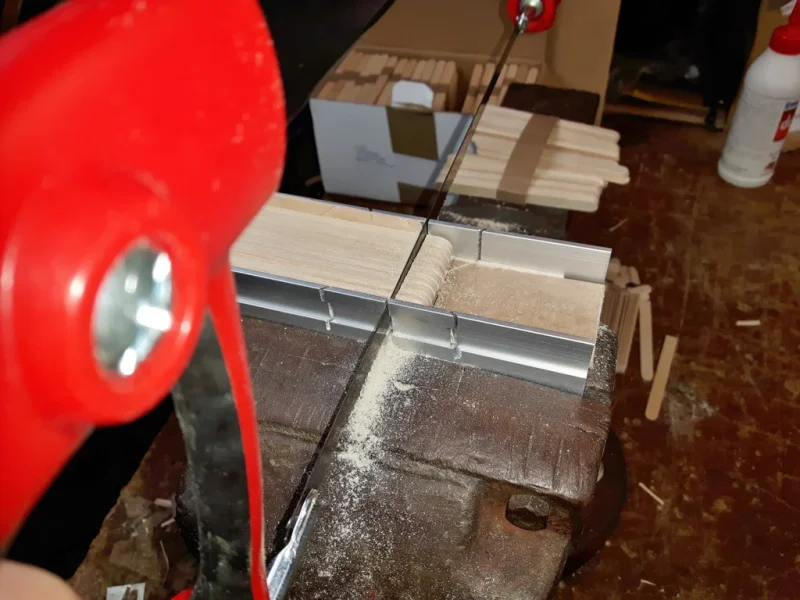
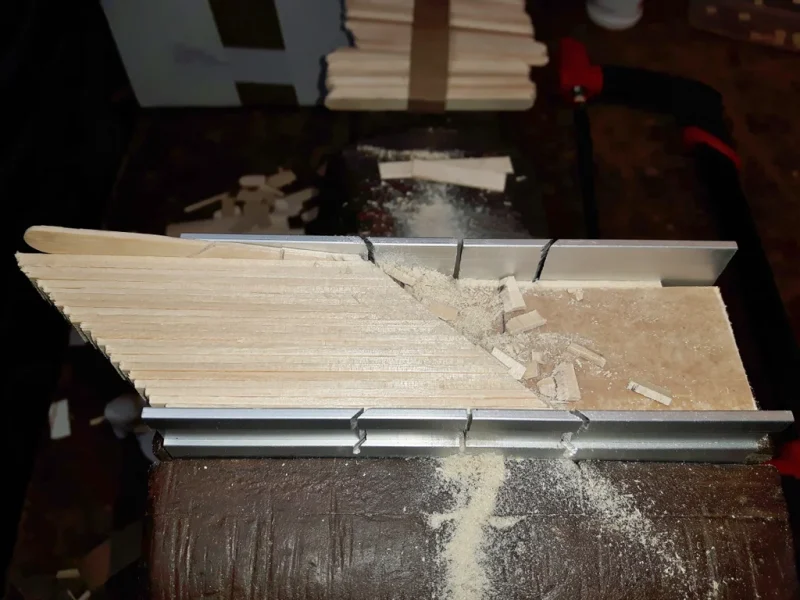
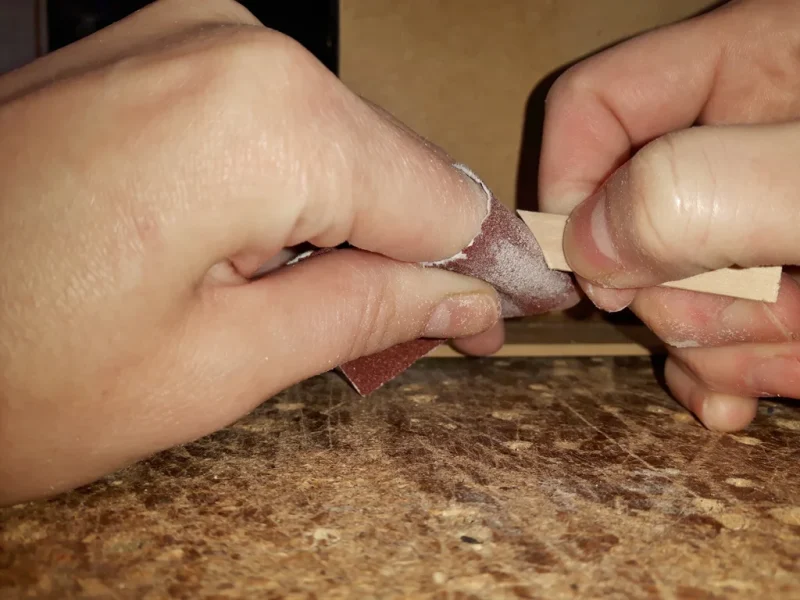
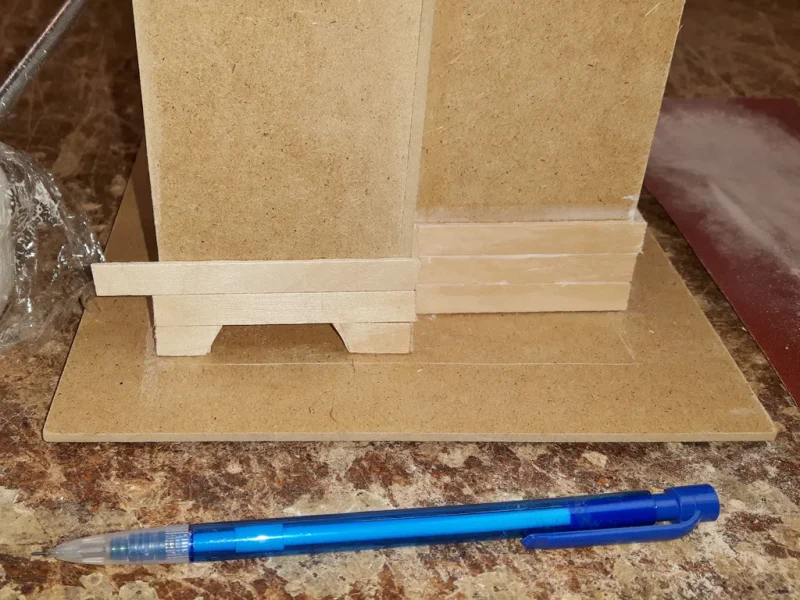
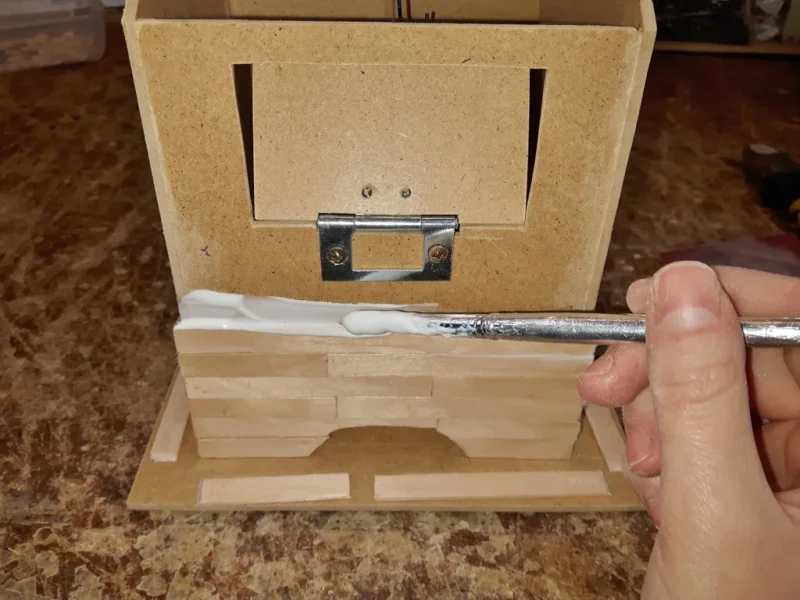
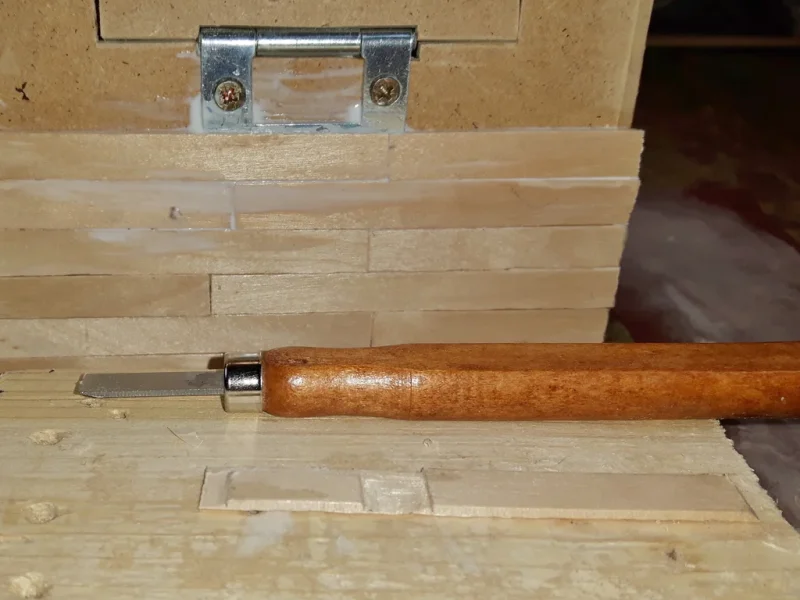
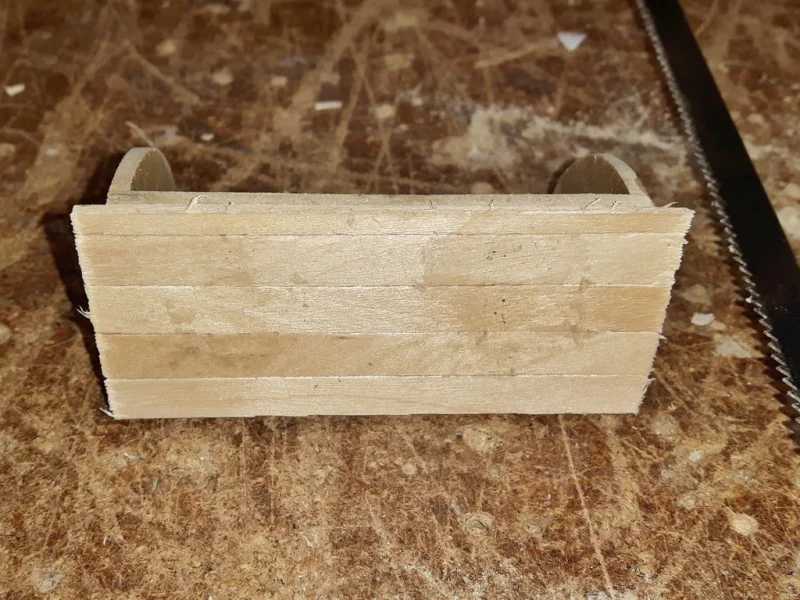
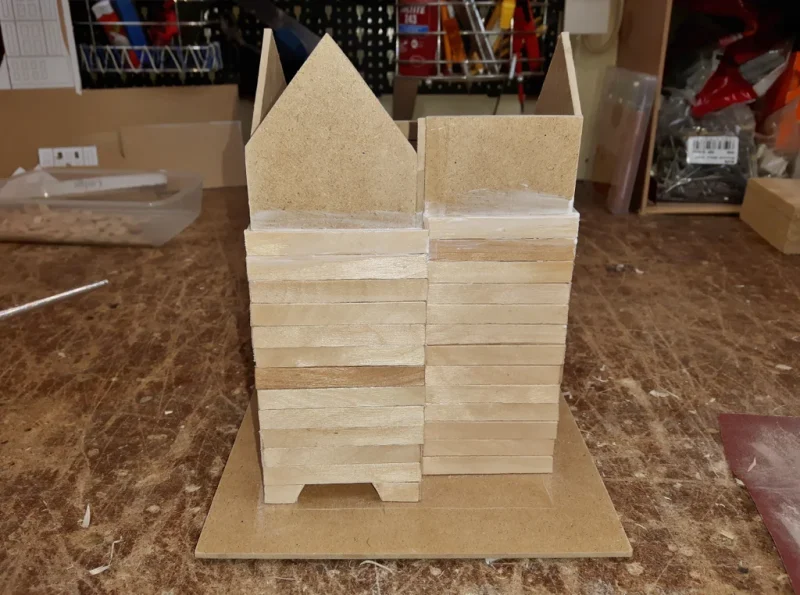
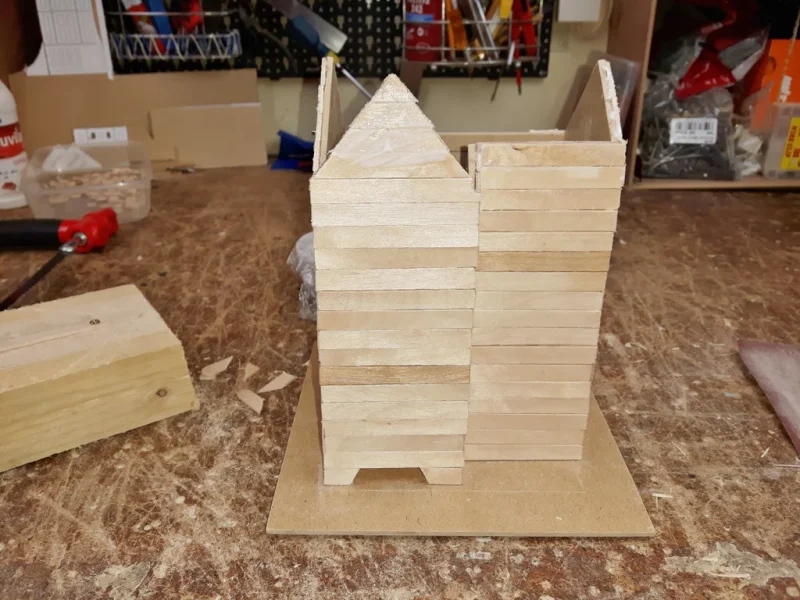
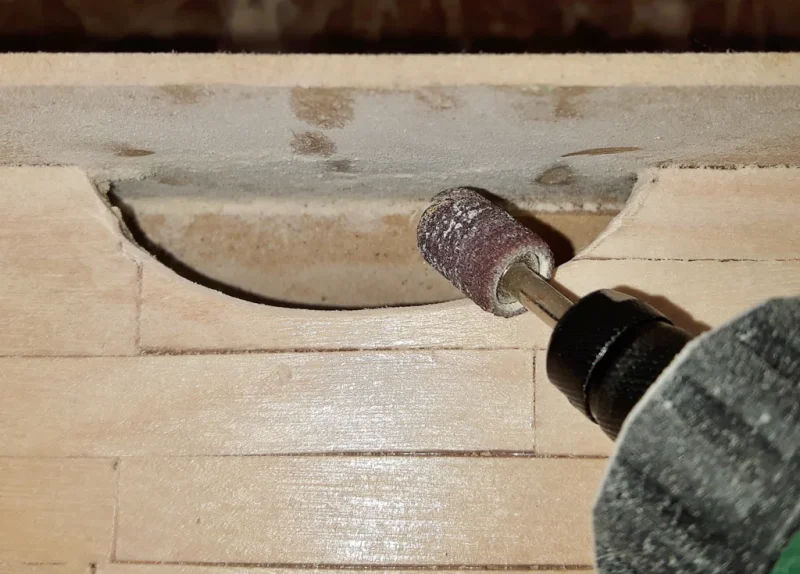
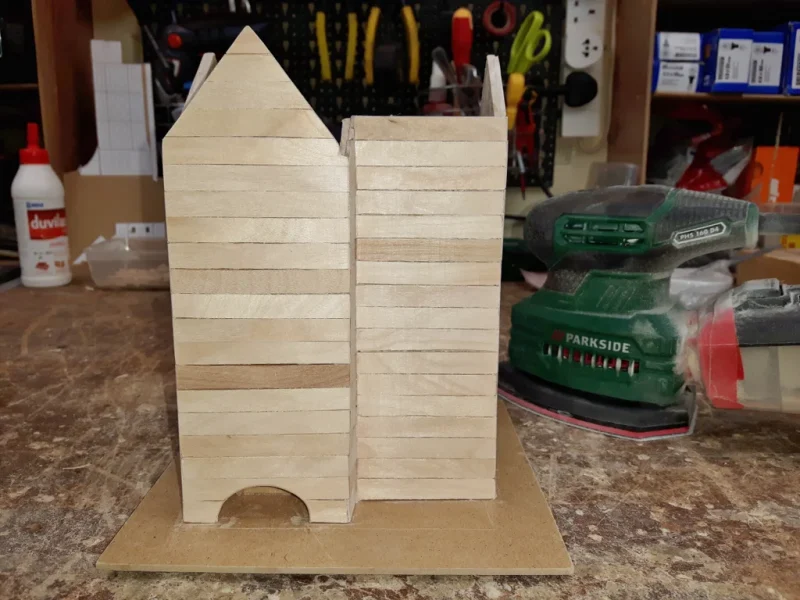
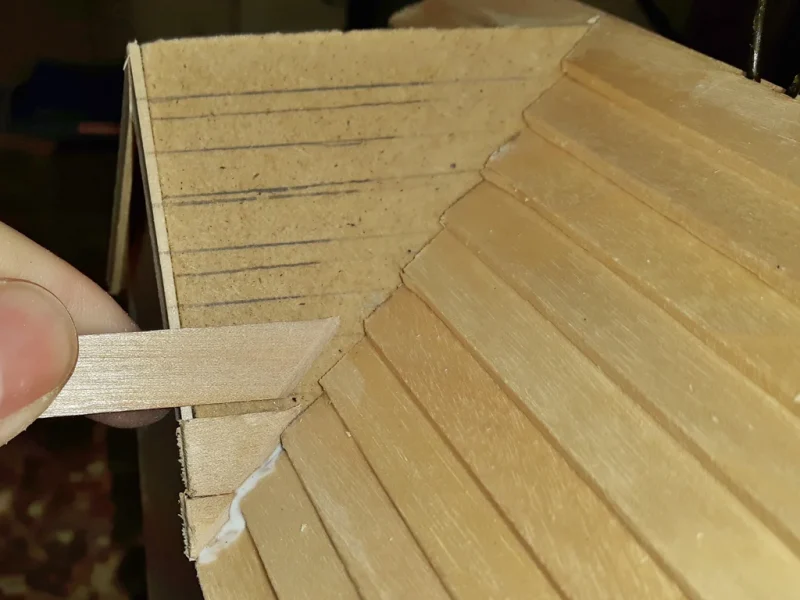
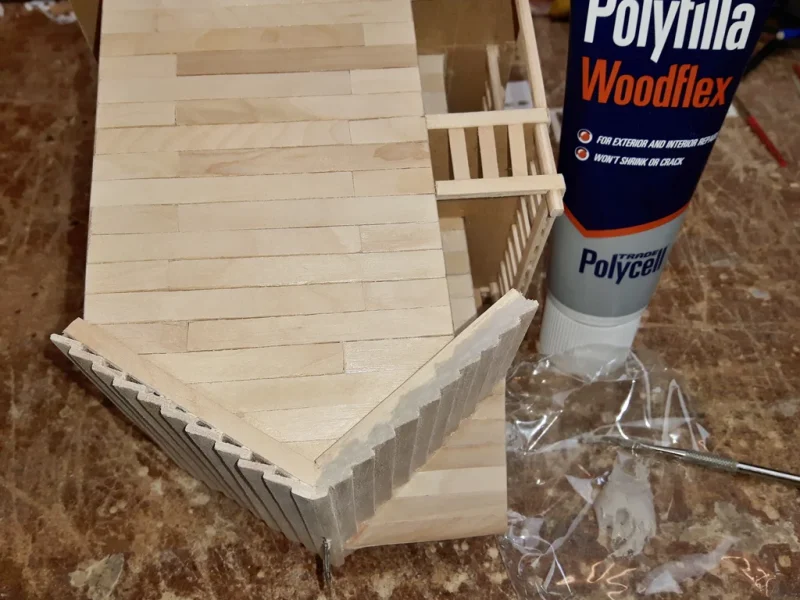
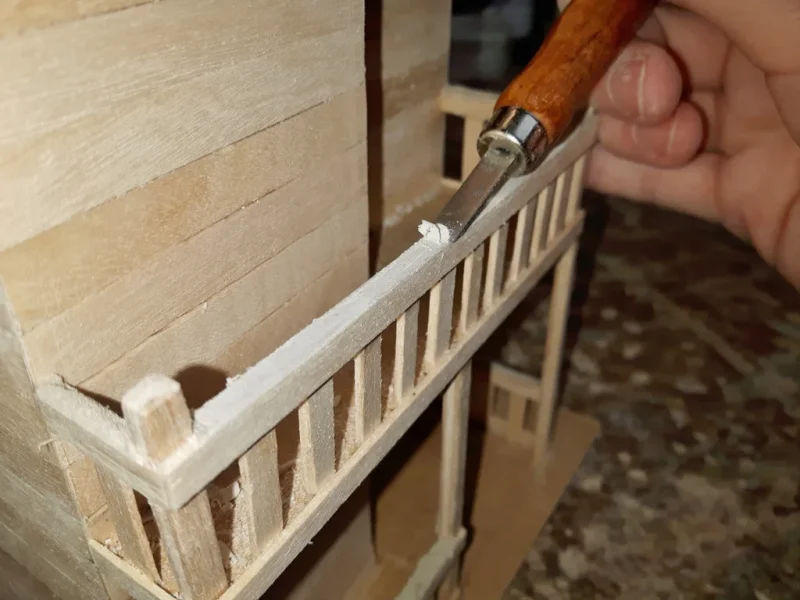
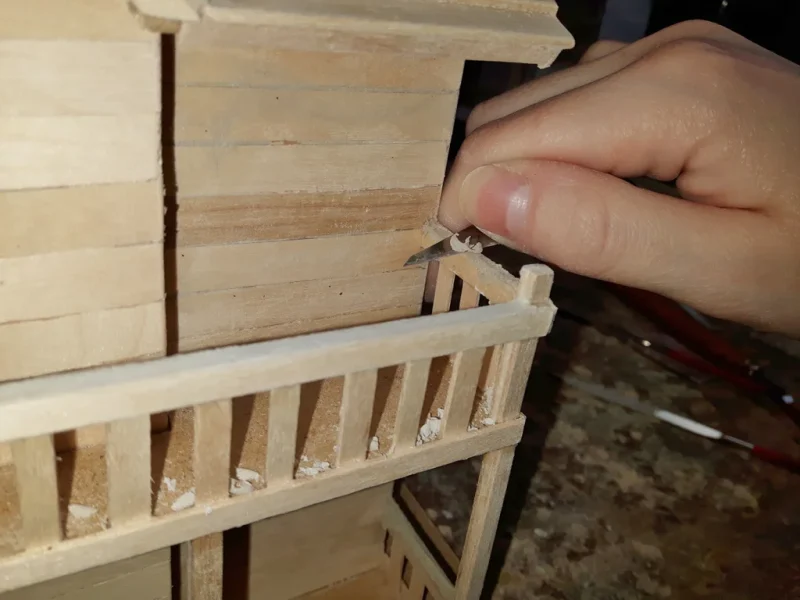
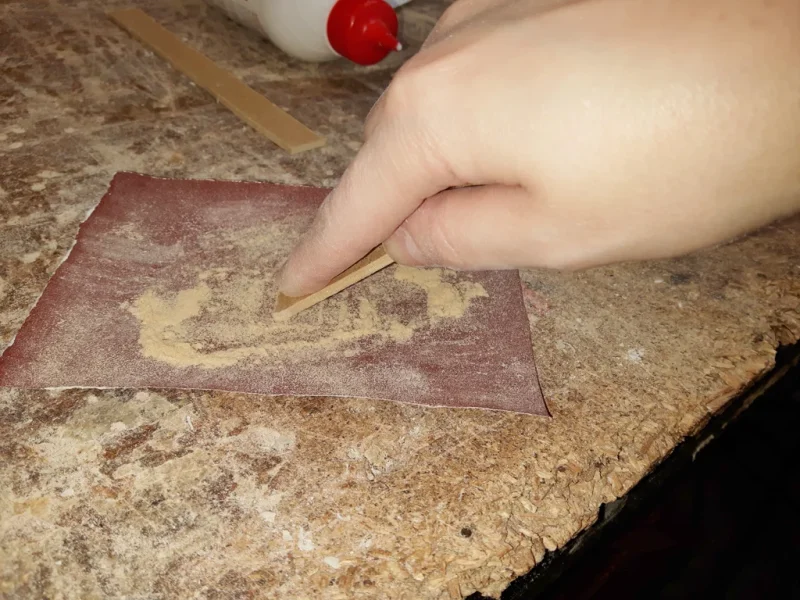
Carry on gluing and cutting lollipop sticks as required. When you get to the hinge remove the flap and cut the sticks into a required length. Hollow out the back side of the lollipop sticks with a small chisel, glue in and secure with clamps. Glue some sticks to the back flap and let them dry. Cut into required length with hacksaw and screw the flap back in. Carry on as before.
Step 7: Roof
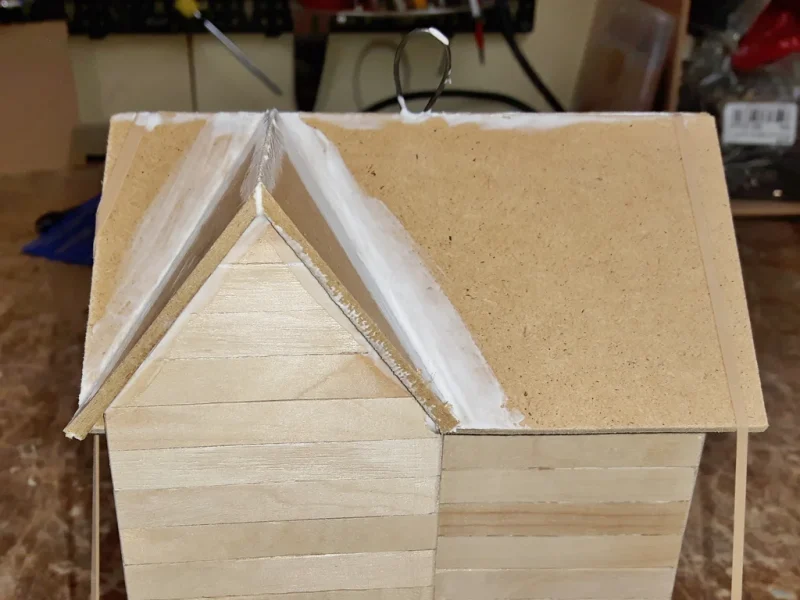
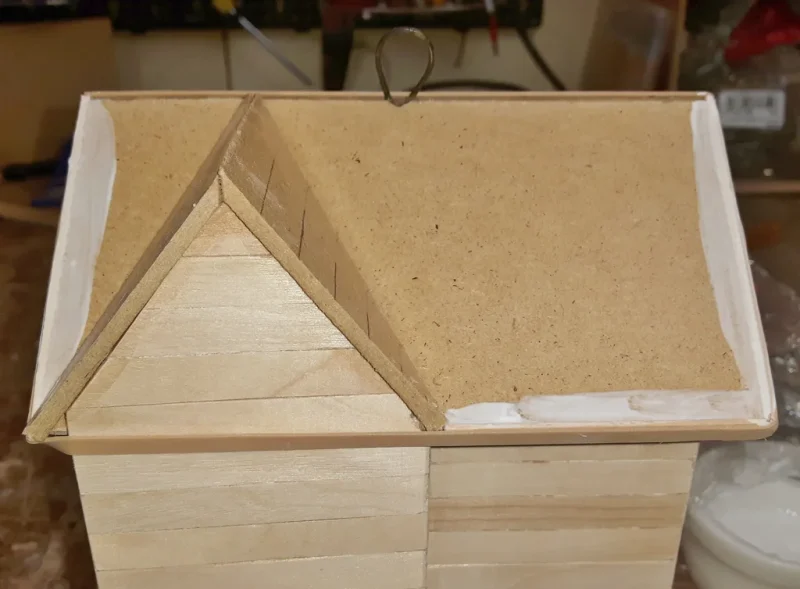
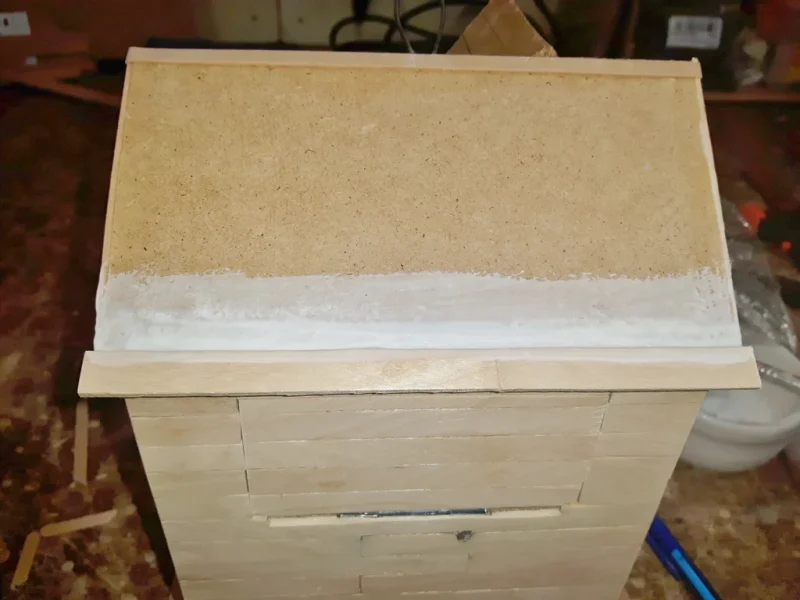
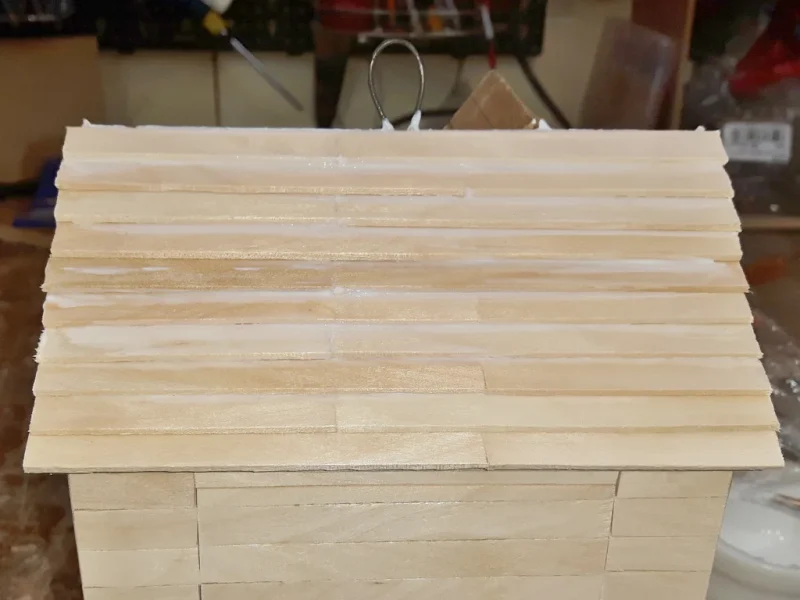
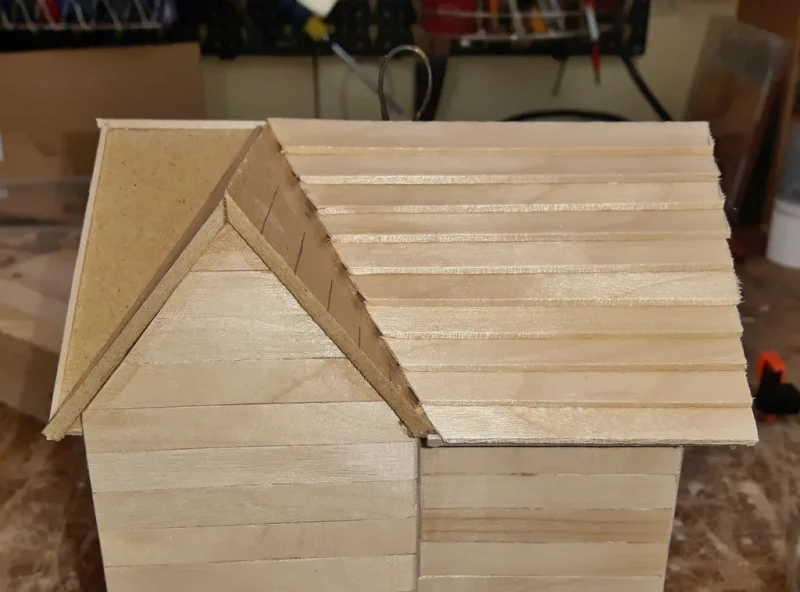
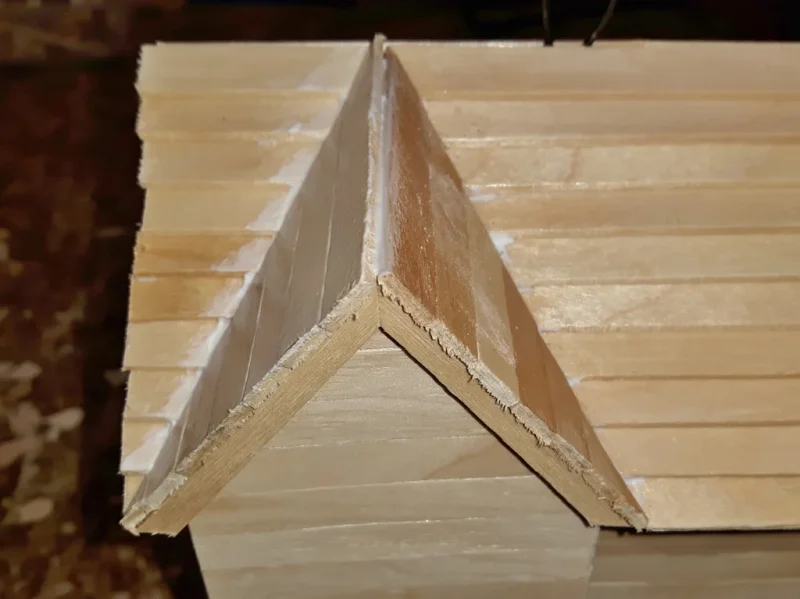
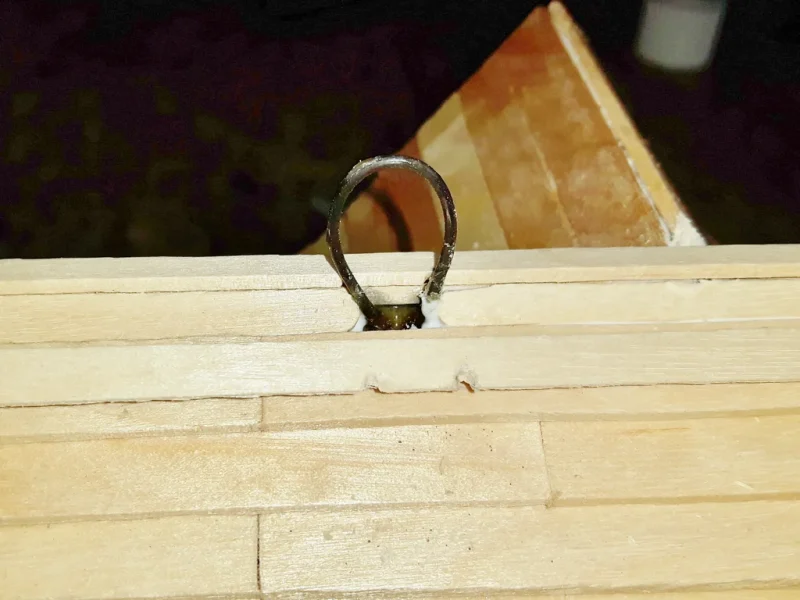
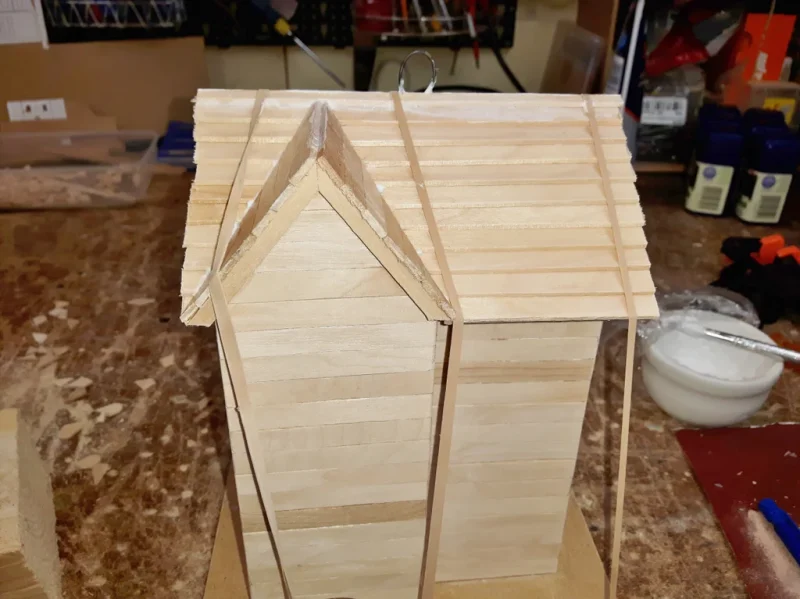
File a couple of small groves in the roof pieces for the wire to go through. Glue the two roof pieces to the top of the walls and secure with rubber bands. Cut and glue coffee stirrers to the edges of the roof. Carry on gluing lollipop sticks to the roof. For the two large pieces of the roof I decided to layer the lollipop sticks and the smaller roof was done in a same way as the walls. Attach another couple of coffee stirrers to the very top of the roof where the lollipop sticks join.
Step 8: Balcony
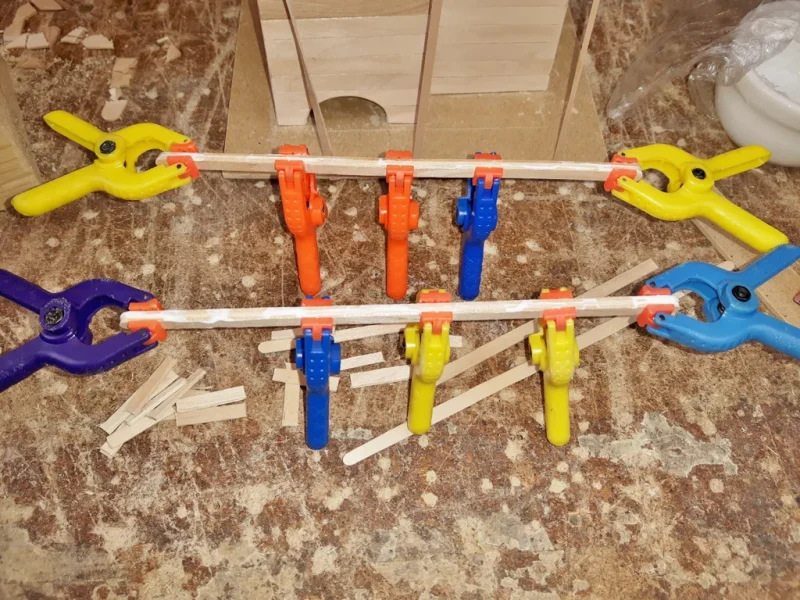
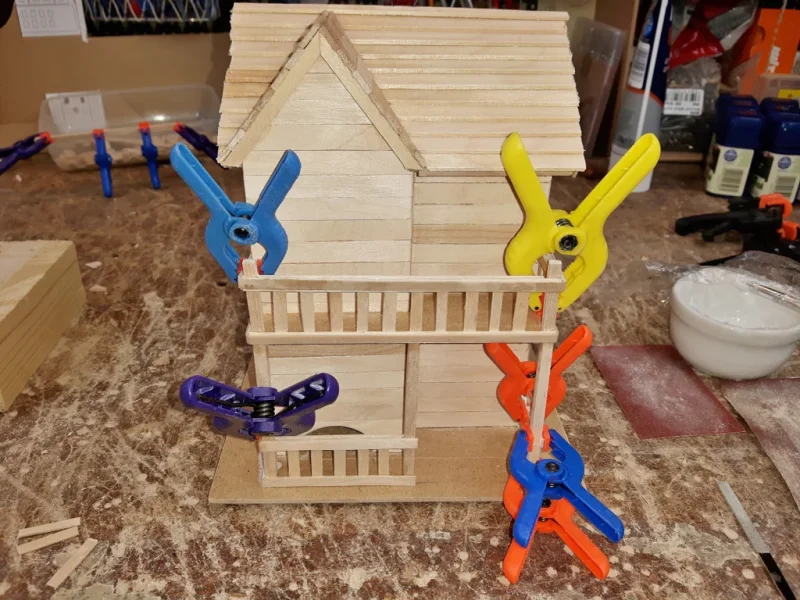
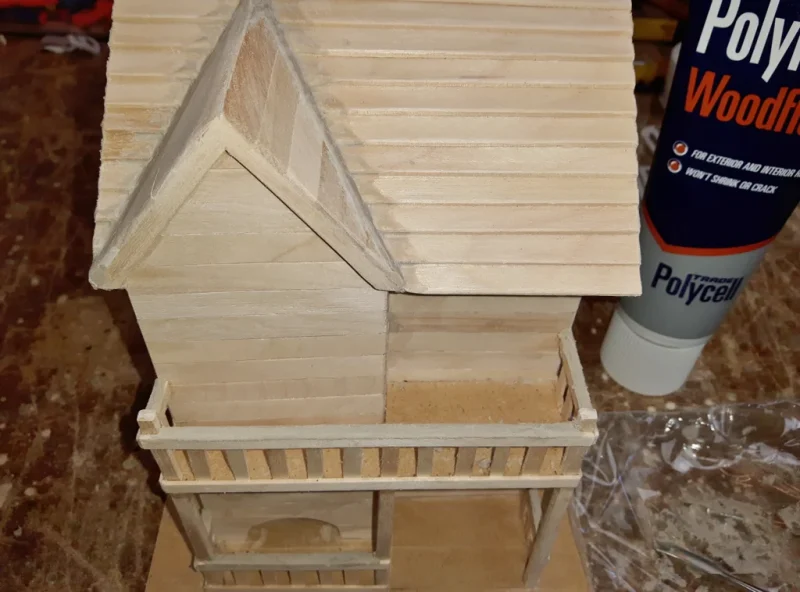
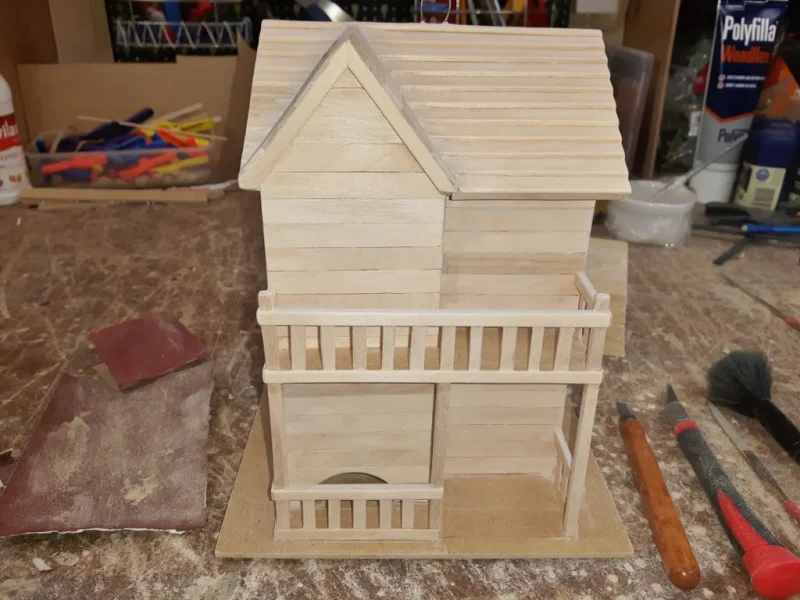
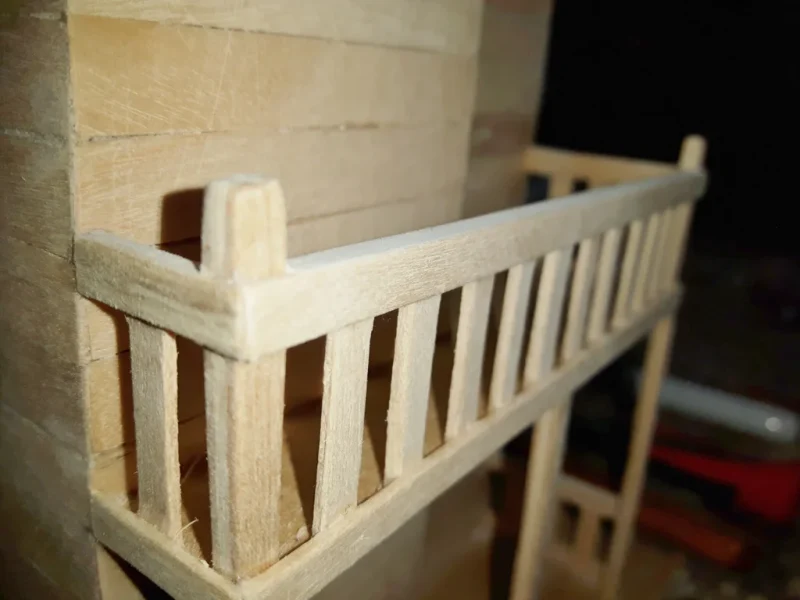
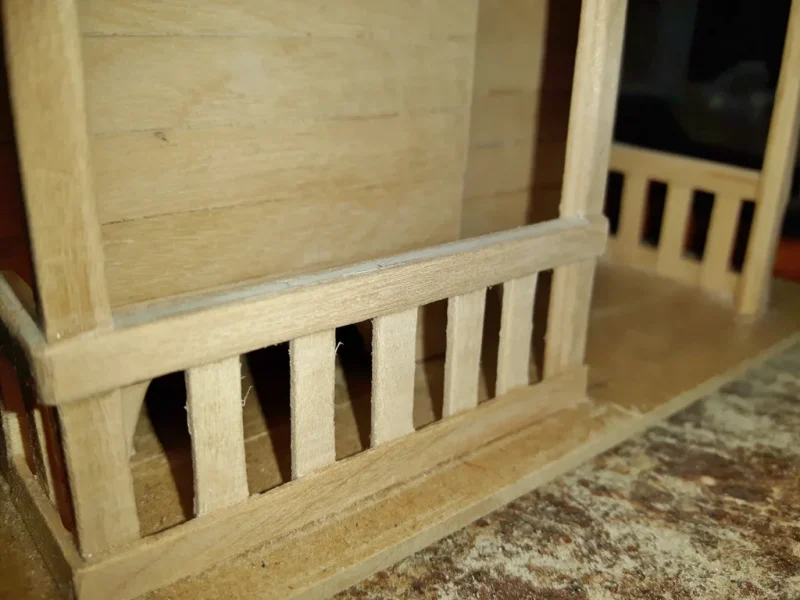
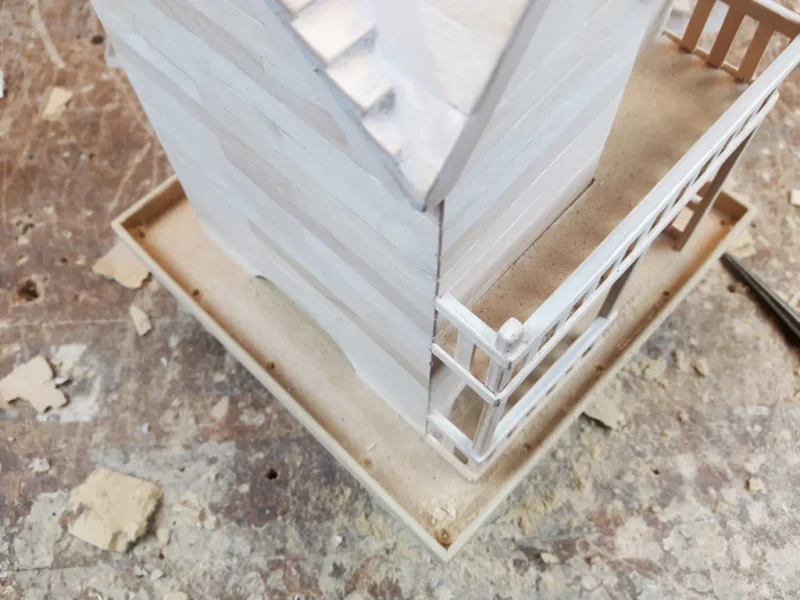
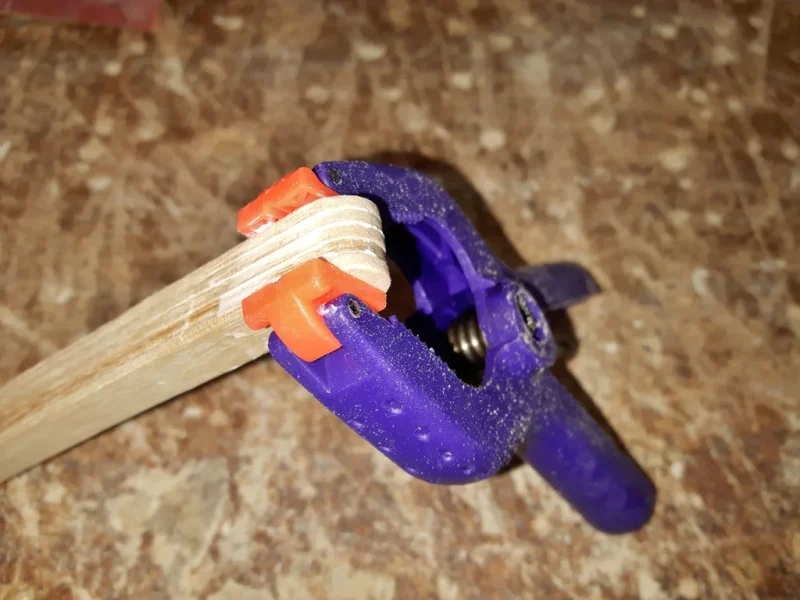
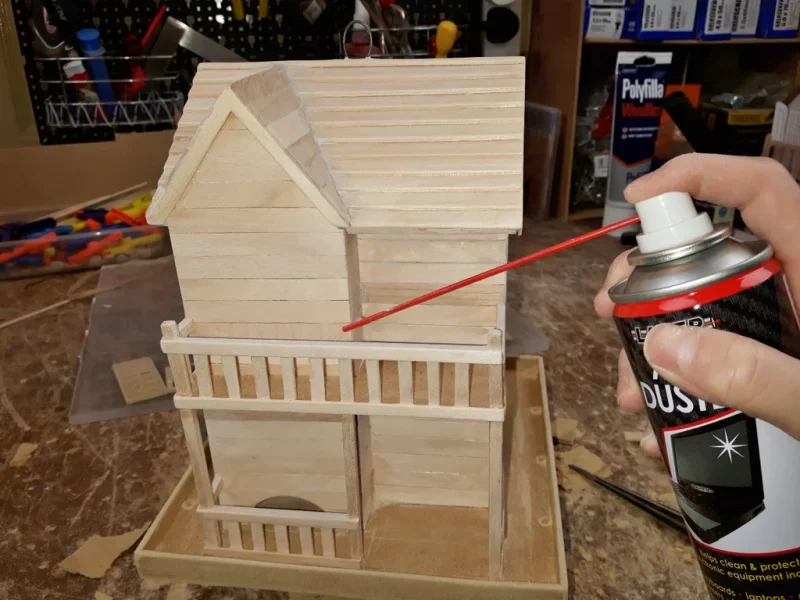
Glue together 3 coffee stirrers twice, secure with clamps and let them dry. Cut them into 3 roughly 8cm pieces and glue in with the balcony.
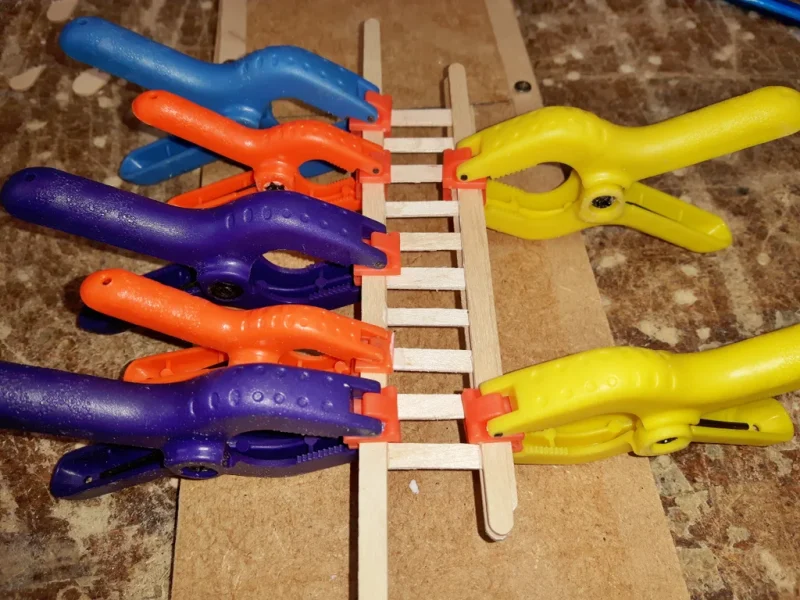
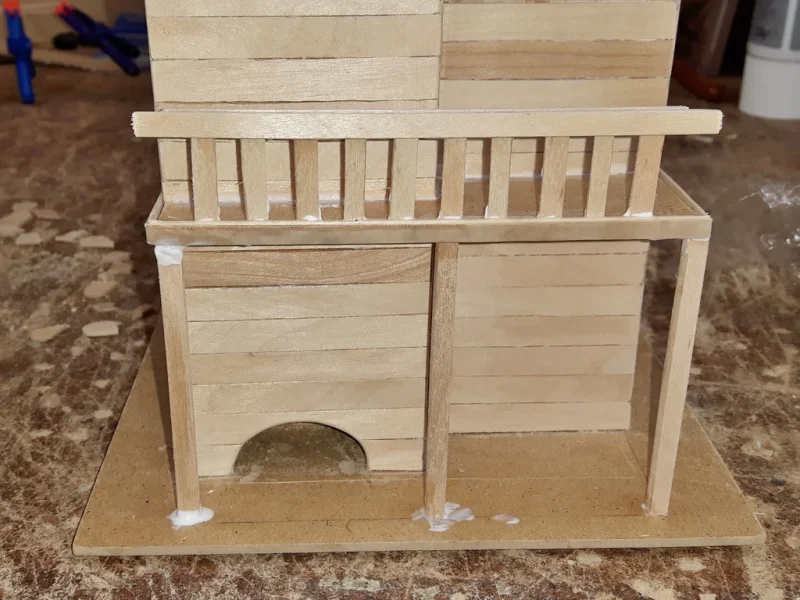
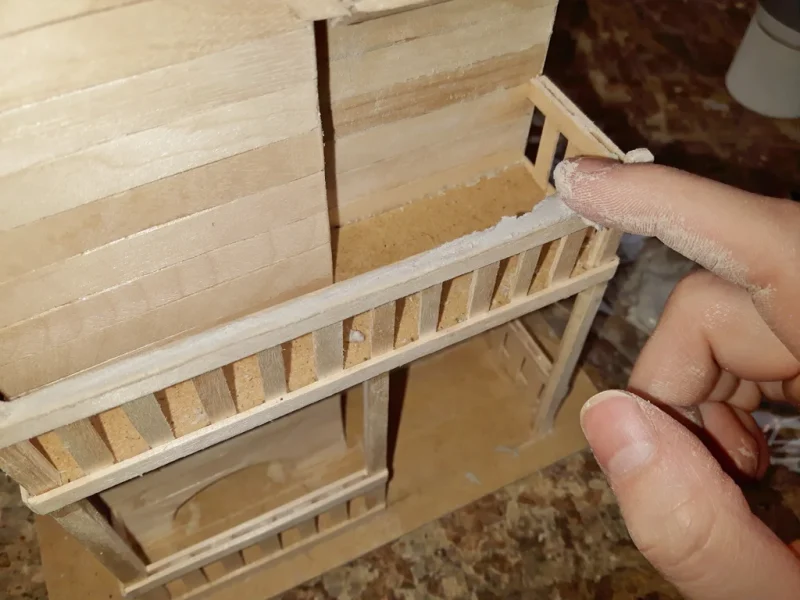
Cut a few stirrers into approximately 2.7cm long pieces. Glue 10 smaller pieces in between 3 stirrers, 2 for the top and 1 for the bottom (leave a gap about 3mm wide between the edge of the bottom stirrer and the ends of the short ones) secure with clamps. Attach the railing to the balcony edge with wood glue and secure with a rubber band. Do the same for side and bottom railings. Secure with clamps or rubber bands wherever you can.
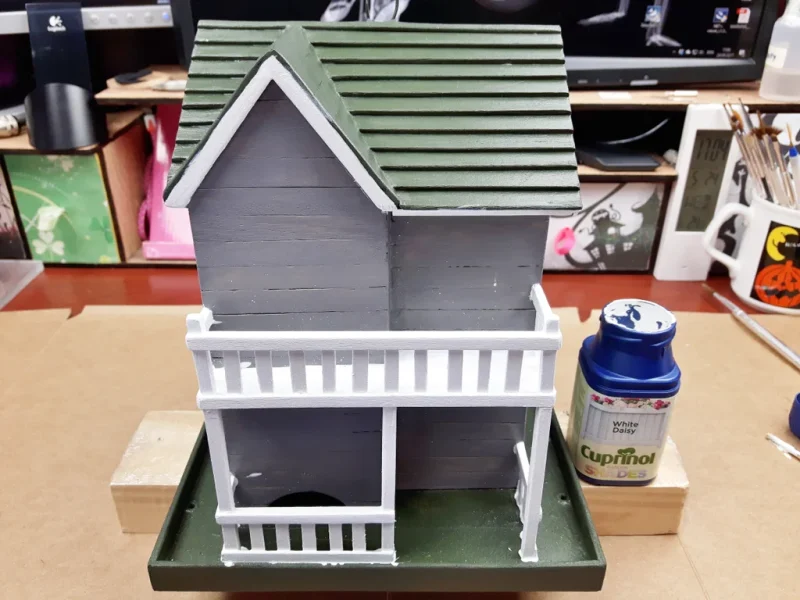
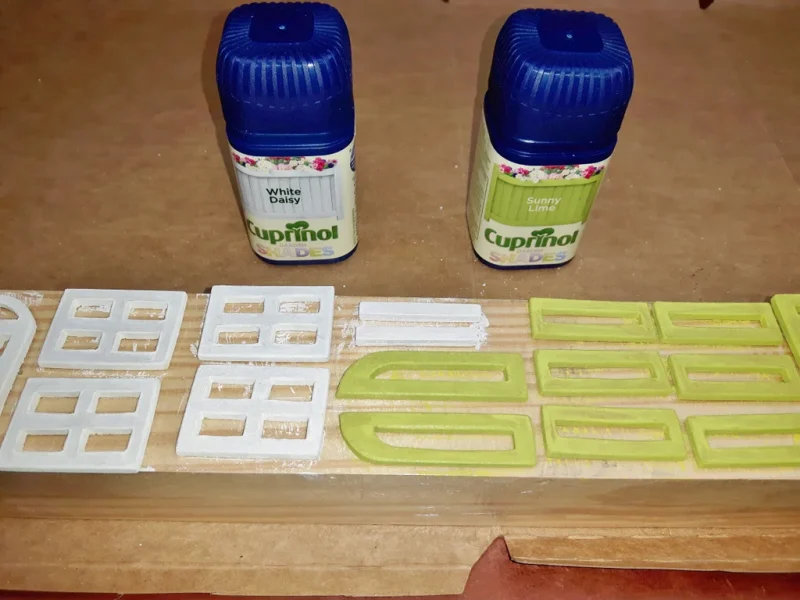
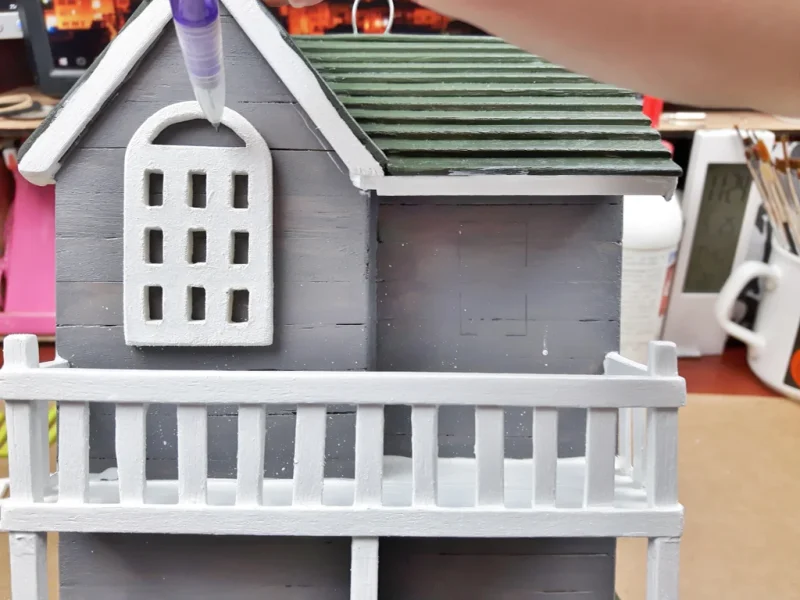
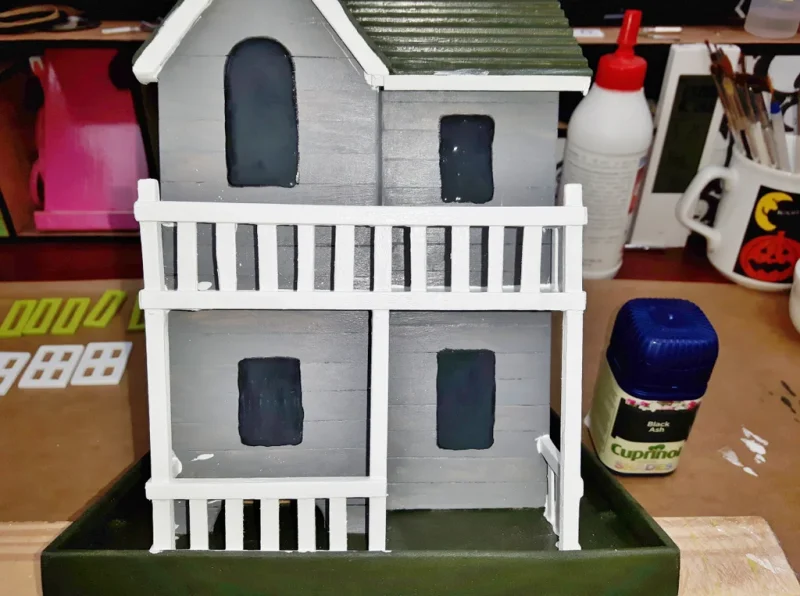
Step 12: Painting
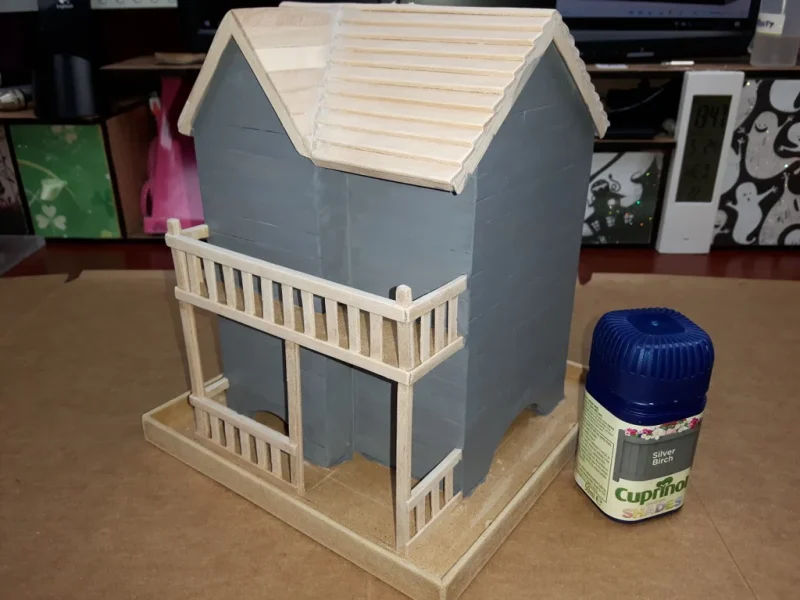
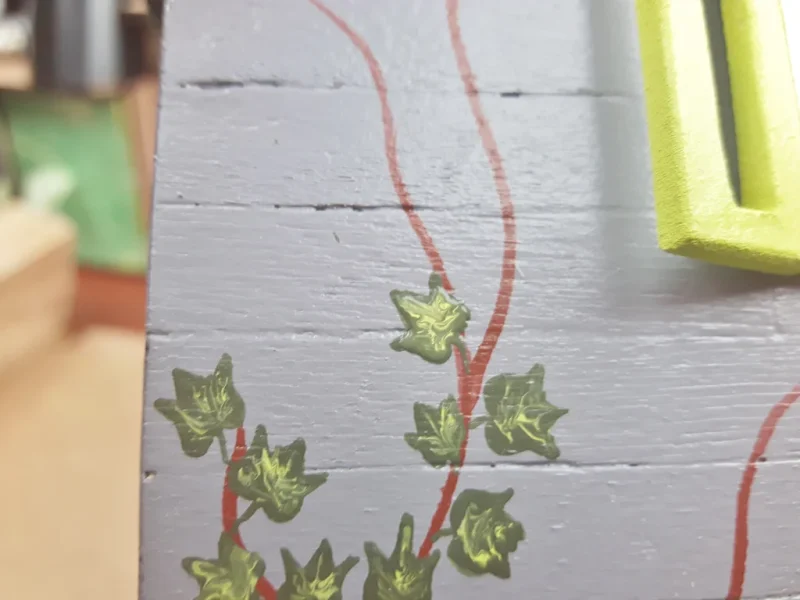
I’ve made a couple of bird feeders in past and both times I used exterior lacquer. Even though the finish was beautiful, it would only last a year due to the weather. So this time round I decided to try something different and bought a few samples of the garden furniture wood paint in different colours. I’m not sure how long it will last, but at least should be easier to repaint if / when necessary.
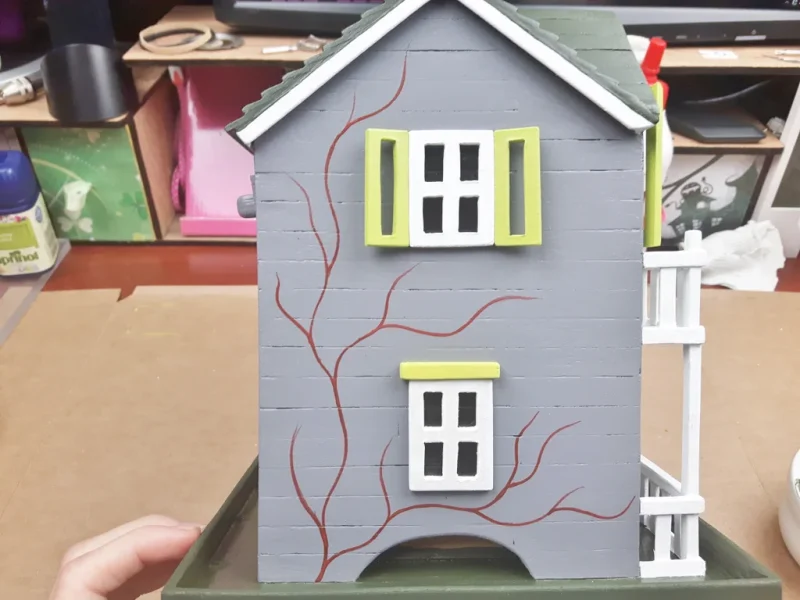
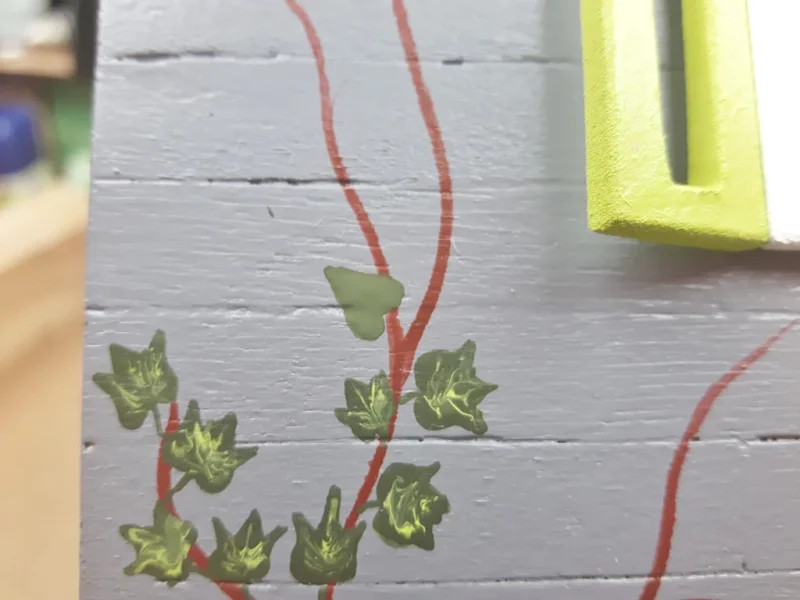
The painting is not difficult, just do it in whatever colour you fancy and be prepared to give it a few coats.

Third Prize in the
Outside Contest 2017

