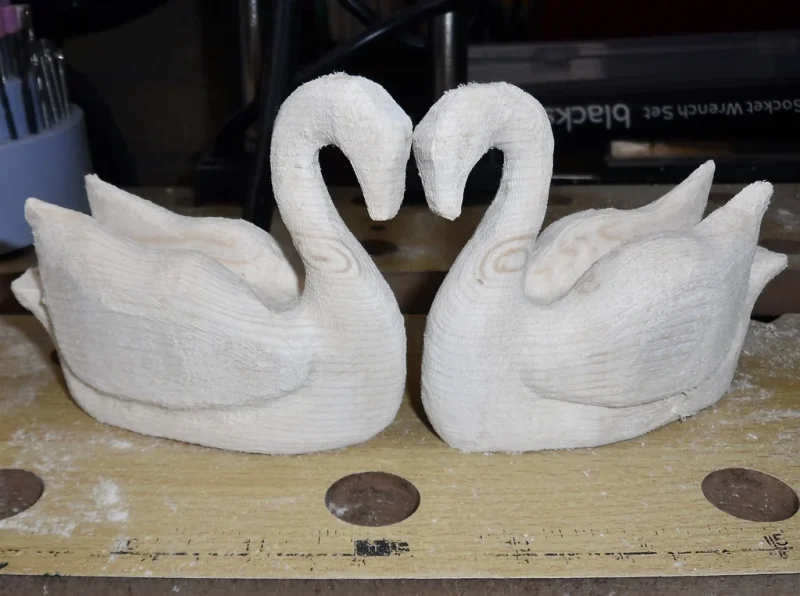
Wood Carved Swans
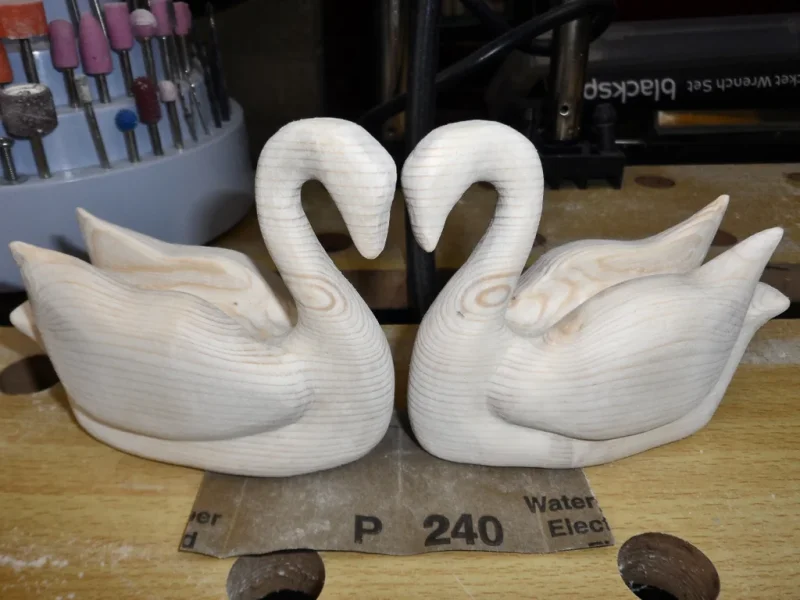
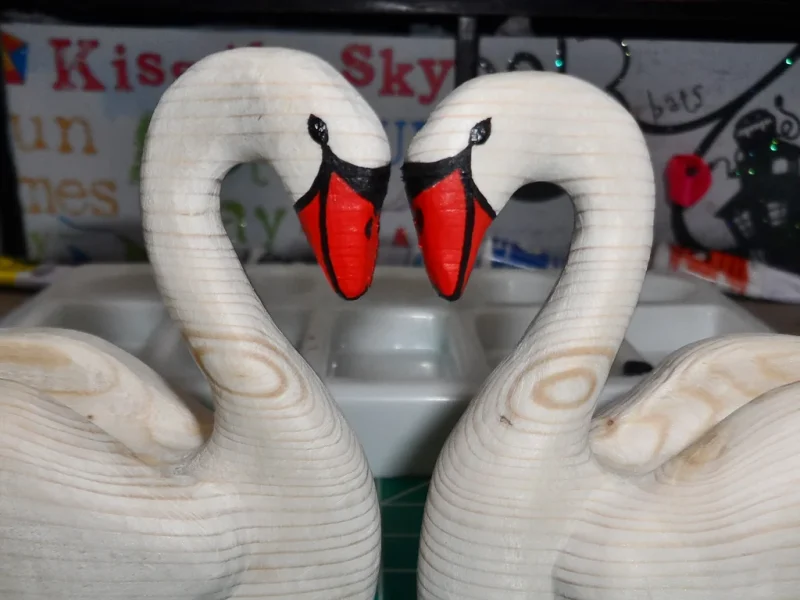
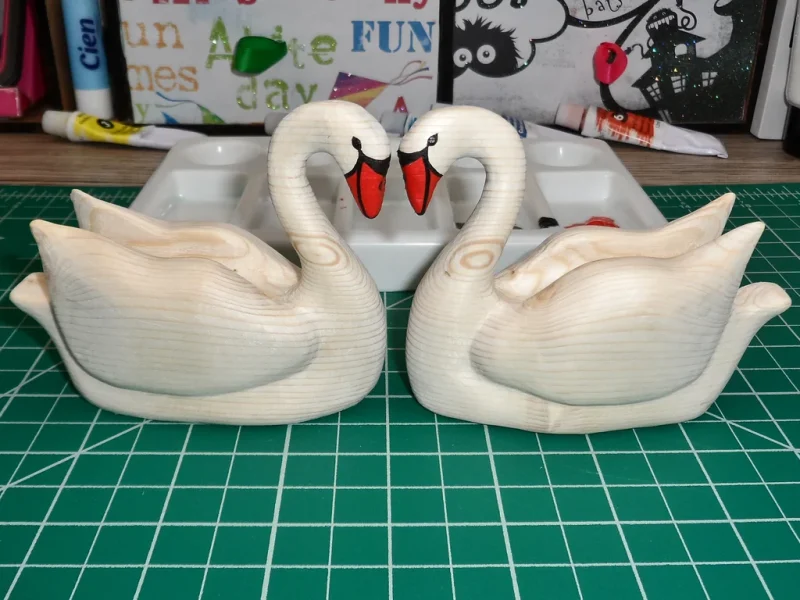
Myself and my partner had been invited to two weddings this month and I really wanted to make our friends a little reminder of their big day. One of the wedding invitations had beautiful hand drawn swans on it & I though that maybe a couple of swans could make quite a suitable gift.
At this point I wasn’t quite sure on the material I want to use (I was considering clay) but ever since I won the Foredom K.5240 Woodcarving Kit in the Plastic Contest (HUGE THANK YOU INSTRUCTABLES) I wanted to try it. And so the material was decided on.
I had never really done any woodcarving before apart from the heart pendant so I wasn’t sure how it might turn out once finished, but I thought as long as it vaguely resembles swans I could perhaps cover the mishaps with some accessories 😀
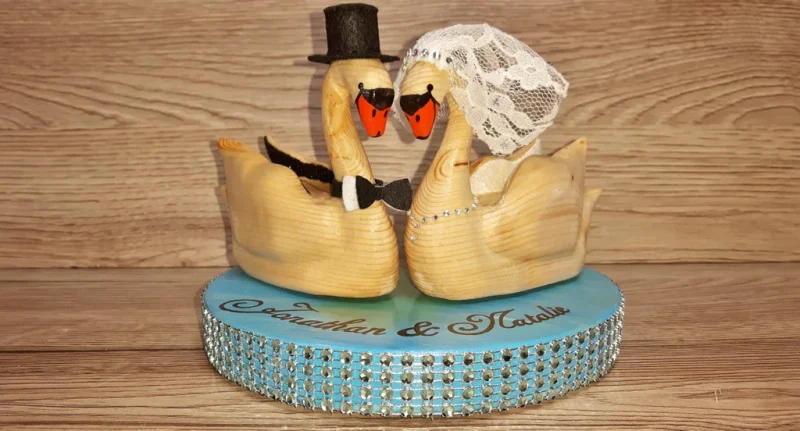
If you would like to see the first set of swan I made it’s the last photo in this step.
My Foredom Woodcarving Kit arrived with Frank Russell’s Power Carving Fur, Feathers, & Fins DVD which is well worth a watch. Especially the bit about safety and how to maintain control of carving bits 😉
Step 1: Template
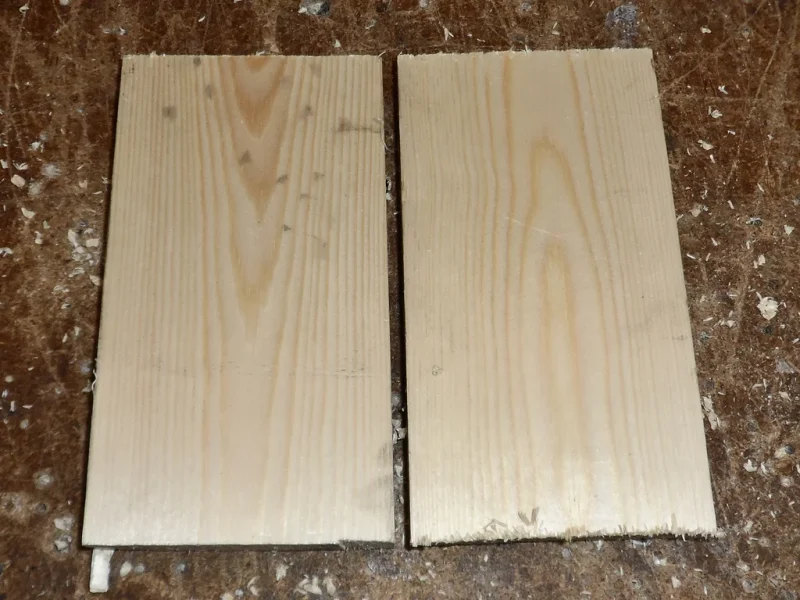
For this project I’ve decided to use a piece (100x44mm) of spare timber I had left over from another project.
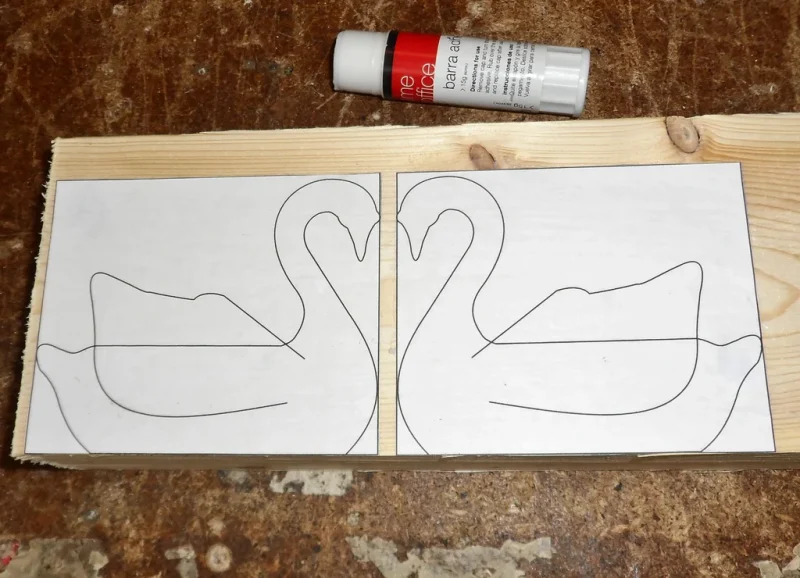
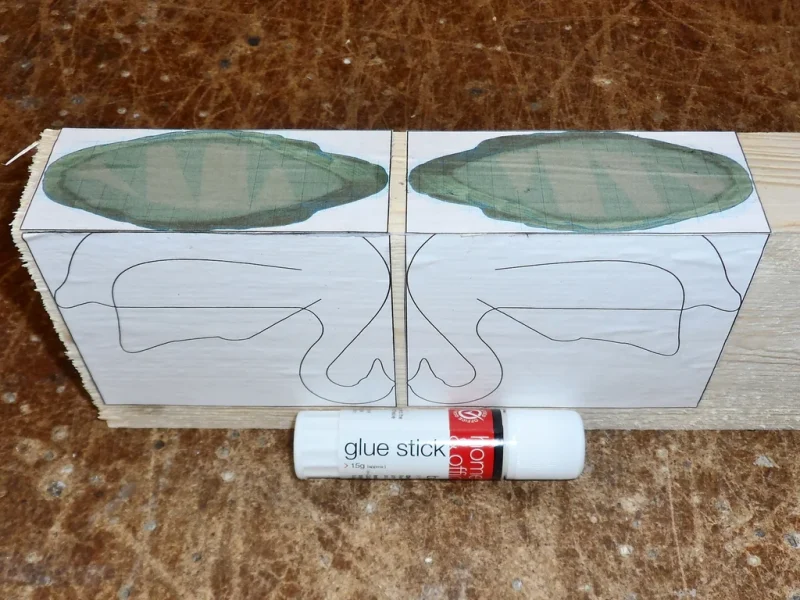
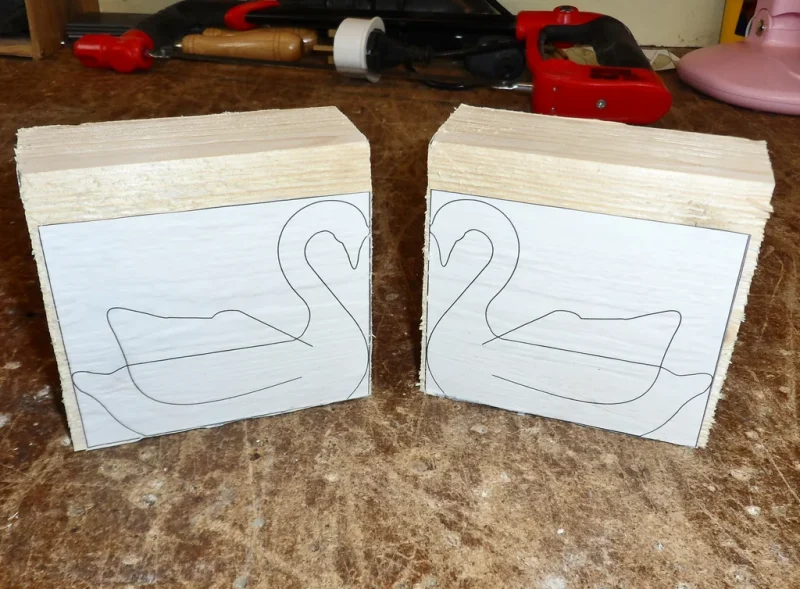
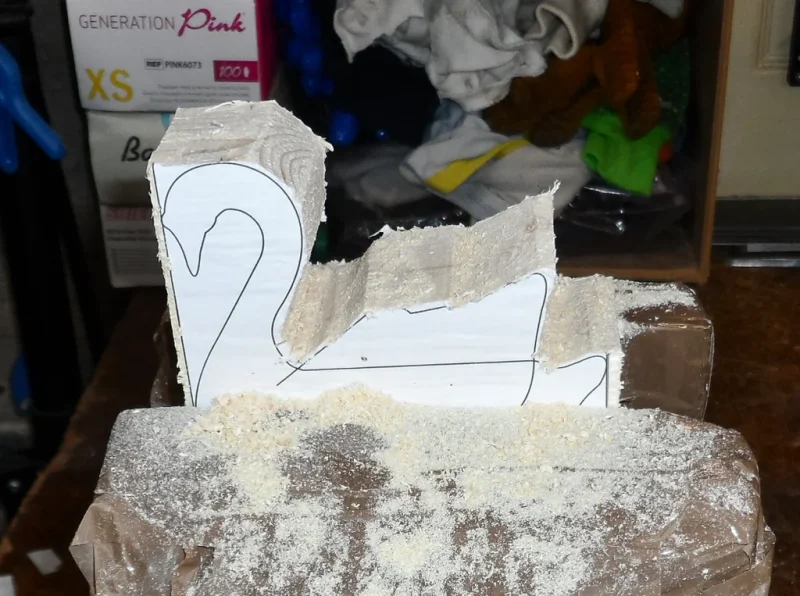
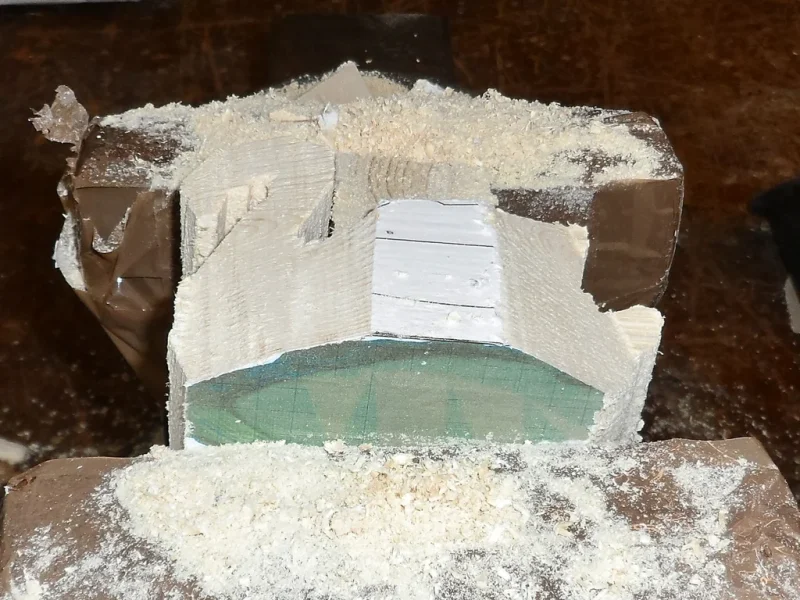
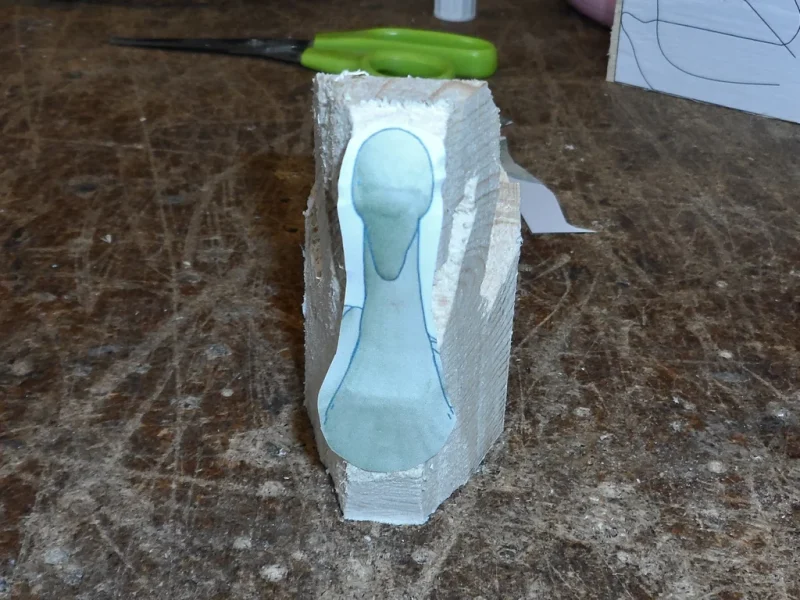
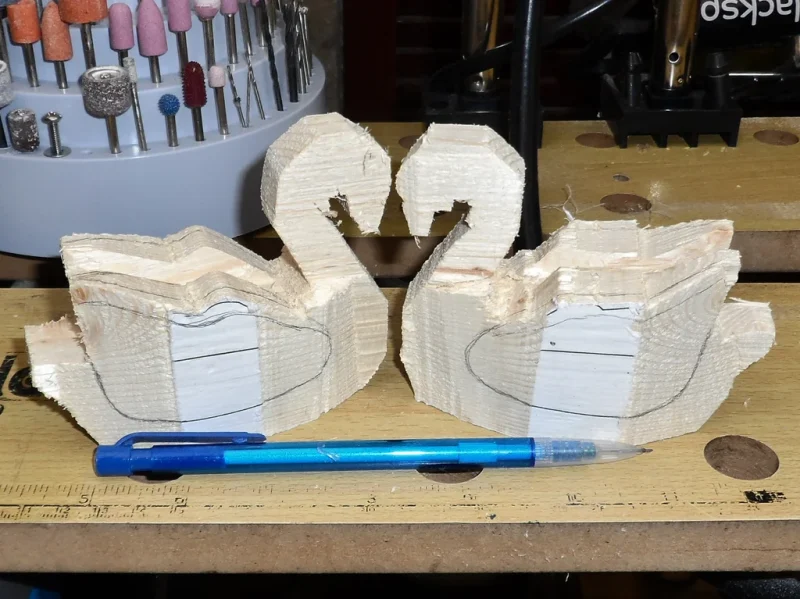
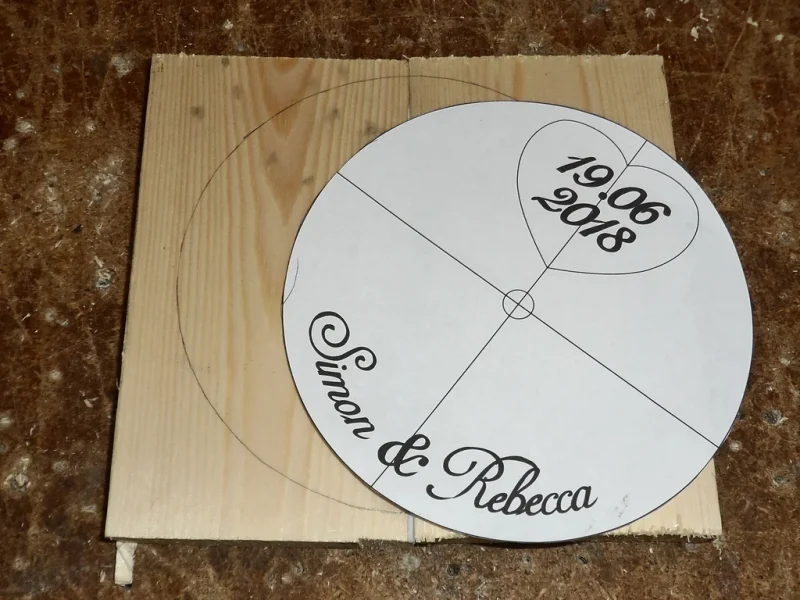
To start print out template for the swans and glue them onto the wood with a glue stick. If you own a band saw you would only need to glue one of the sides and the bottom of the template, but since I don’t have one I used a hacksaw. I glued on the other side as well to just make sure both sides are going to be roughly the same.
The template was created from a 3D model of a swan, I just slightly adjusted the head. If you would like to visit the original one you will find it here: https://www.thingiverse.com/thing:731686
Step 2: Cutting
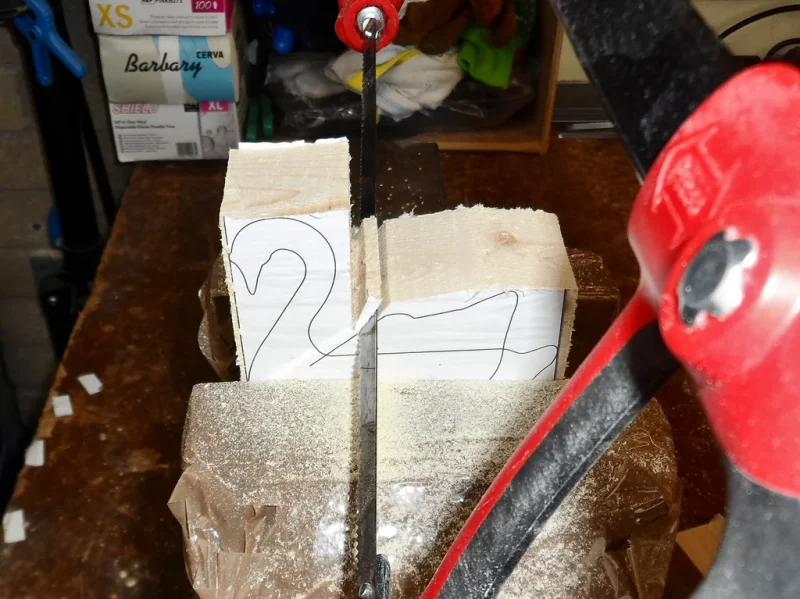
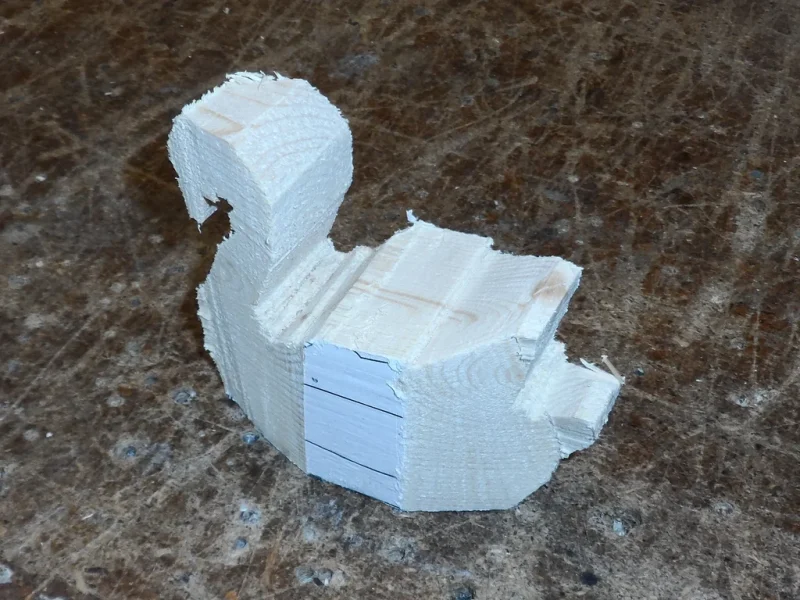
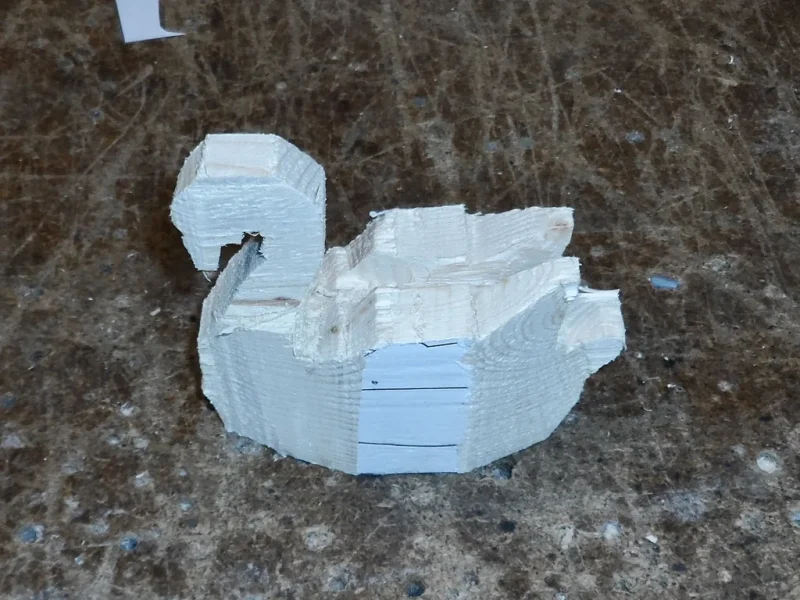
Like I mentioned before, this would’ve been much easier with a band saw, but since I don’t have one and my cheap jigsaw wasn’t having it due to the depth I settled for a hacksaw. It took a little while but I did manage to get the rough shape of a swan. I started by cutting the side followed by the bottom of the swan.
Step 4: Preparing for Carving
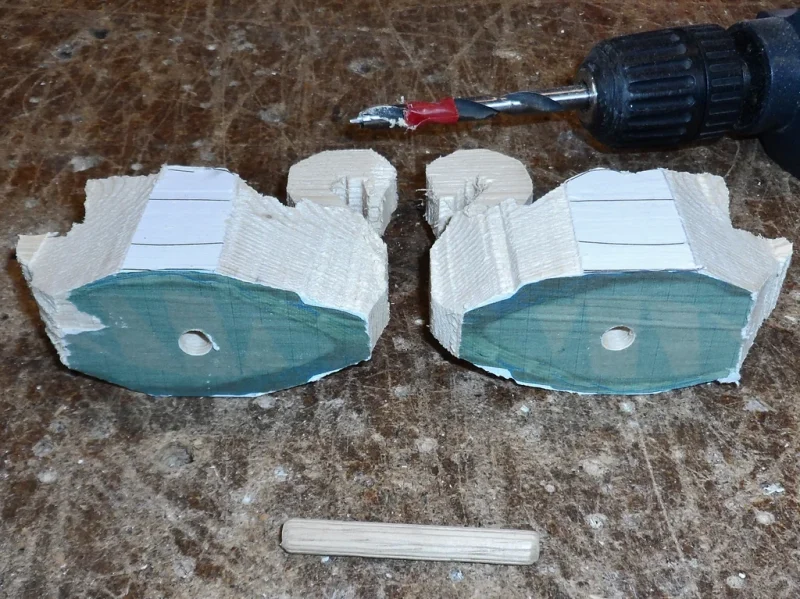
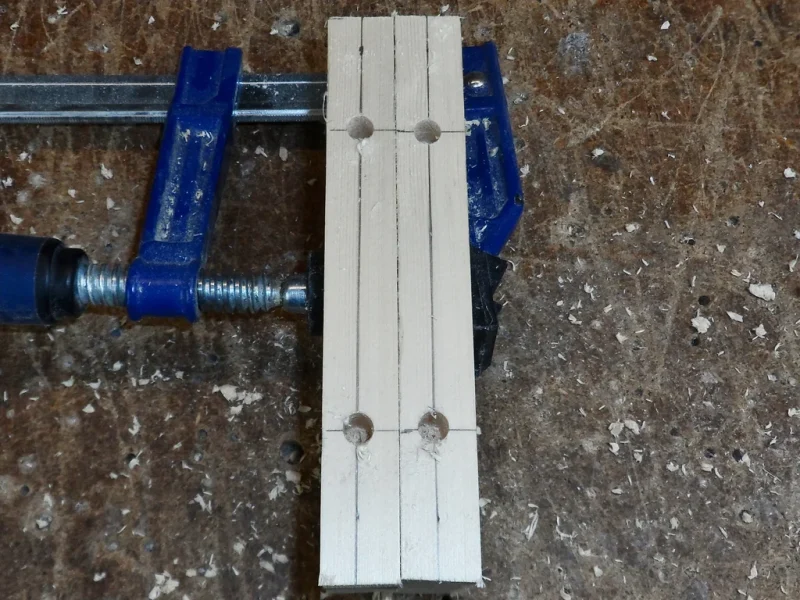
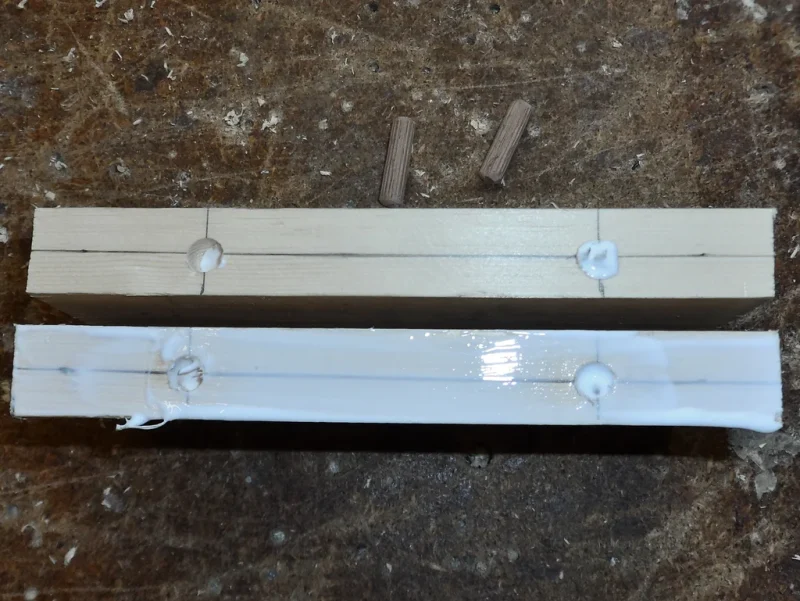
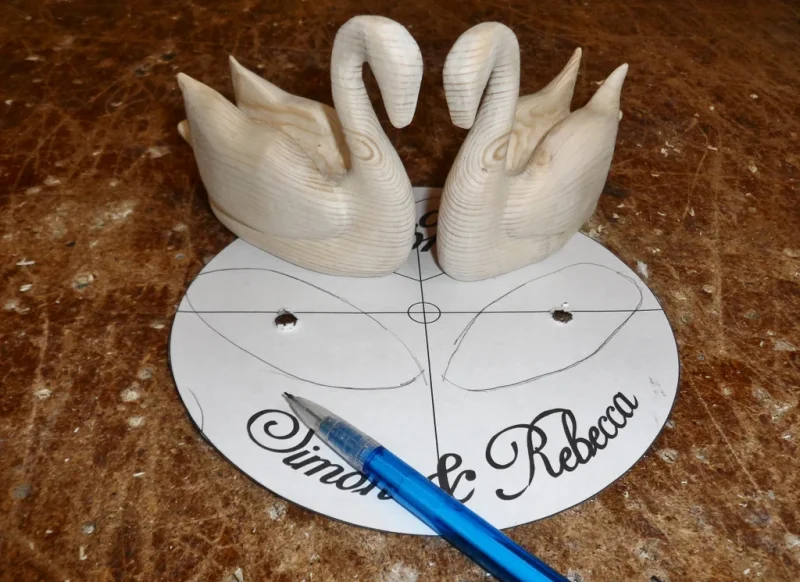
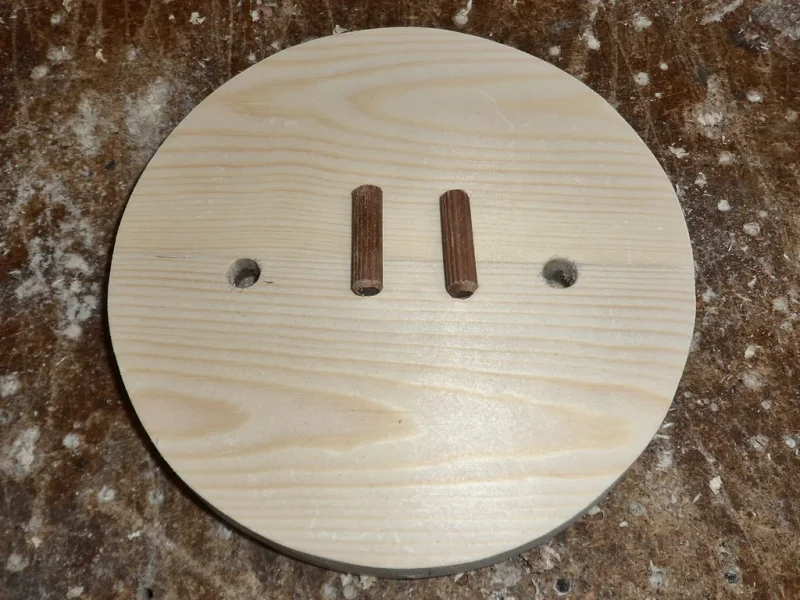
Drill holes in the middle of the bottom on each swan appropriate to the dowels you’re using. I used 6cm wooden dowel which I cut in half.
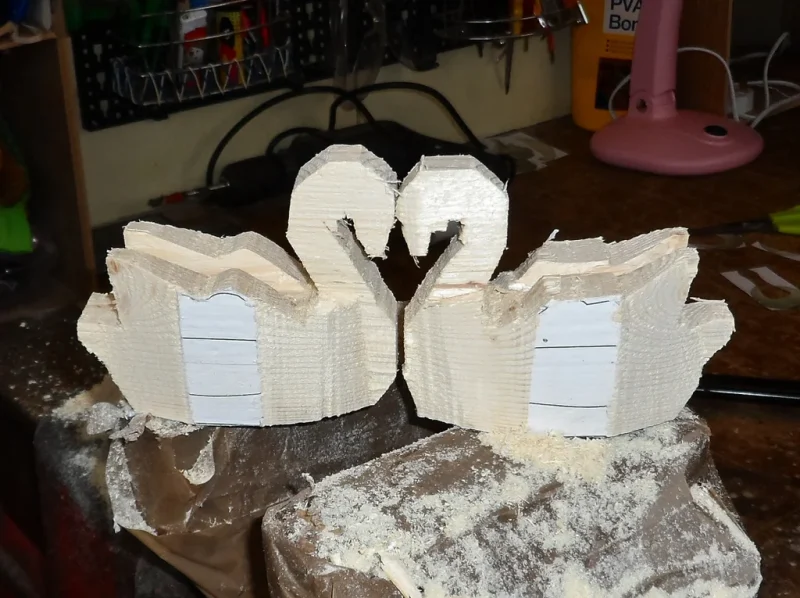
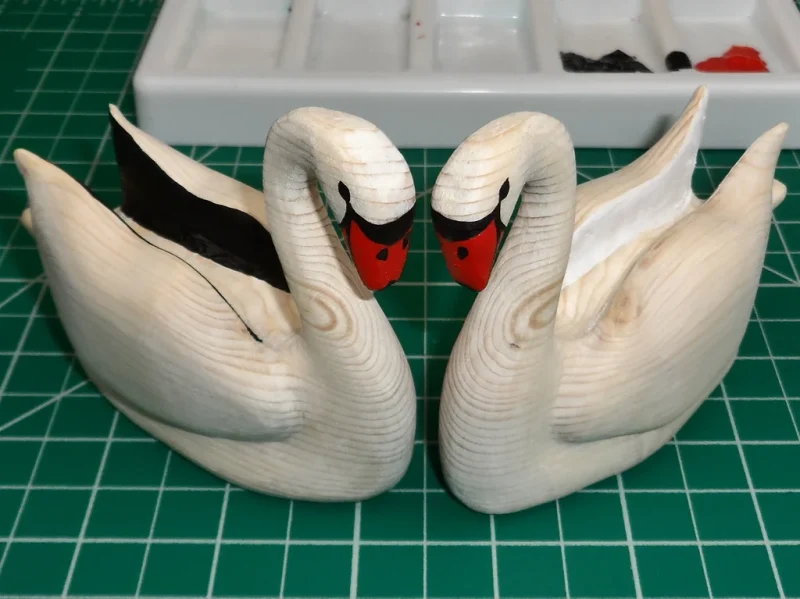
Roughly draw a line around the wings where you will be shaving off. I should’ve drawn a central line going along the piece, but I’d forgotten which I’ve slightly regretted later since I wanted the swans to be looking forward and one of them ended up with a slanted head.
Step 5: Rough Shaping
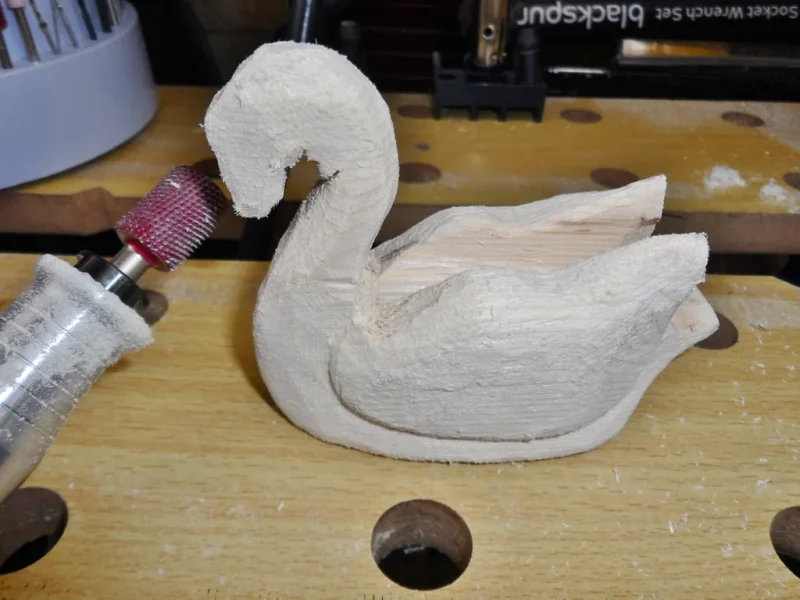
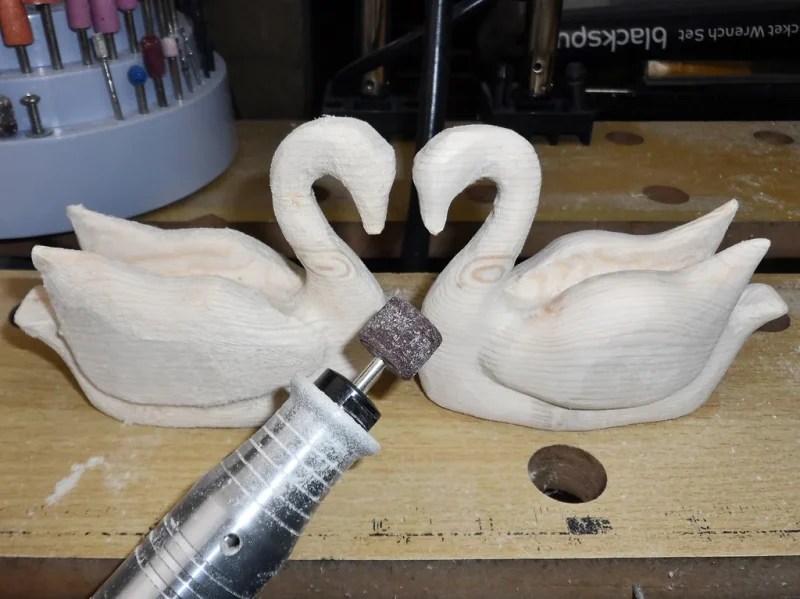
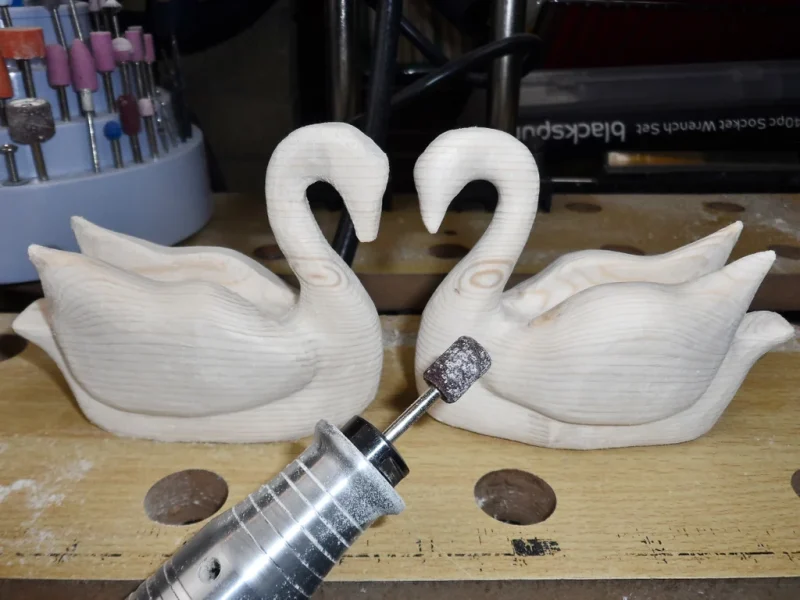
For this step I used the Foredom 1/4″ Typhoon cylinder and the 1/8″ Typhoon Round.
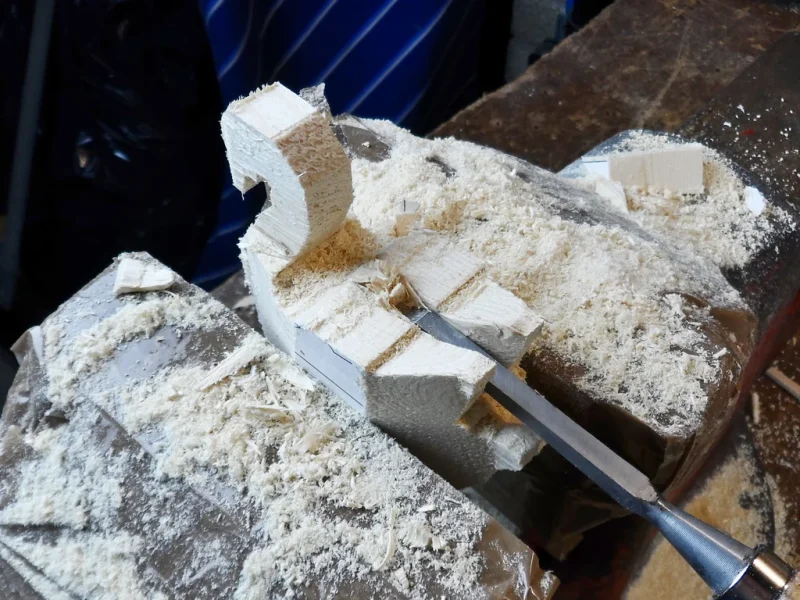
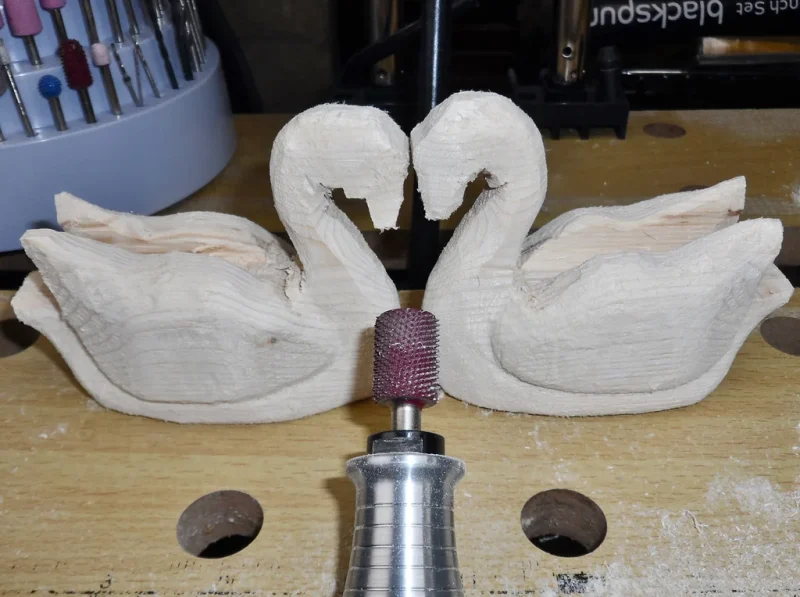
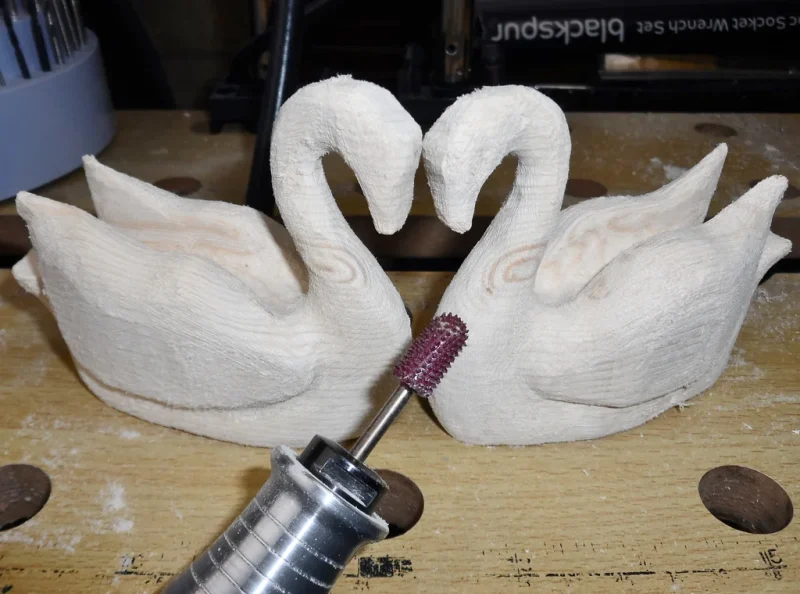
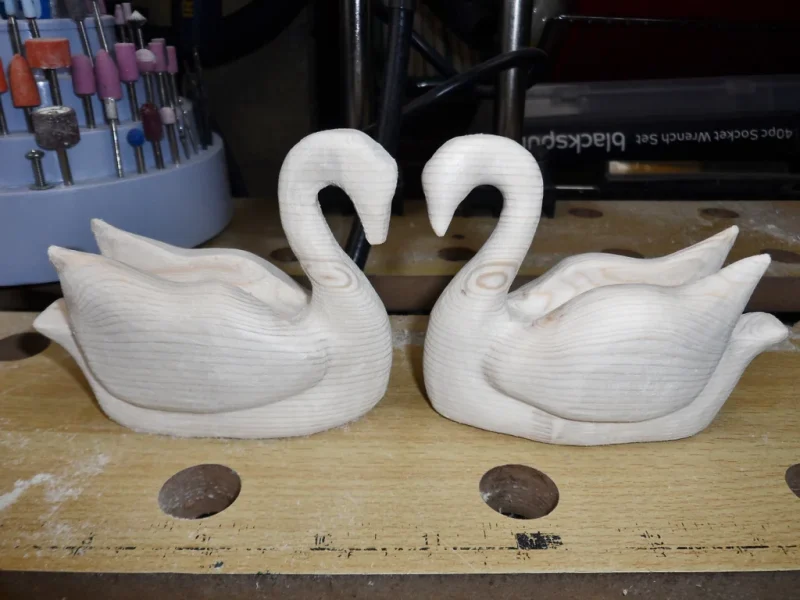
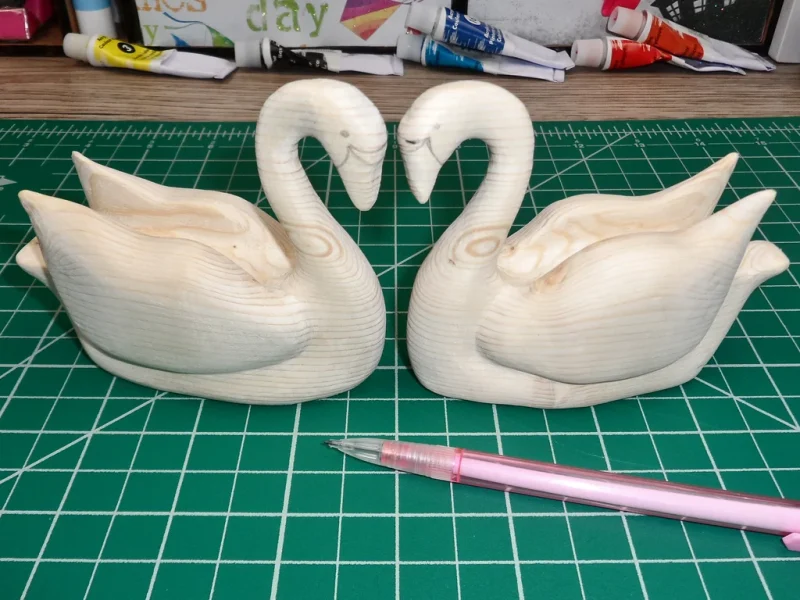
Start your carving by defining and rounding the wings, chest, tail and the bottom with the larger Typhoon. For all of the other bits I couldn’t get to with the larger Typhoon I used the smaller one, mainly around the head and in between the wings.
Take extra care when working on the neck part, I managed to decapitate one of the swans (the one on the left :D). If this happens to you don’t worry, just drill a small hole in the head and neck, stick a piece of a skewer in and glue them together.
Step 13: Top of the Base
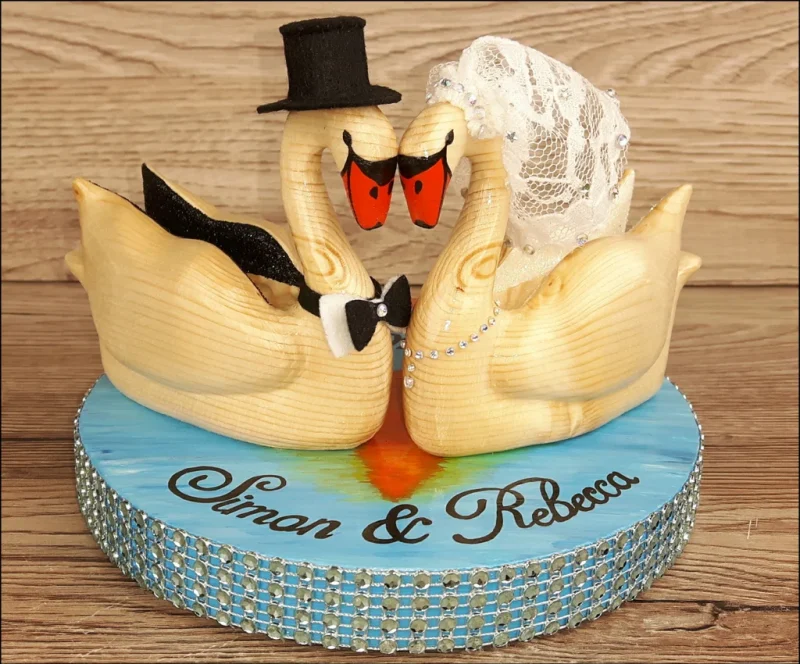
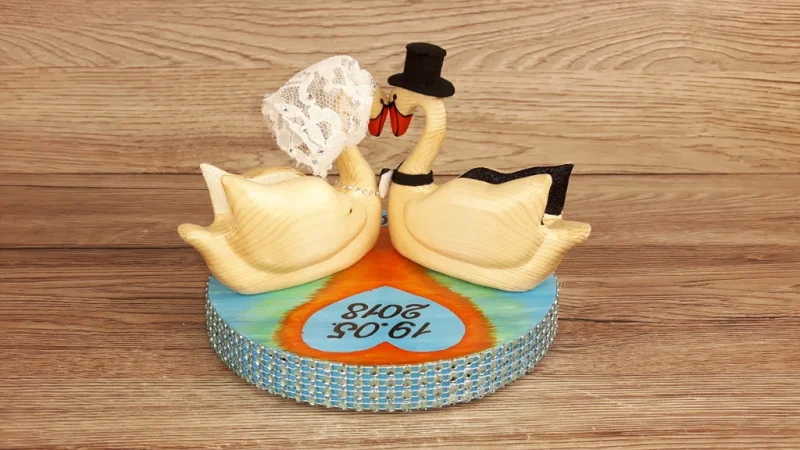
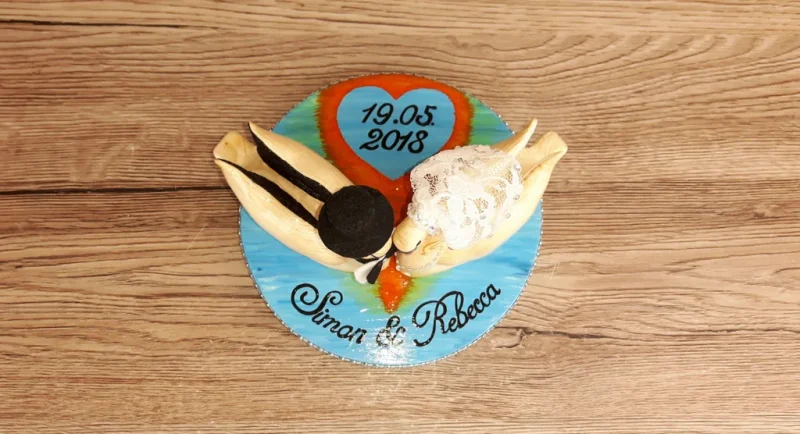
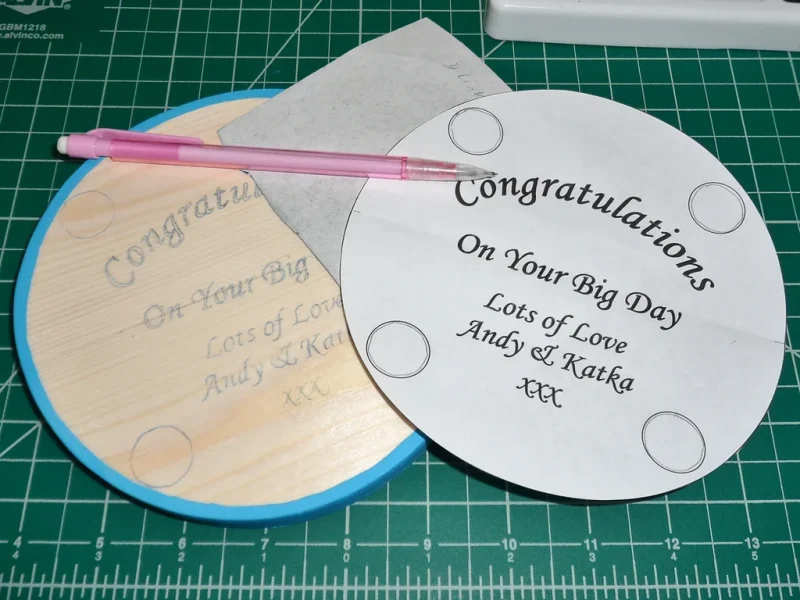
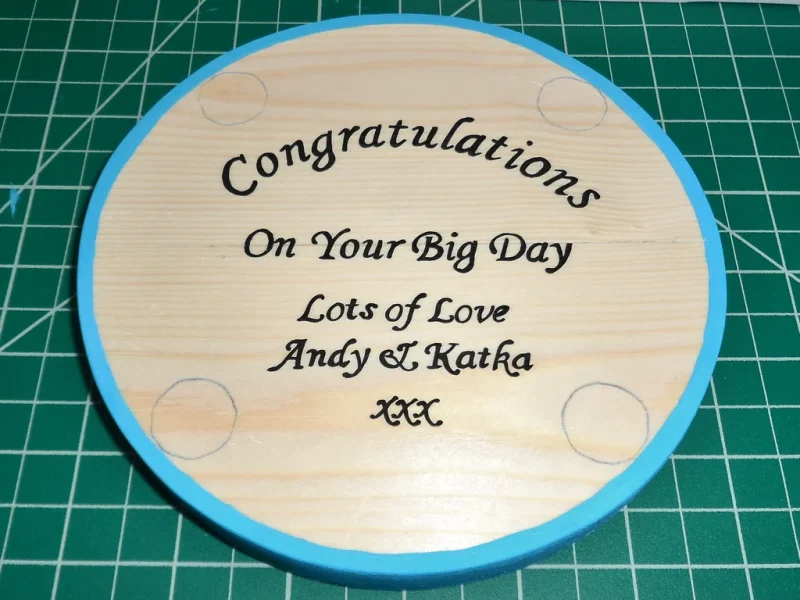
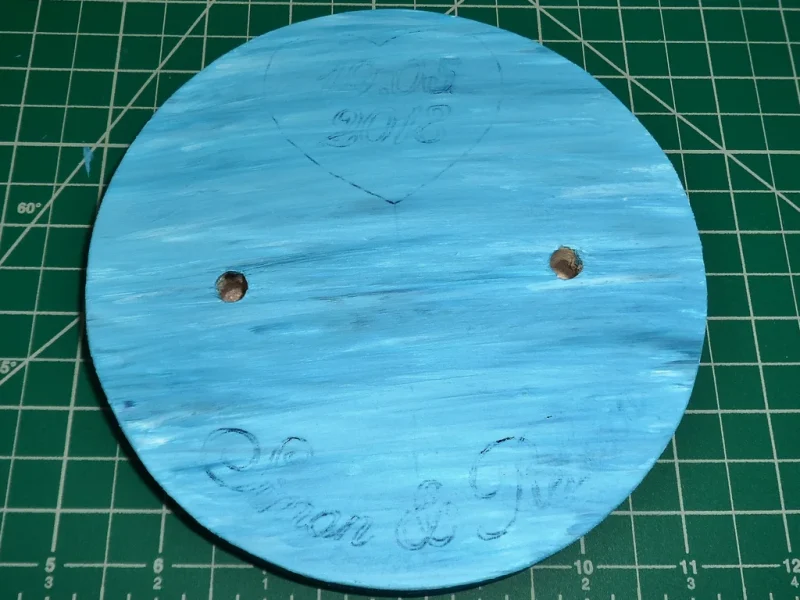
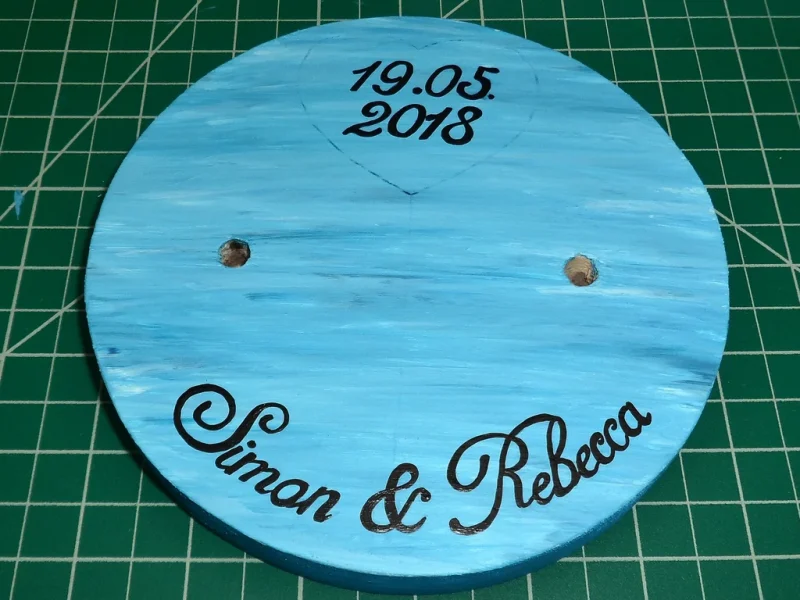
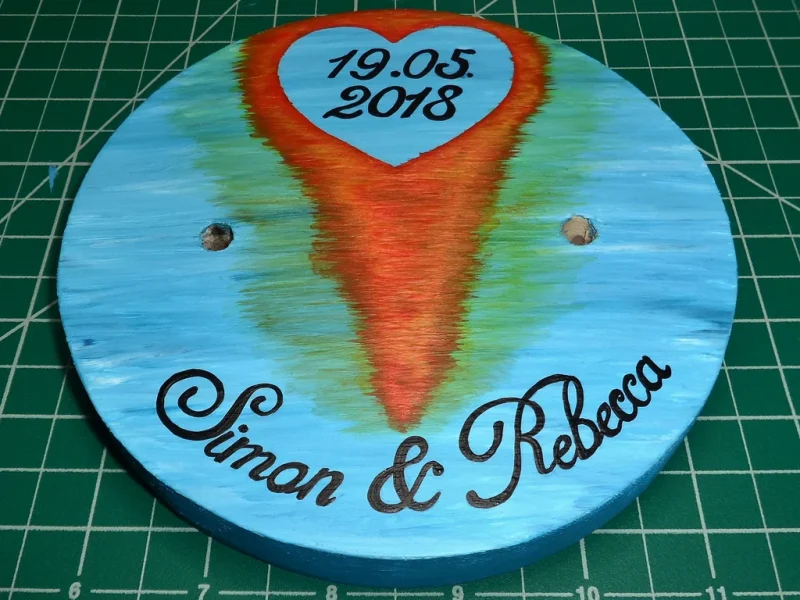
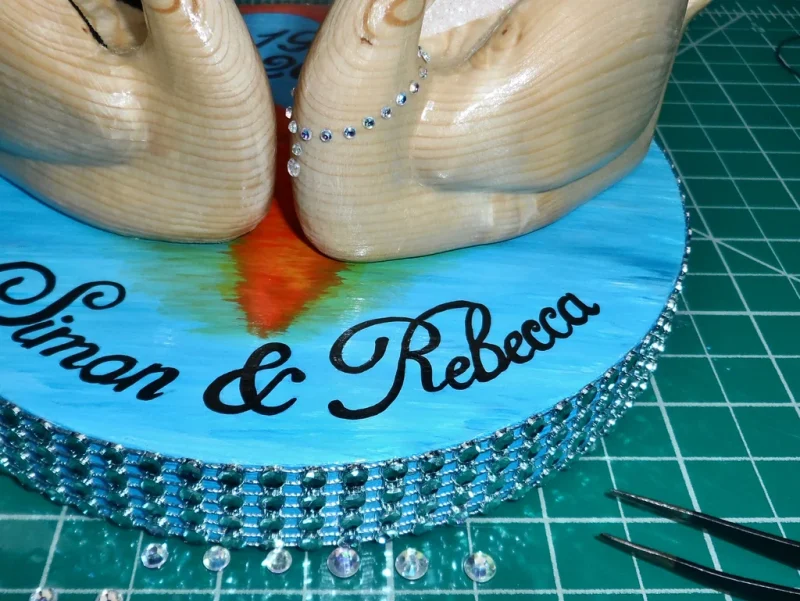
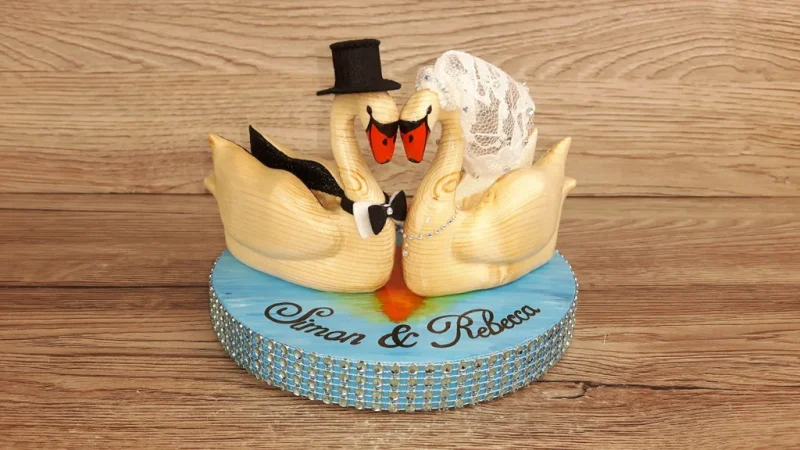
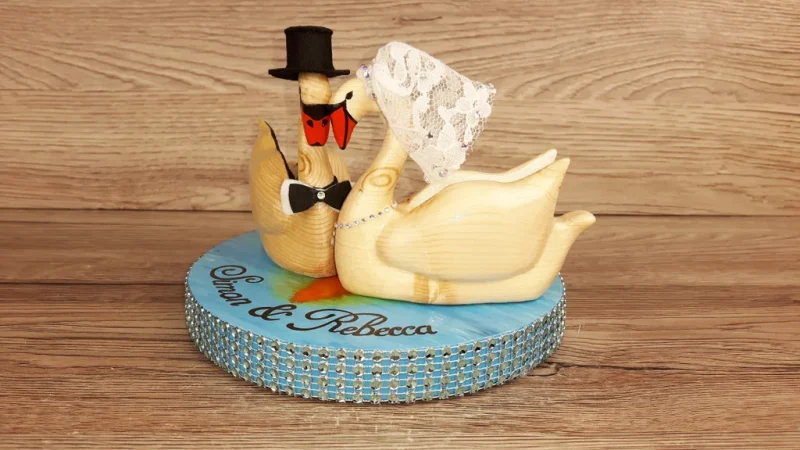
Again using the template and carbon paper trace the names and date onto the top of the base and paint with black paint. I wanted to add sunlight reflection onto the water, so I painted it with red, orange and yellow, though I might’ve overdone it slightly 😀
Spray with varnish and let dry.
Step 14: Finishing the Base
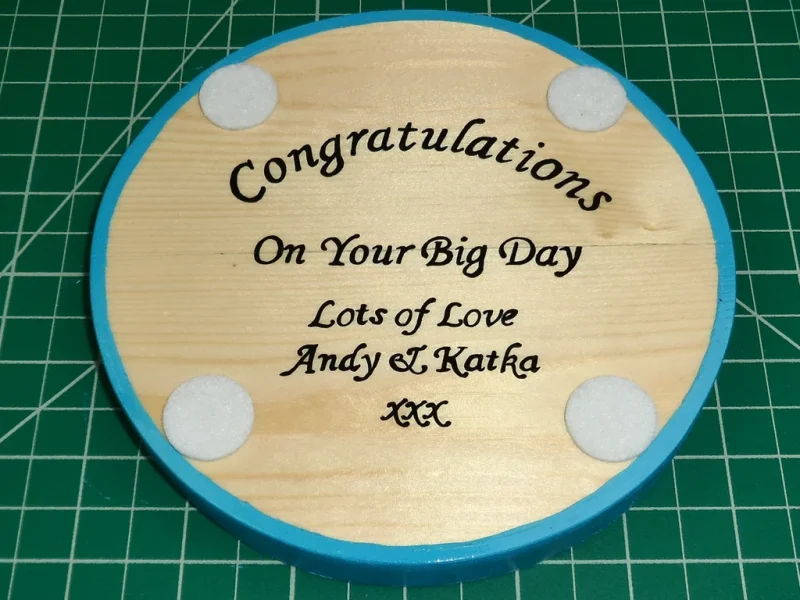
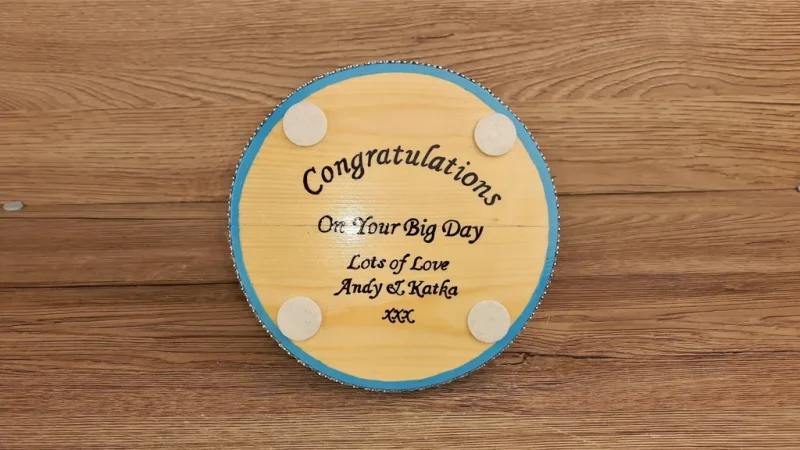
Stick 4 felt pads onto the bottom of the base.
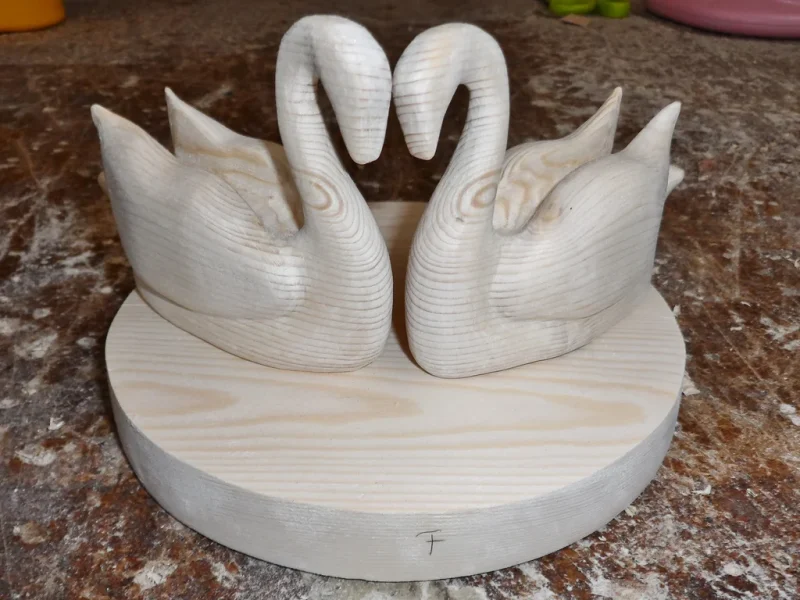
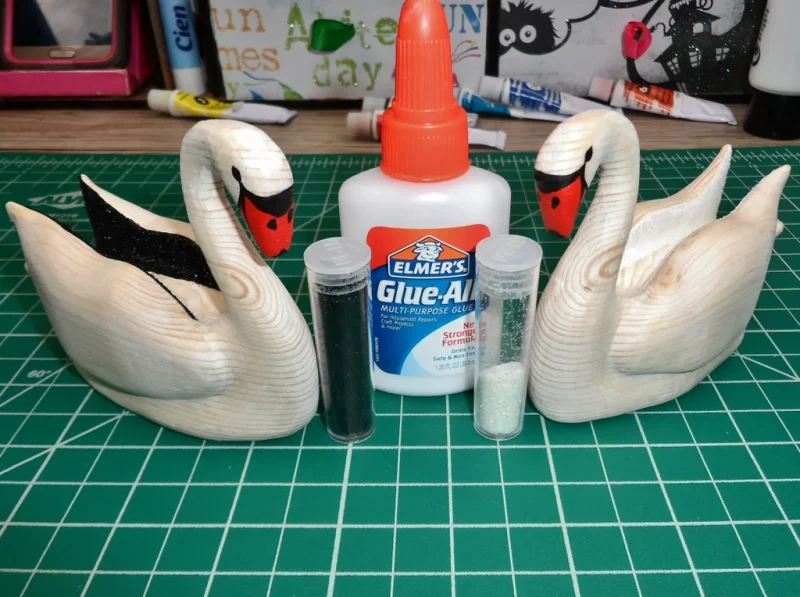
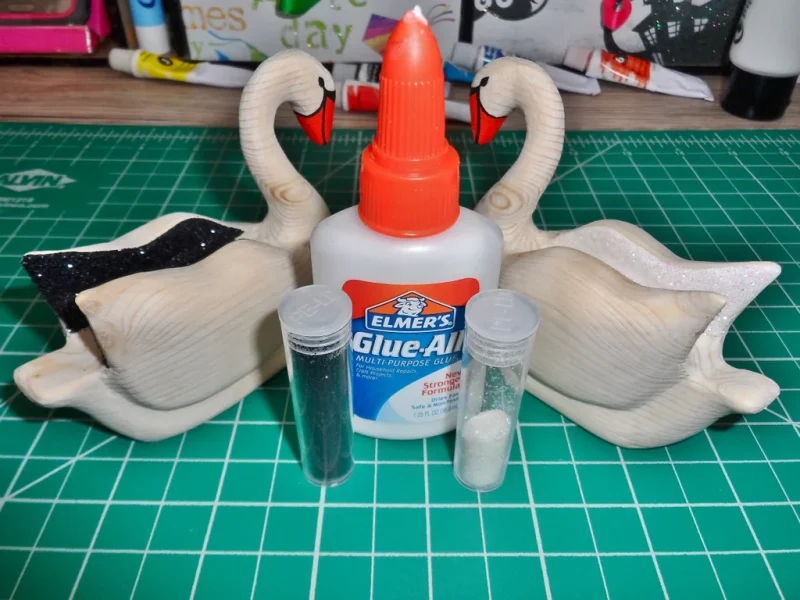
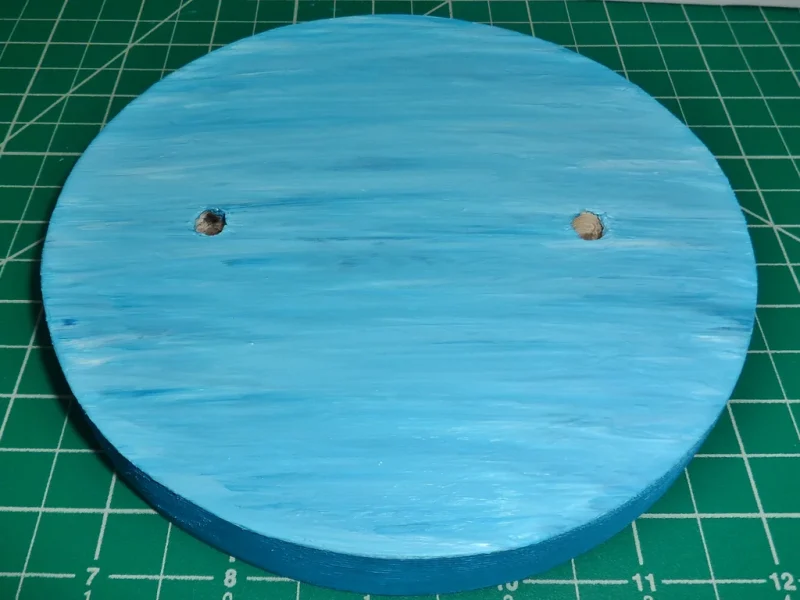
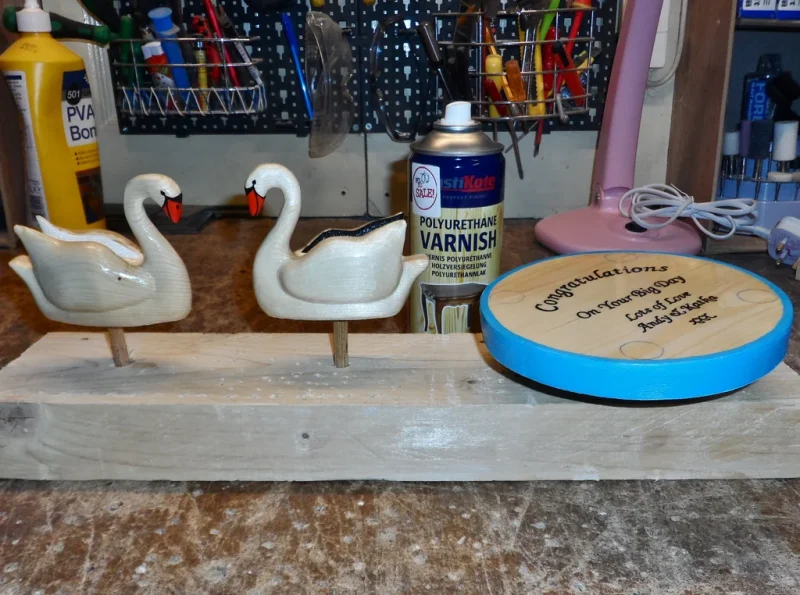
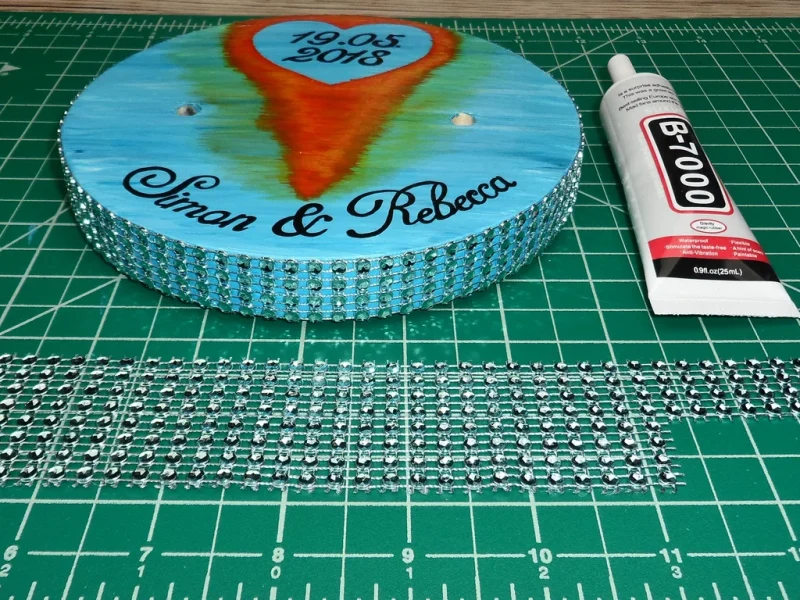
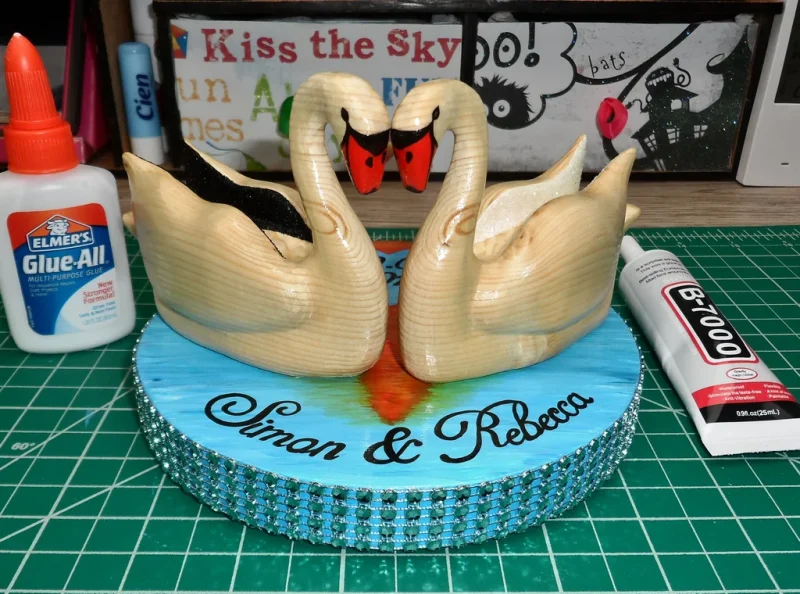
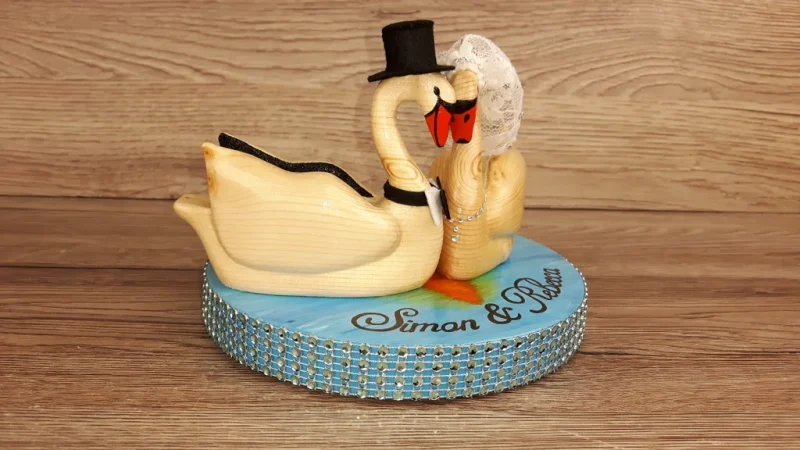
Cut the glitter strip according to the depth of your base and affix it onto the side using the B-7000 glue. Apply some multipurpose glue into the holes on the swans and the base and the B-7000 glue onto the bottom of the swans and glue the swans onto the base.
Final Thoughts
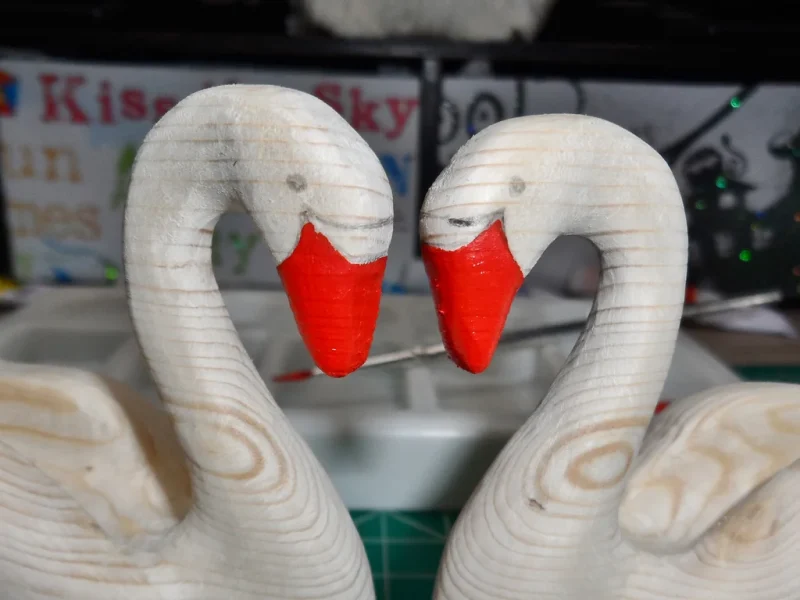
The whole project took about 12 hours to finish plus some drying time and I think it was worth it. One day I would love to be able to carve all of the details like faces, eyes and feathers so I’ll definitely keep on practicing and I might even discover what all of the other carving bits are used for 😀


