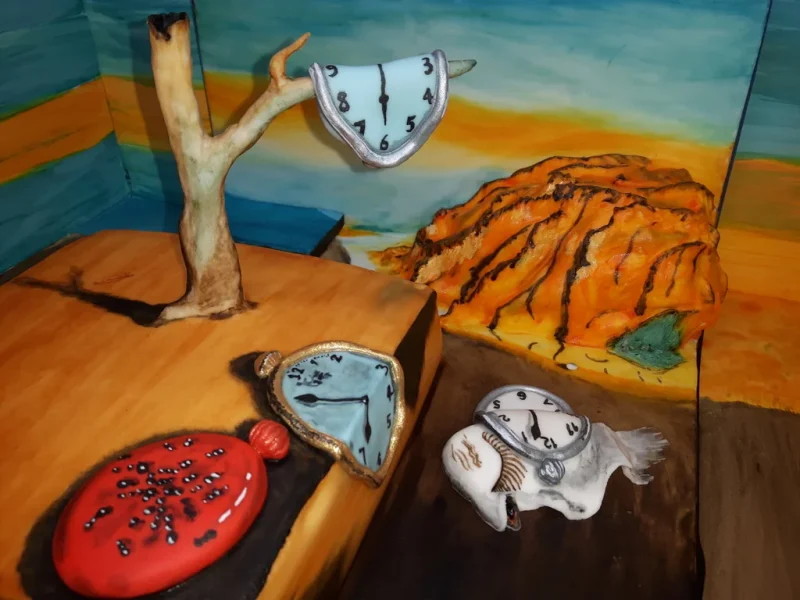
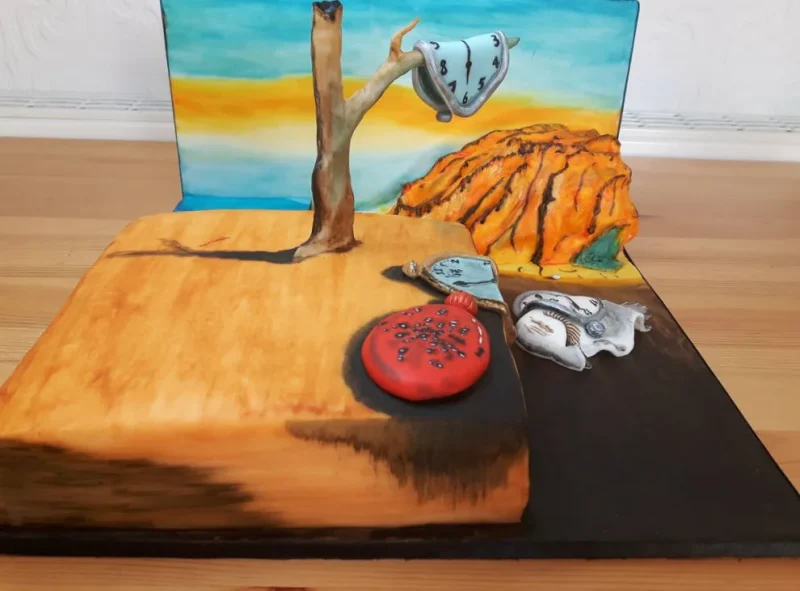
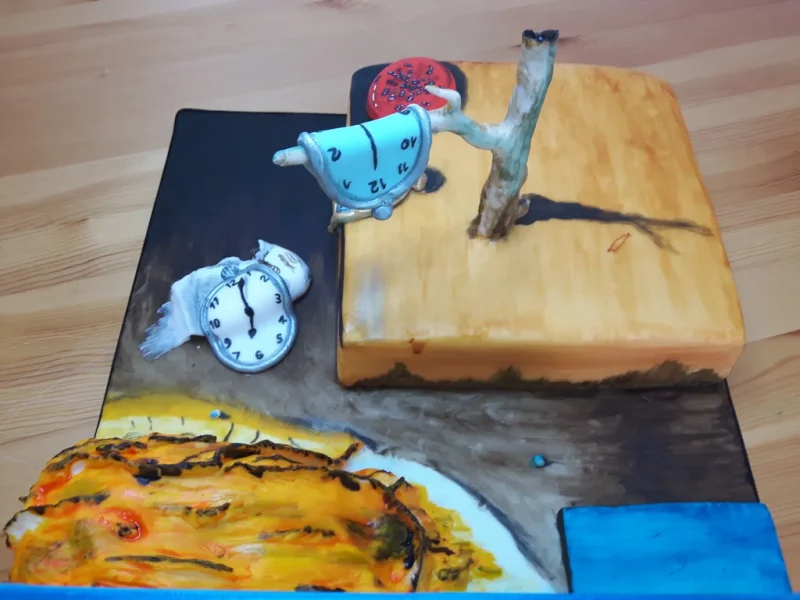
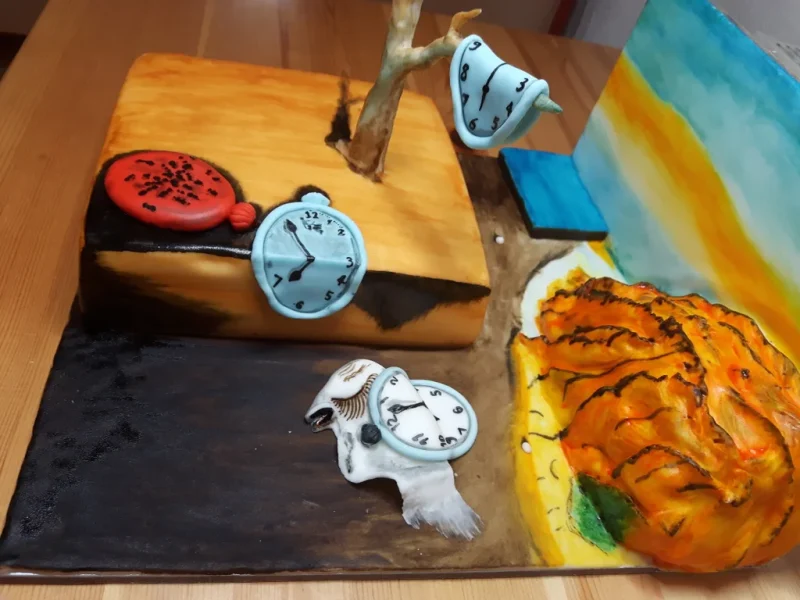
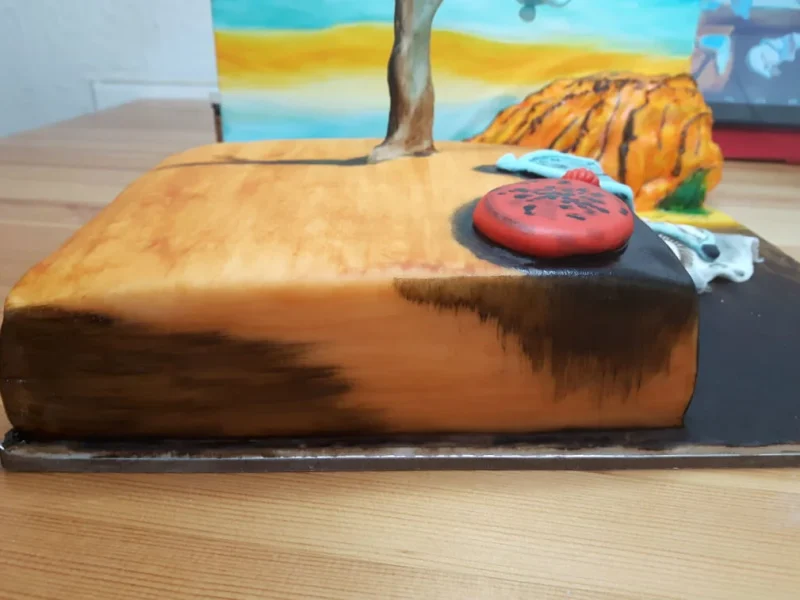
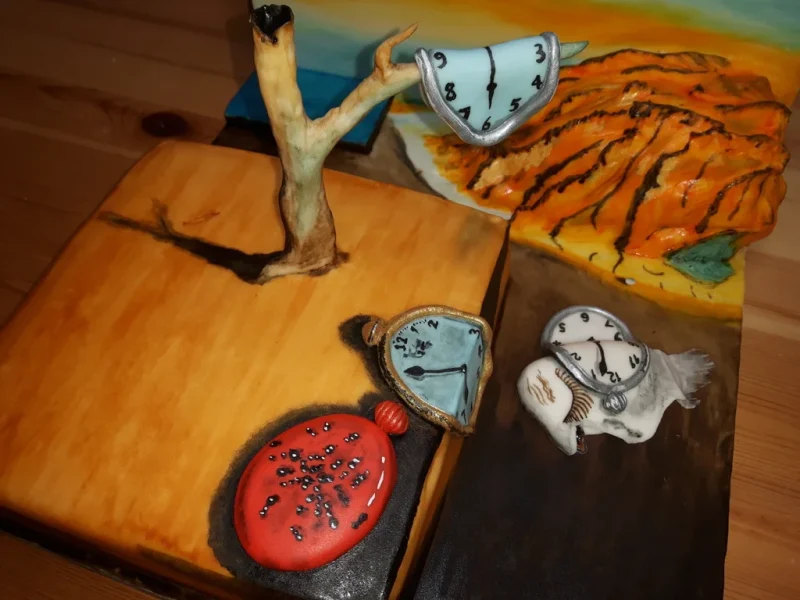
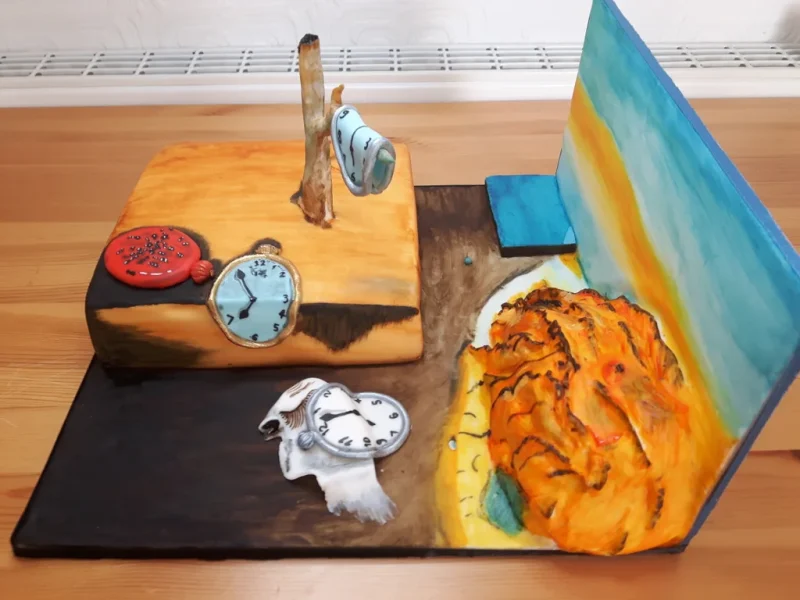
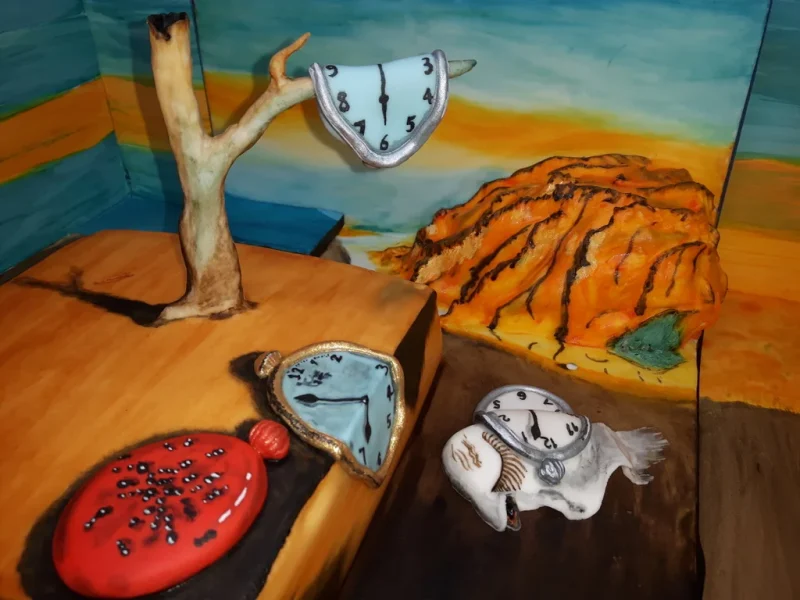
The Persistence of Memory Cake
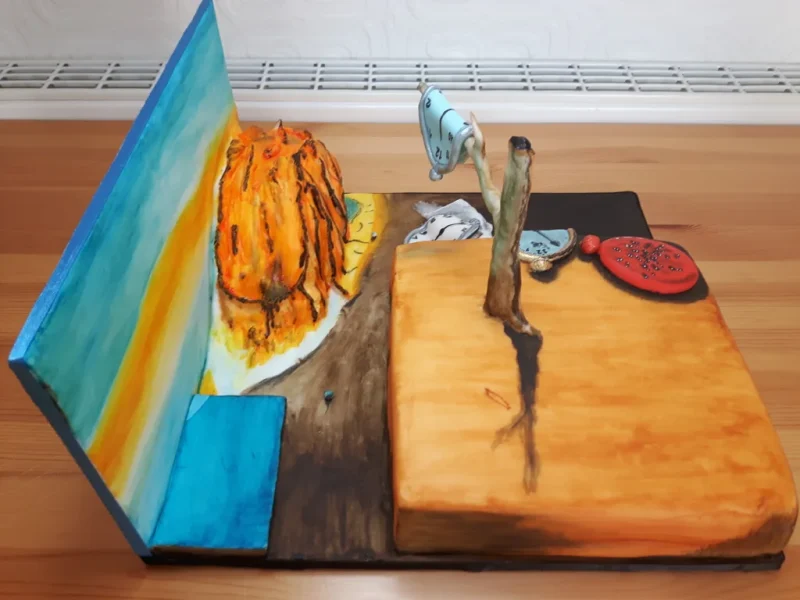
The Persistence of Memory is a 1931 painting by artist Salvador Dalí, and is one of his most recognizable works.
If you would like to read more about it you can click here 😉
I’ve decided to make this cake as an entry for the Instructables Cake Decorating Contest.
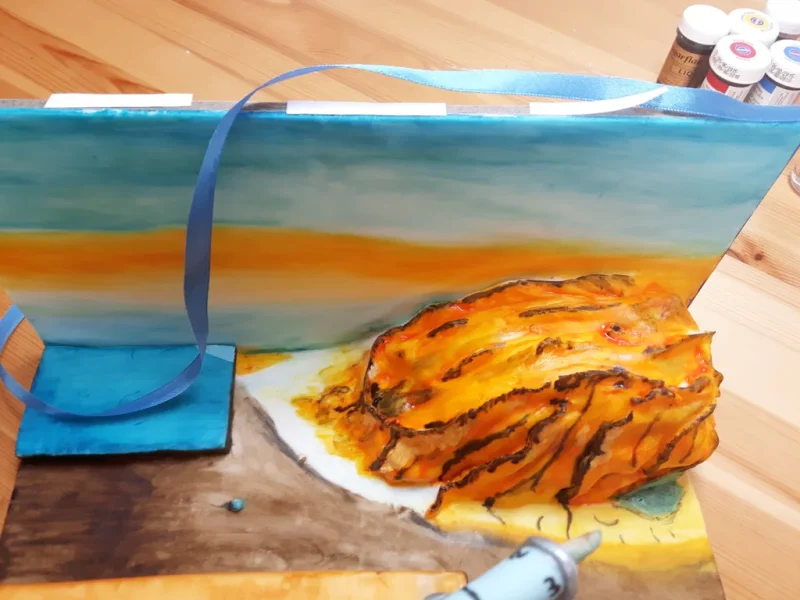
Step 1: Backdrop
For this step you’re going to need:
- 2 x 10″ cake boards
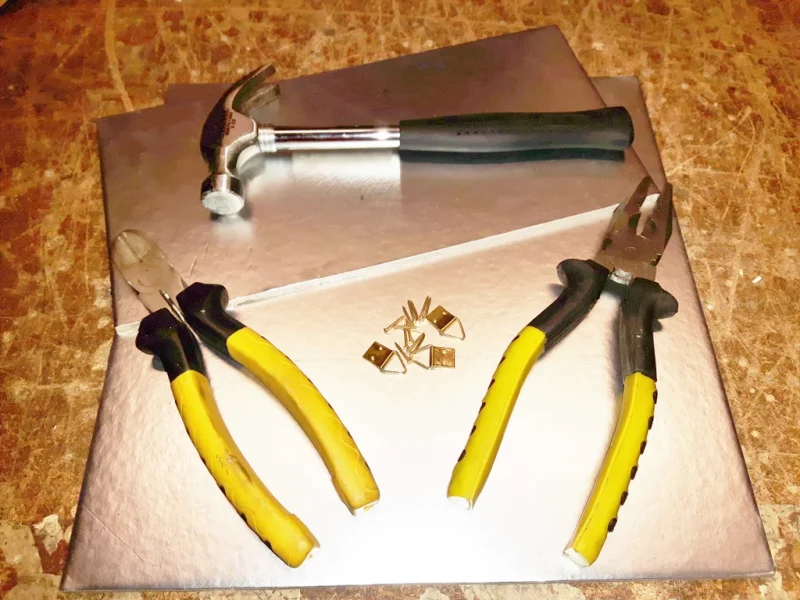
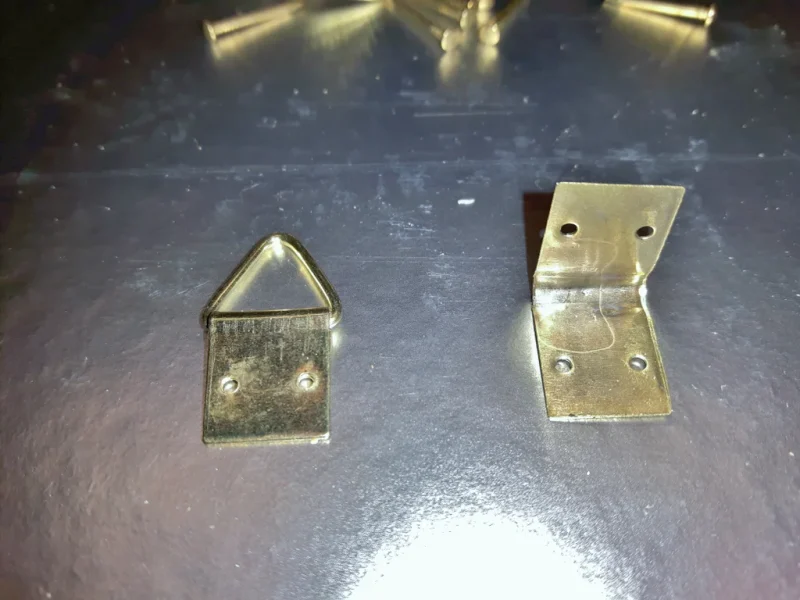
- 3 x picture frame hooks something like this + 12 nails
- ruler, hobby knife, hammer, combination pliers and cutting pliers
- aluminium tape
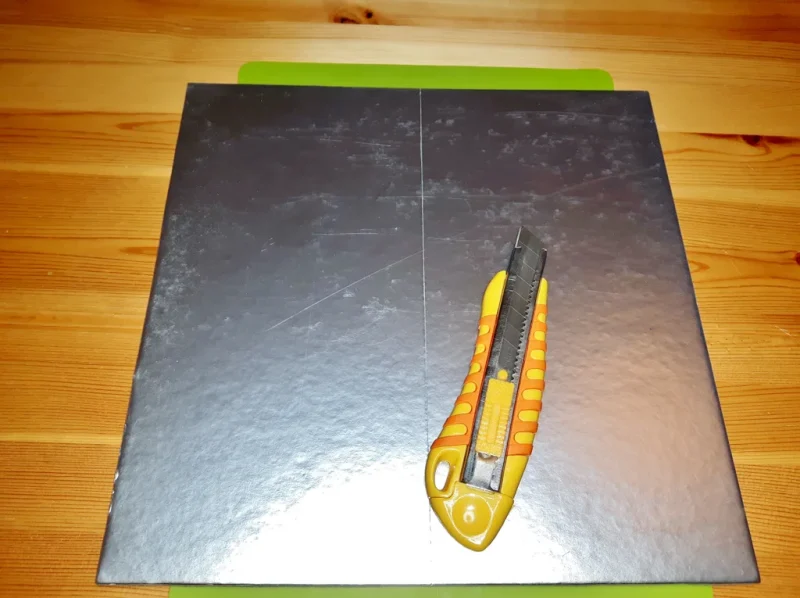
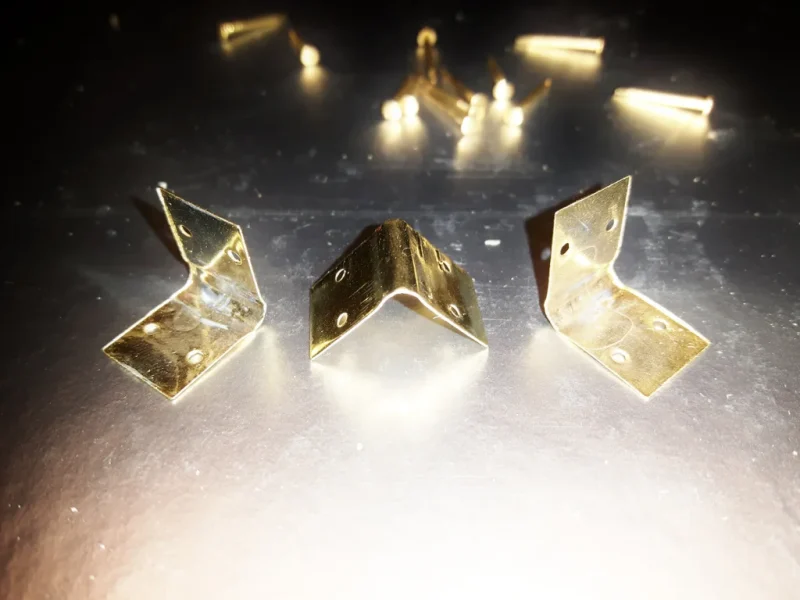
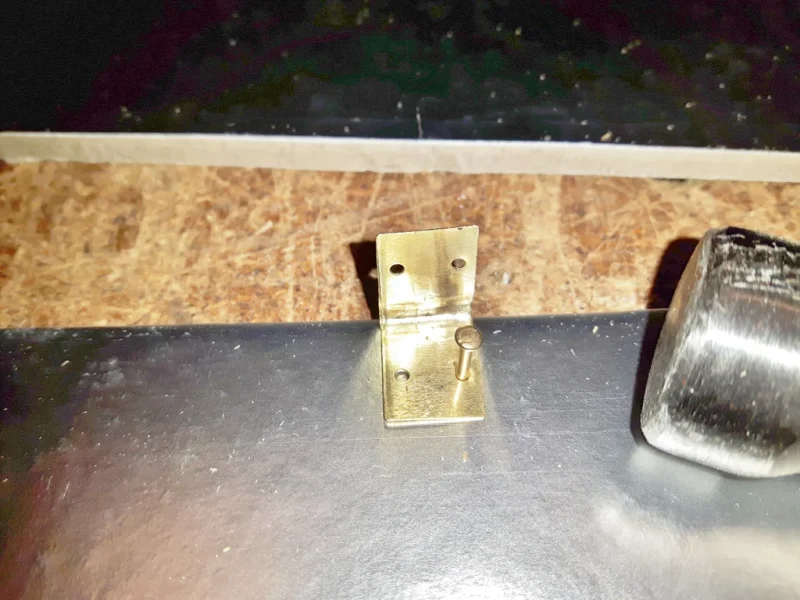
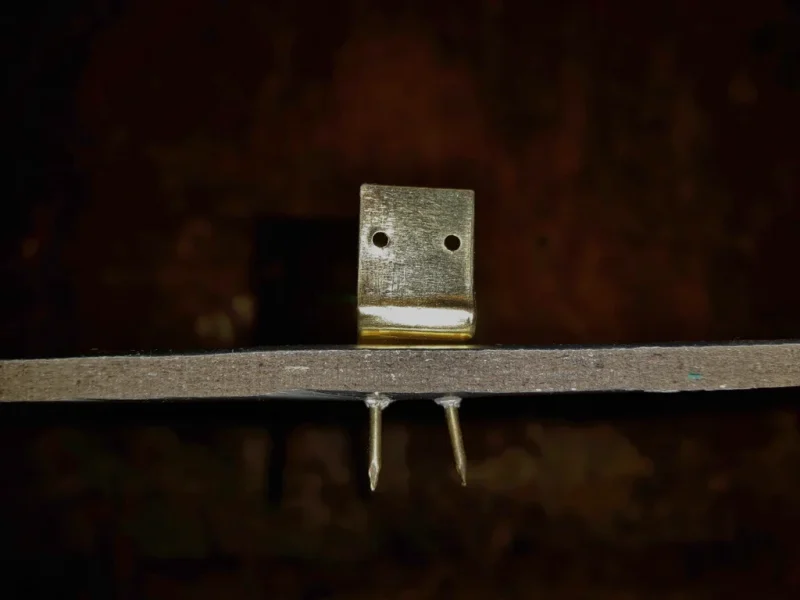
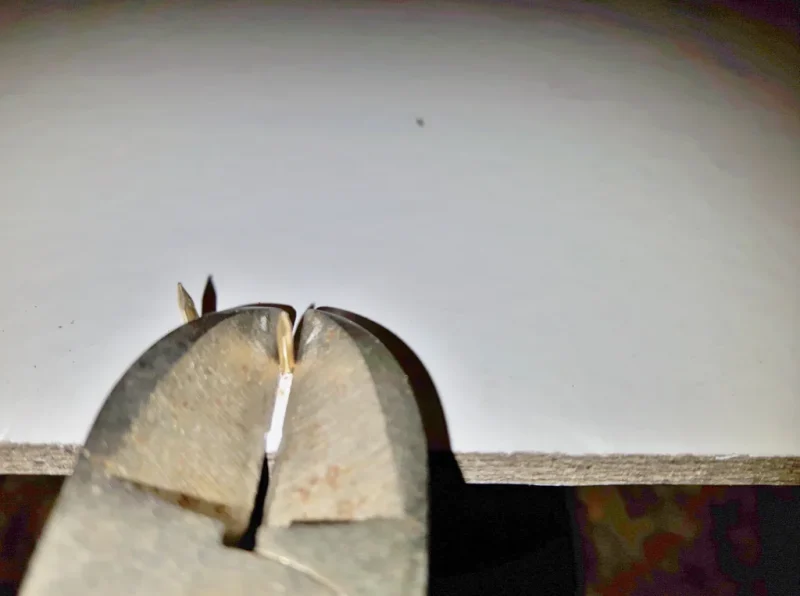
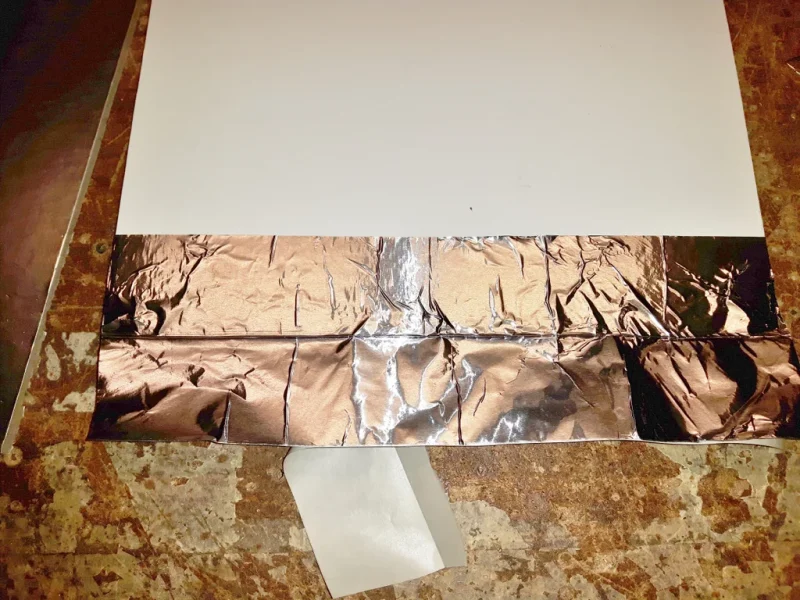
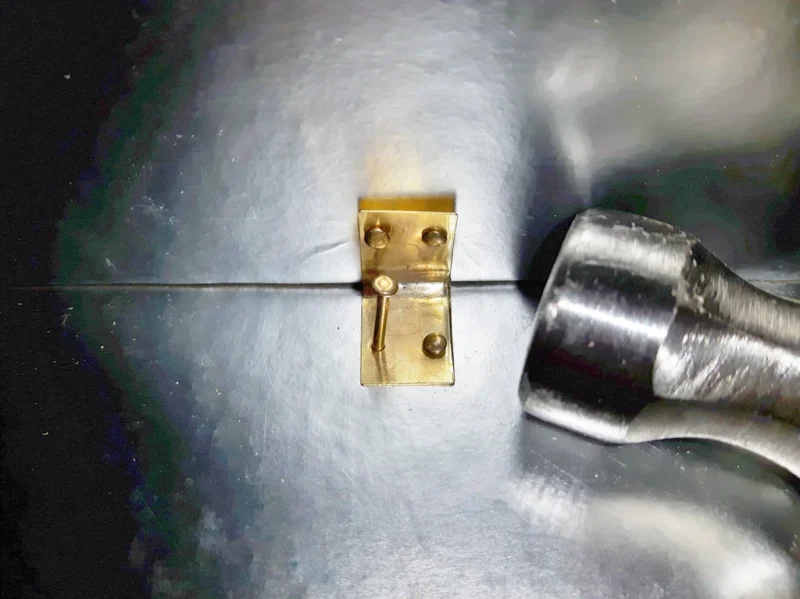
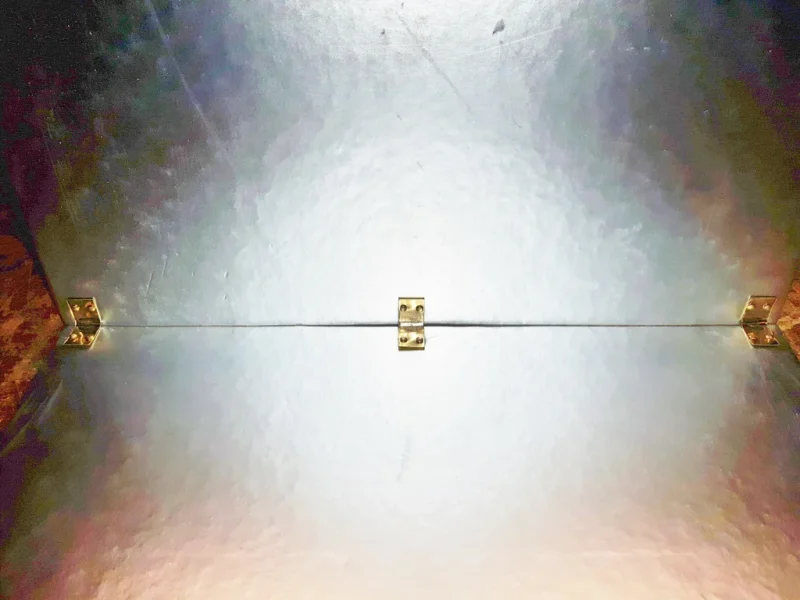
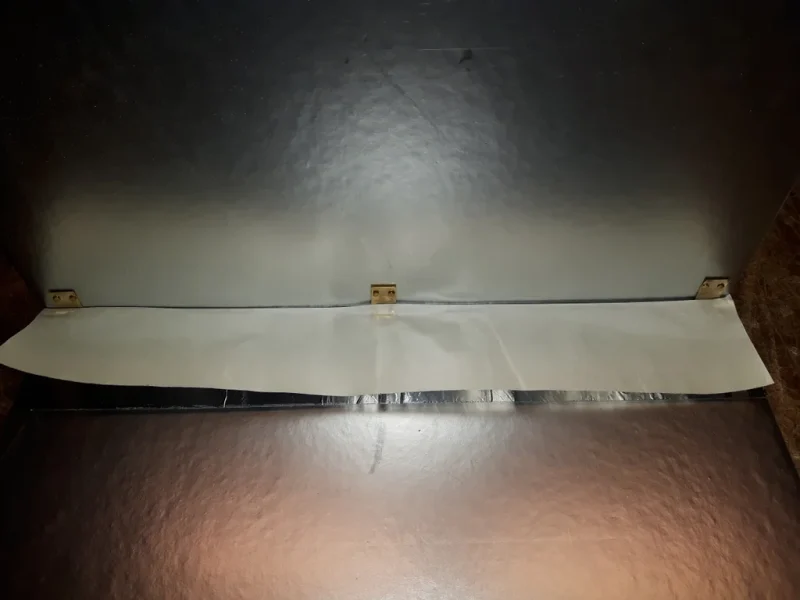
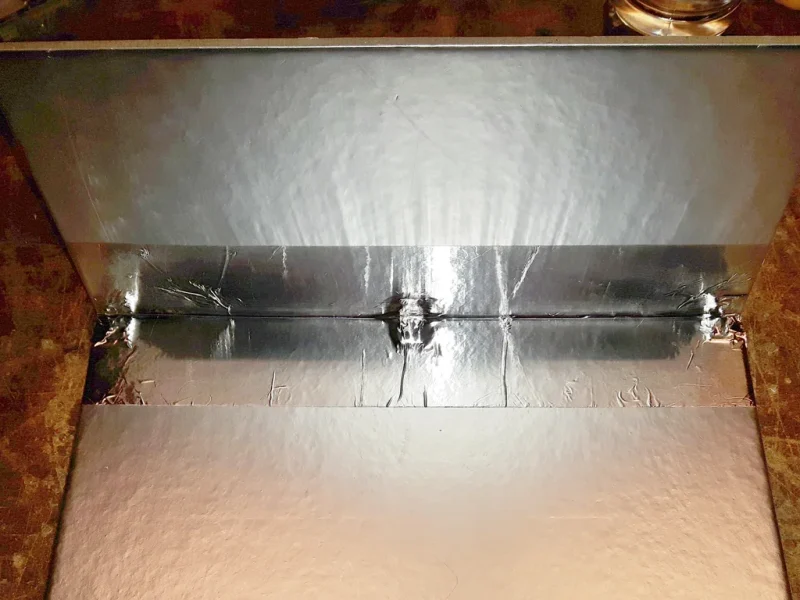
Cut one of the cake boards in half (you can cut it more or less, depending on how tall you would like your backdrop to be). Take the picture frame hooks and with help of pliers bend them into right angle. Hammer the nails into the smaller cake board, one on each side and one in the middle. The nails will be longer then the thickness of the board so you might want to put something under, so you don’t damage your surface. When you have all of the pins in, turn the board around and snip the protruding nails, try to do it as close to the board as you can. Take the larger board and put the smaller on top of it and at this point you can use the tape to hold it in place, while you hammer rest of the nails in. And again cut off the protruding nails. To finish off you can put the tape on the shiny side as well, but it’s not necessary. If you didn’t manage to snip the nails close enough to the board, you could use left over cake board, put in underneath and stick it in place. Also you could put duct tape over.
Step 2: Make a Cake
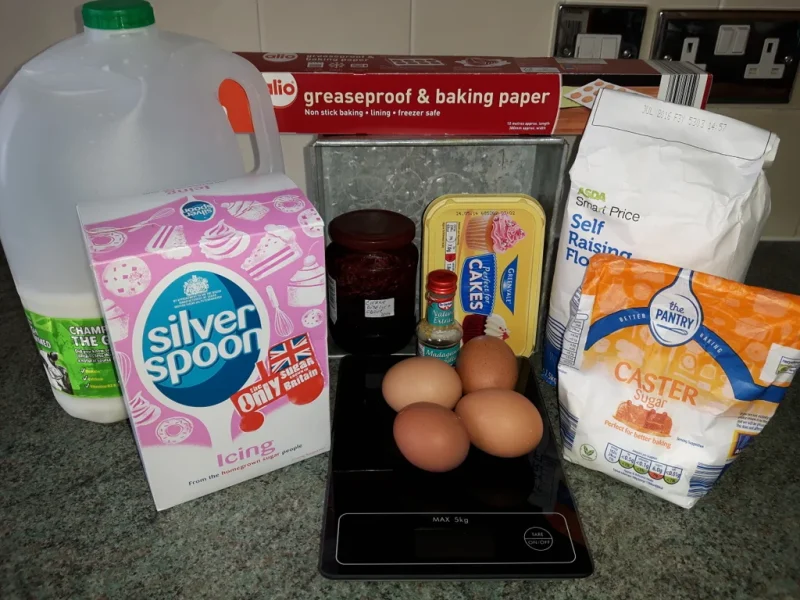
For the cake you’re going to need:
- 240g butter
- 240g caster sugar
- 240g self-raising flour (sieved)
- 4 eggs
- 4 tbsp milk
- 2 tsp vanilla extract
You will also need baking paper, 8″ baking tin, scales, mixer and bread knife
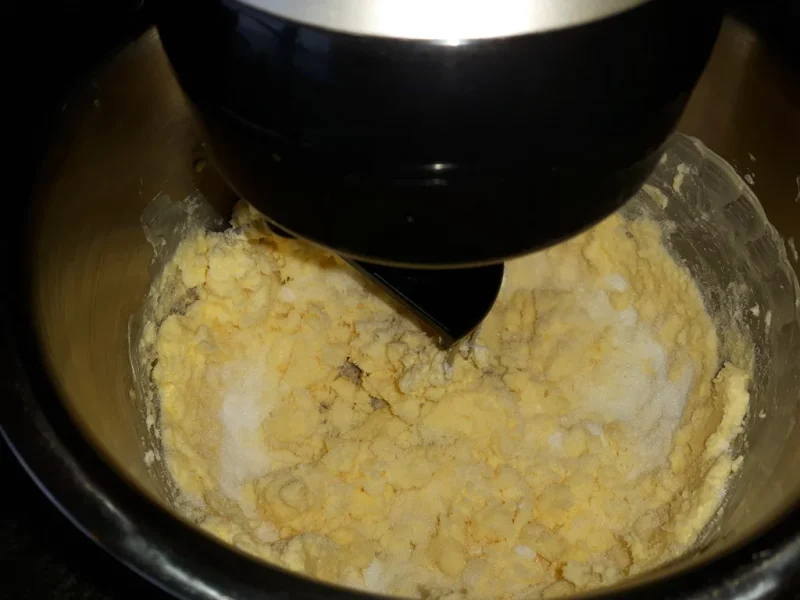
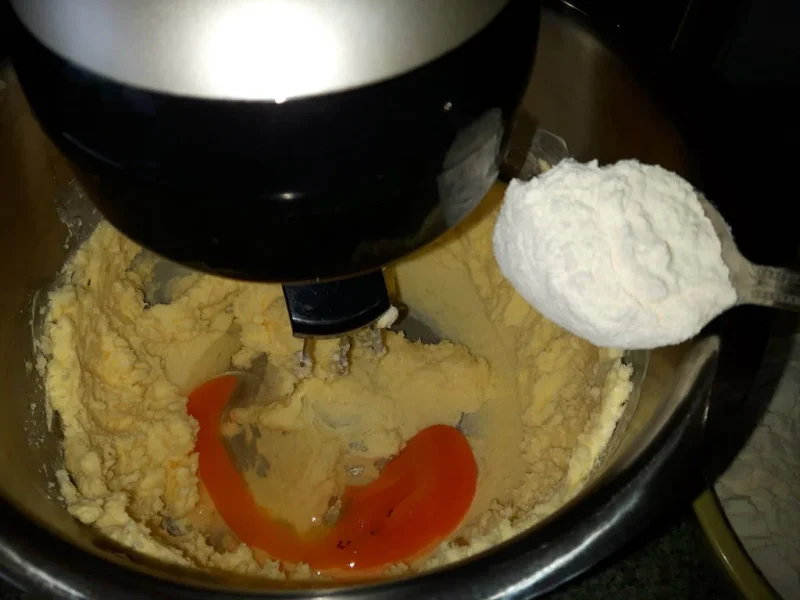
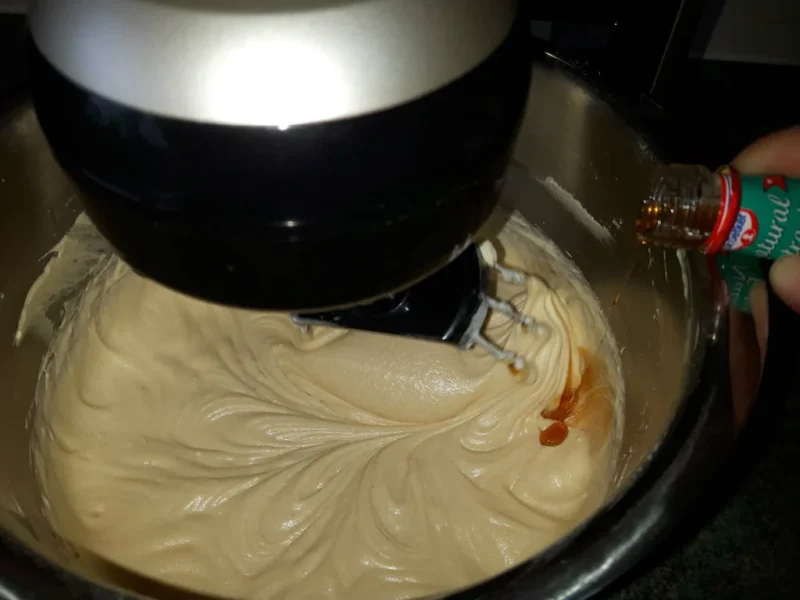
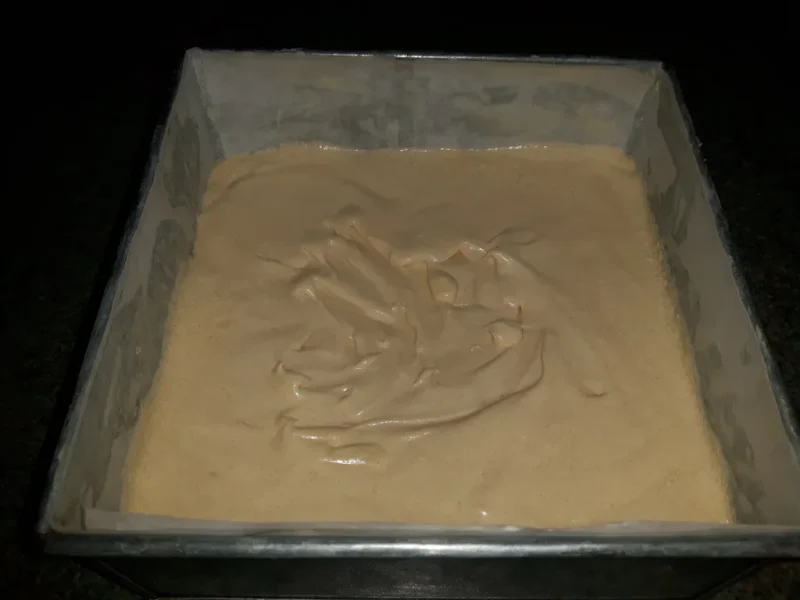
Start by mixing the butter with sugar, once mixed, add eggs one by one and for every egg add two tablespoons of flour. Then add rest of the flour slowly. Once mixed together add milk and vanilla extract and carry on mixing for couple of minutes.
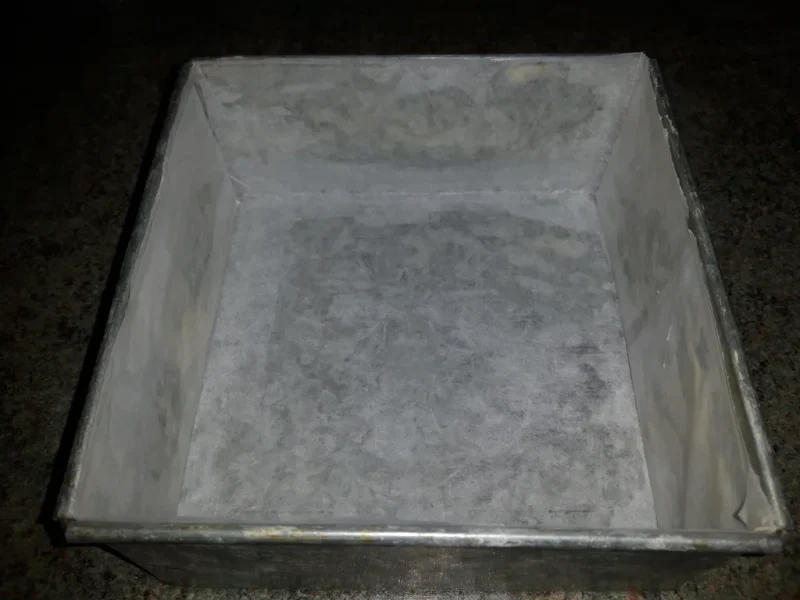
Line the baking tin with baking paper (you can use a bit of butter to stick it to the sides) and add the batter.
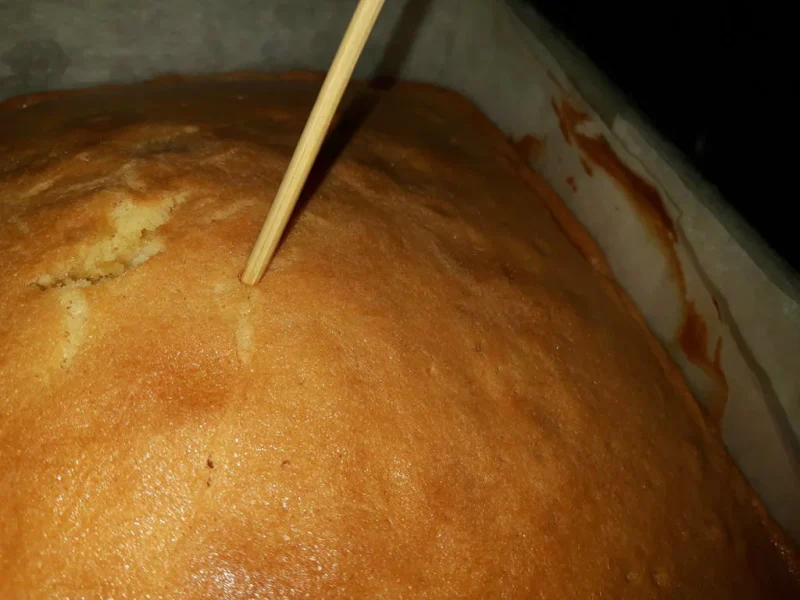
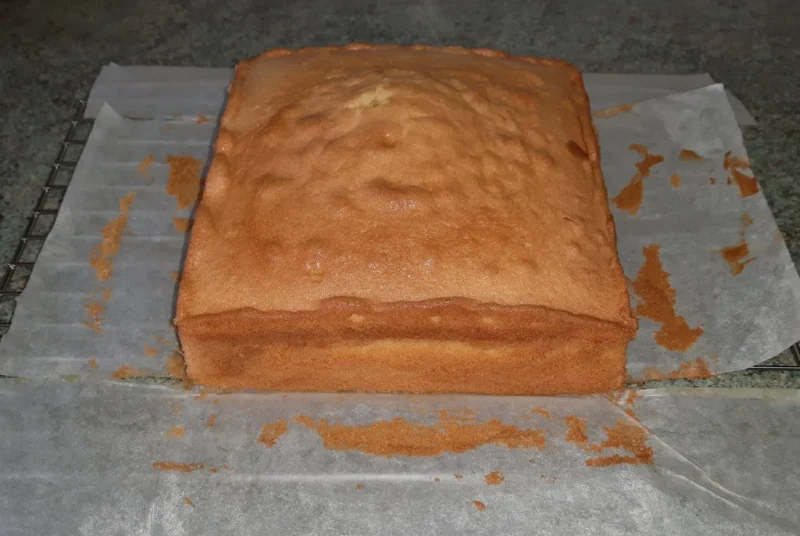
Bake in the oven for 55-60 minutes at 180°C/350°F. Cool on wire rack.
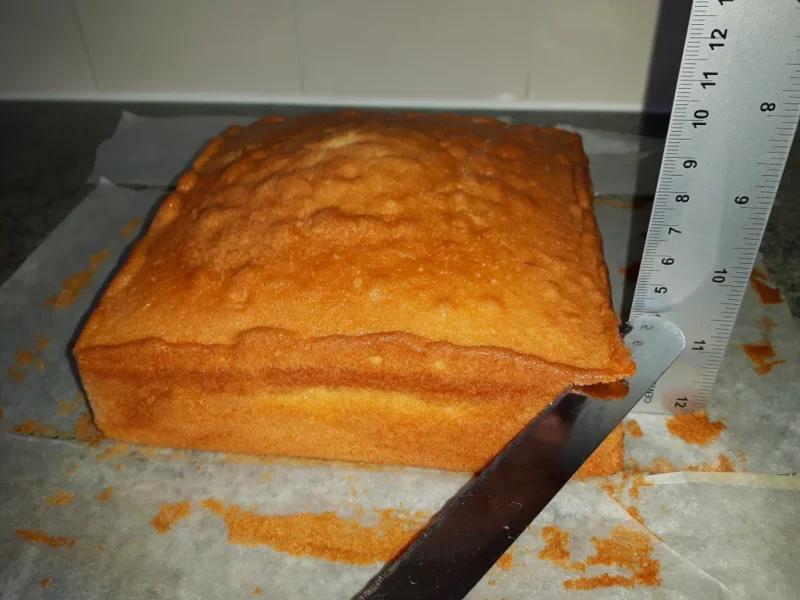
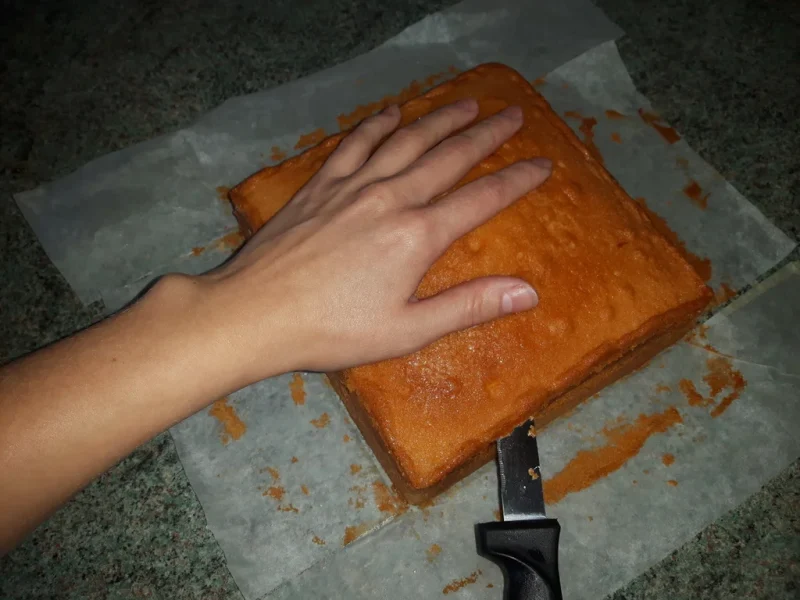
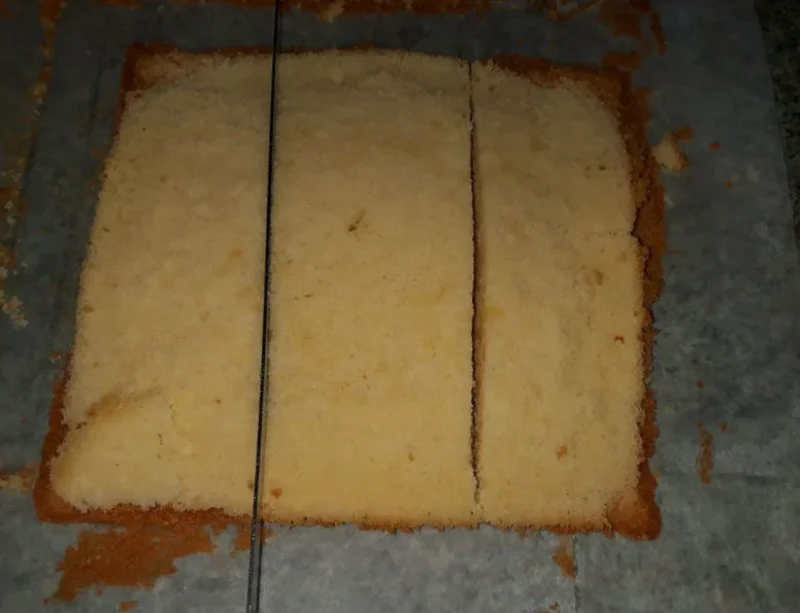
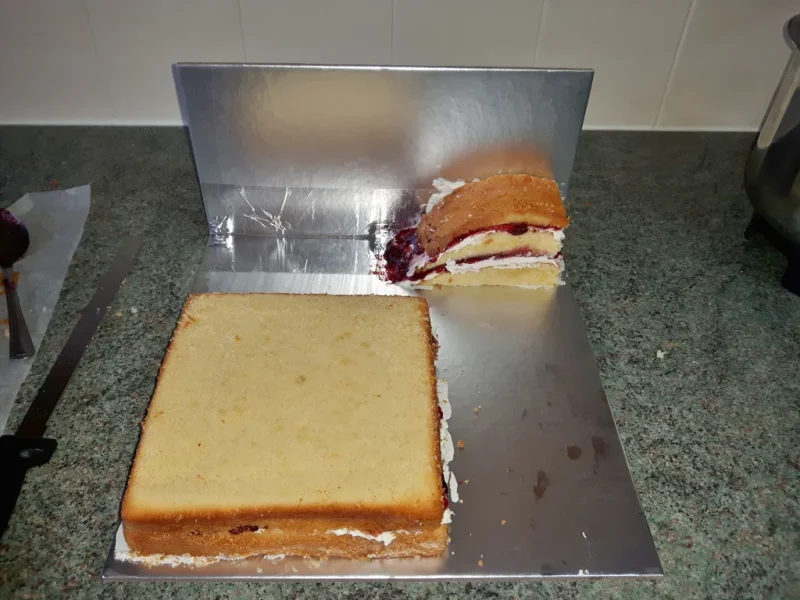
When cooled grab a ruler and marked each corner of the cake at 2 cm and 4 cm. With a bread knife align the corners and start cutting while turning the cake. That way you will get a nice cut.
Step 3: Buttercream
Buttercream icing:
- 225g butter
- 675g icing sugar (sieved)
- 6 tbsp milk
- 3 tsp vanilla extract, jam (any jam will do, I used homemade blackcurrant jam)
You will also need a palette knife, even though you could use a bread knife, palette knife will make it easier
Sieve the icing sugar into mixer bowl and add butter. Start mixing at lower speed and if your mixer doesn’t have a lid, cover it with a cloth, otherwise it could get really messy (lol, done that before and weeks later I was still finding sugary surfaces around the house 🙂 Once nice and creamy add milk and vanilla extract and continue mixing for another couple of minutes on high speed.
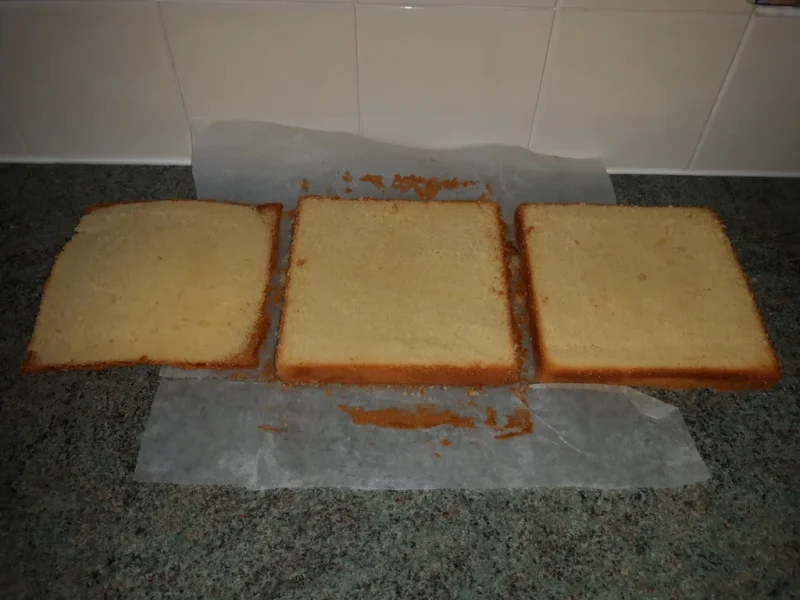
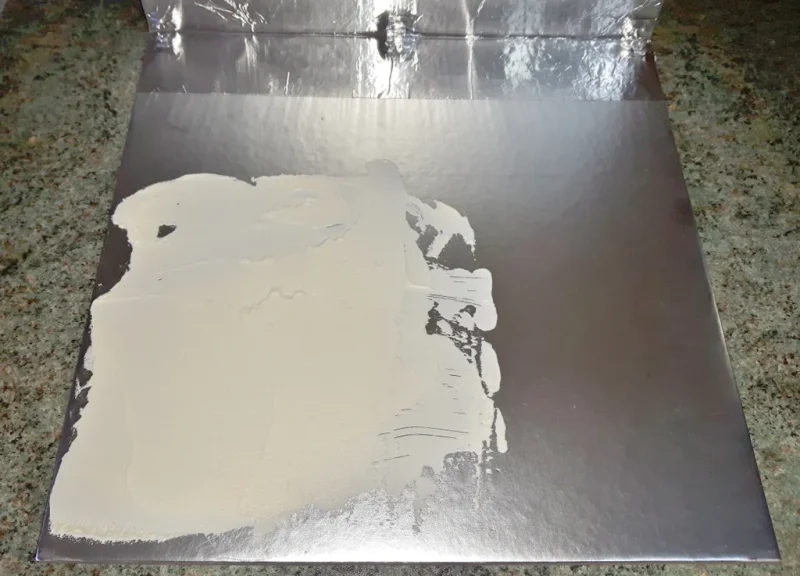
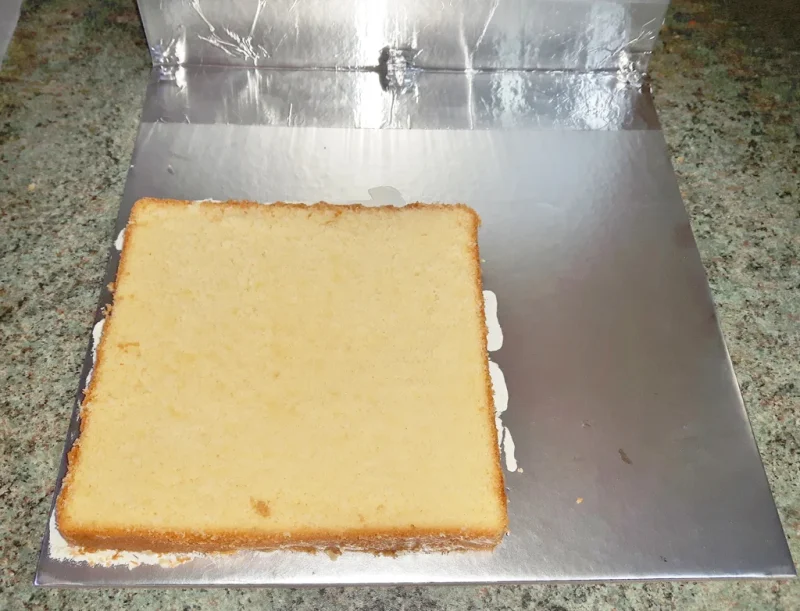
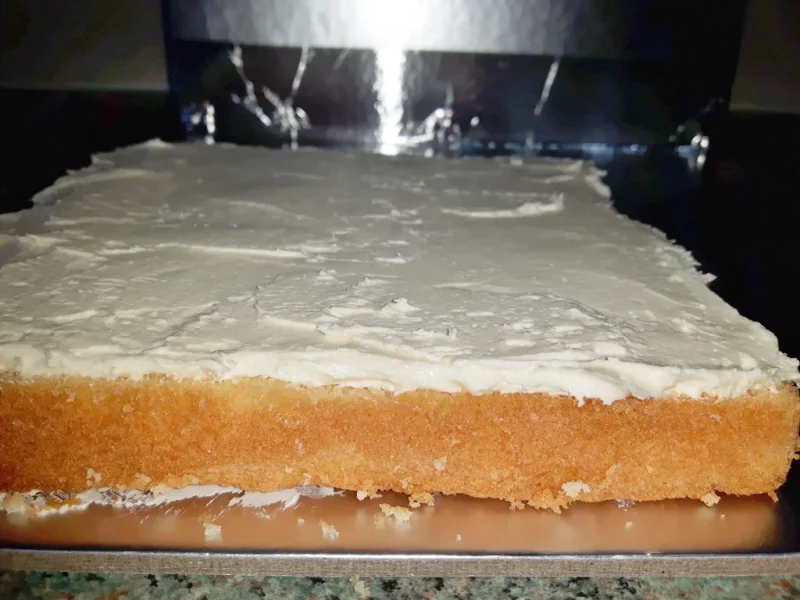
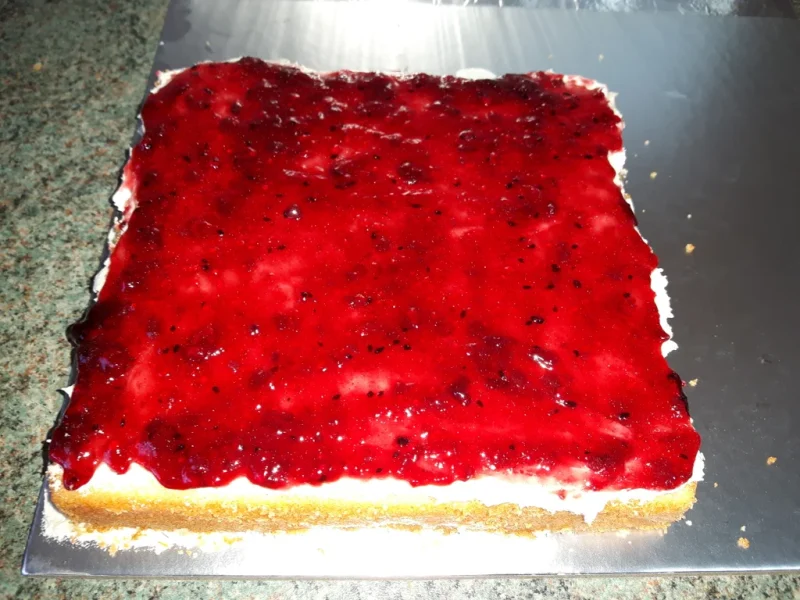
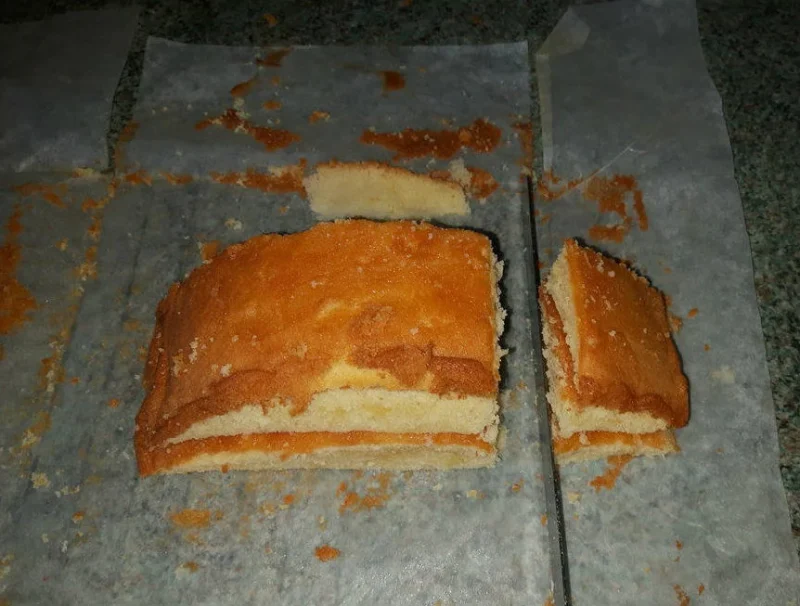
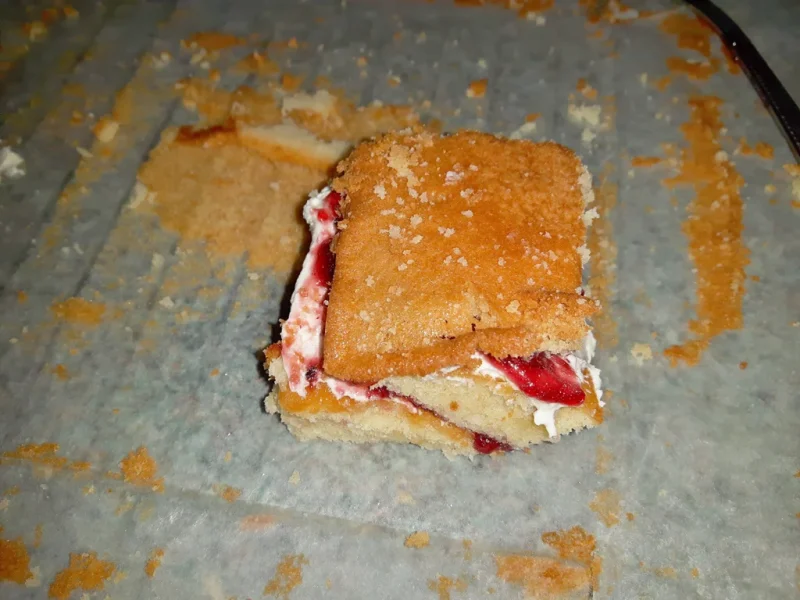
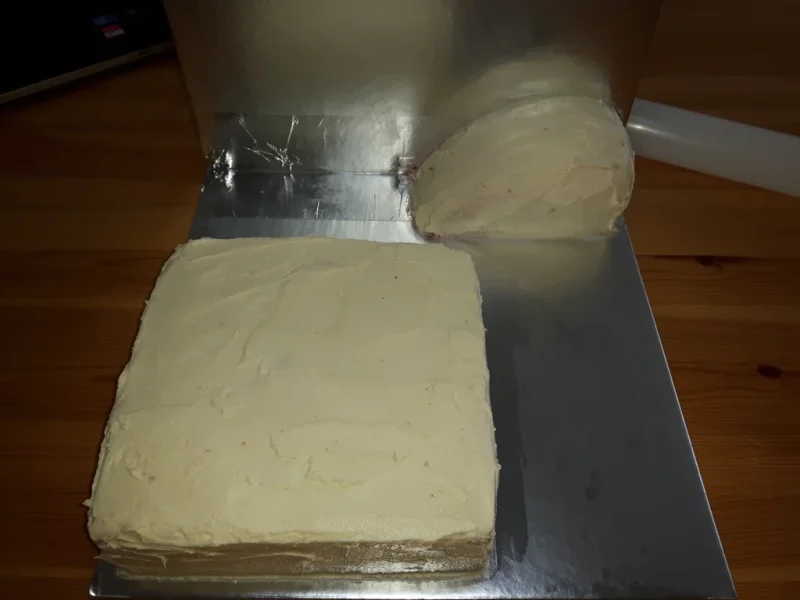
Put a thin layer of buttercream on cake board and put the first layer of cake on it. Spread the buttercream on the cake with palette knife, I like it to be about 0.5 cm in thickness. Add couple tablespoons of jam and spread around. Place the second cake layer on top of the first one. Cut leftover cake into three pieces, put them on top of each other and cut off about 4 cm from one side. Do the same for leftover cake as before, little bit of buttercream to stick it in place, first layer of cake, buttercream followed by jam and second layer of cake. Let it rest in the fridge for 30 minutes.
Spread rest of buttercream on the cake and smooth it out with palette knife. Pop it back in the fridge for another 30 minutes.
Step 4: Get Ready to Roll
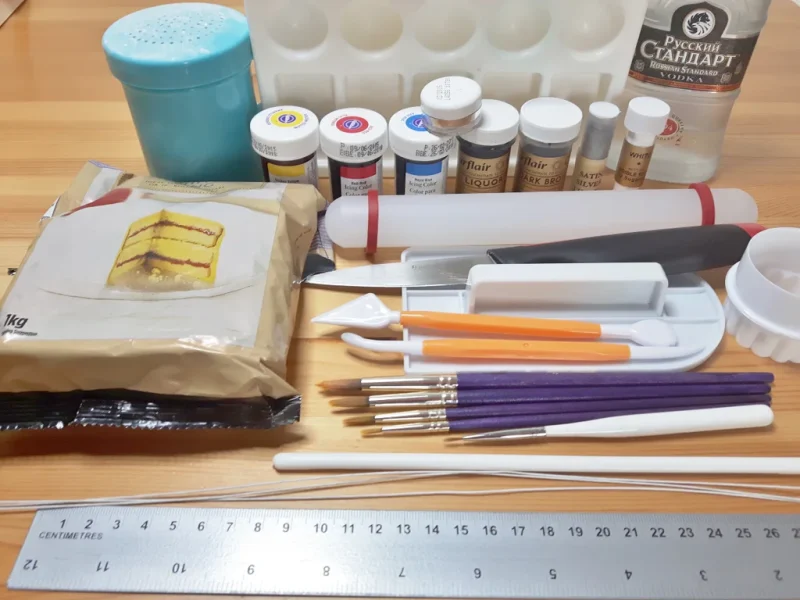
For this you will need:
- 1kg ready to roll icing
- rolling pin (preferably big and small)
- icing sugar
- food coloring (yellow, red, blue, black, dark brown)
- edible luster dust (gold, silver, white)
- vodka
- cake smoother
- modelling tools (leaf shaping and blade tool)
- set of brushes
- circle cutter
- knife
- dowel rod and florist wire
- ruler
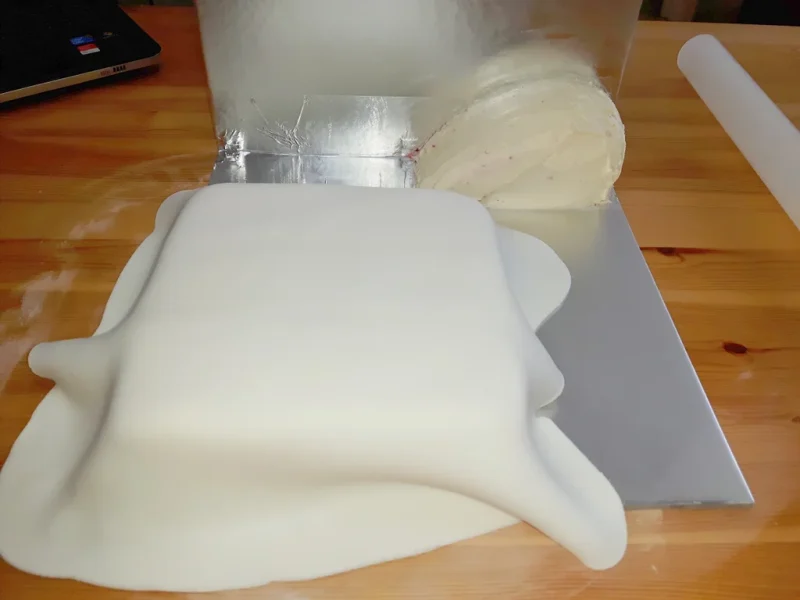
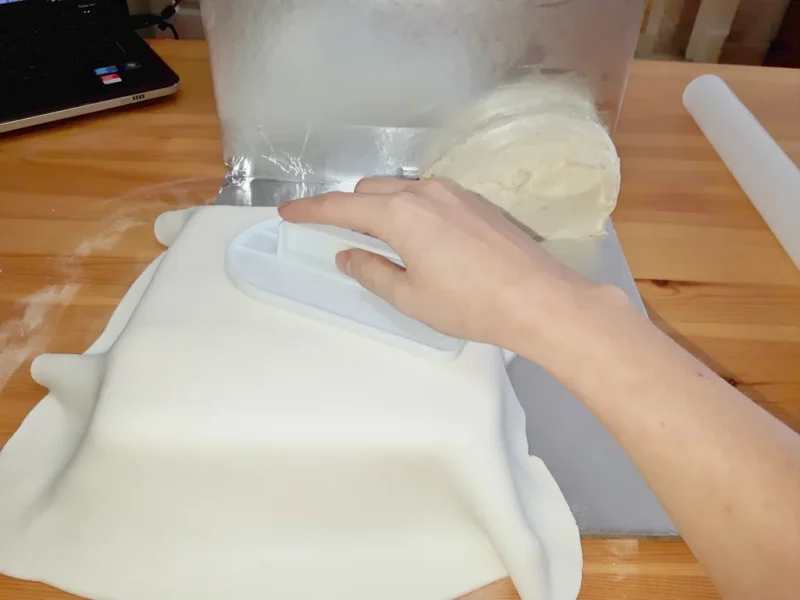
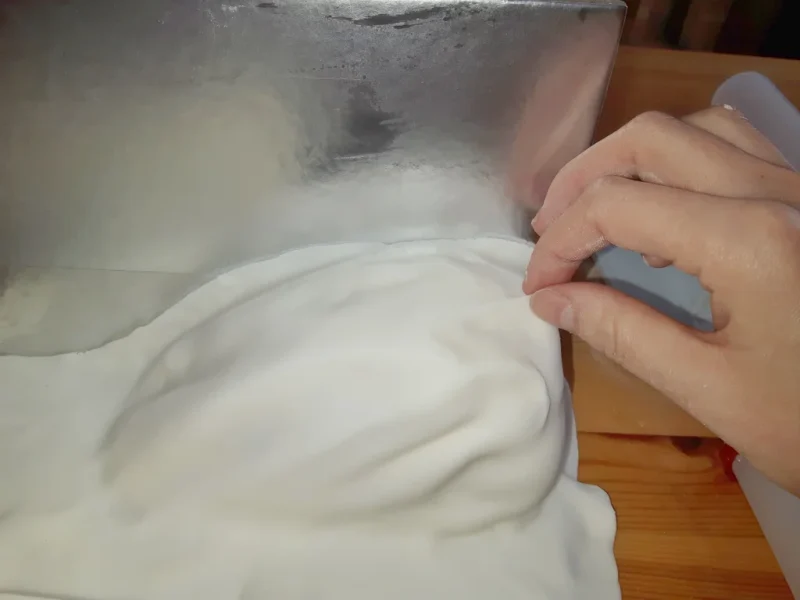
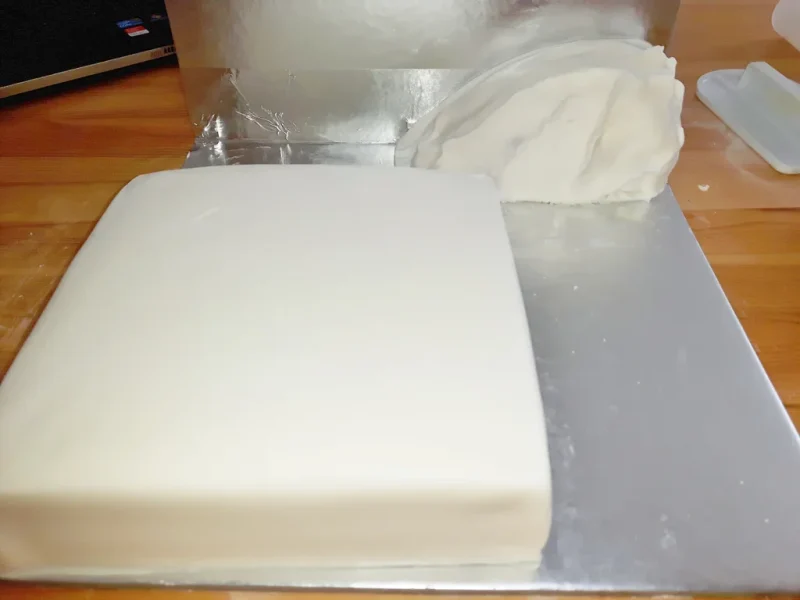
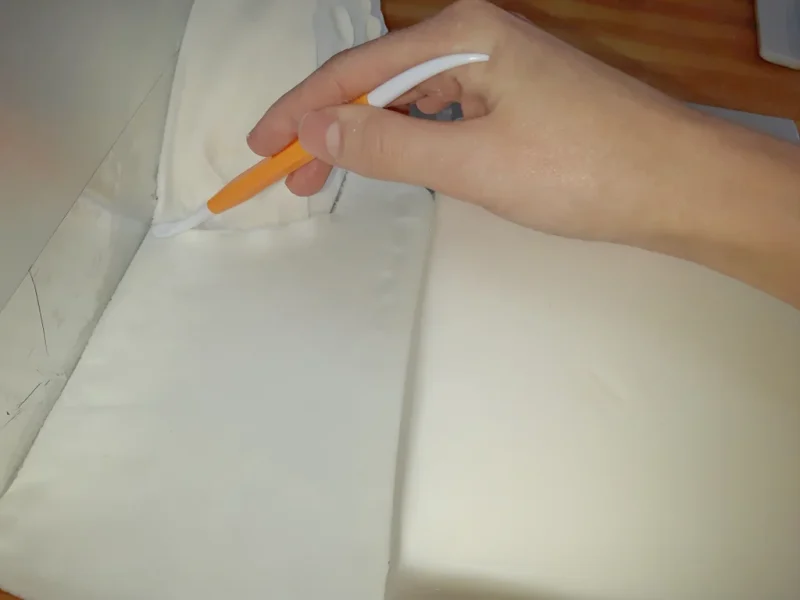
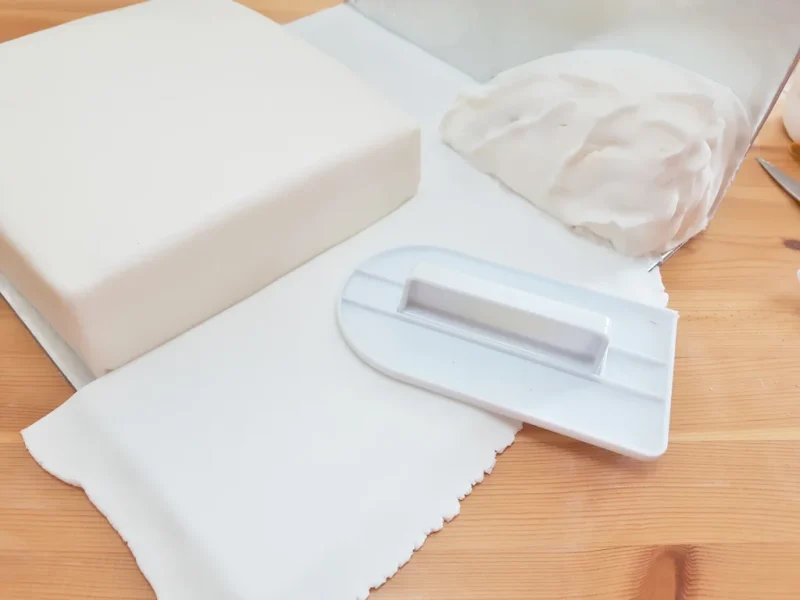
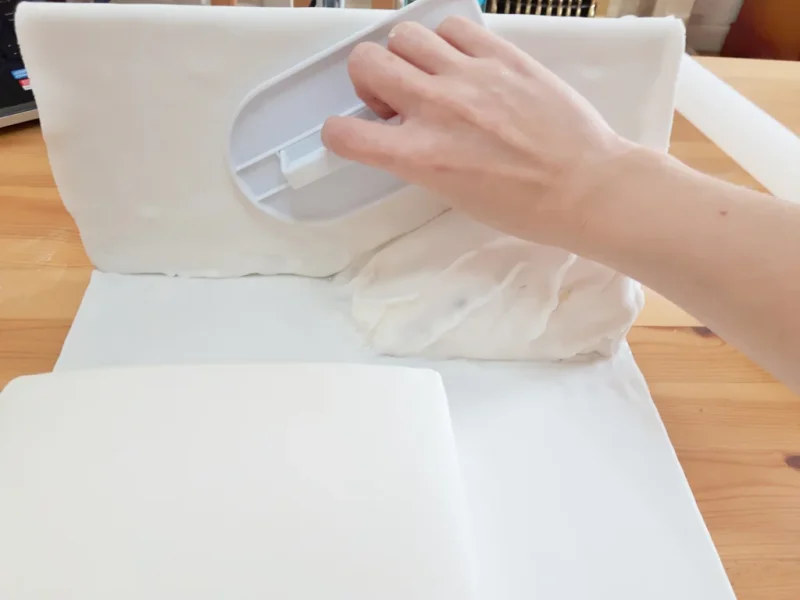
Sieve some icing sugar on the table and roll out icing, make sure it’s larger then the cake. Fold it over your rolling pin and transfer it on the cake. Smooth out the top of the cake with cake smoother. Then with your hands gently press the icing on sides of the cake, starting from the top, making your way down around the cake. If the icing folds over itself or makes funny wrinkles, gently peal that little bit of the cake and go over it with your hand again.
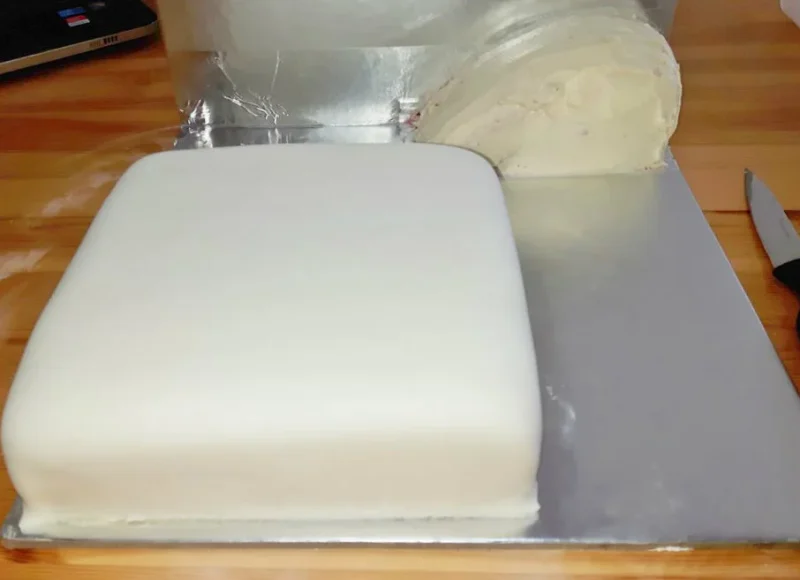
Grab your smoother and smooth out the sides. Cut off the icing around the cake and smooth it again. If you have two smoothers you could make the edges very sharp, but I didn’t so I kind of had to gently pinch the sides and edges with my hand.
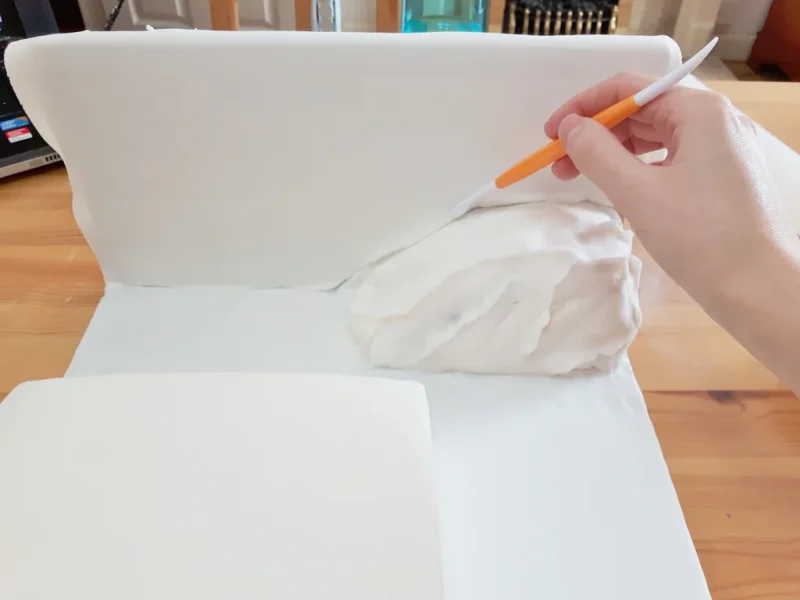
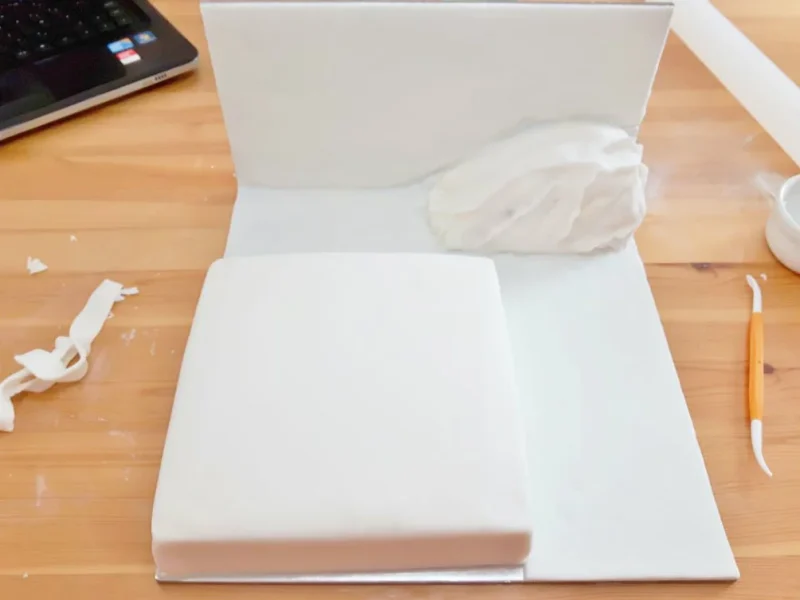
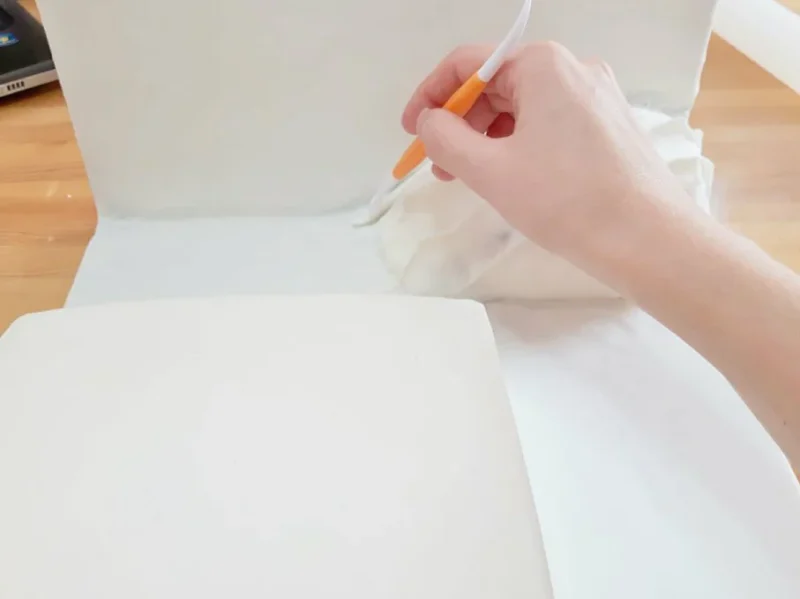
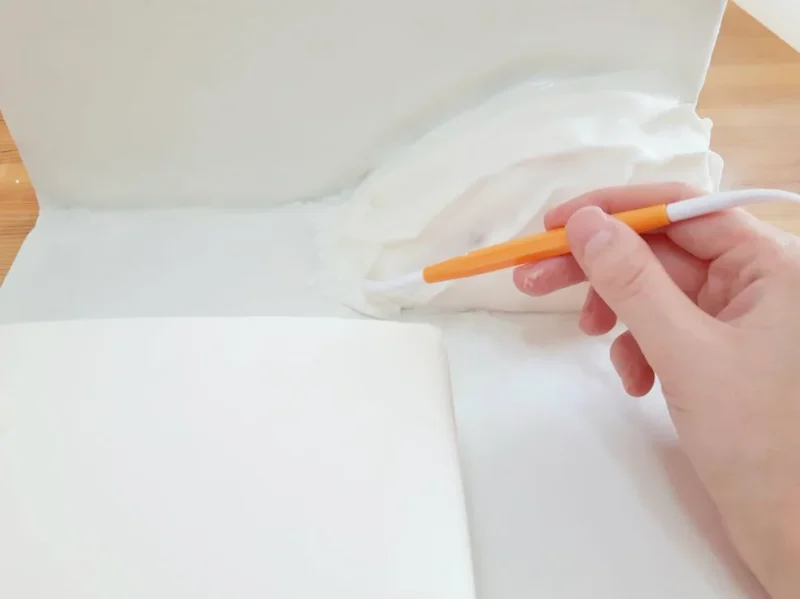
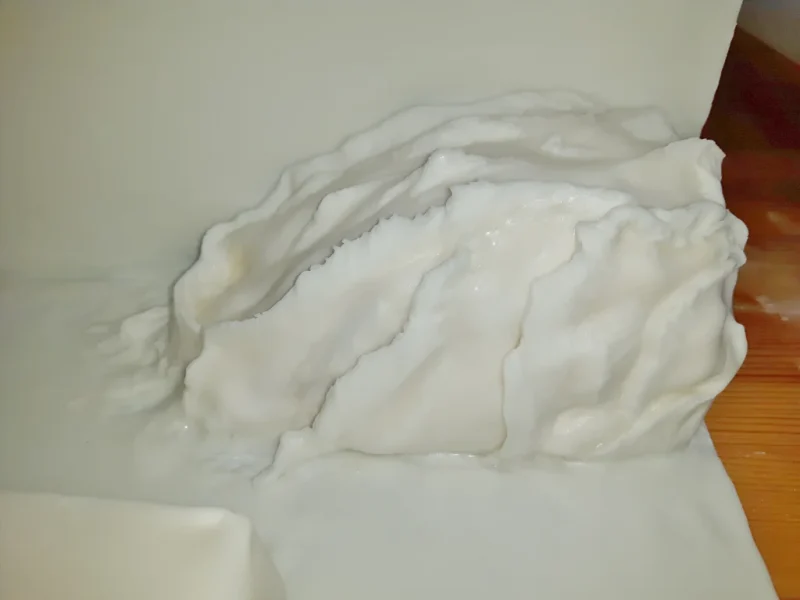
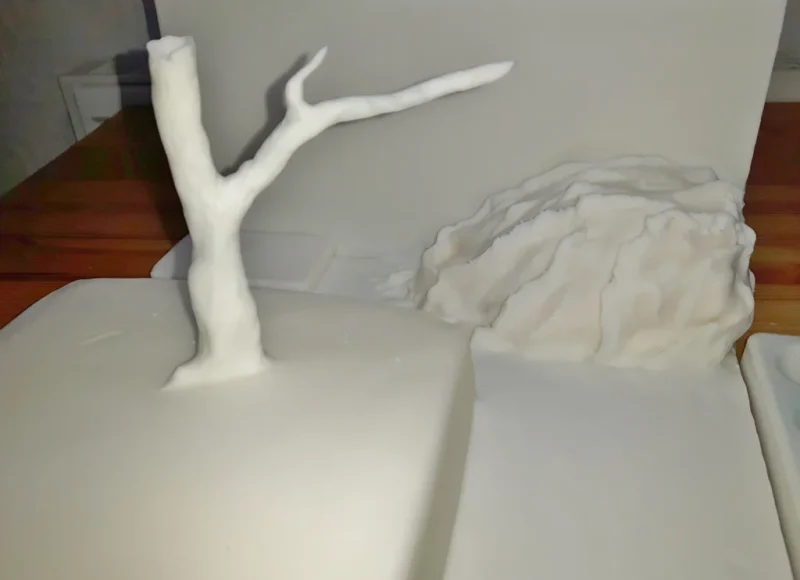
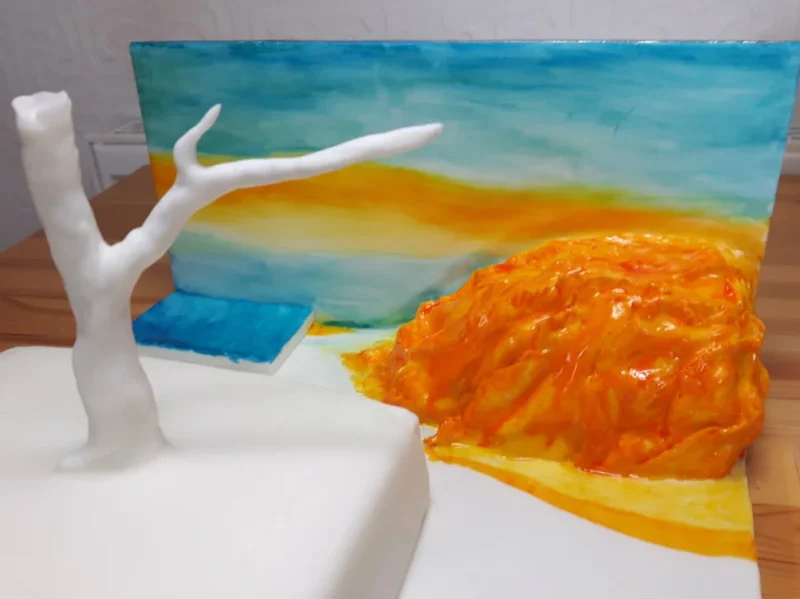
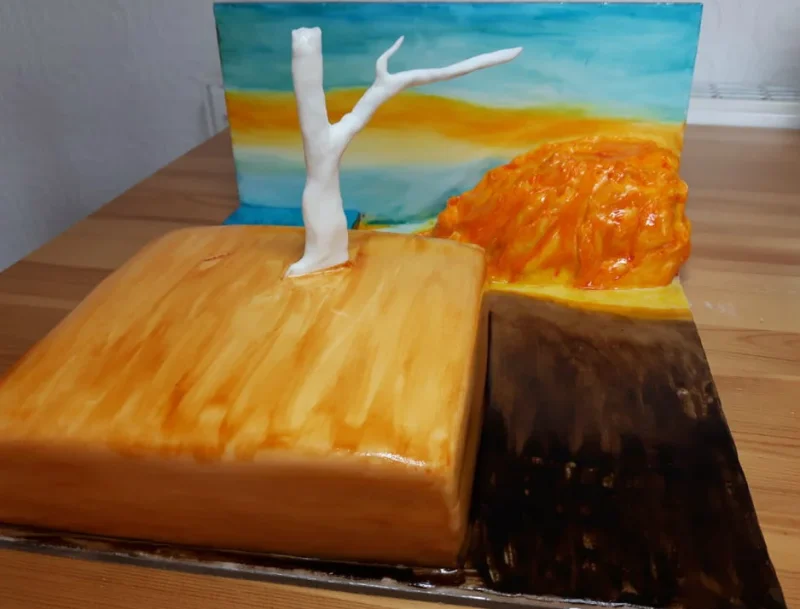
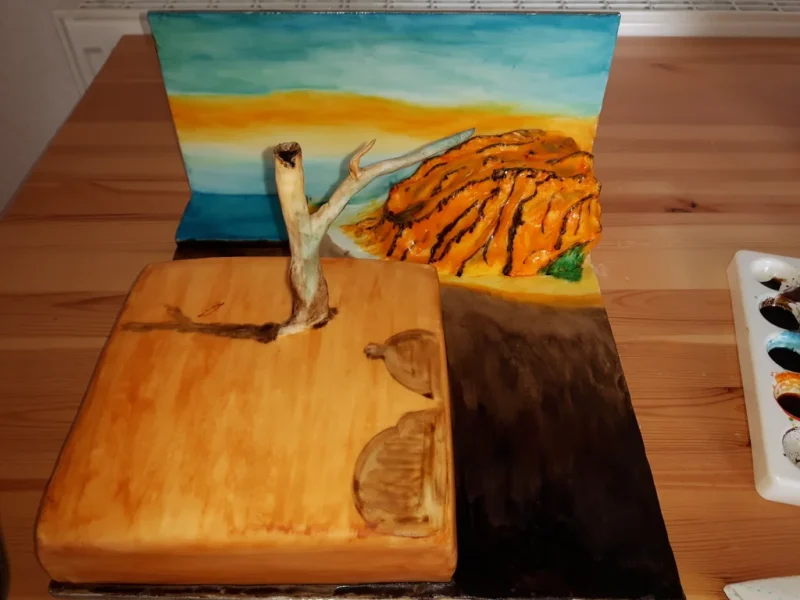
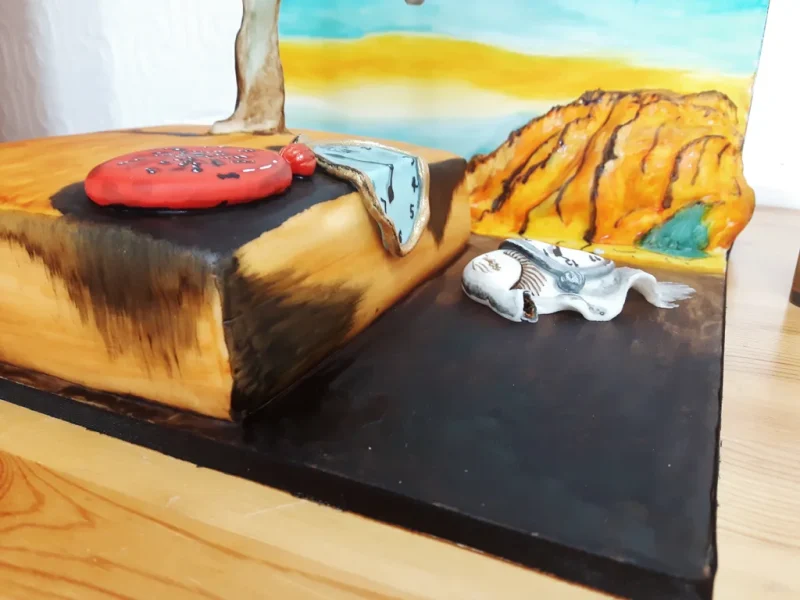
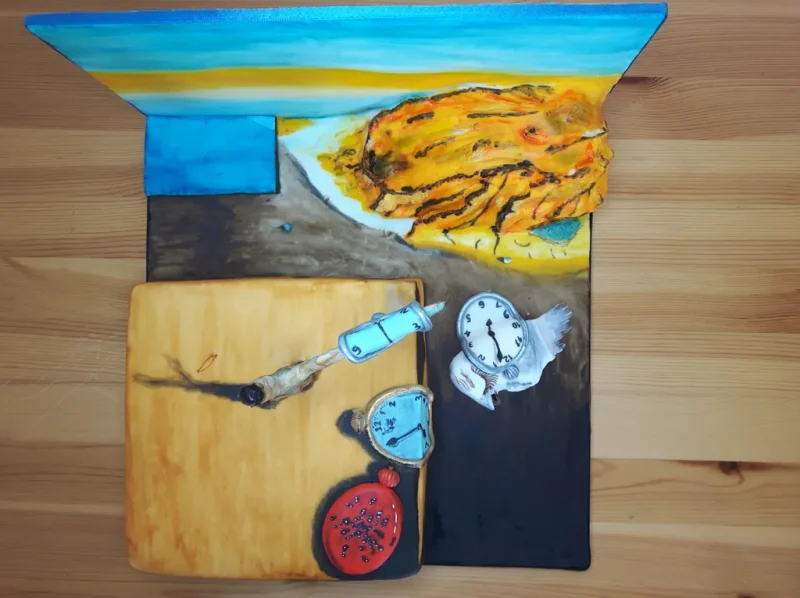
Roll out another piece of icing and cover the hill, when covered, mould it with your fingers to desirable shape. Roll some more icing and cover the empty pieces of cake board, including the backdrop. Smooth the icing and cut off leftovers. Blend it in with the help of leaf shaping toll.
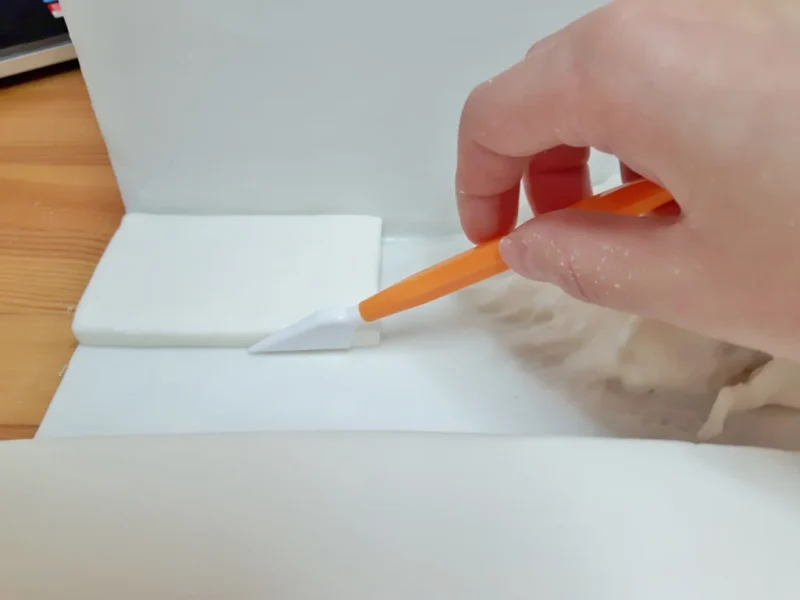
Wherever needed add more icing with water and shape with the leaf and blade tool.
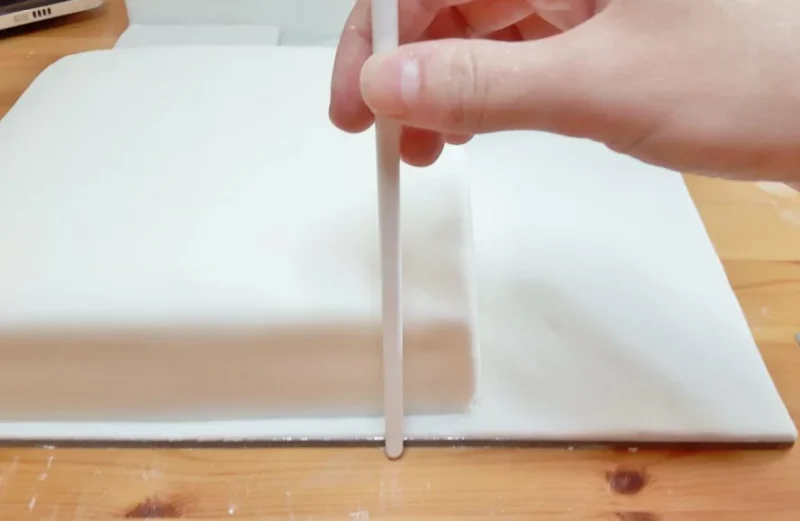
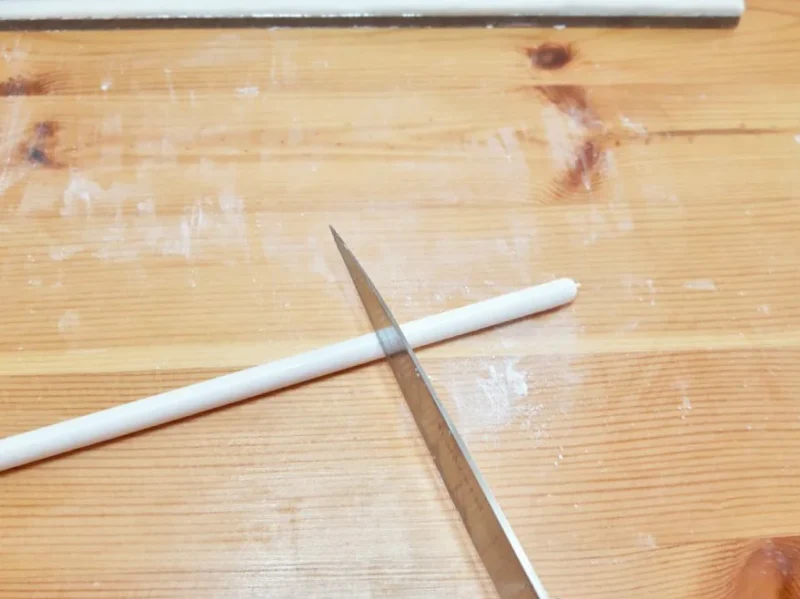
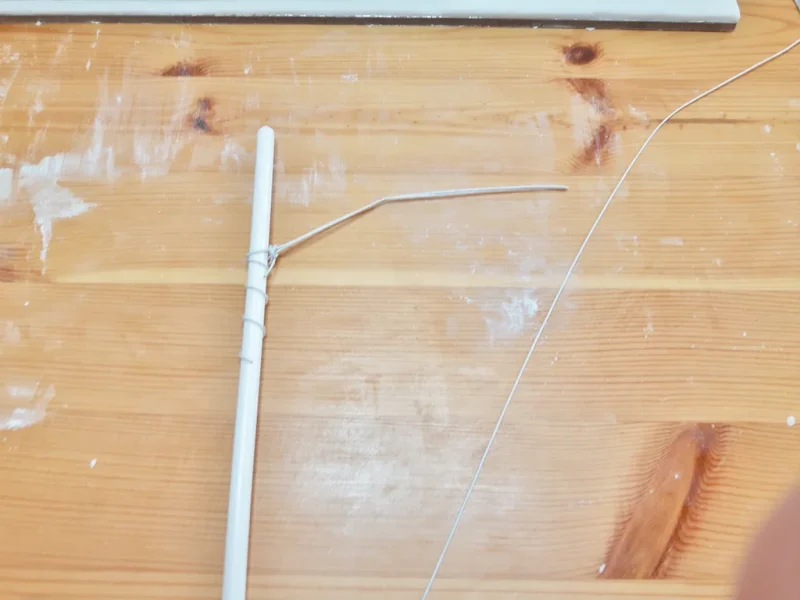
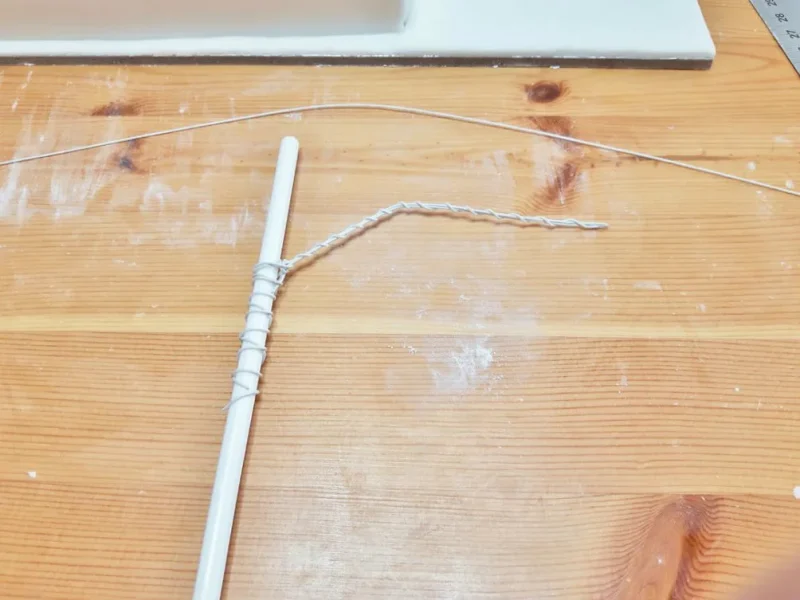
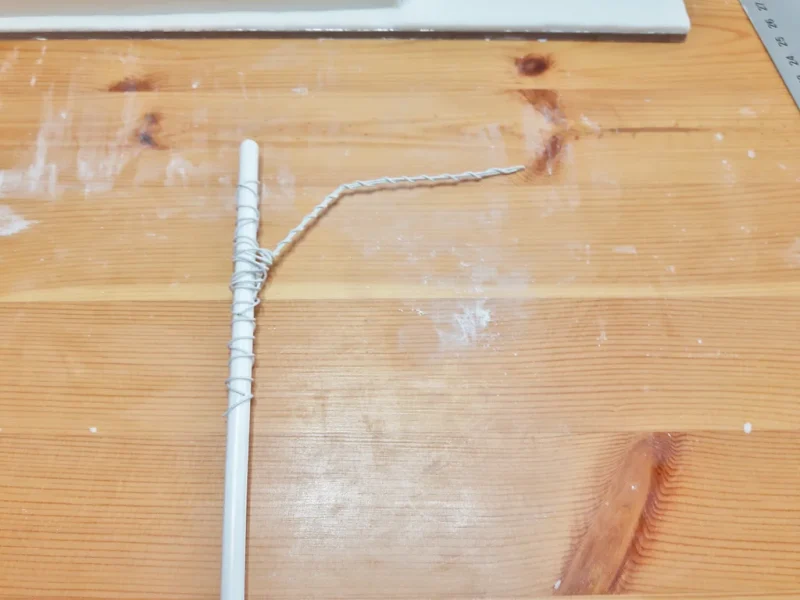
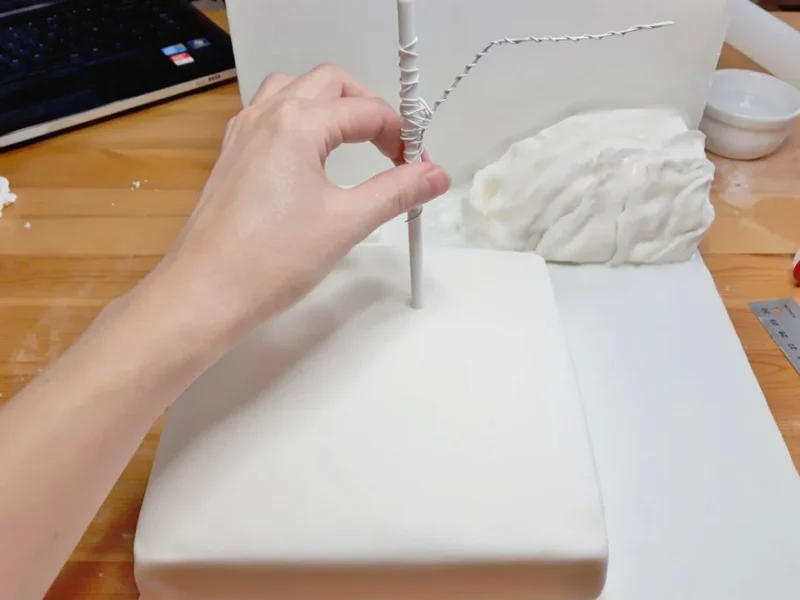
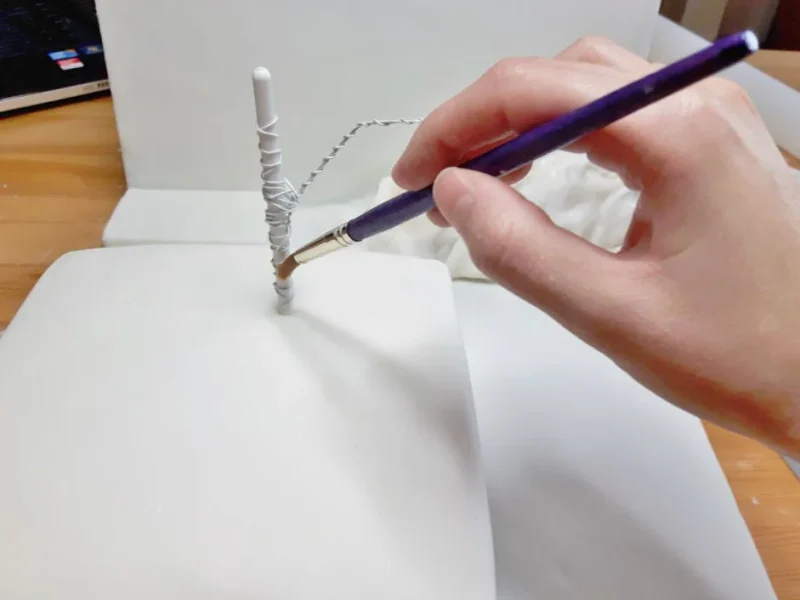
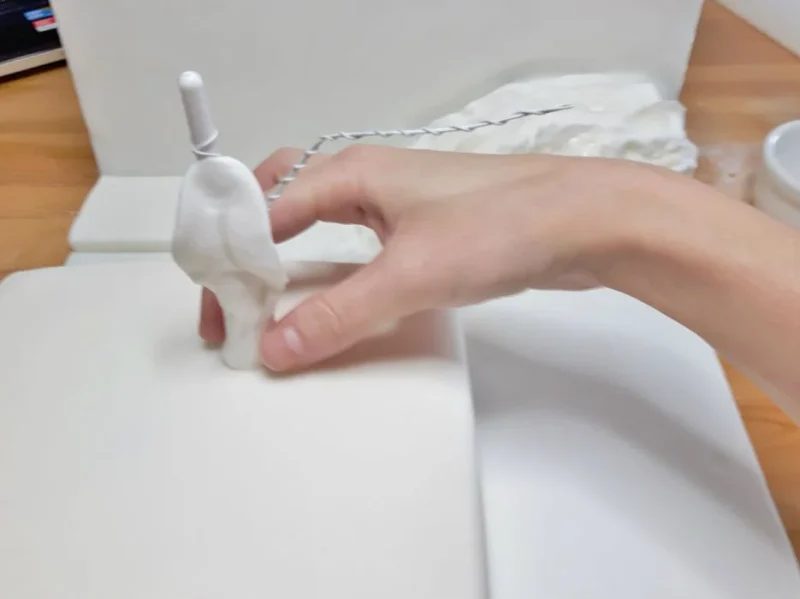
Take the dowel rod, decide how long you would like it to be and then cut it around with a knife. You don’t have to cut it a lot, just mark it and then you should be able to just snap it with your fingers. Wrap three pieces of florist wire around the rod one by one, making “shape of a tree”.
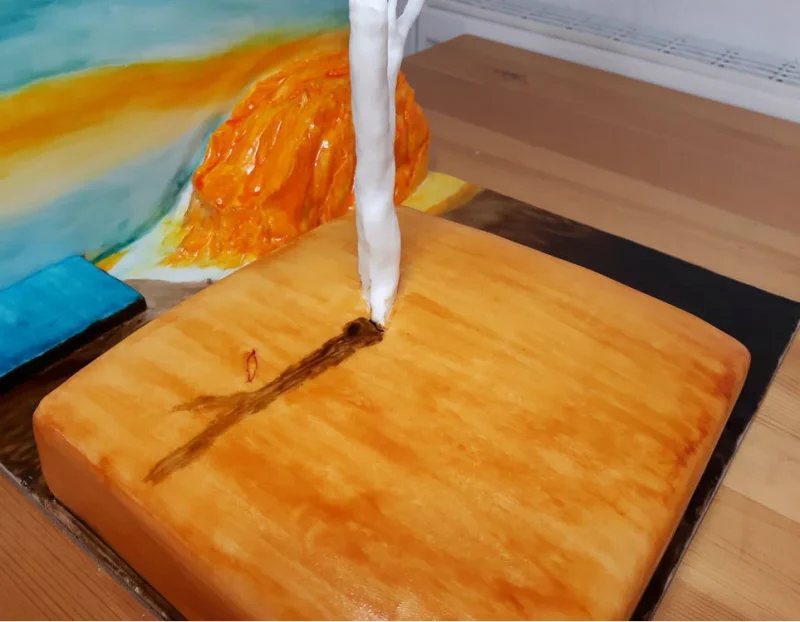
Push the “tree” into the cake and spread a little bit of water over it. Add icing piece by piece and with the leaf tool slowly give it a shape of a tree.
Step 5: Painting
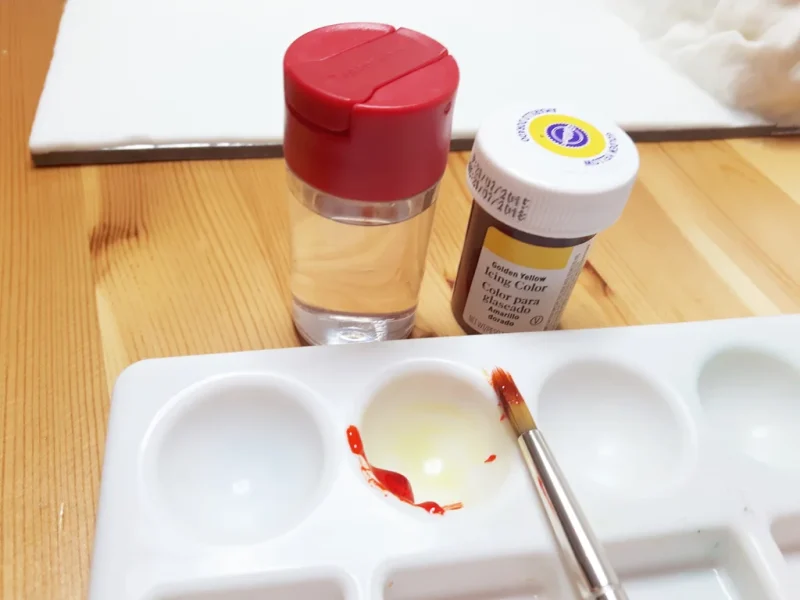
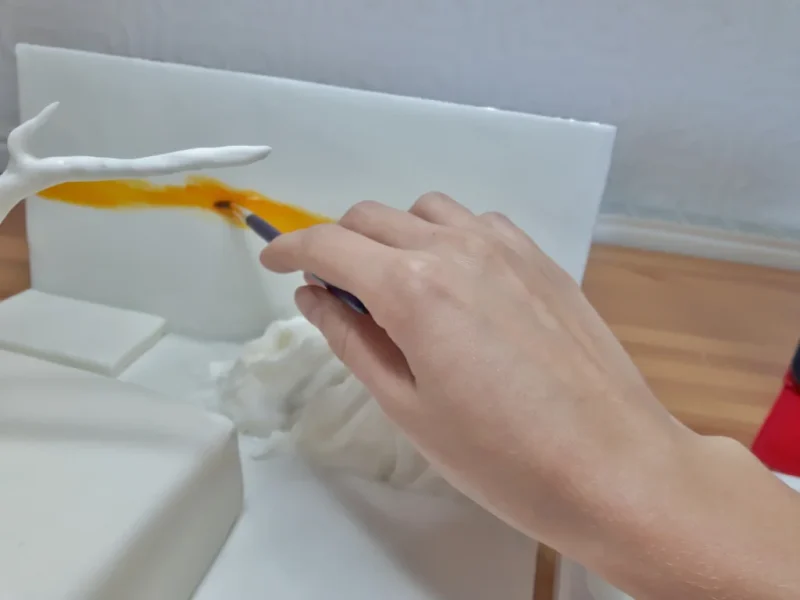
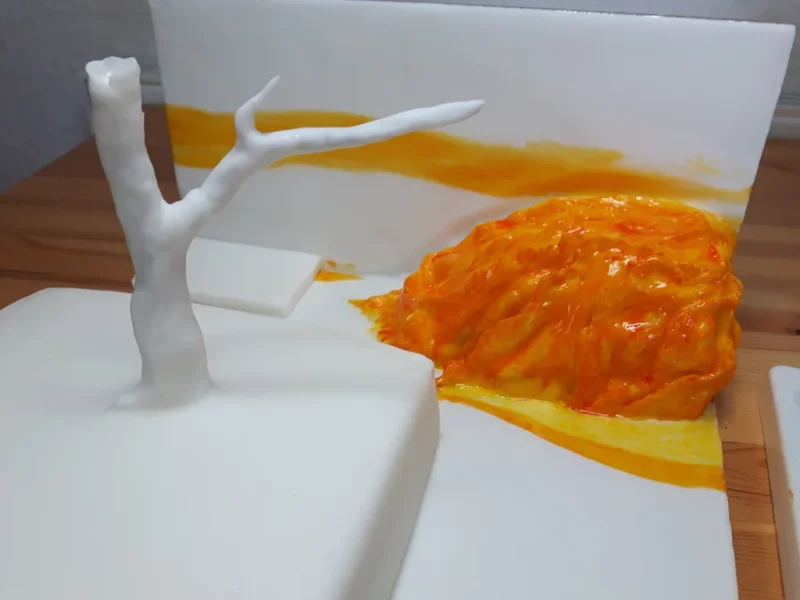
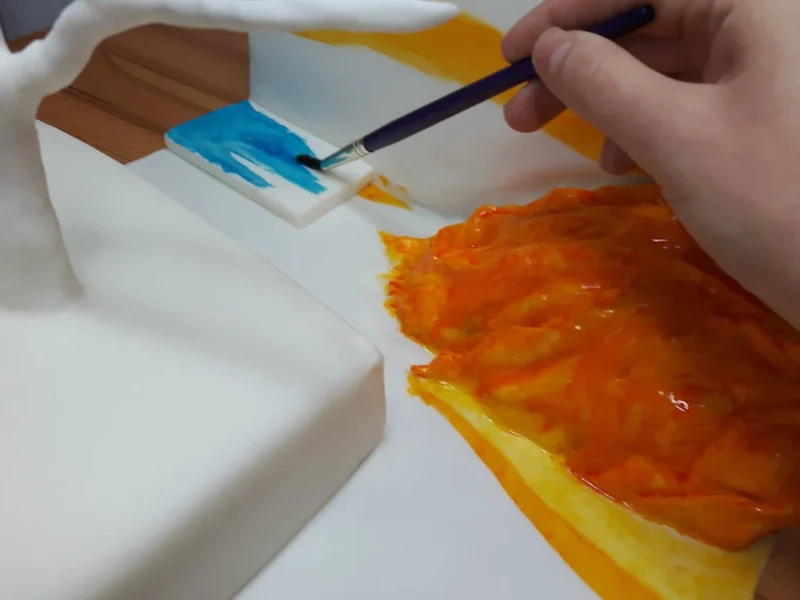
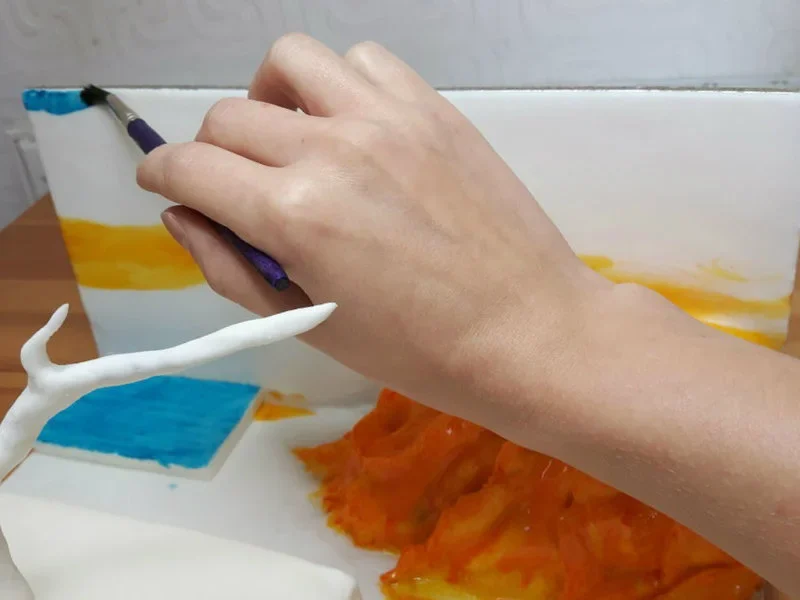
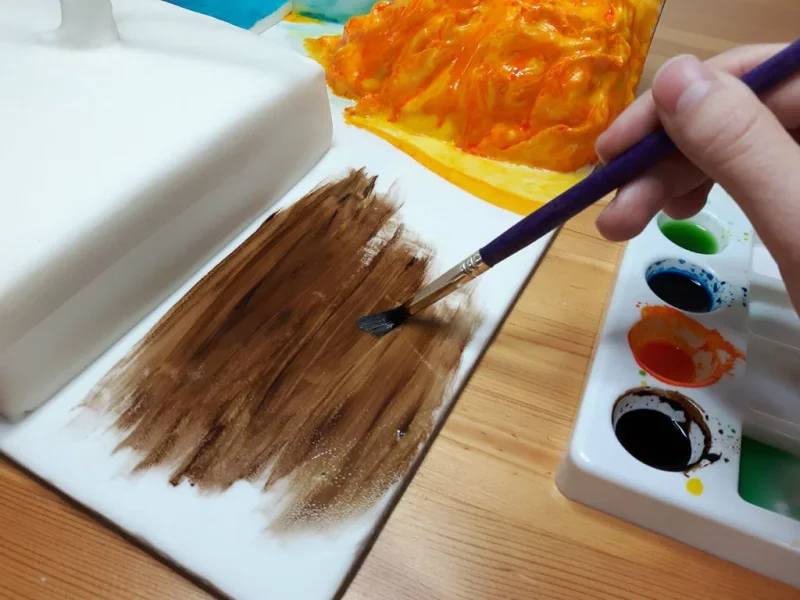
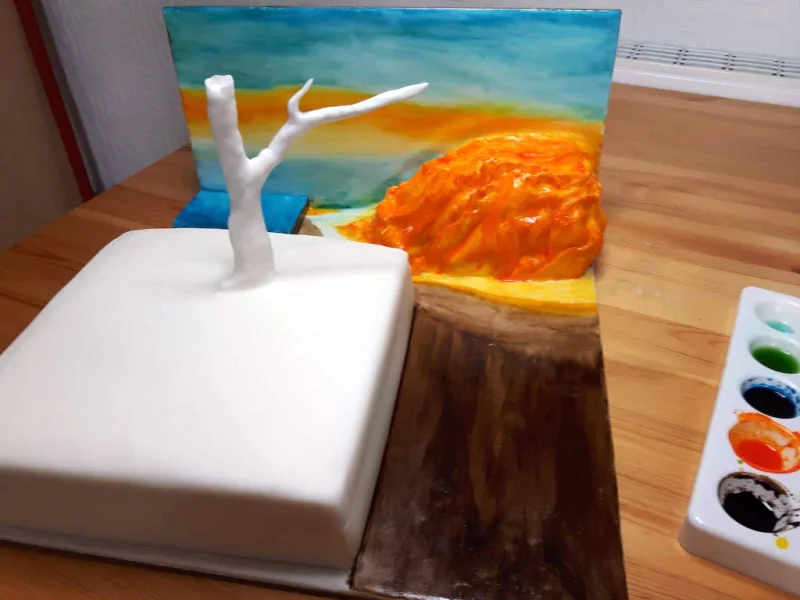
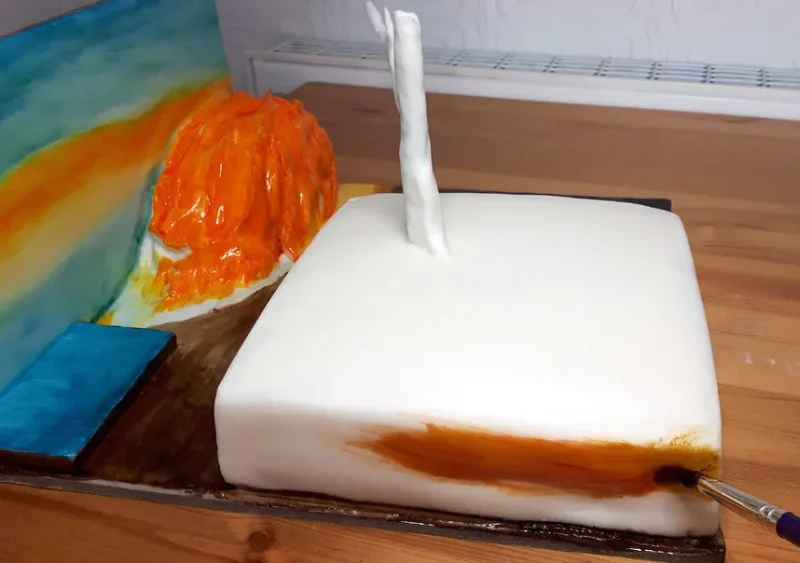
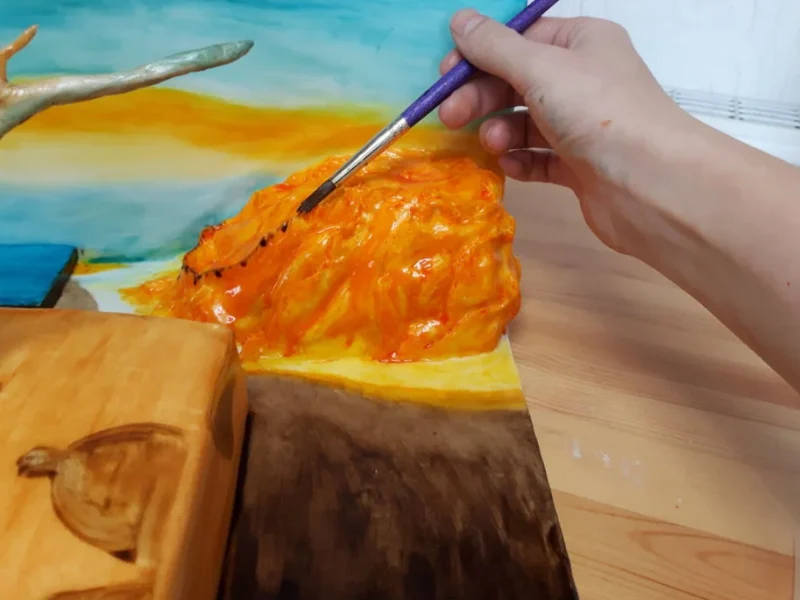
Mix a little bit of vodka with yellow food coloring and paint the backdrop and the hill. Then do the same with blue color. Mix a bit of yellow and brown, add some vodka and paint the cake.
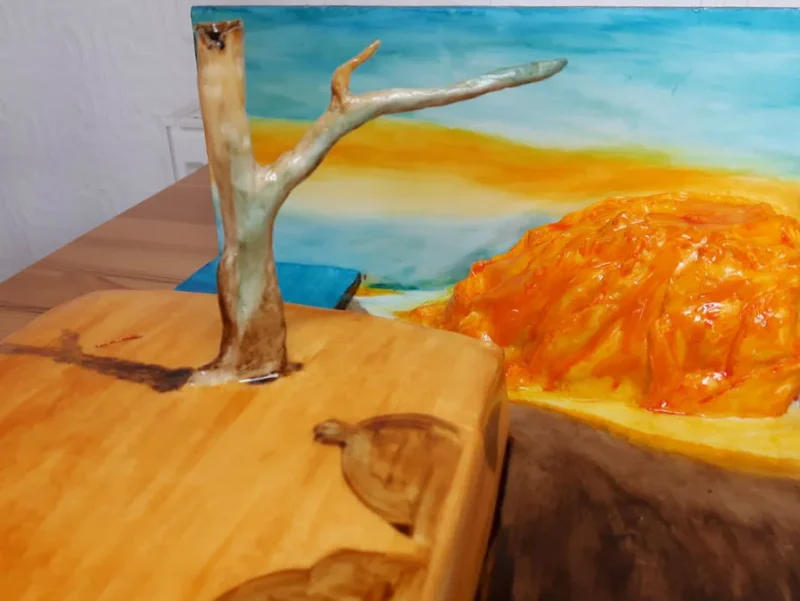
With dark brown paint all around the cake and top of the hill. Paint the tree with blue and brown. If your color is too dark, add more vodka, if too light, then you can either wait for vodka to evaporate or you can add more food coloring.
Step 6: Tick-Tock
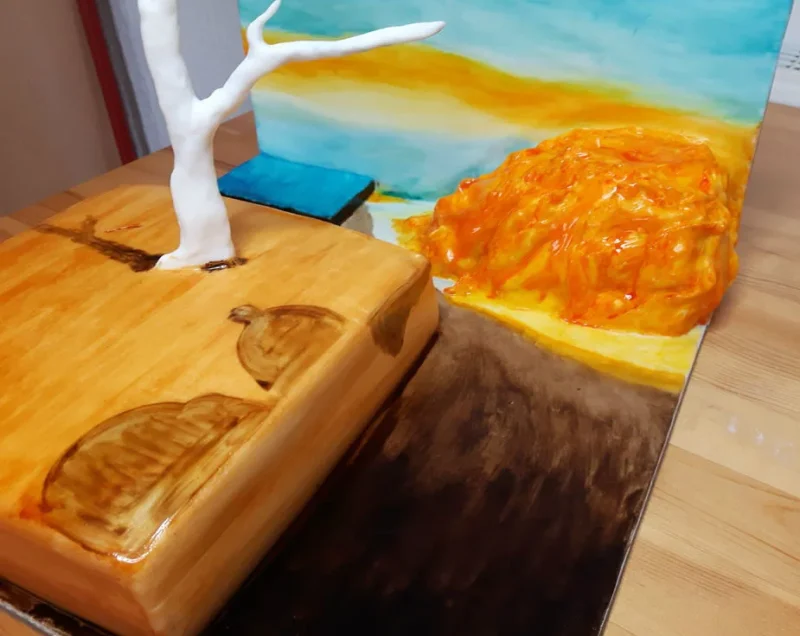
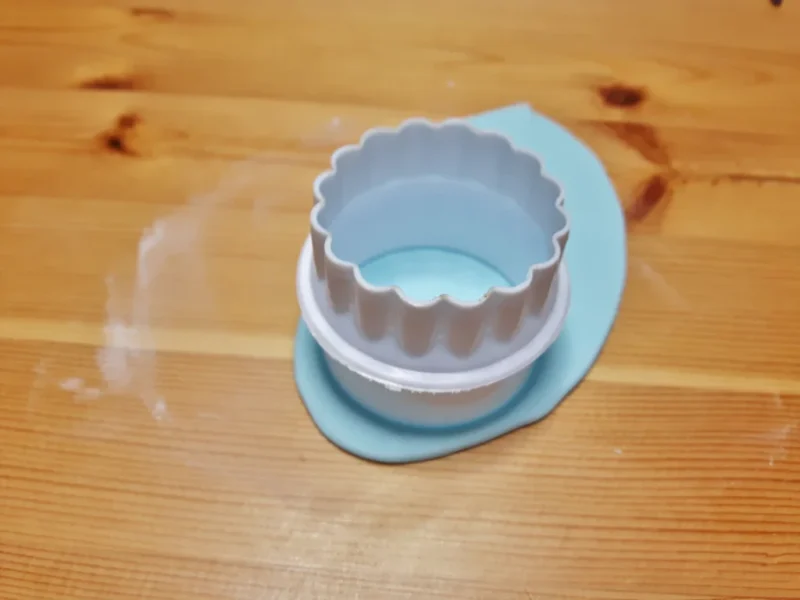
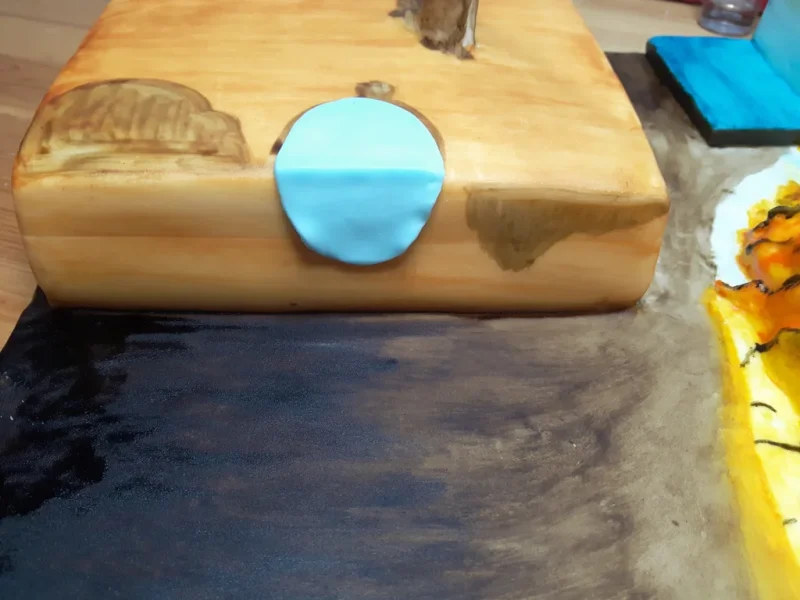
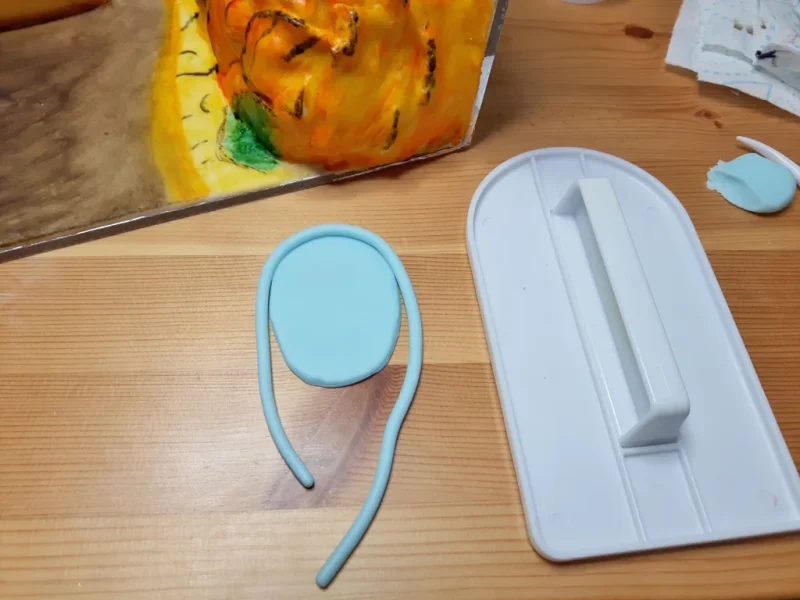
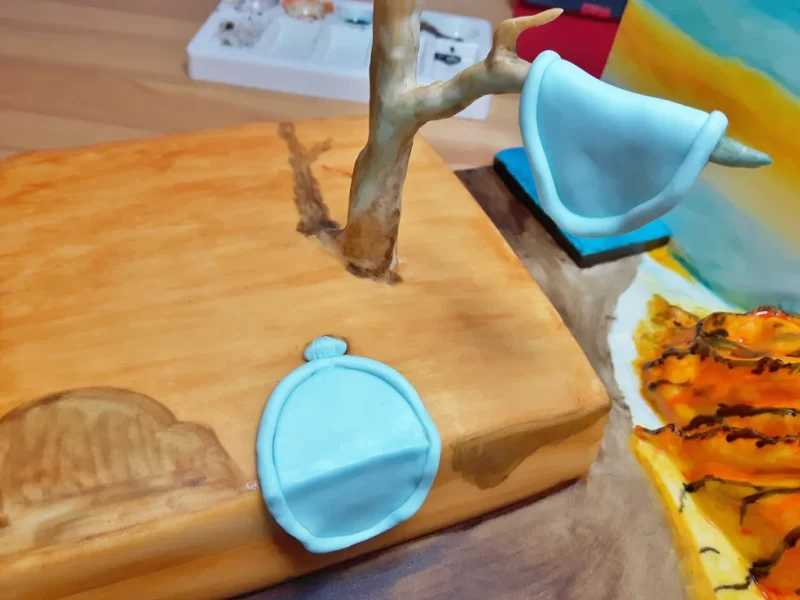
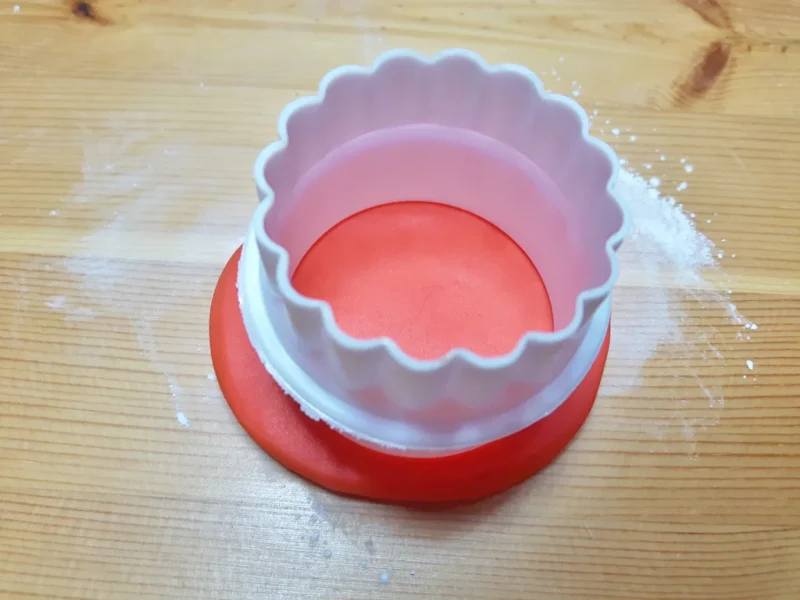
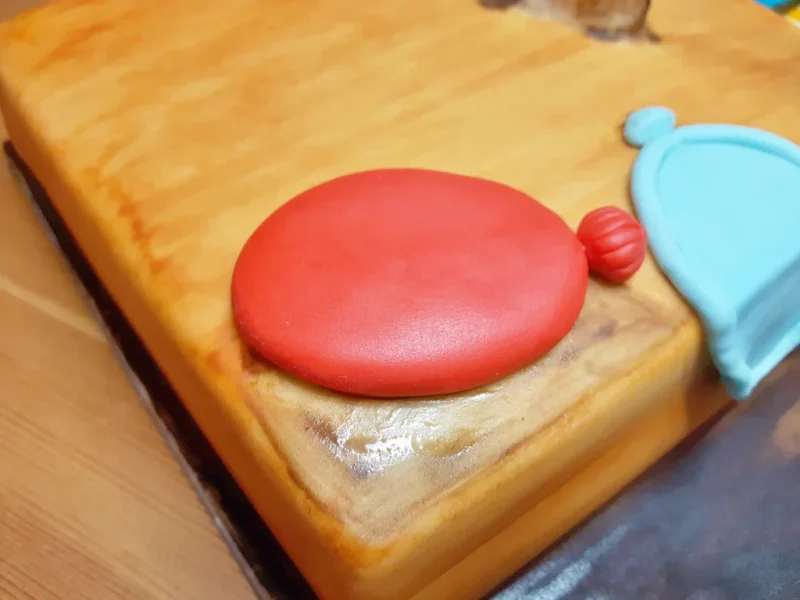
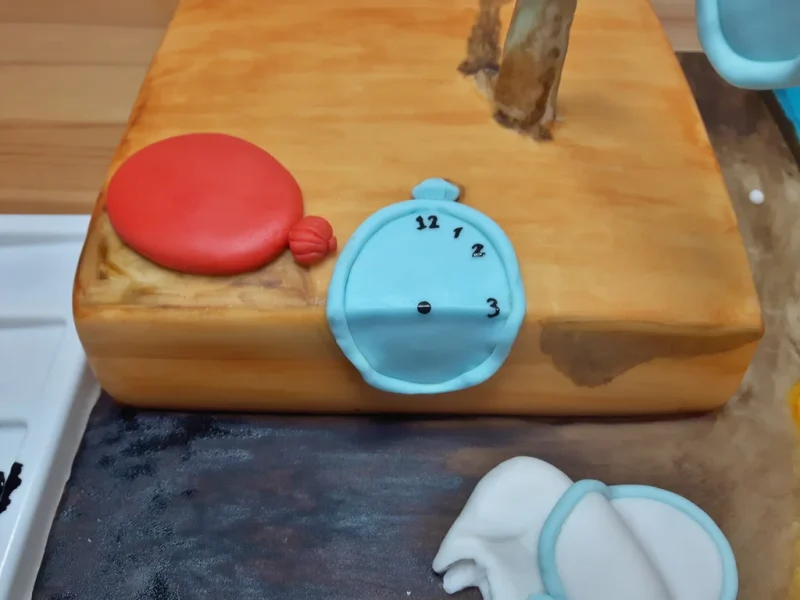
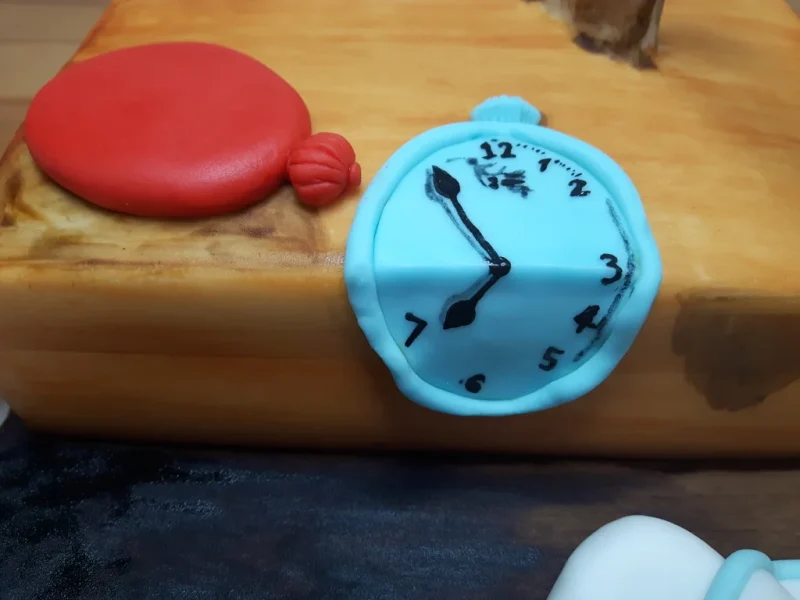
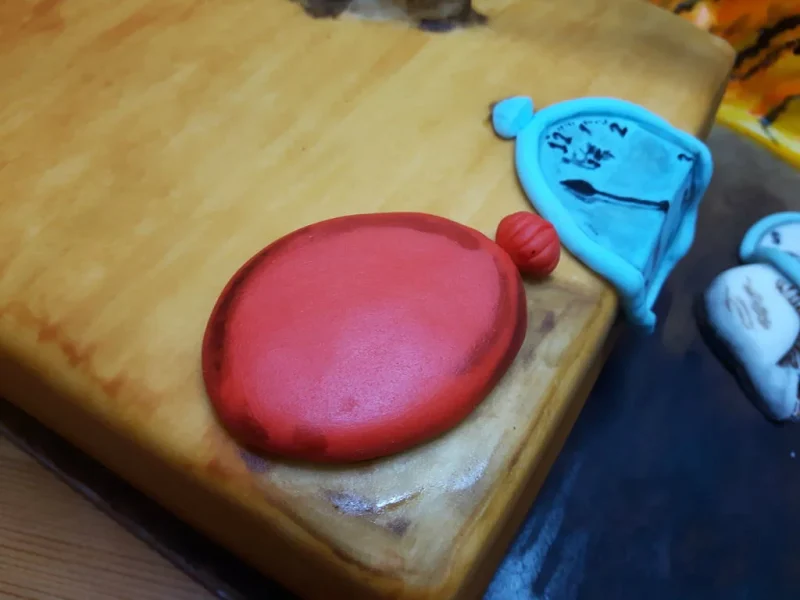
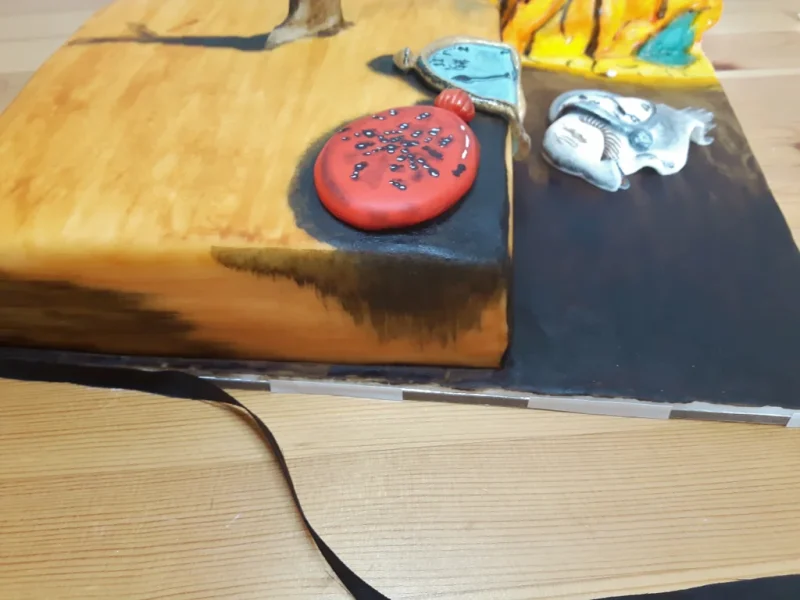
Mix some icing with a bit of blue food coloring, roll it out and cut two circles. Stretch them little bit and stick in the place with water. With the smoother, roll out a strip of icing as a frame for clock and stick that as well. Mix a bit of yellow and a bit more red with icing, roll out to about 0.4 cm and do the same as with previous two clocks.
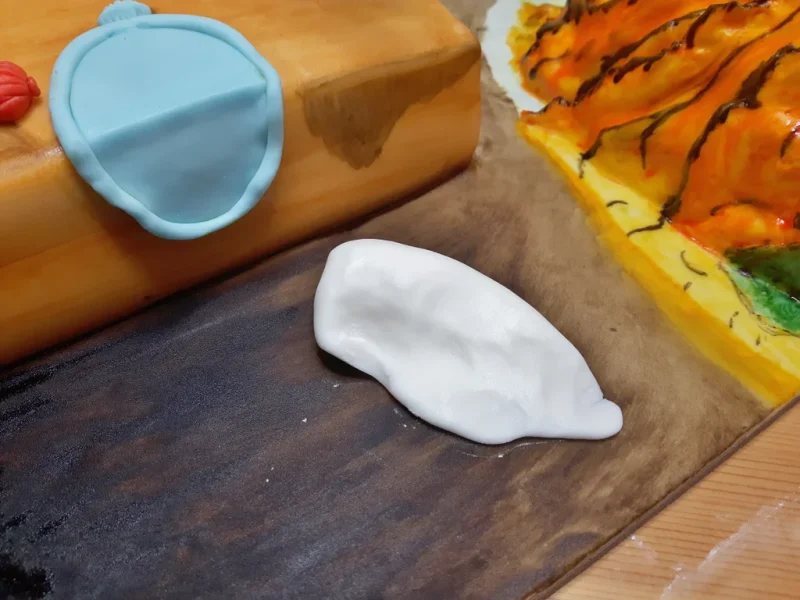
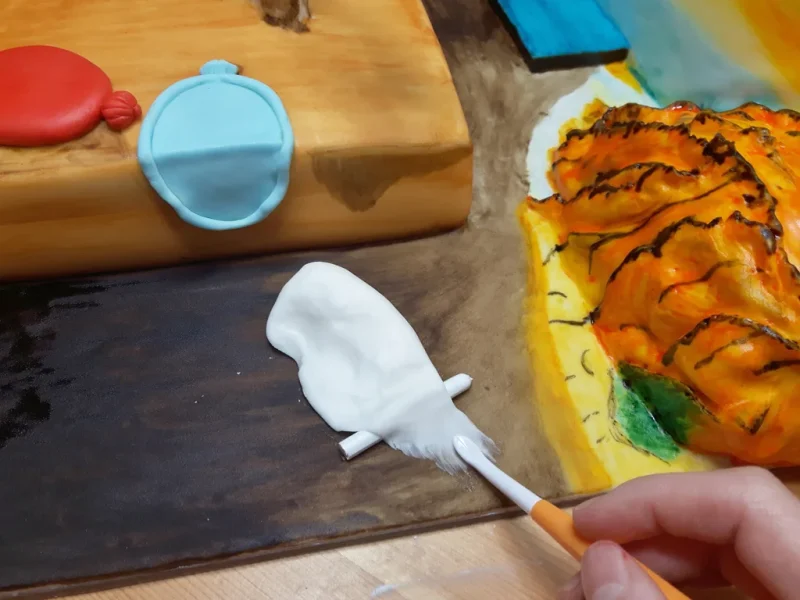
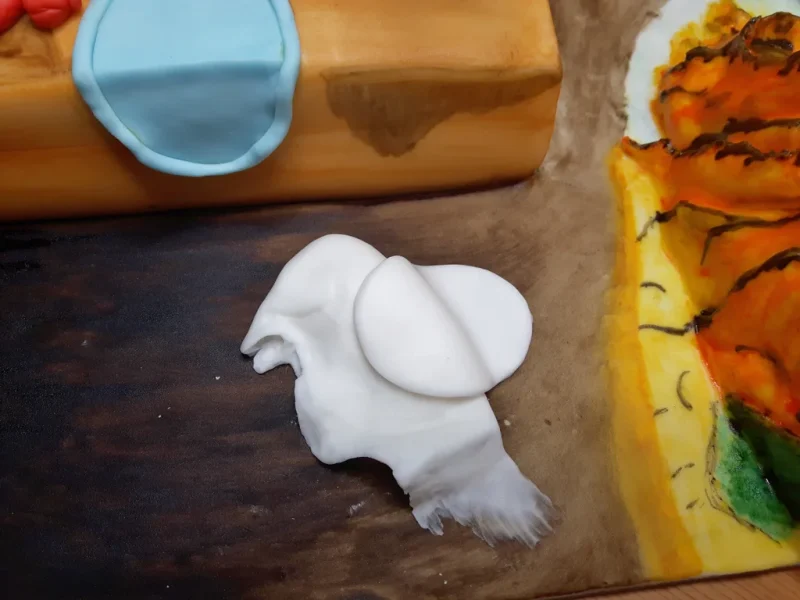
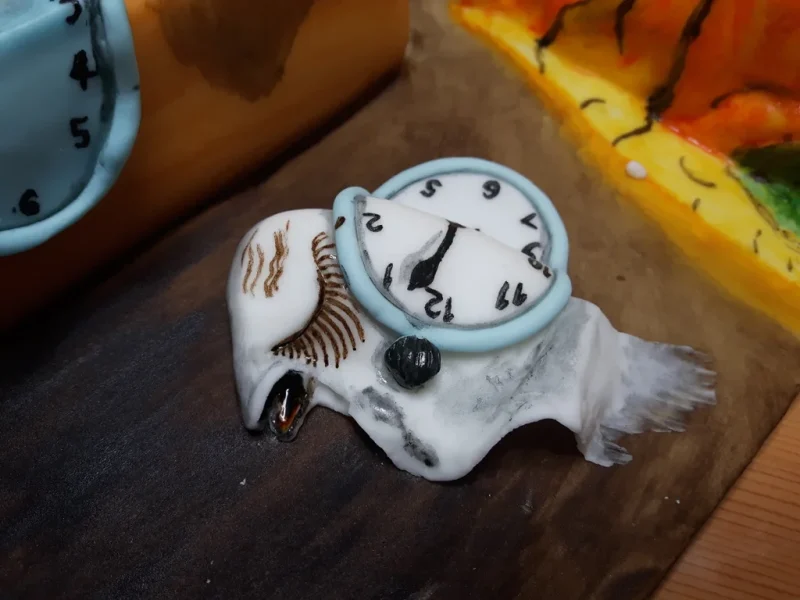
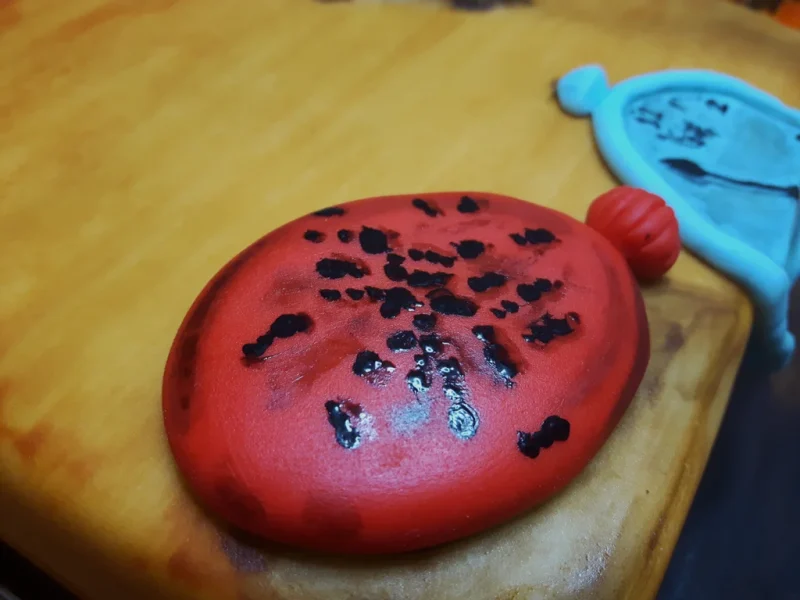
Create the creature from white icing using the leaf tool. Mix the black food coloring with a tiny bit of vodka and paint the numbers on all of the clocks and ants on the red clock. Add more vodka to the black color and paint the shades. Then you can use the left over brown color to paint the shades around the cake.
Add tiny bit of vodka to gold and silver luster dust (separately) and paint the clock frames. Then do the same with white luster dust and paint the reflections on ants and clocks.
Step 7: Ribbon
At this point you could pretty much just leave it, but I think it looks nicer with the ribbon around.
Grab the ribbon, put it around the cake and cut the necessary length. Put double sided tape around the cake board and press the ribbon on.
I didn’t have an appropriate ribbon size for my cake board, so I had to cut it half way, then stuck it to the board and went around with a lighter.


First Prize in the
Cake Decorating Contest

