Personalised Helping Hand With Fume Extractor
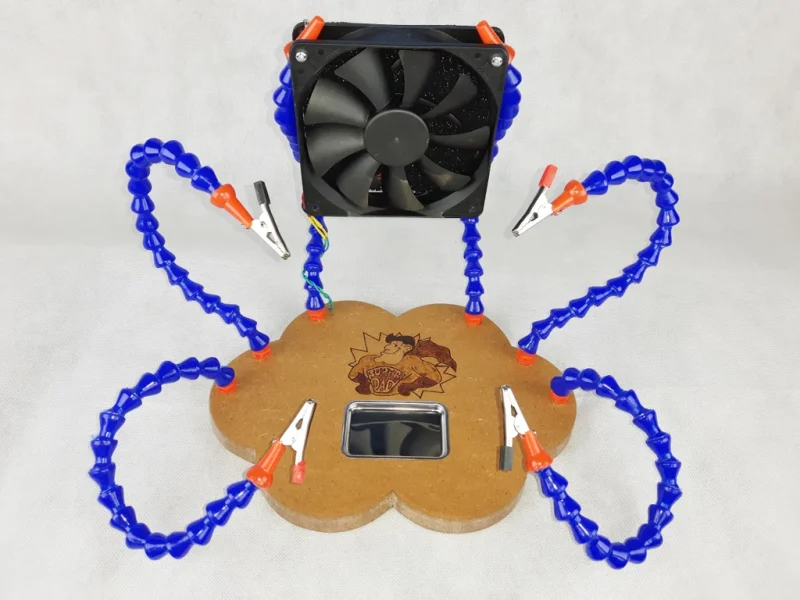
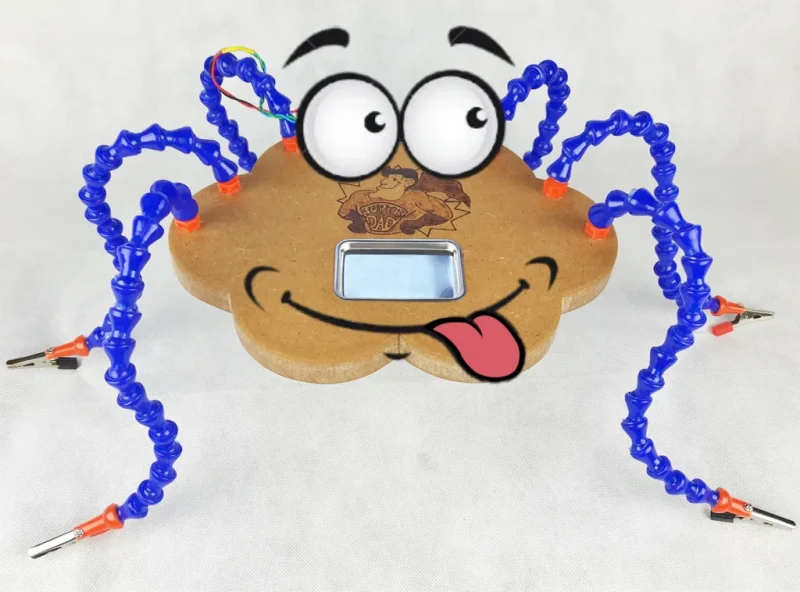
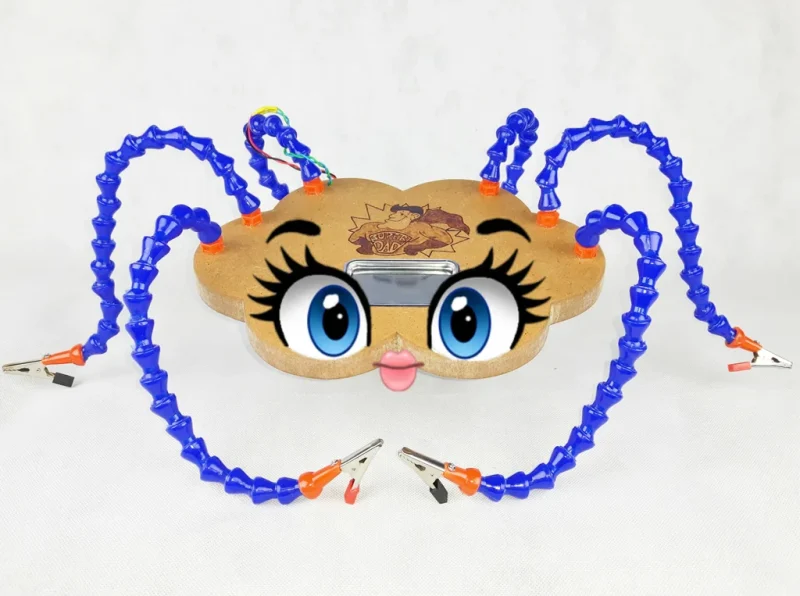
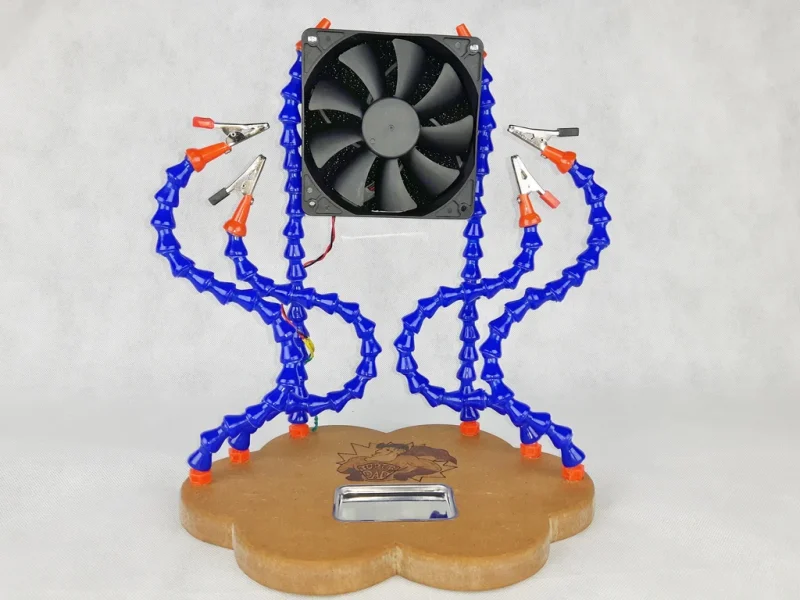
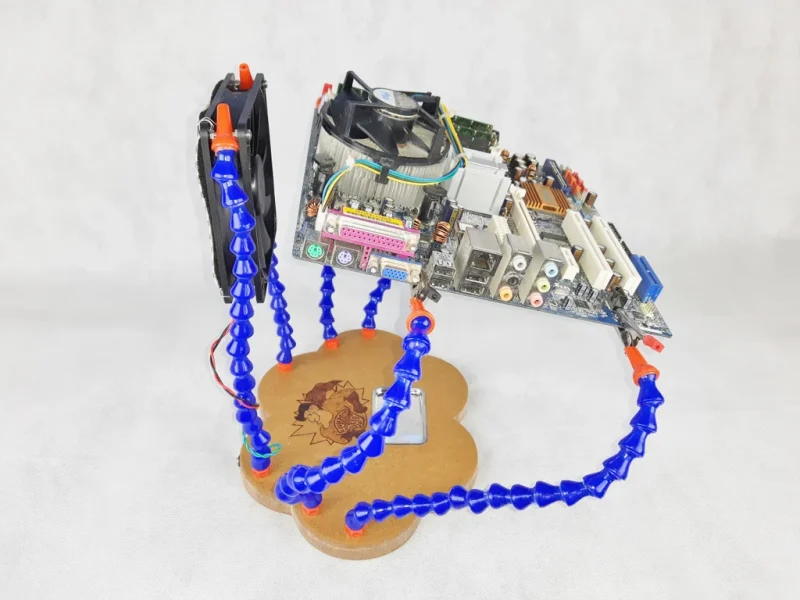
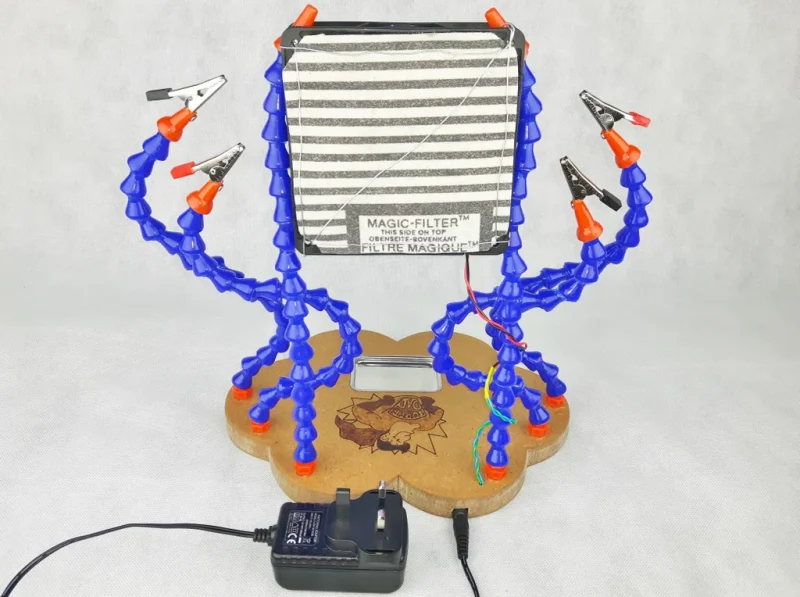
I’ve seen quite a few of these helping hands out there that use coolant pipes, but I felt like they wouldn’t quite serve my requirements. I really wanted something that would support larger items like a computer motherboard without it becoming unstable and falling over, so I decided to make my own. I made mine quite a while back and to this day I enjoy it so much that I decided to make one for my daddy too. You can see the first one I made in the last photo in this step.
Here is a video, if you prefer to watch:
Materials And Tools
Materials:
- 26cm x 20cm x 2cm MDF
- 6 x Plastic Coolant Pipes
- 4 x Alligator Clips
- Computer fan
- 2 x M3 Bolts + 4 nuts
- DC Female Connector
- 12V power supply
- Small metal tray
- Heat shrink
- wire
- 6 x felt pads
Tools:
- Jigsaw
- Drill
- Sandpaper
- Tap & Die set
- Pipe Grips & Spanner no.13
- Chisel set
Step 3: Fume Extractor
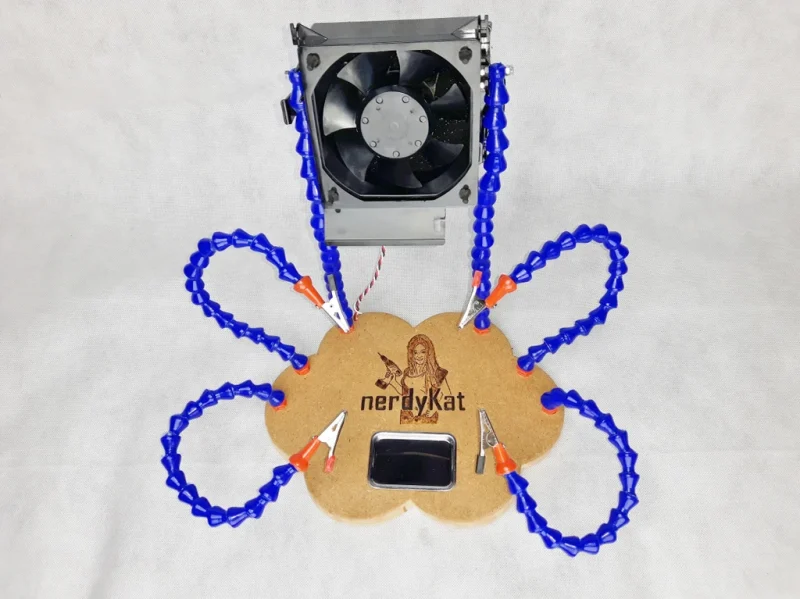
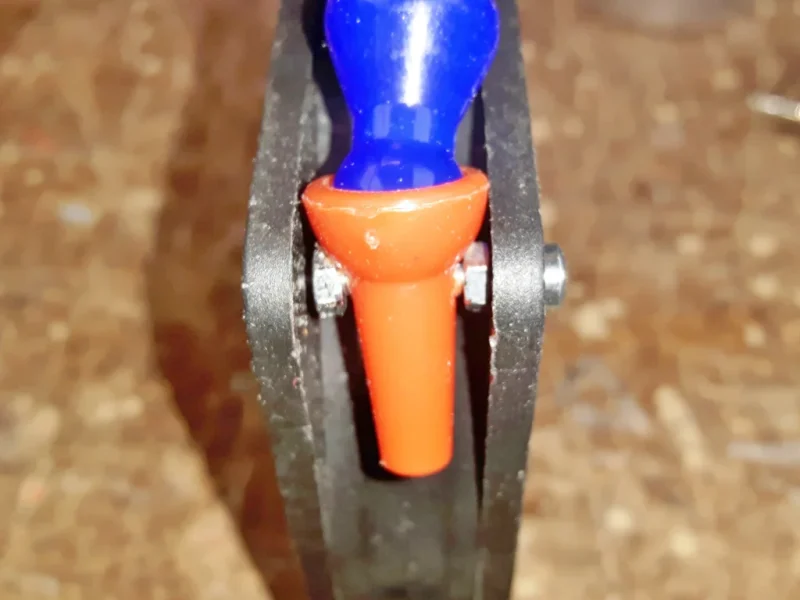
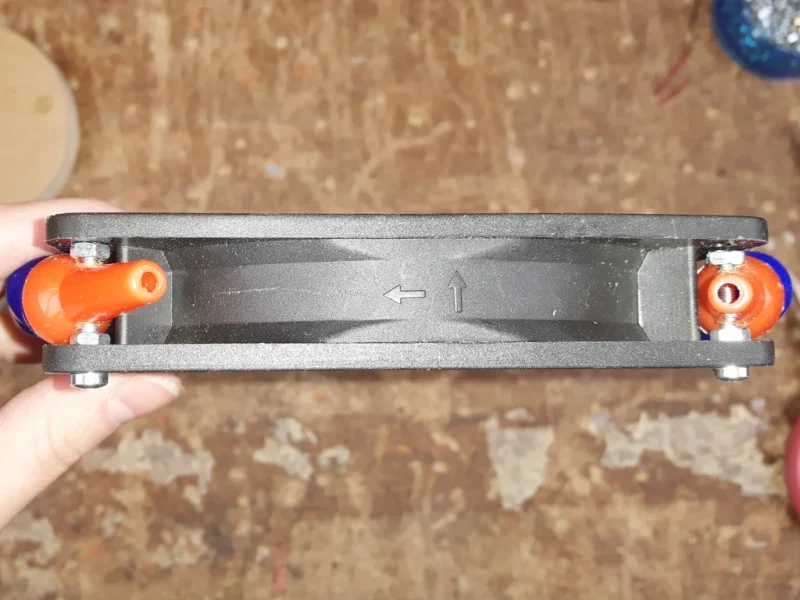
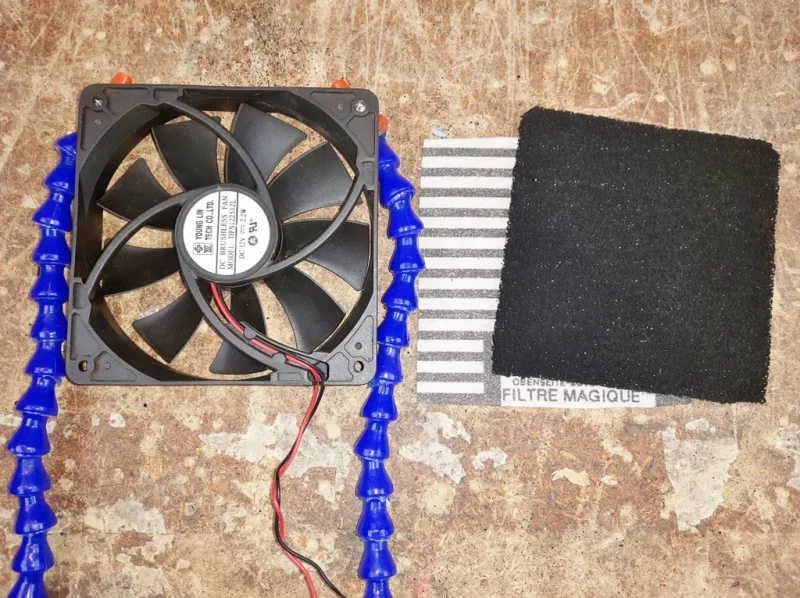
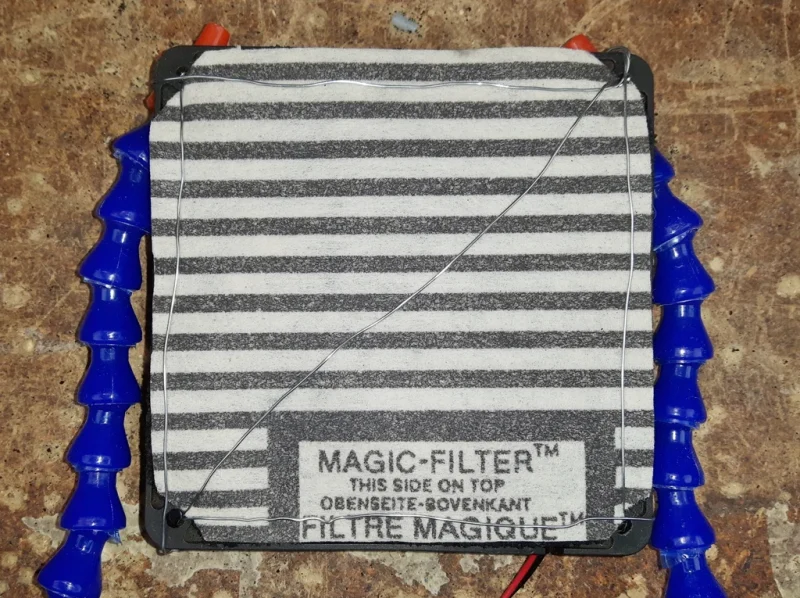
Take two coolant pipes and make a hole in the top. Thread the screw through the fan hole, followed by a nut, followed by coolant pipe and a nut once again. I had spare kitchen extractor filters lying around, so I cut them into squares and secured them in with a piece of wire as you can see in the photo.
Step 5: Burning
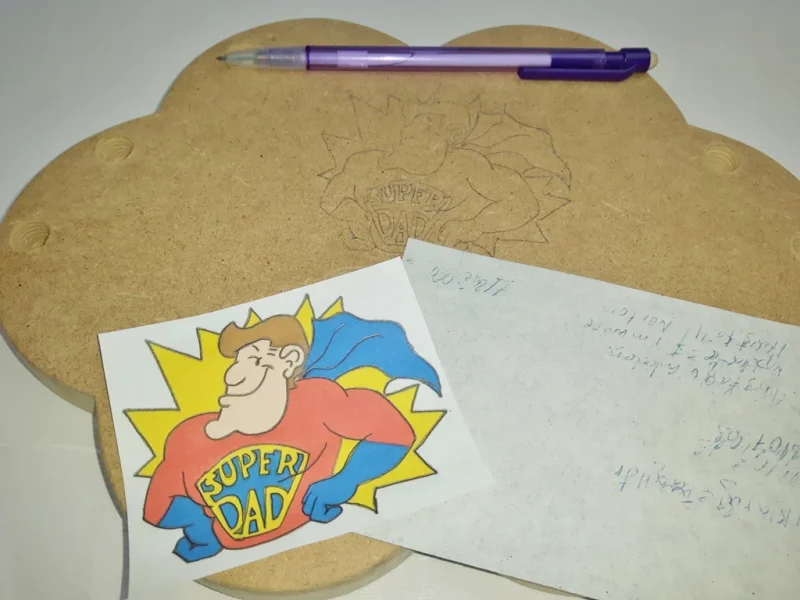
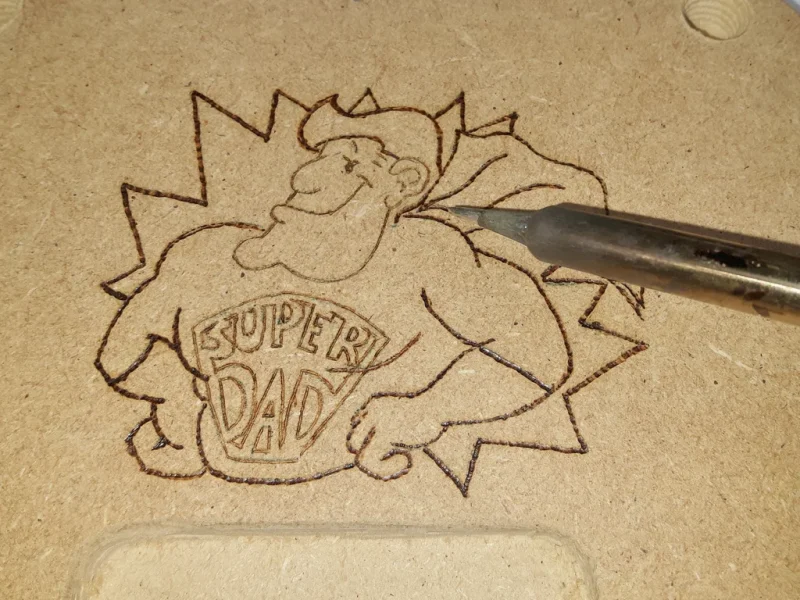
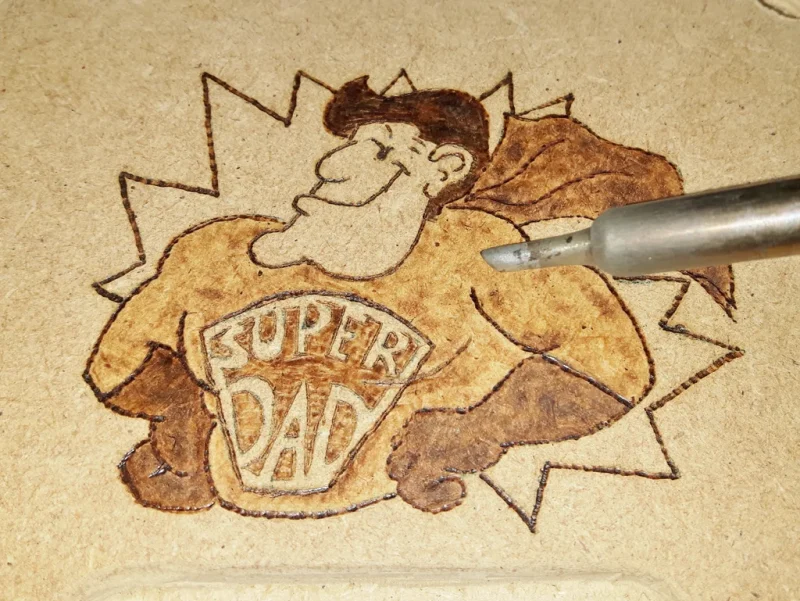
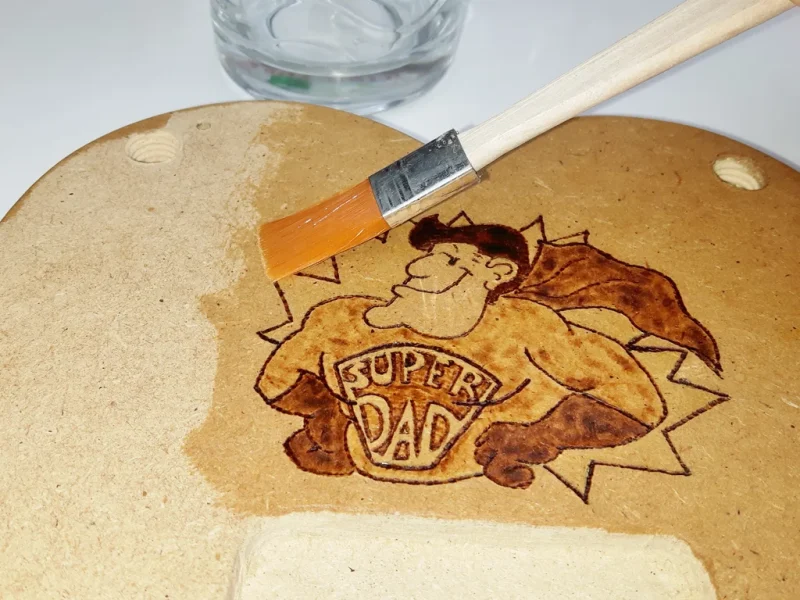
Print out your desired picture, place it on a tracing paper and trace onto the base. Using a soldering iron with a fine tip outline the picture. Change the tip to a bevel one and colour in (lower temperature = lighter shade). I decided to finish the base with coconut oil (not sure if that was the best thing for it, but it smells lovely :D).
Step 6: Assembly
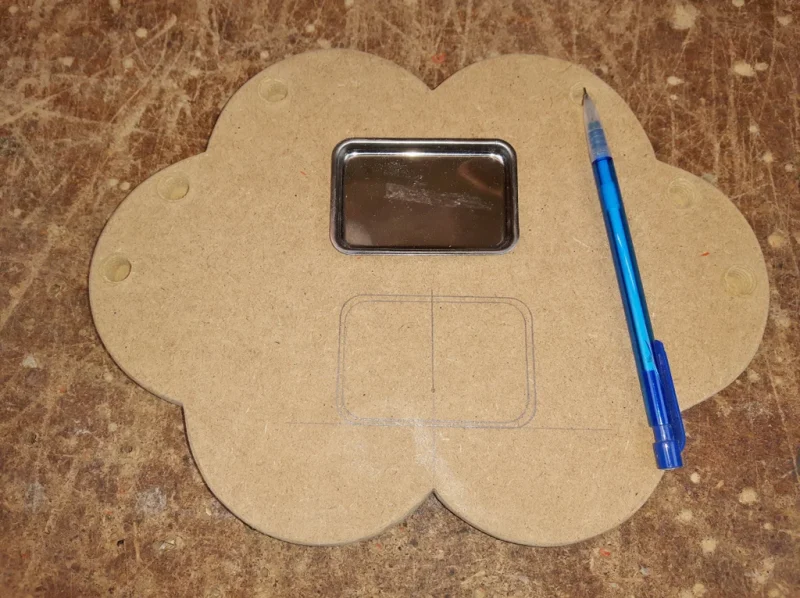
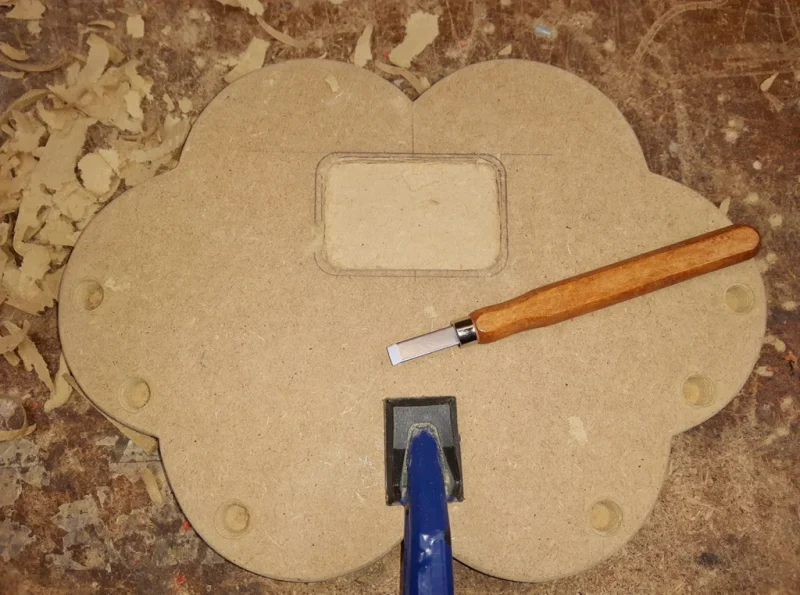
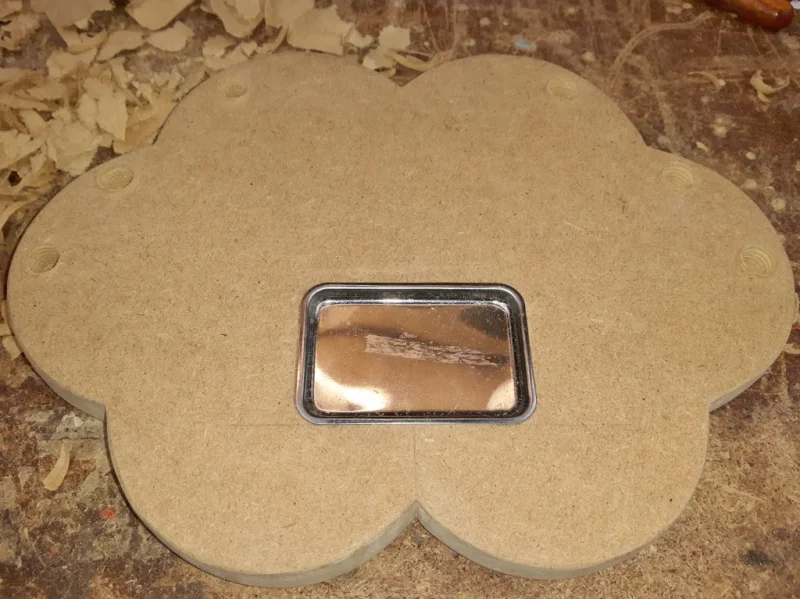
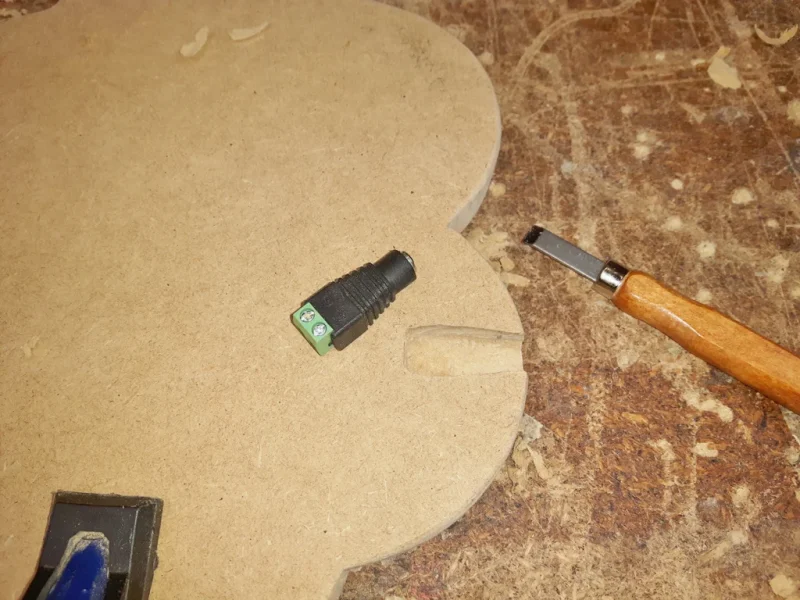
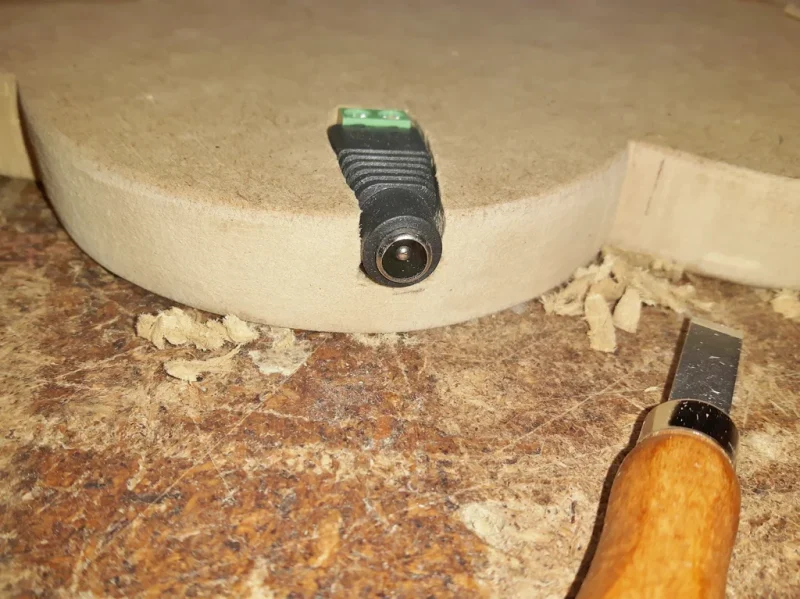
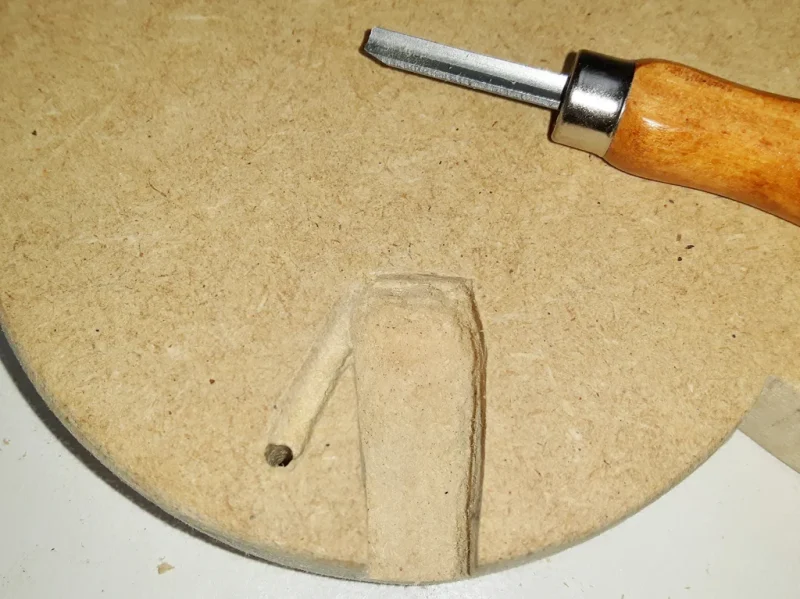
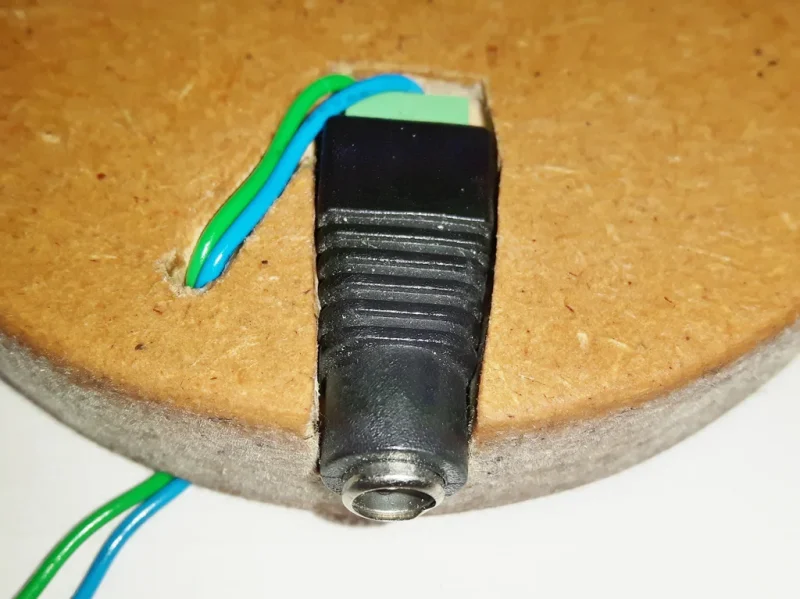
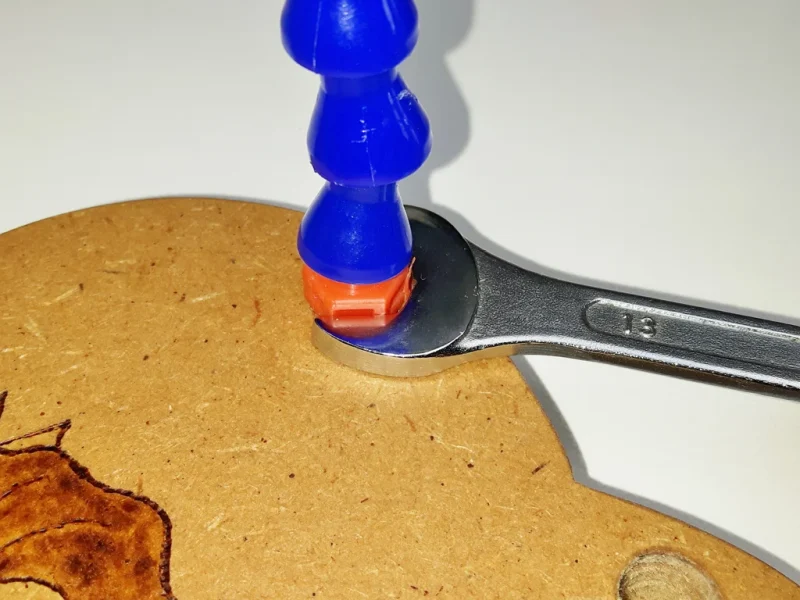
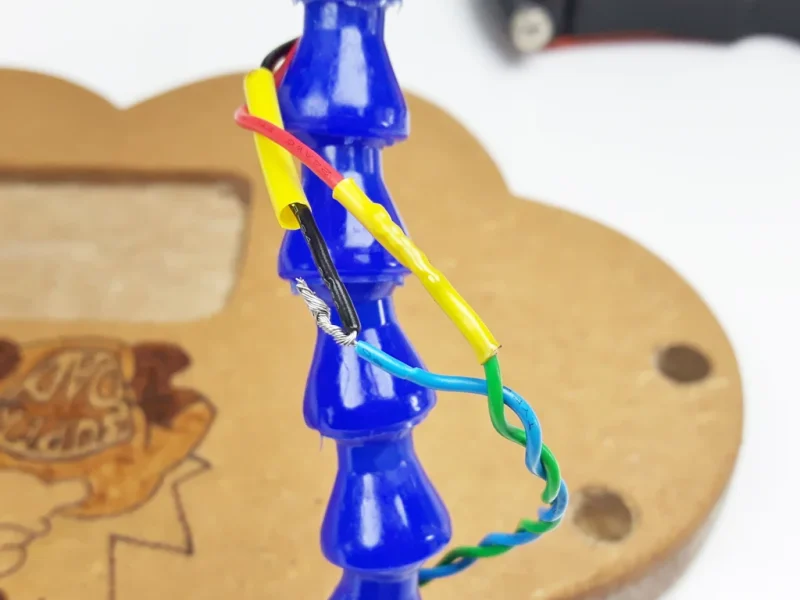
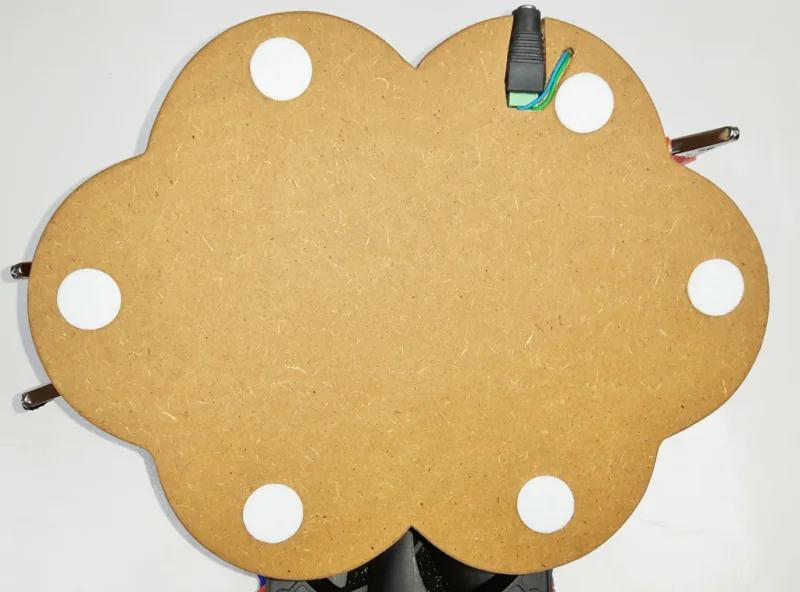
Screw the wires into the DC jack, slot the jack into the channel and pull the wires through the hole. Place the fan legs into the base holes and tighten up with a spanner. If needed, join the DC wires with fan wires. Attach the felt pads and slot in the tray.
The coolant pipes are quite sturdy, but if they become loose you could place a piece of thick wire through each pipe, that should toughen them up.


