Old Skirt to Tool Belt
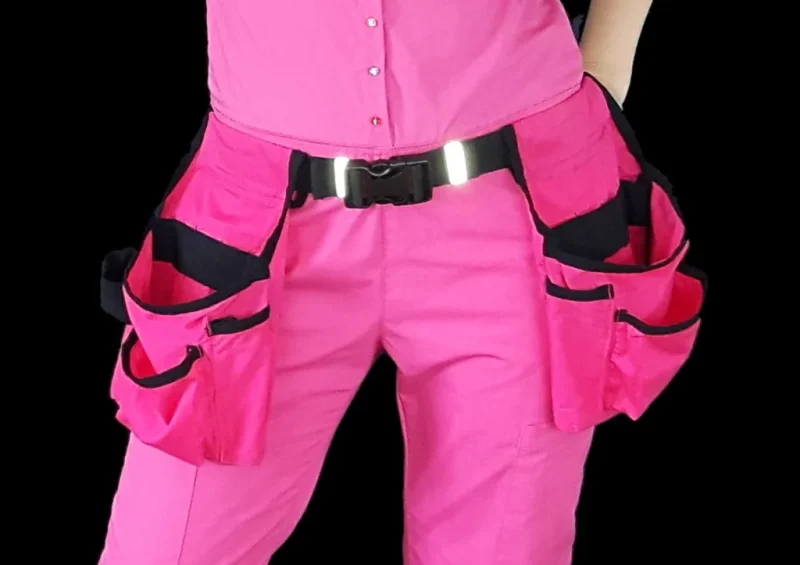
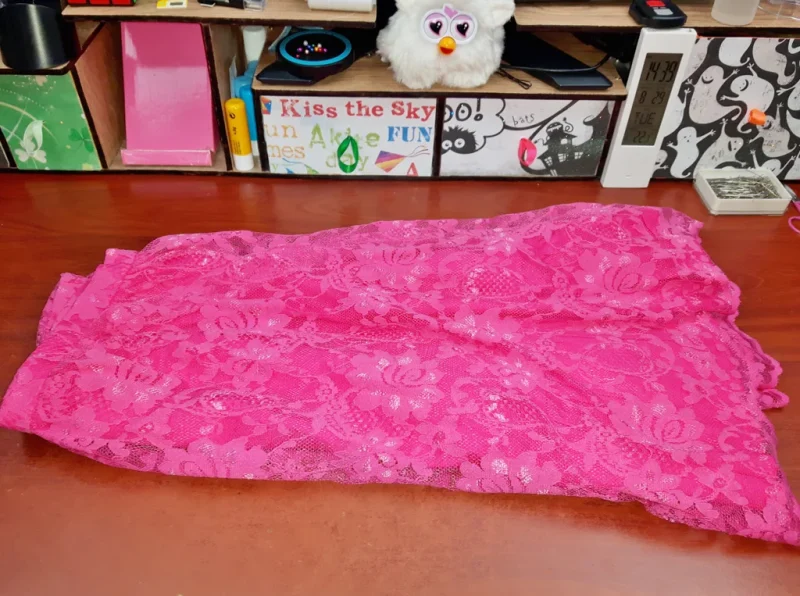
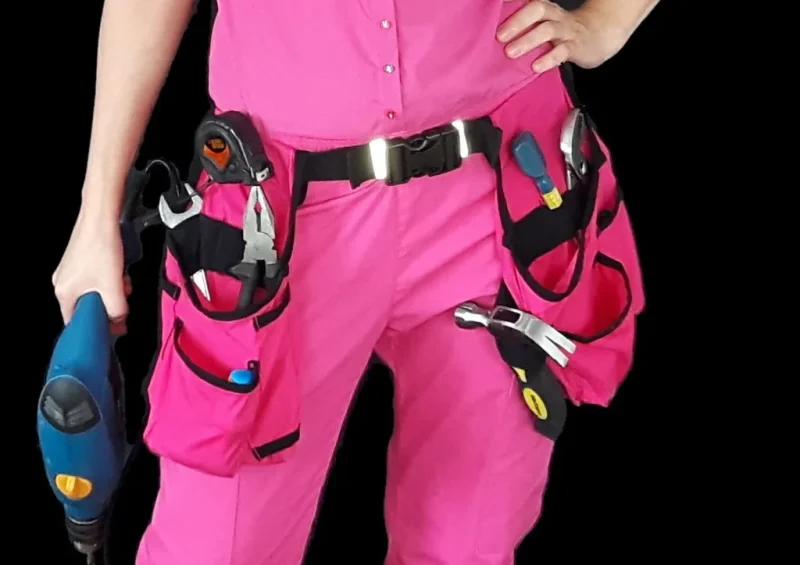
For a while I’ve been in need of a tool belt, so I finally decided to make one. I had this skirt that I had never really worn (you’re more likely to see me in work clothing than skirt :D) so I chose to use it for this project.
I don’t require the tool belt to be super strong so this fabric is fine for my needs, if however your needs are different, then perhaps acquiring a heavy duty fabric or using an old pair of jeans might be a better idea.
My knowledge and skills of sewing are quite limited so please excuse the somewhat poorly written instructions, hopefully the photos and video will help to explain a lot of what I was trying to do 😉
Materials And Tools
Materials:
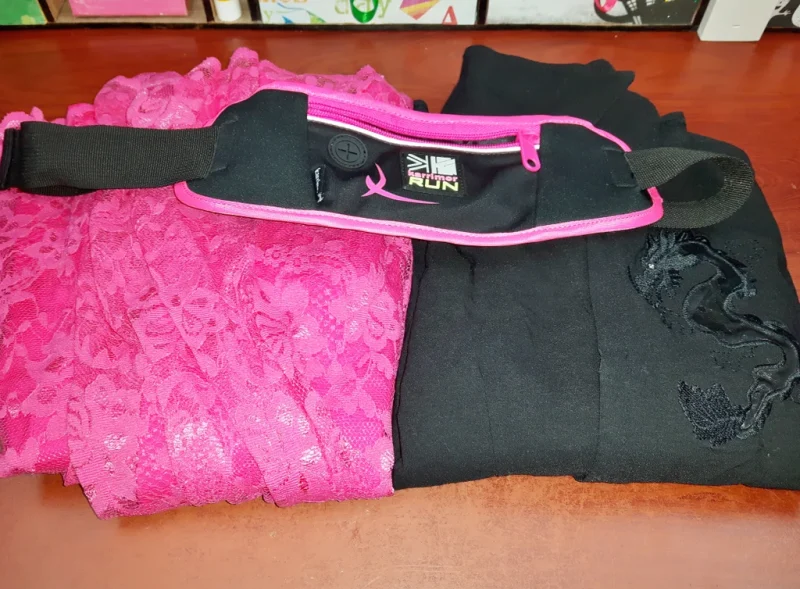
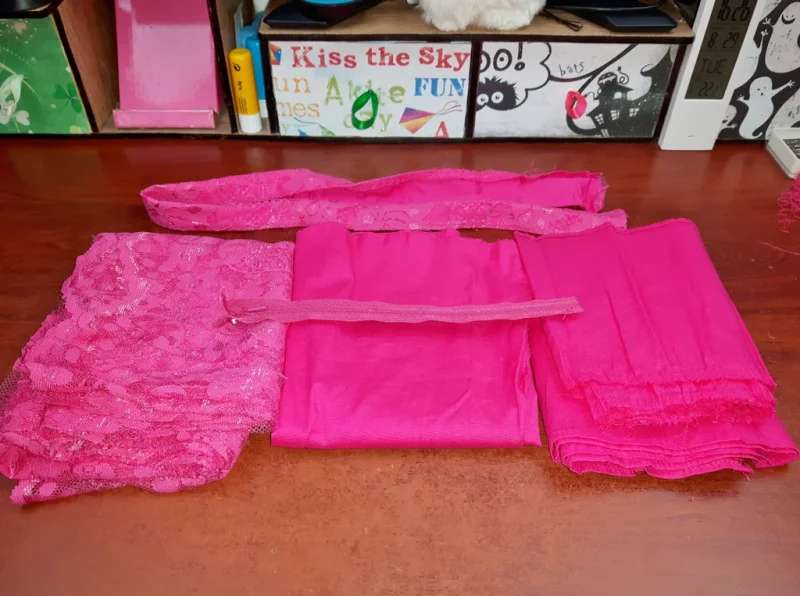
- pink fabric (old skirt)
- black fabric (old shirt)
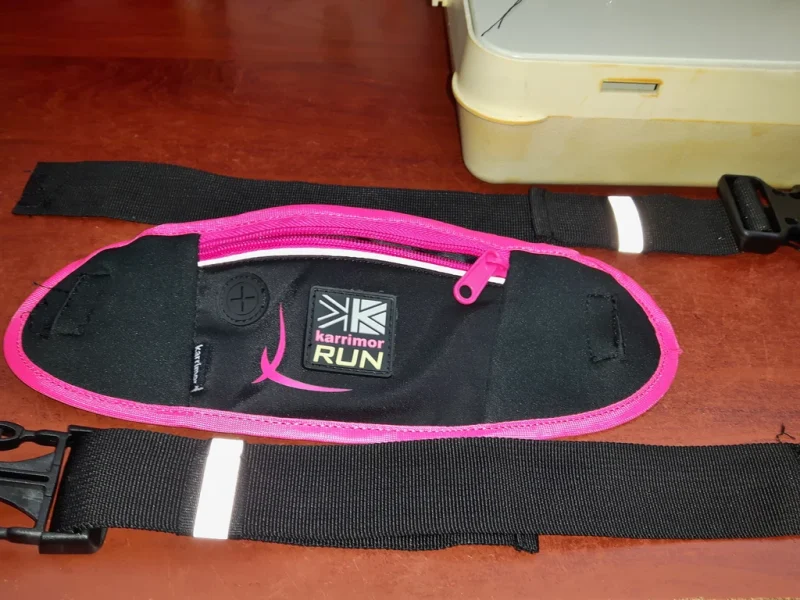
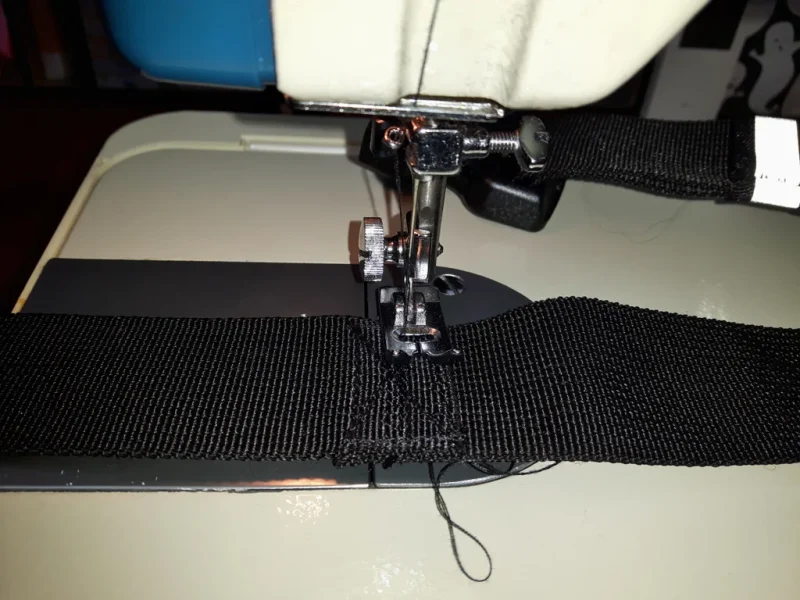
- belt strap (running belt)
- threads (pink, black)
Tools:
- sewing machine
- scissors
- washable marker
- fabric pencil
- iron
- pins
- needles
- ruler/tape measure
Step 3: Hem
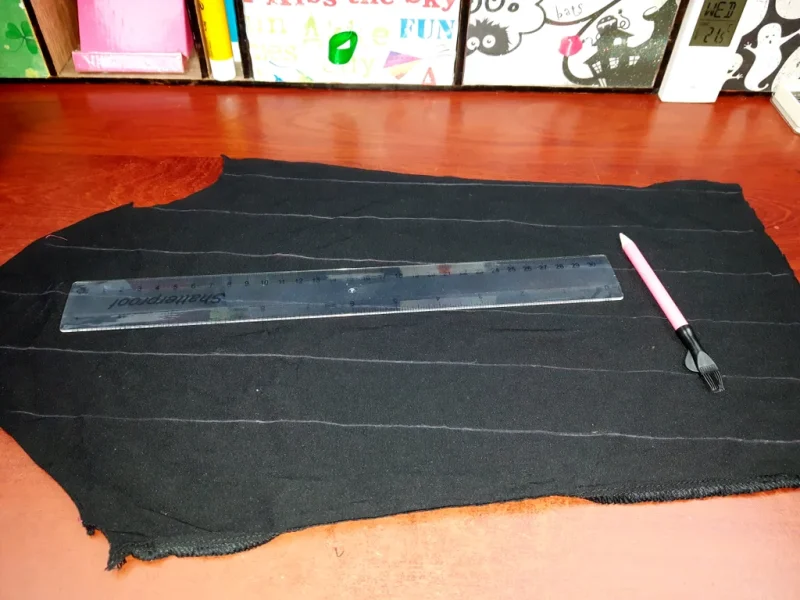
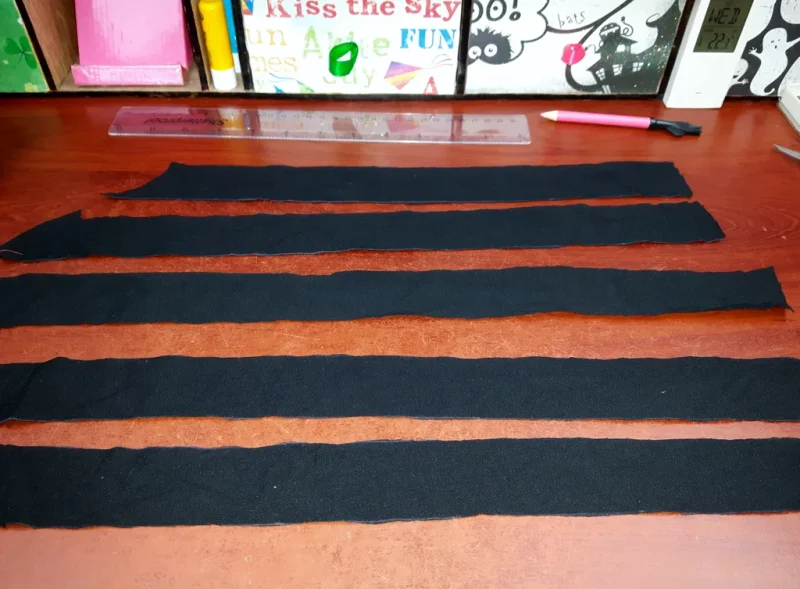
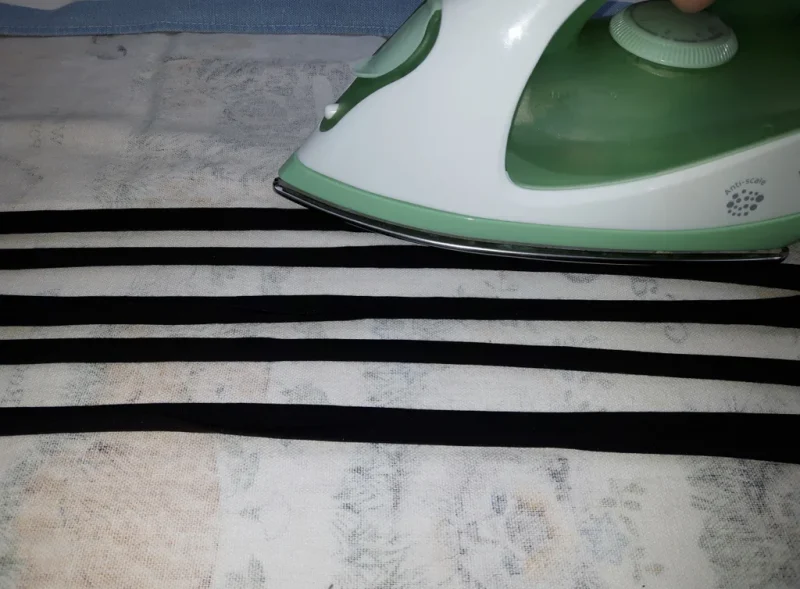
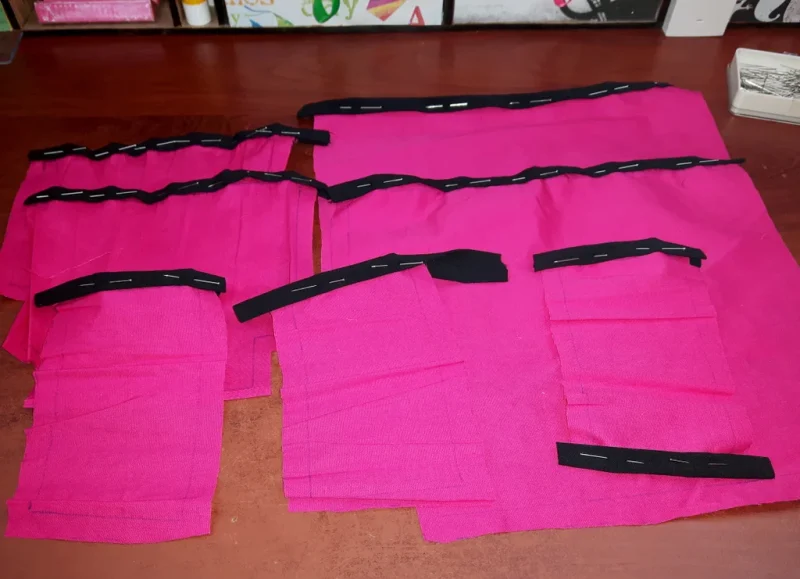
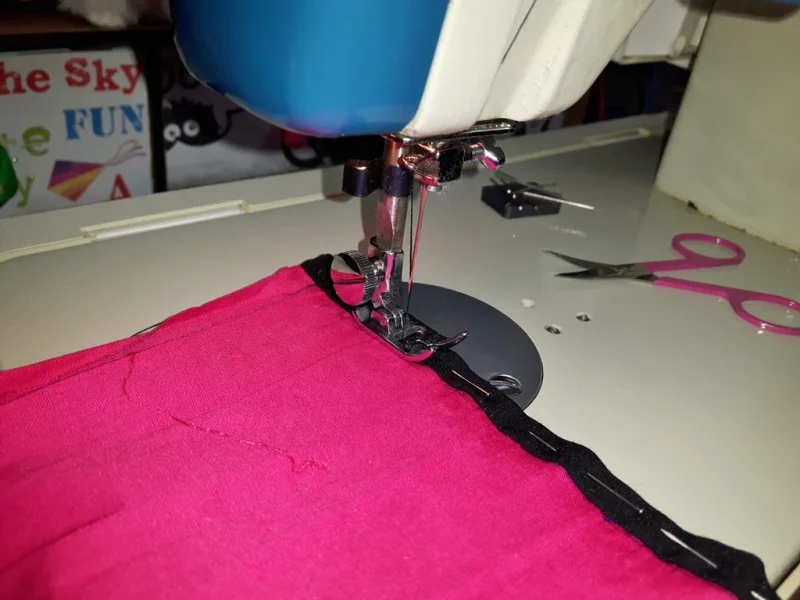
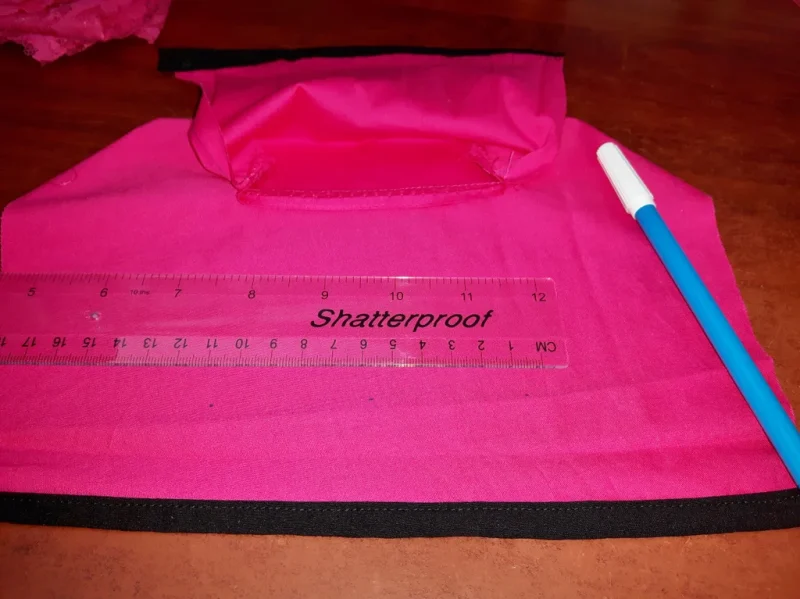
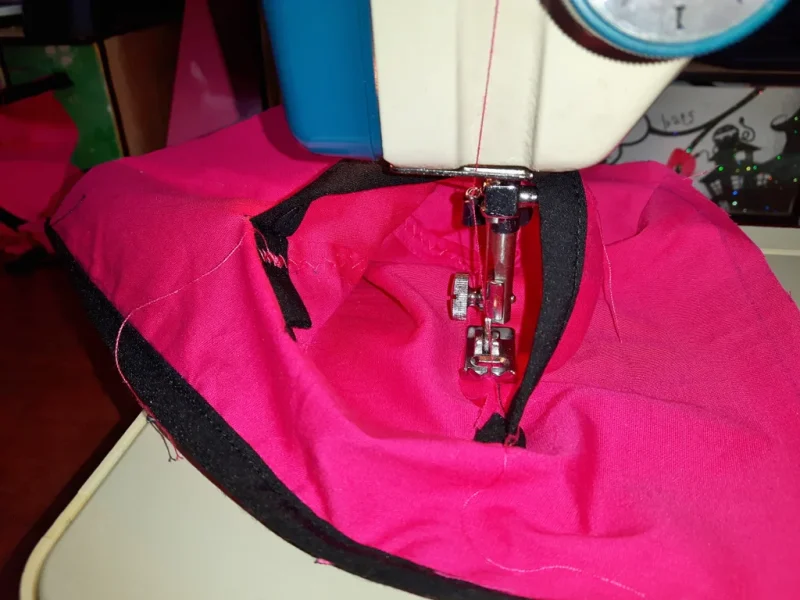
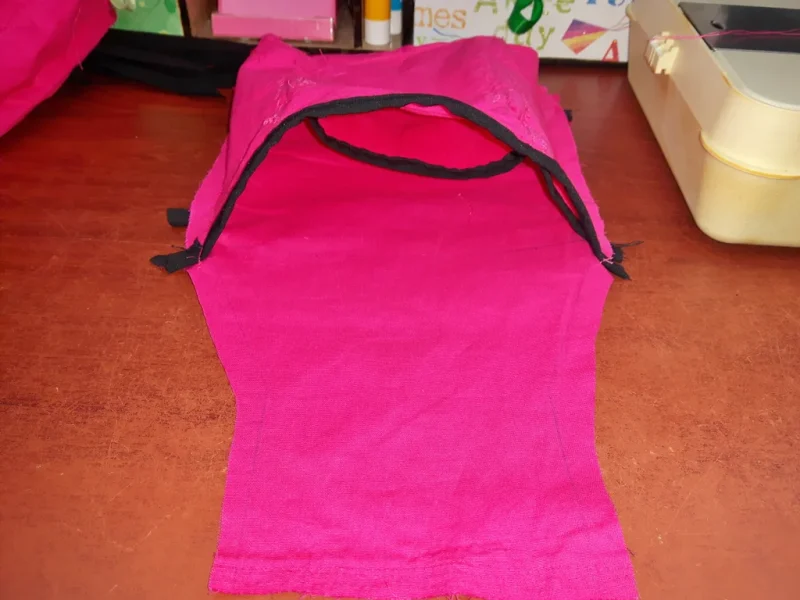
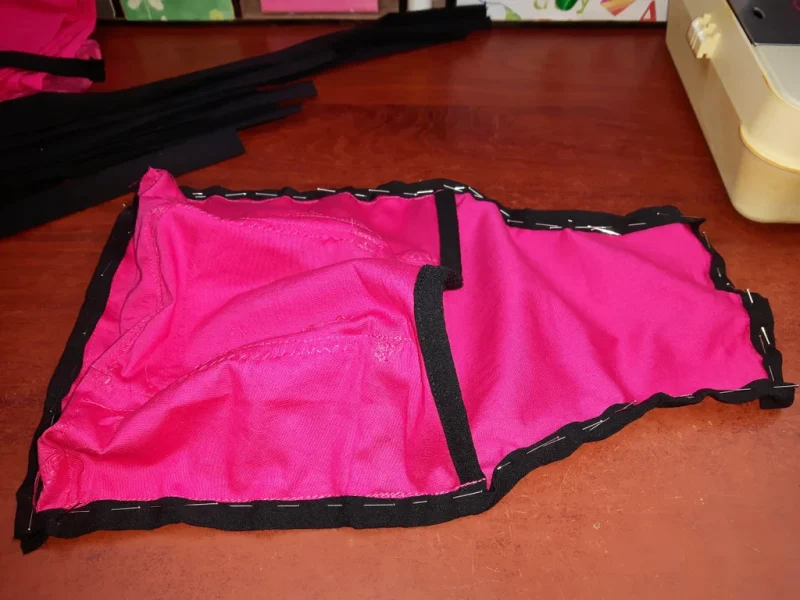
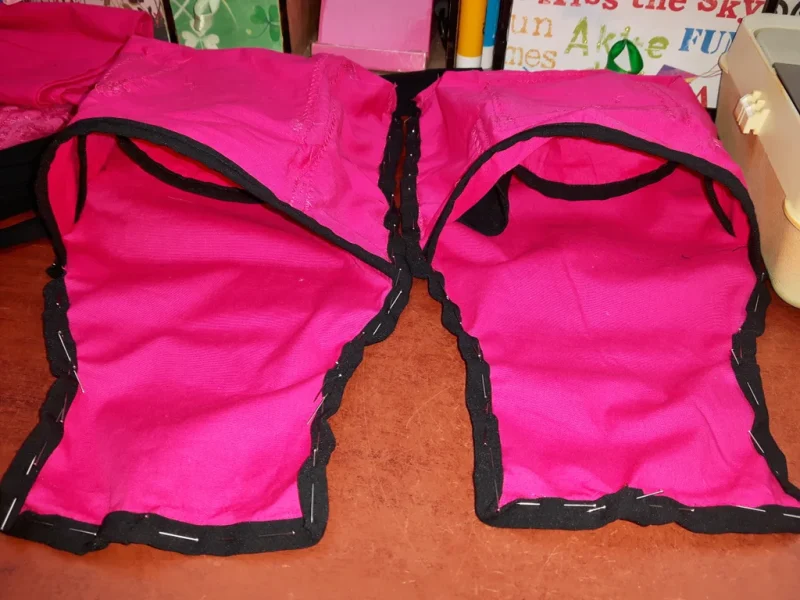
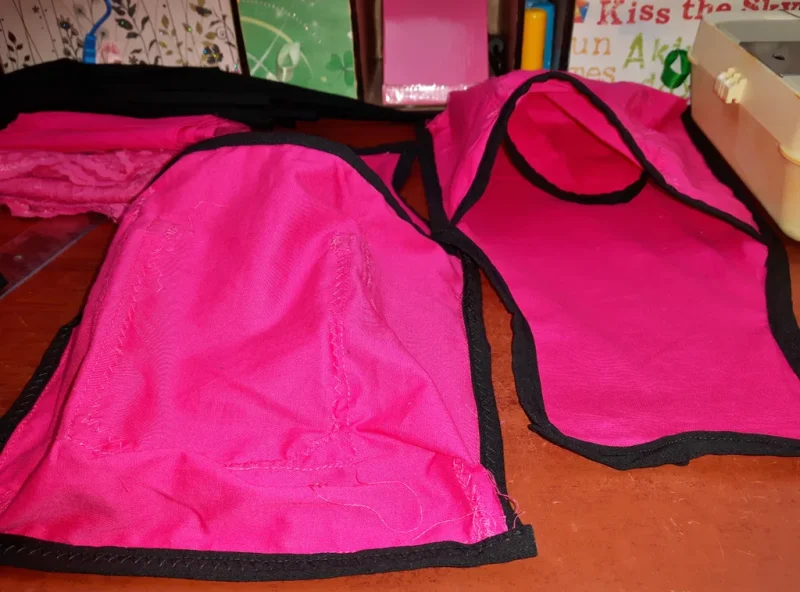
Take the black fabric, mark and cut it into 4cm strips. Fold both sides into the center of the strip and iron over. Fold in half and iron over again. Pin the strips over the edges of the pink fabric and stitch.
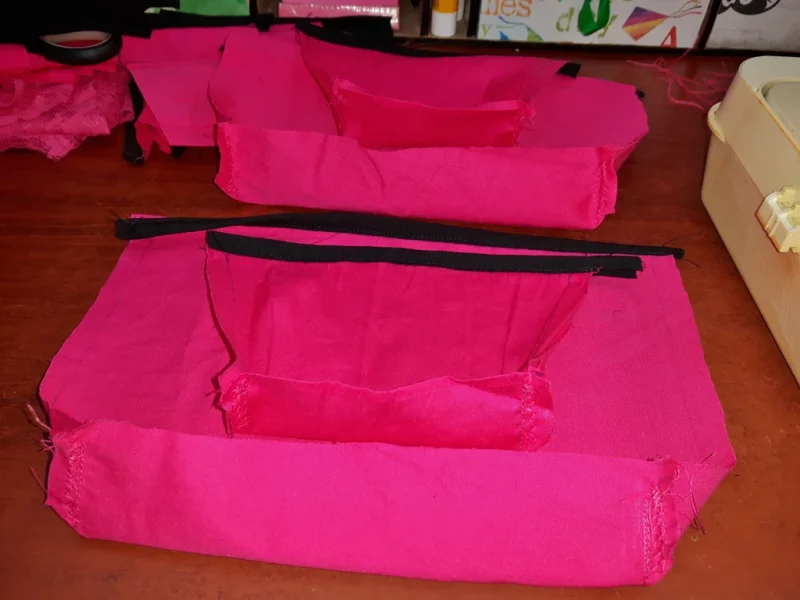
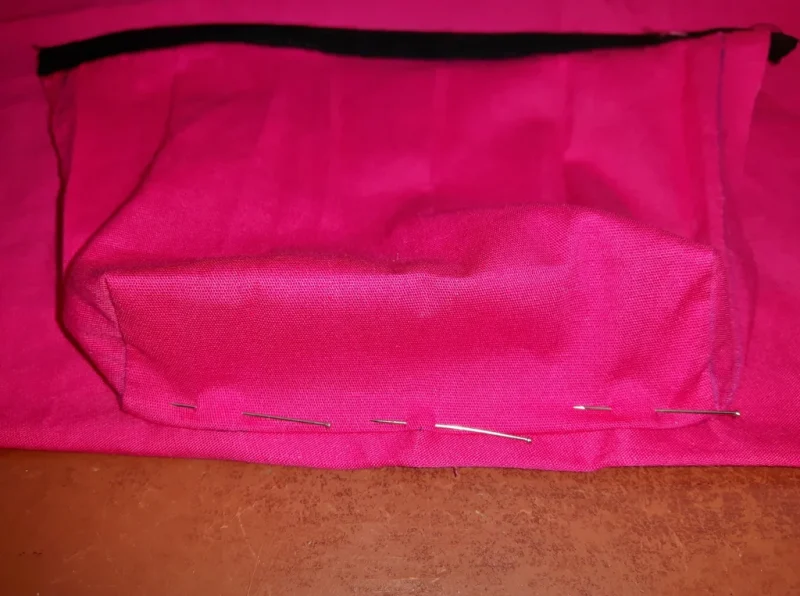
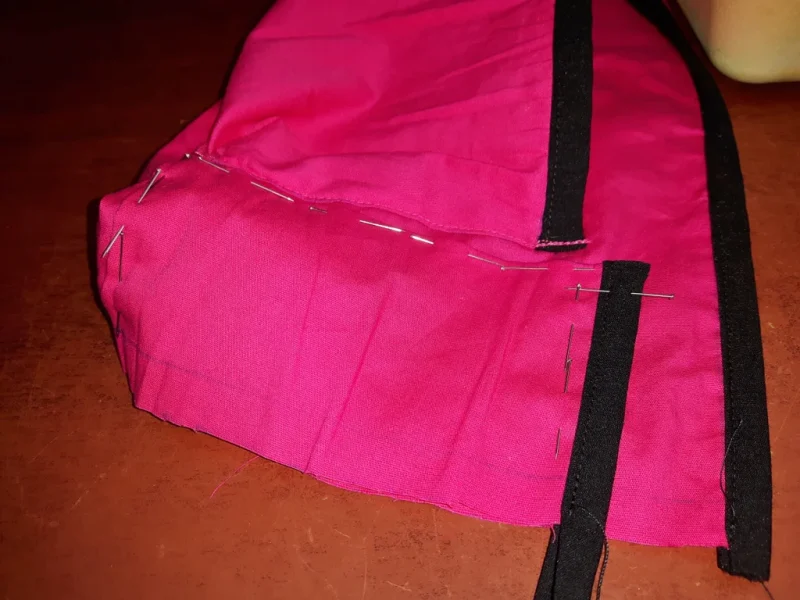
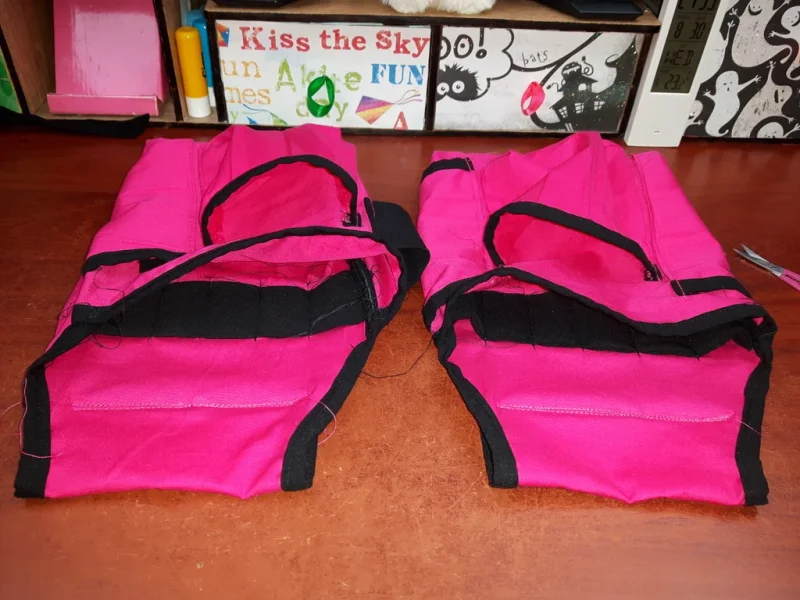
Take the two bottom corners on one side, pin them together and sew over. Do the same for the other side. This will create the bottom part of the pocket.
Step 5: Side Pockets and Back
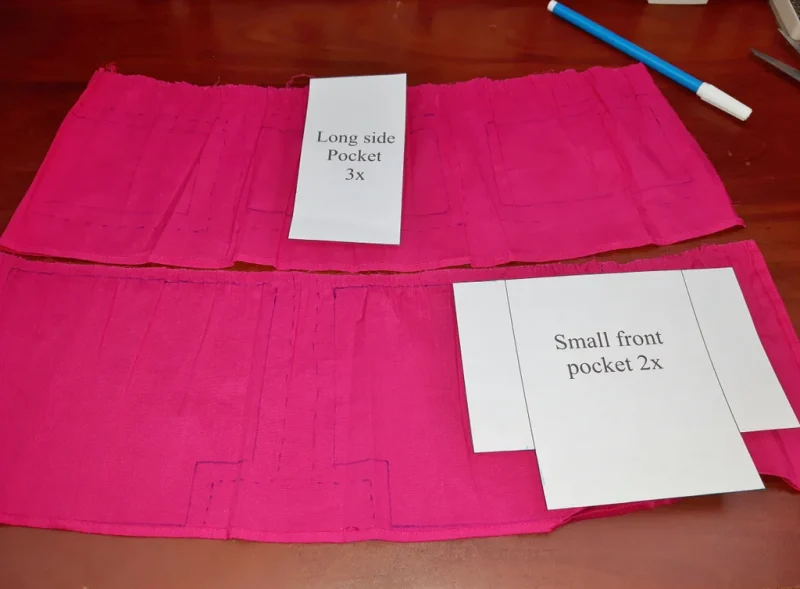
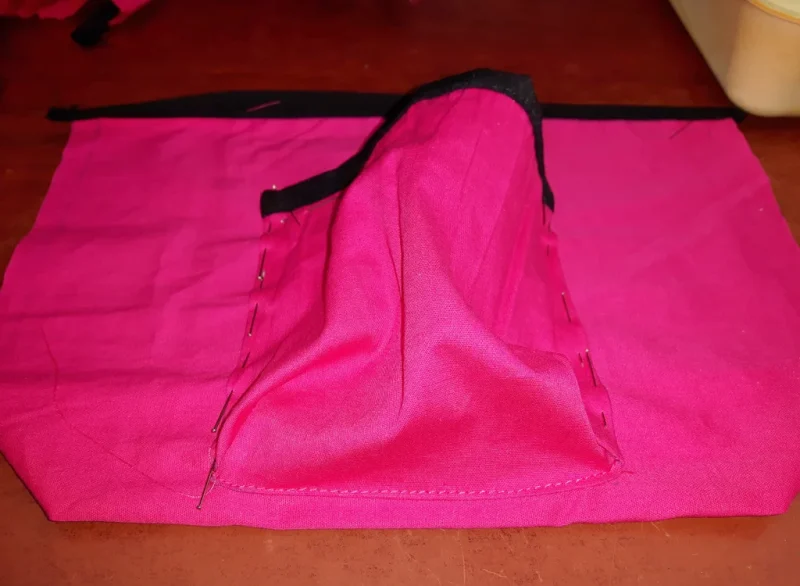
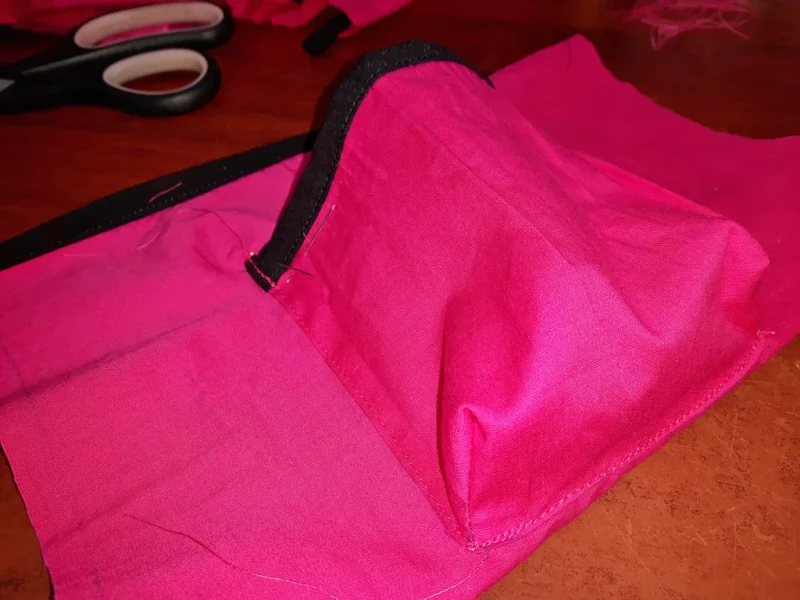
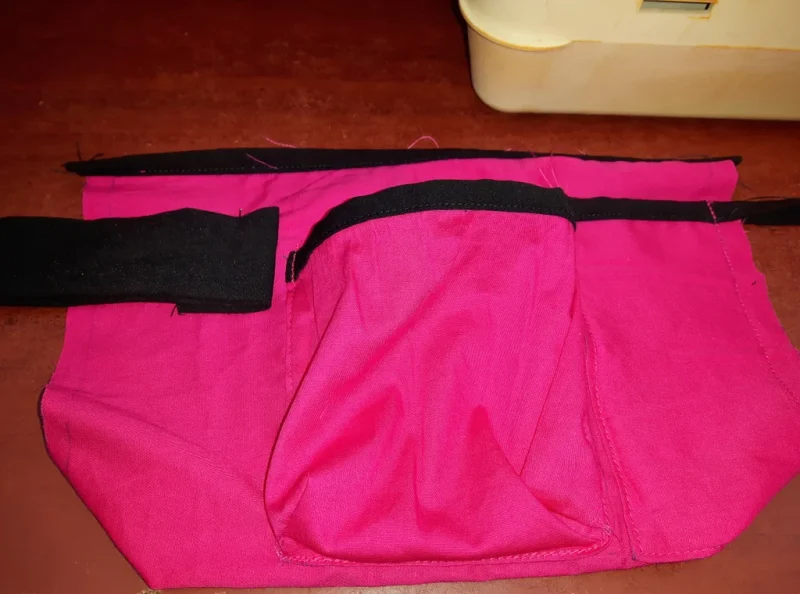
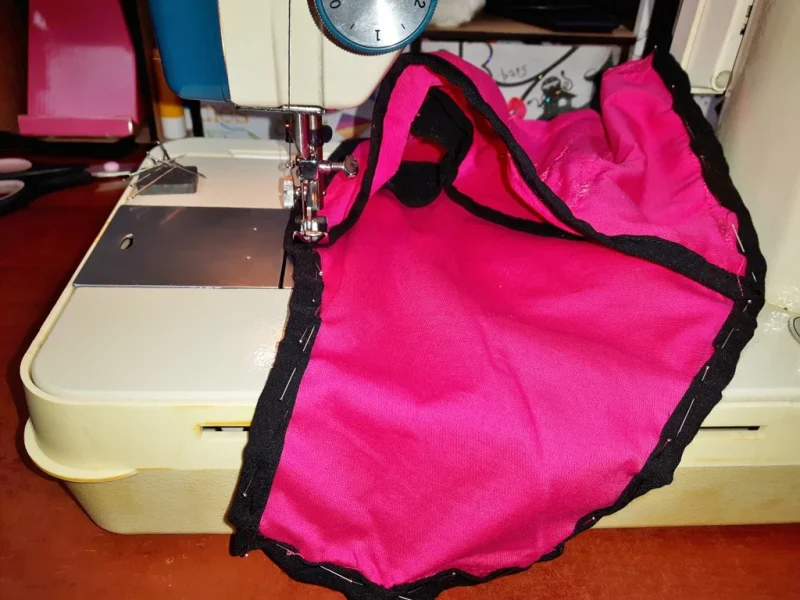
Turn and pin one side and the bottom of the side pocket to the large pocket and sew. Open and zigzag stitch the inside.
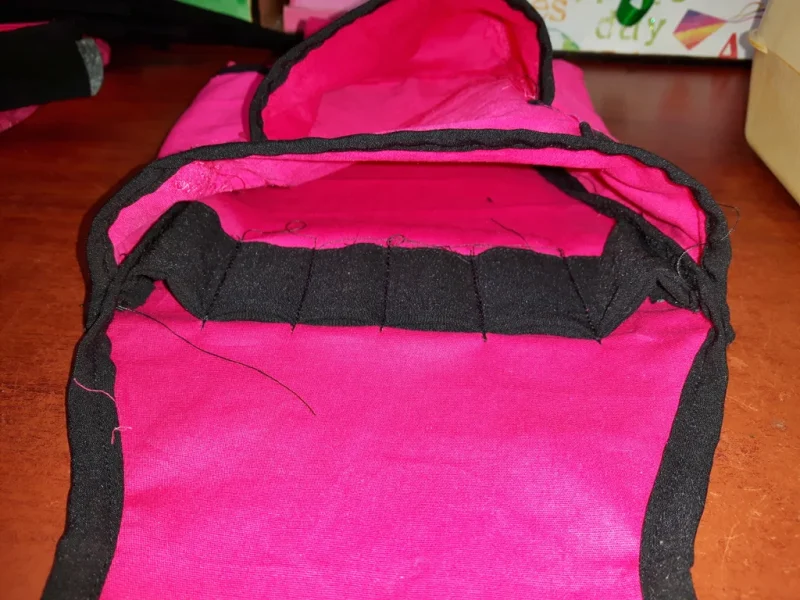
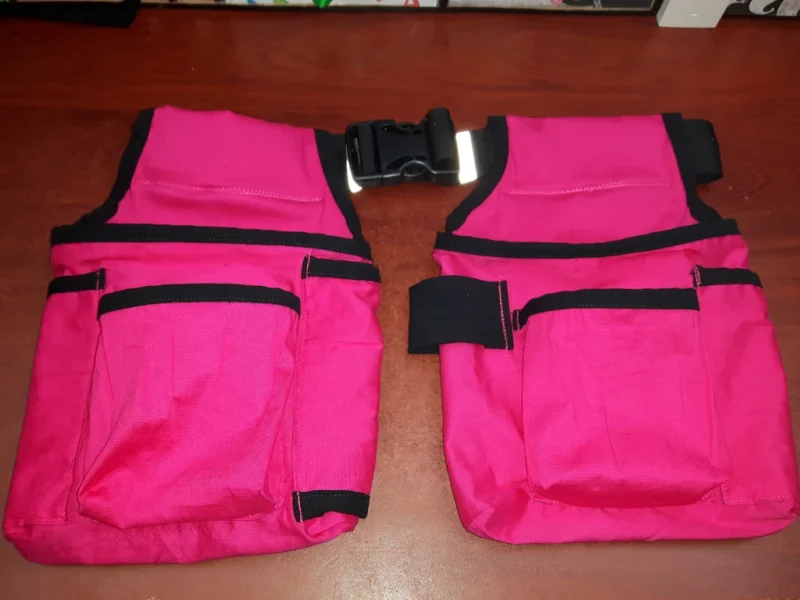
For the hammer loop cut about a 10cm wide piece of black fabric, sew edges together on the wrong side and turn over. Fold and pin the strip close to the front pocket and sew over. Open and zigzag stitch from inside.
If you would like the pen (pencil, screwdrivers . . . ) loops, mark the position for them on the back side. It probably would be a good idea to sew them on now. I have no idea why I decided to do this later 😀
For the loops you will need a similar strip as for the hammer loop, but longer. Leave a bit of a slack and stitch it to the sides of the back piece. Decide on a number of loops and stitch accordingly.
Place the large pocket on the back piece and stitch together on the inside.

Runner Up in the
Sew Cool Contest

