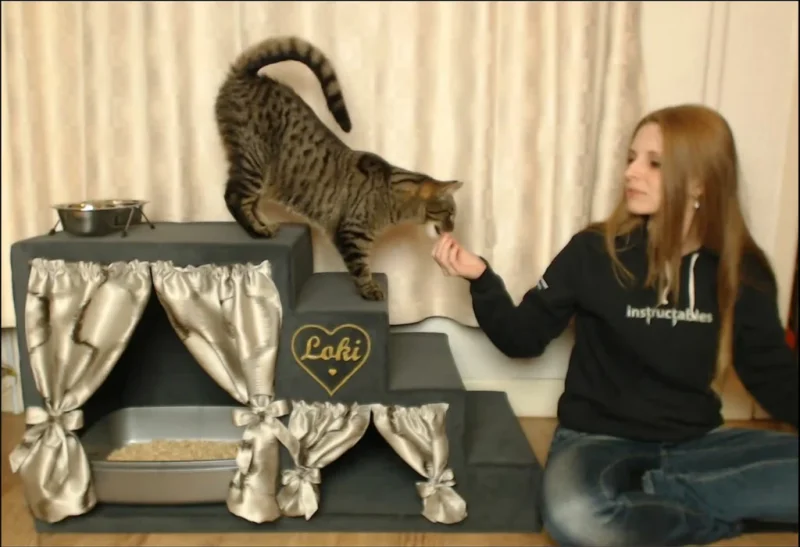
Luxury Cat Condo
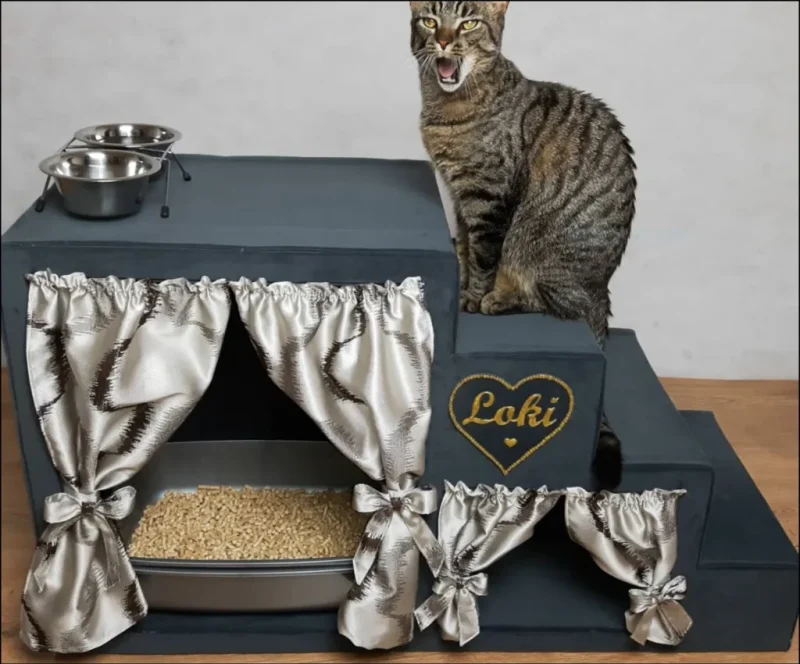
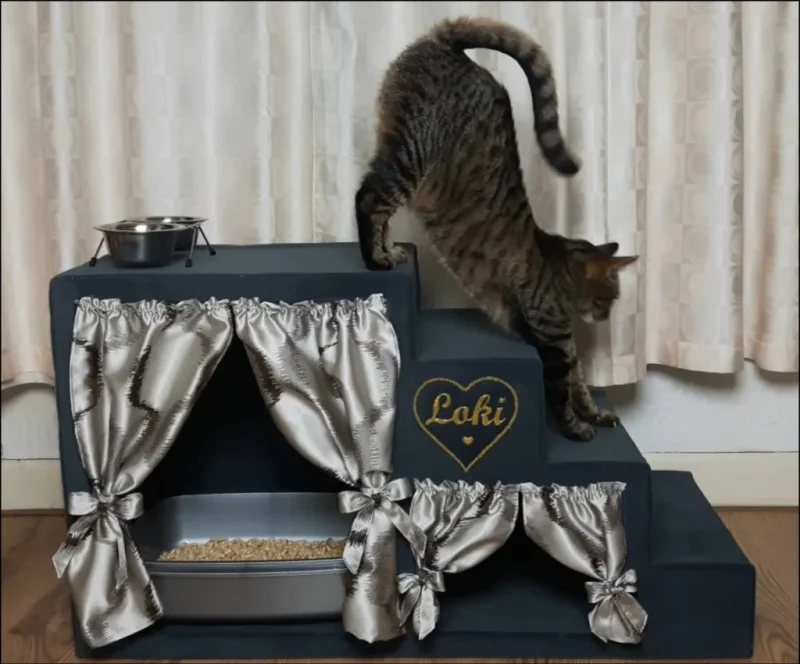
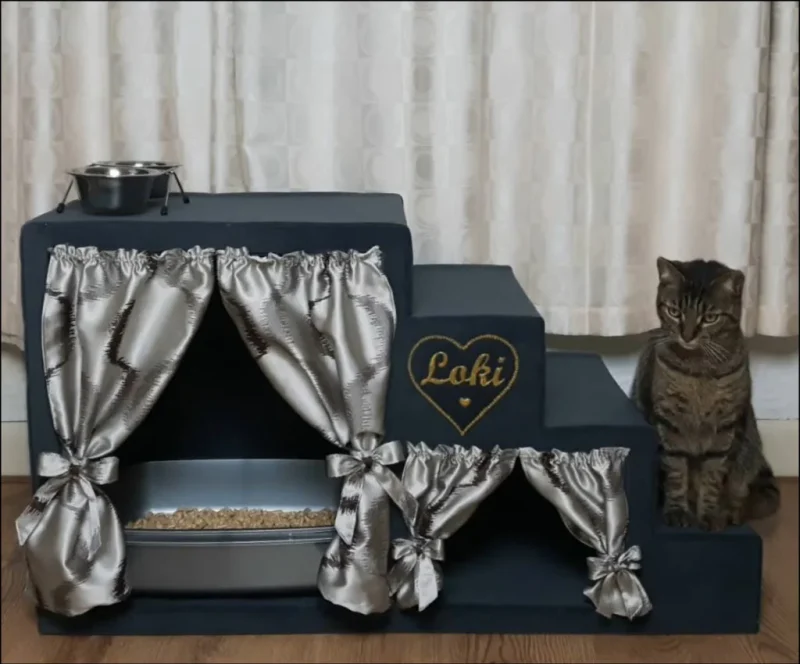
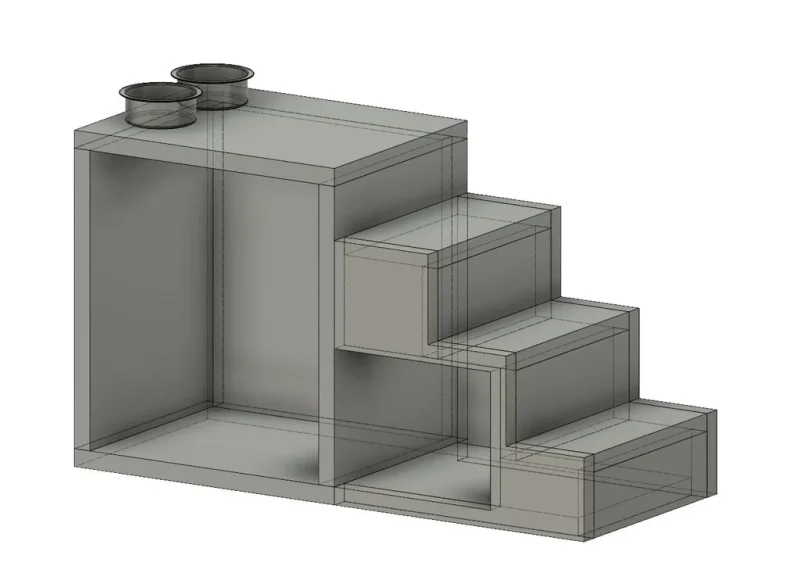
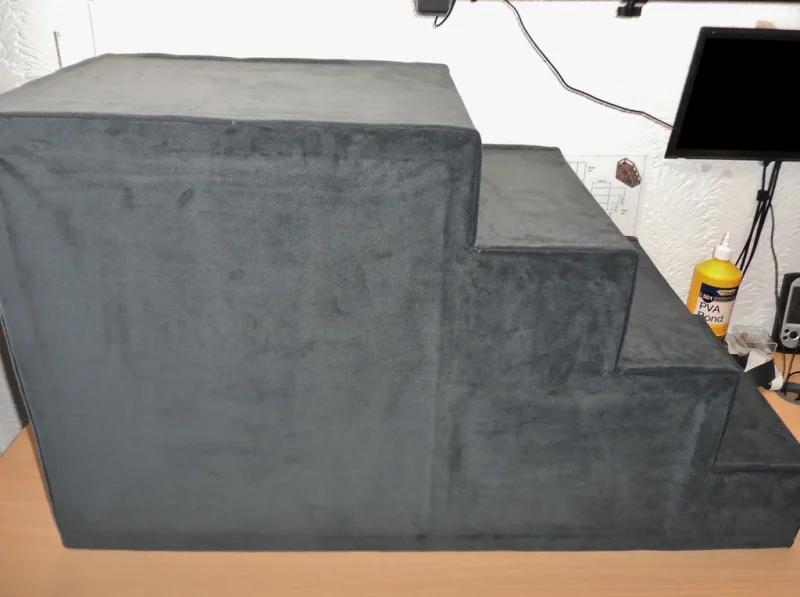
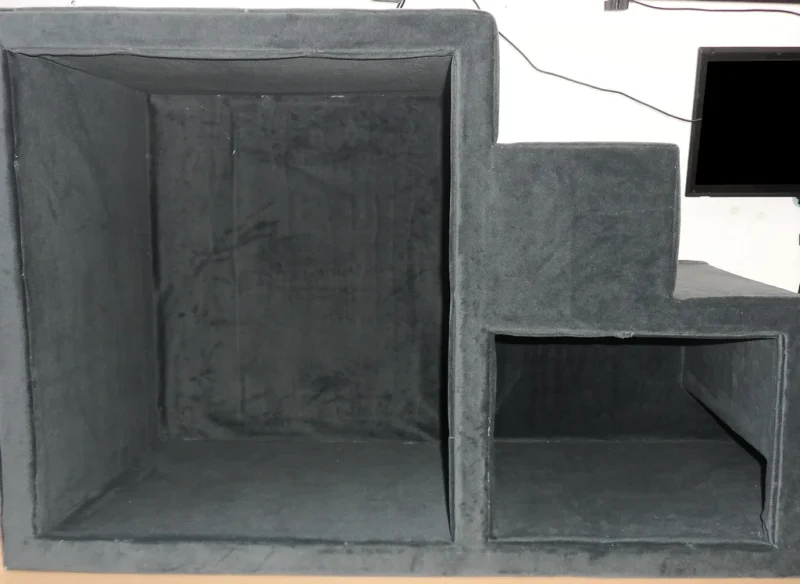
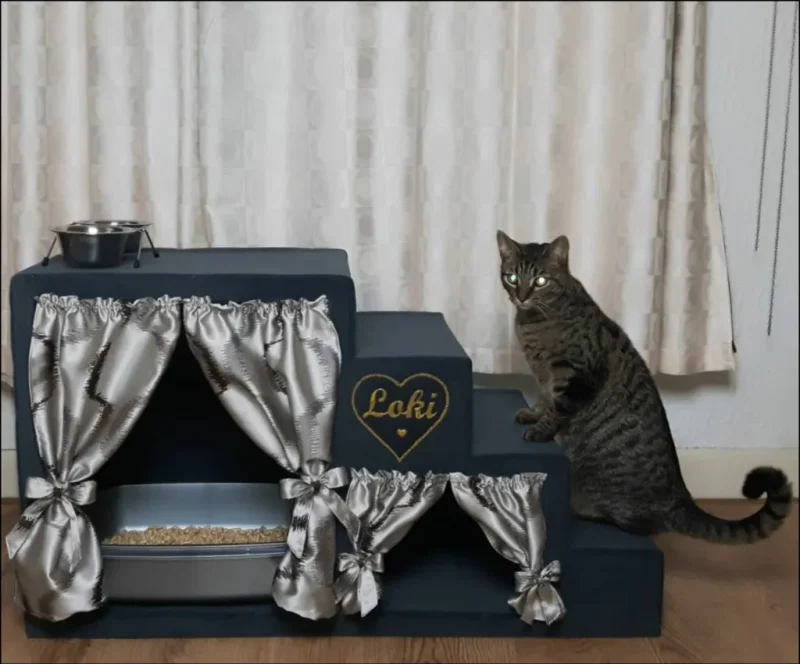
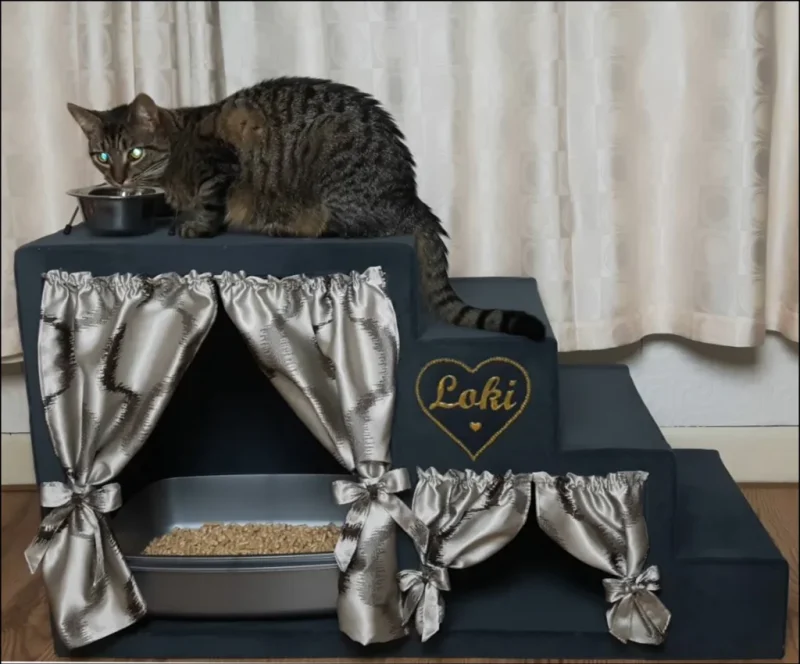
I do like to spoil my little kitty and so lately I decided that it’s not fair for him to have to sit on the cold floor whilst eating his meals and so upon reflection came to the thought that I would make him this small cat condo. In the process I’ve managed to not only just raise him up from the floor and keep his little bottom warm but also to hide the unsightly litter tray as well as creating an extra hiding space.
Materials And Tools
- lots of cardboard boxes (the bigger the better)
- scrap paper/newspapers/or I used an old manual book
- about 4 meters of fabric
- different fabric for curtains and bows
- 4 snap buttons
- scissors
- hobby knife
- ruler, pencil
- glue gun and sticks + glitter glue stick
- universal glue
- brush to spread the glue
Step 1: Planing
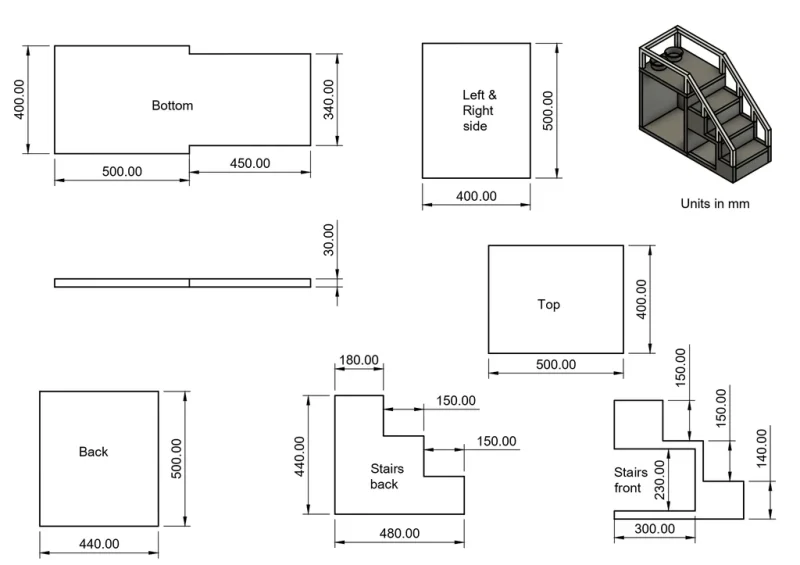
I used Fusion 360 to produce the drawings, please bear in mind I’m very much a beginner when it comes to Fusion so excuse any mistakes I might have made.
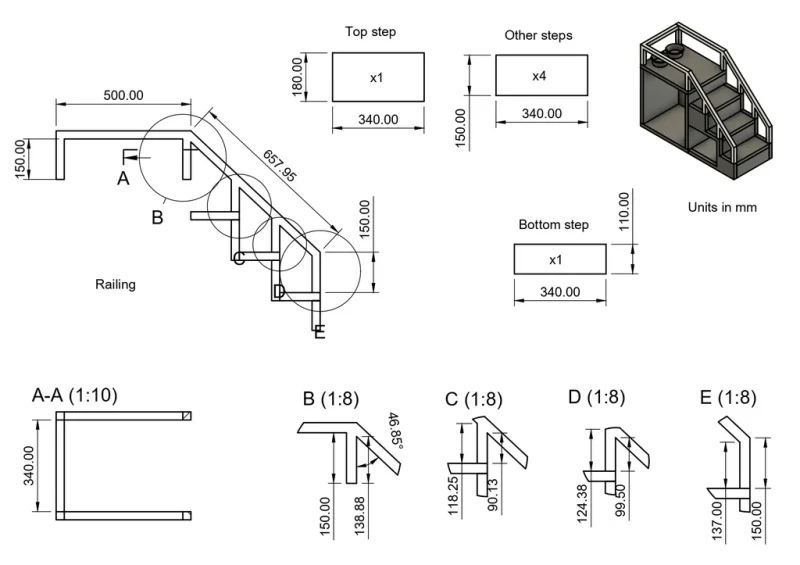
Originally I wanted to make the staircase with railings so that it would be a little bit like a pier, but I changed my mind half way through the process. I remembered that my little kitty is a bit of a rough monster at times and it probably wouldn’t have lasted very long 😀
Anyways I left the railings in the drawings just in case someone might find it useful. Again please excuse any errors.
Step 2: Cutting and Gluing
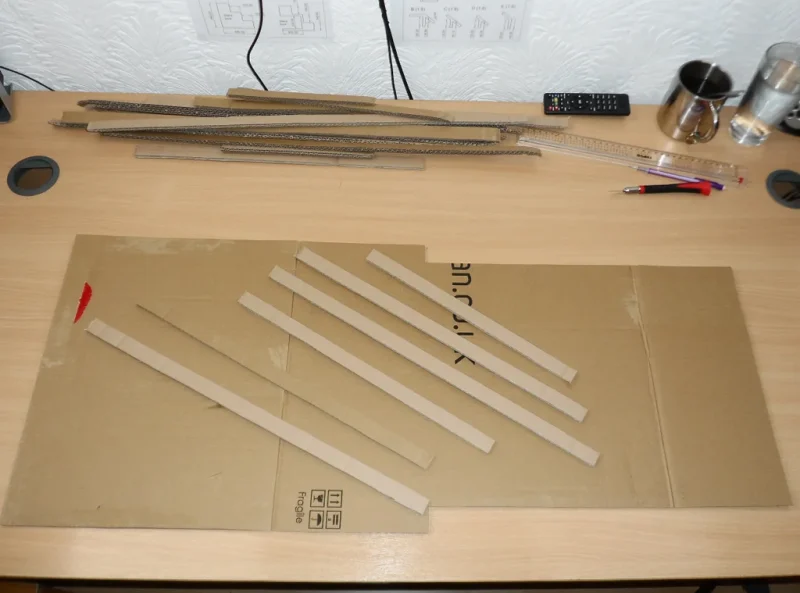
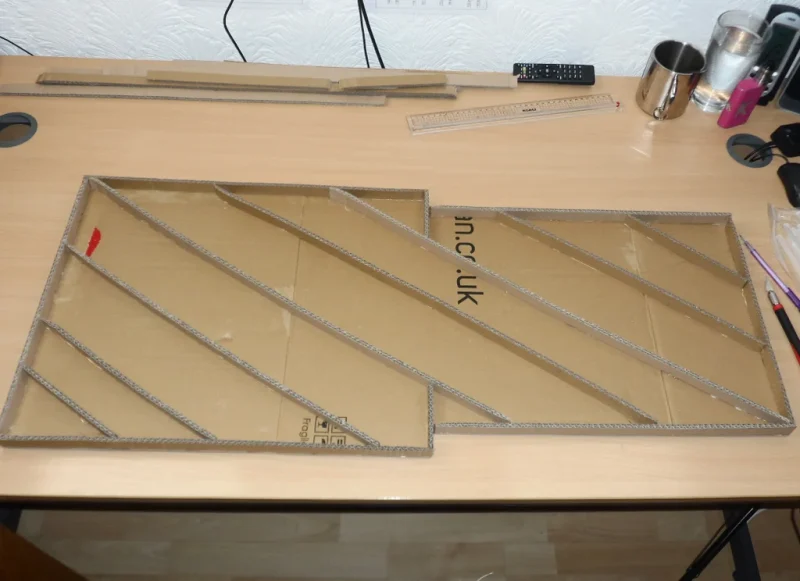
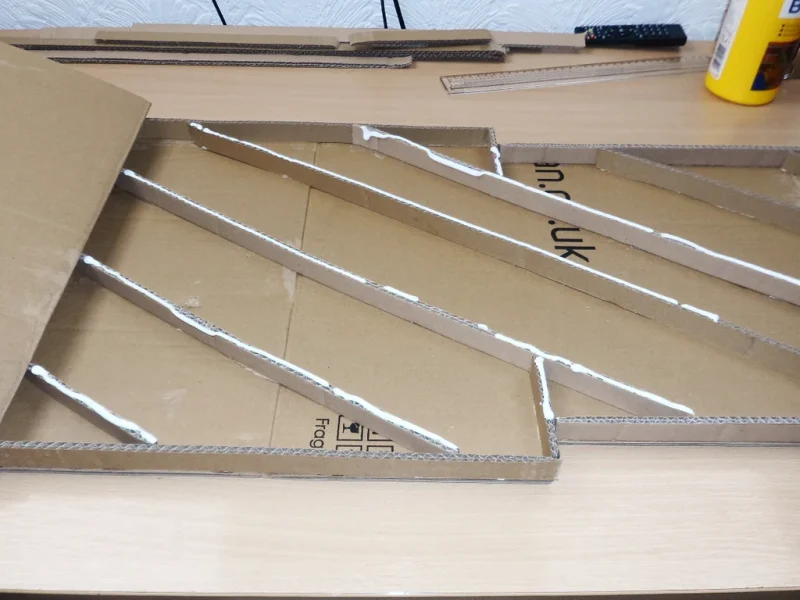
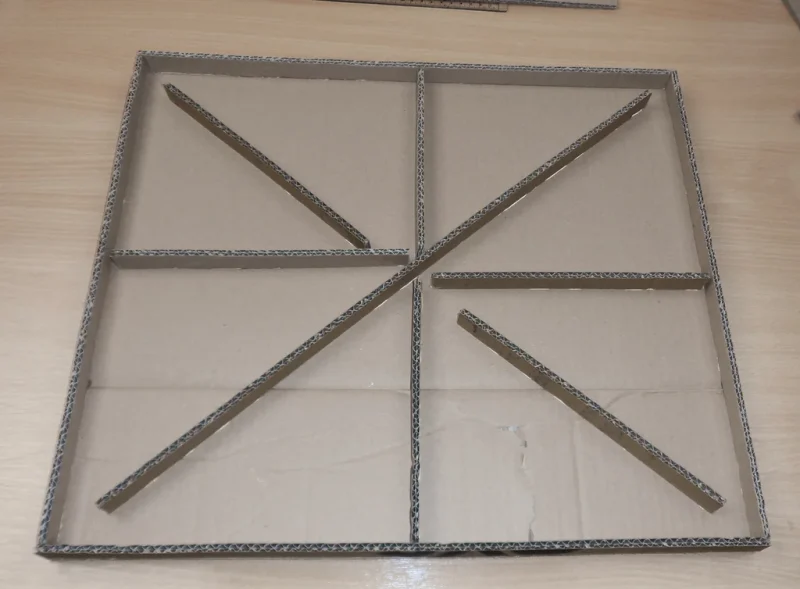
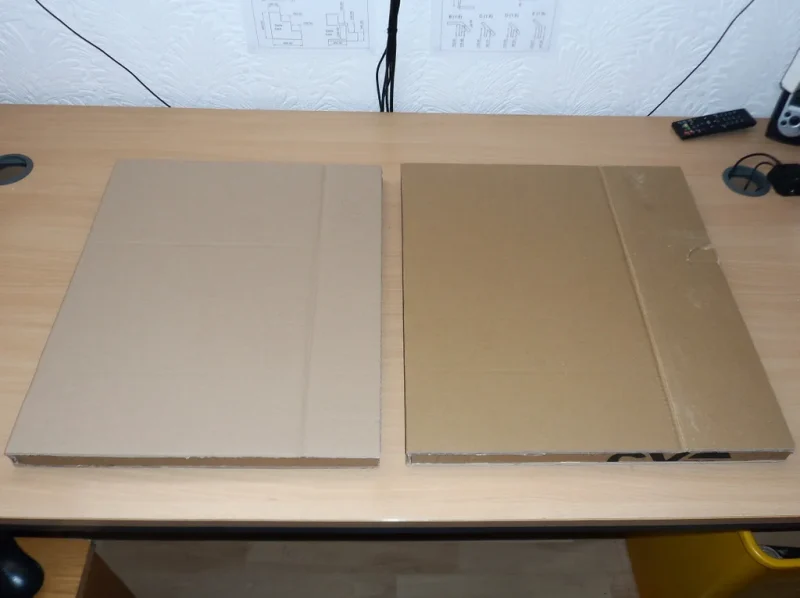
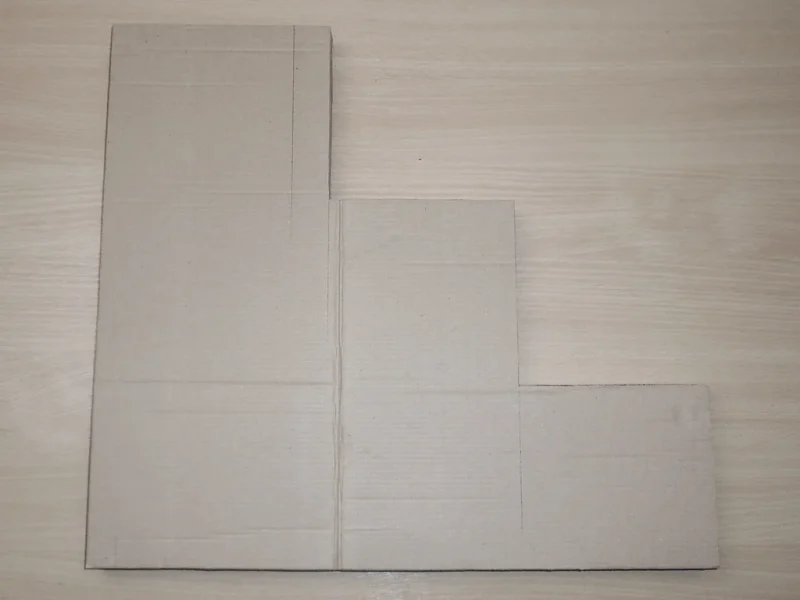
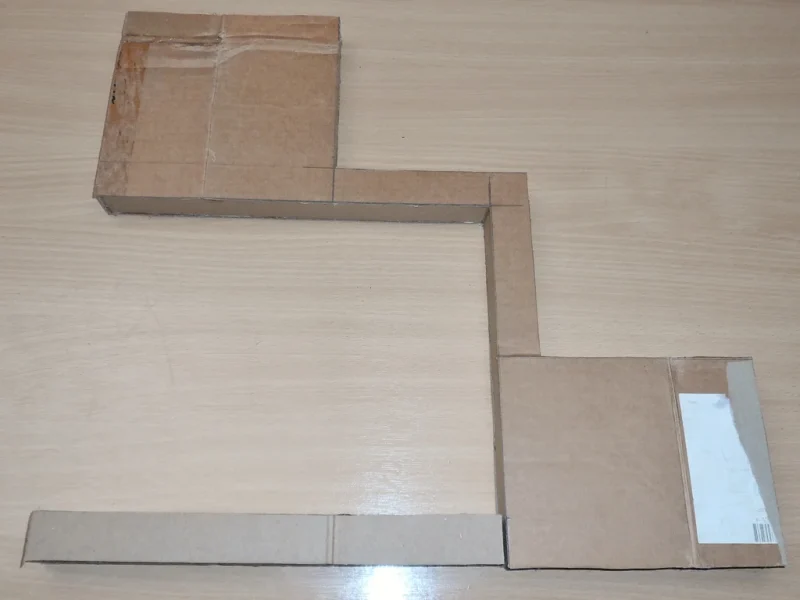
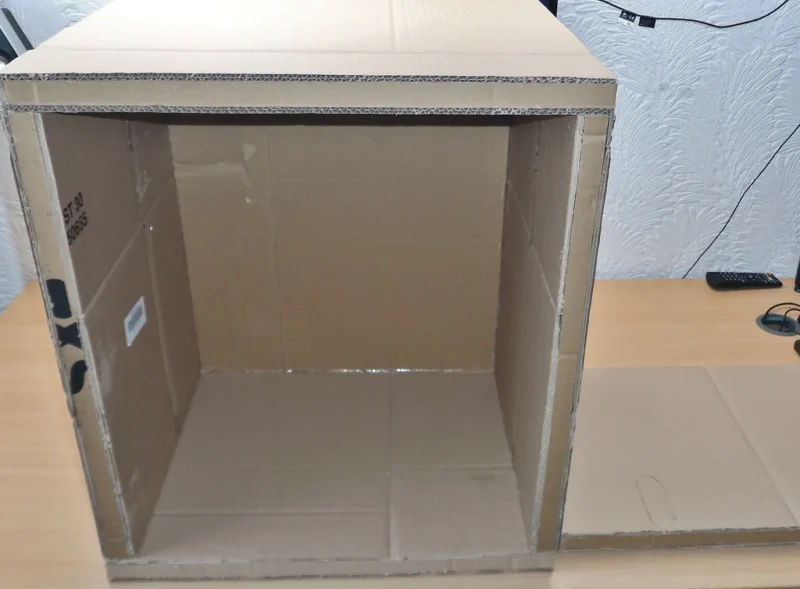
First of all I started by drawing and cutting out the bottom and top sides of the base panel out of cardboard. Next I needed to cut the strips for the sides and the inner walls. The cardboard I used was about 6mm thick so I needed the strips to be 18mm wide to get the overall thickness of the panel to be 30mm.
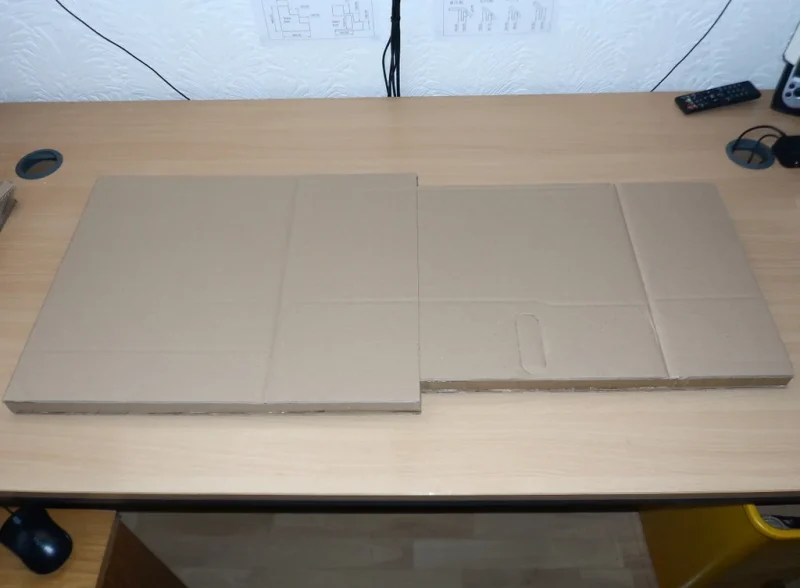
Once I had enough strips cut out I proceeded to glue them around the bottom part and to the inside of the base panel with hot glue. Afterwards I applied the universal glue onto the inner walls, aligning the top side of the base panel and affixed it in place with hot glue.
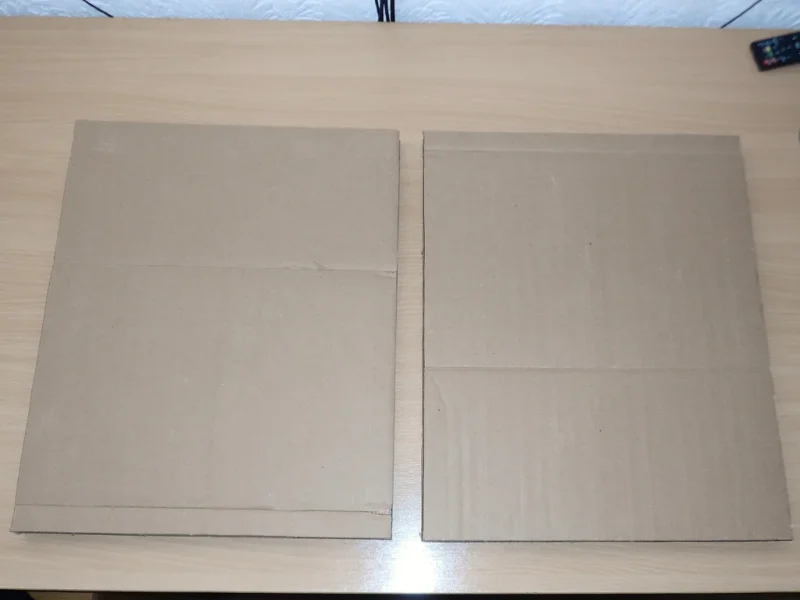
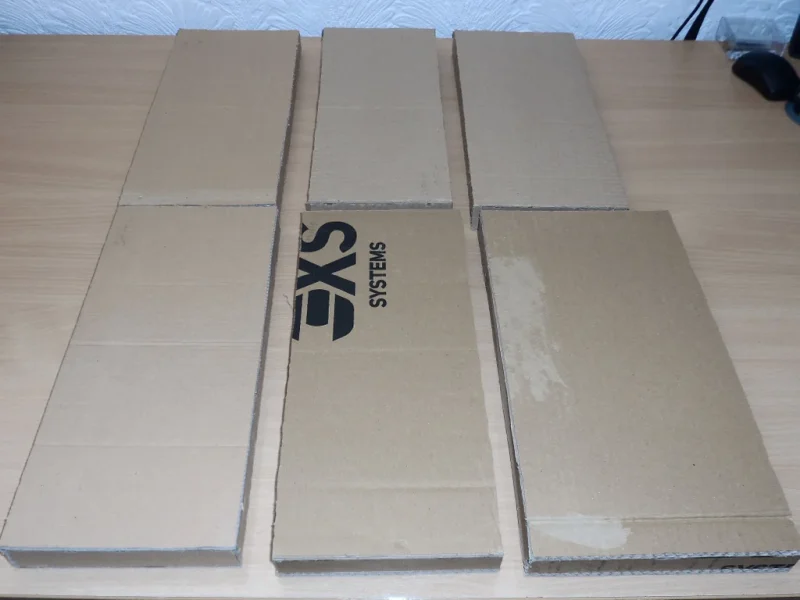
I repeated the process for the back, top and the side panels.
Step 3: Steps
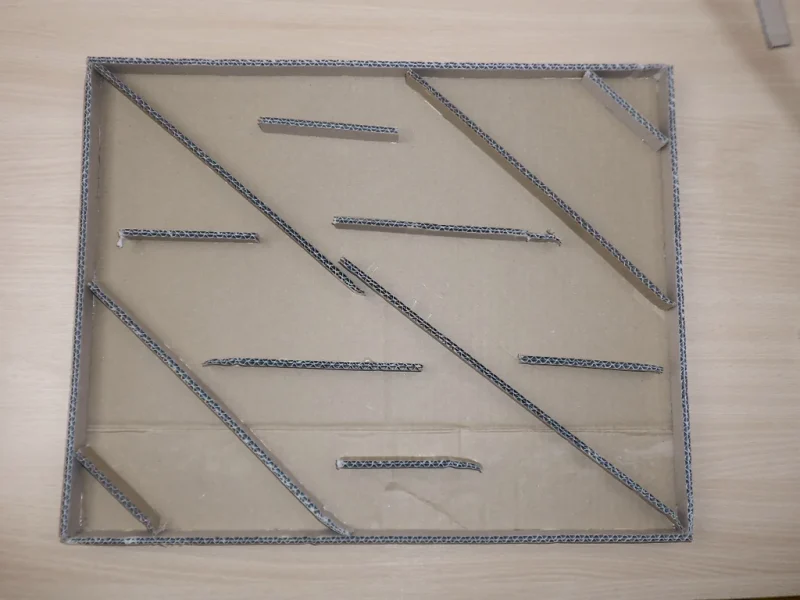
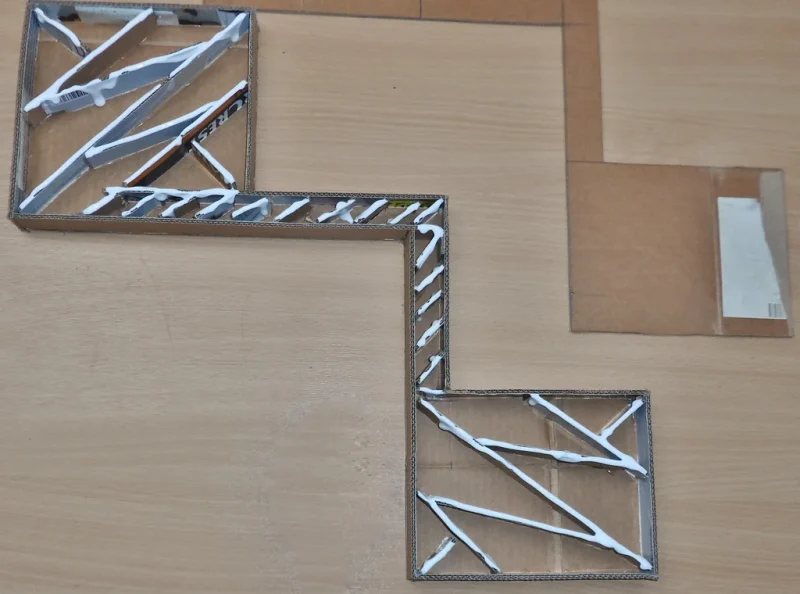
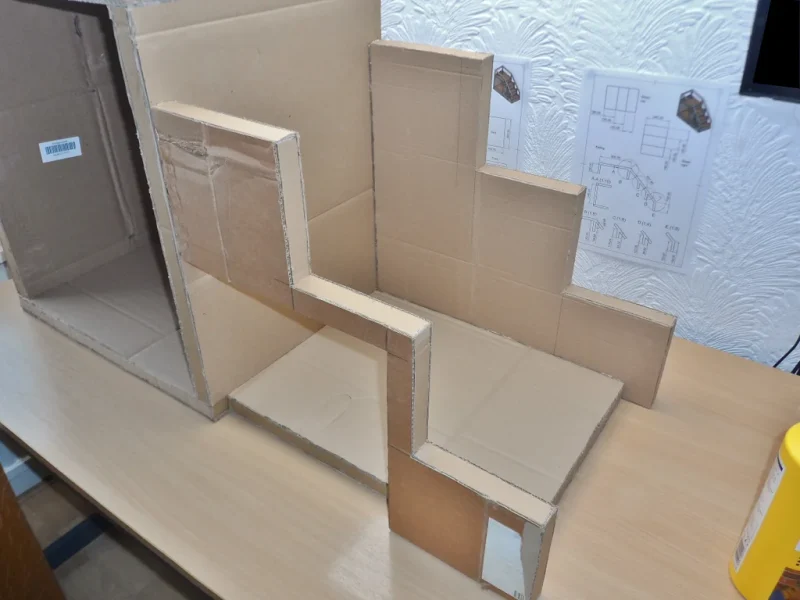
I used the same technique for the stairway and individual steps, but I wanted to make sure it would be durable and long-lasting so I added extra inner walls.
The treads and their respective risers were pretty much the same apart from the very top tread which was 18cm wide and the bottom riser which was 11cm wide. The rest of them were 15cm wide.
Step 4: Assemble
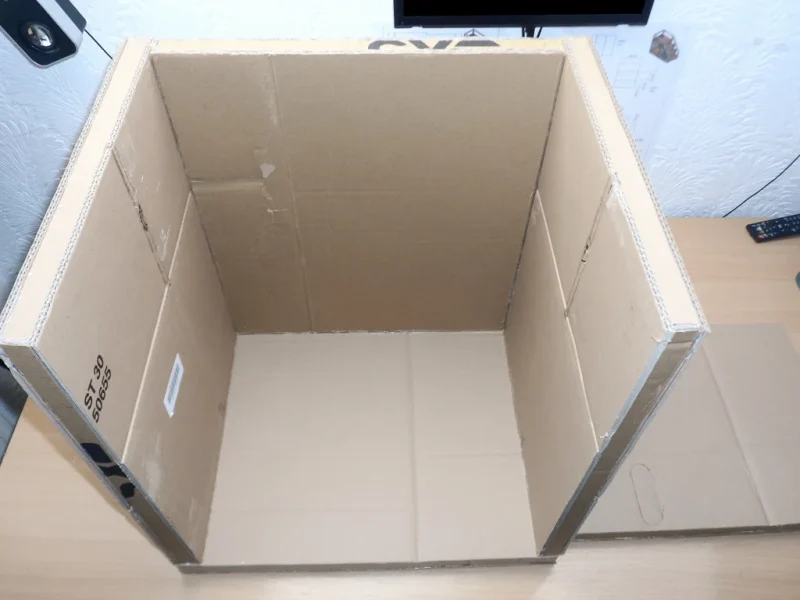
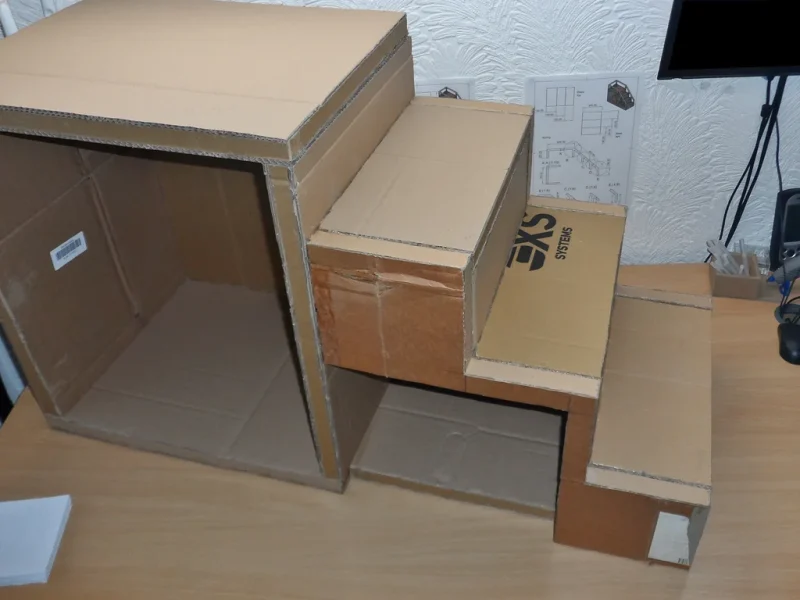
Next I attached the left, back and the right panels to the base panel and lastly the top panel to the build. For the stairs I started at the top adding treads and risers as I progressed down.
For gluing I used the universal glue in the middle of the joint and the hot glue on the outside to hold the panels in place whilst the universal glue dried.
Step 6: Upholstering
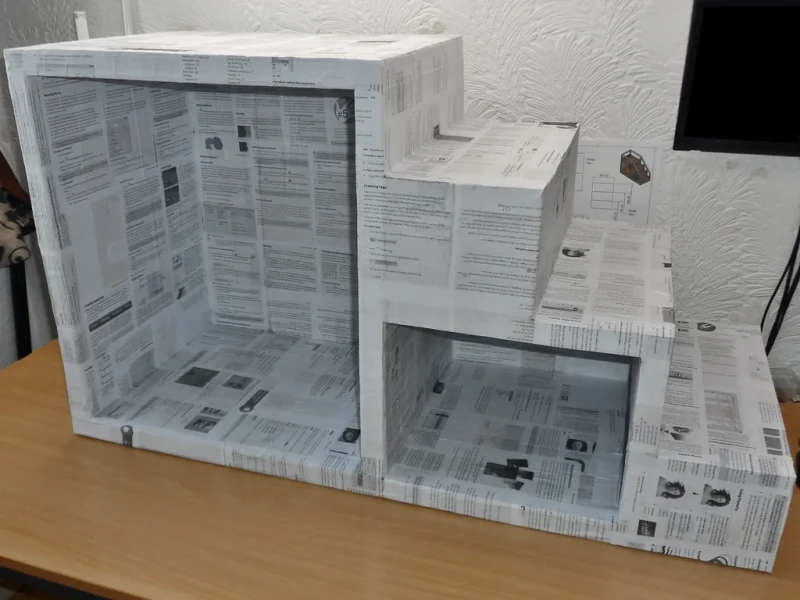
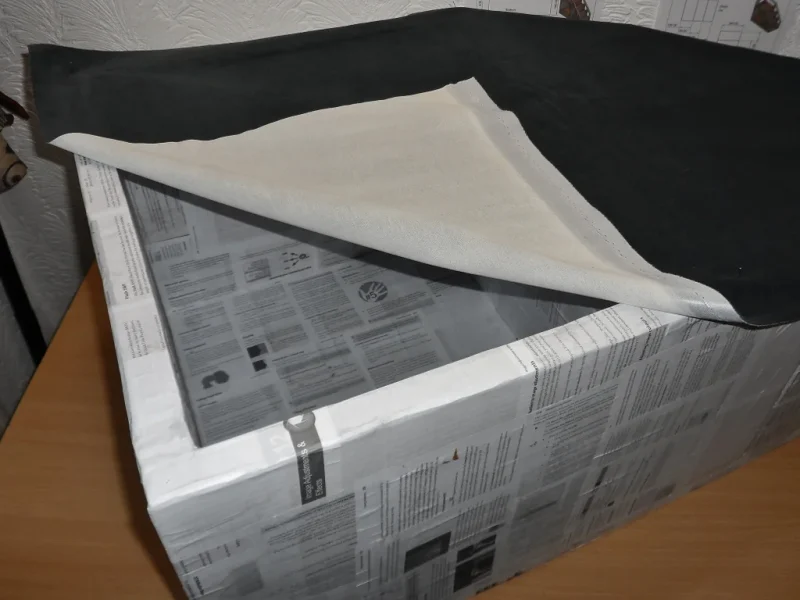
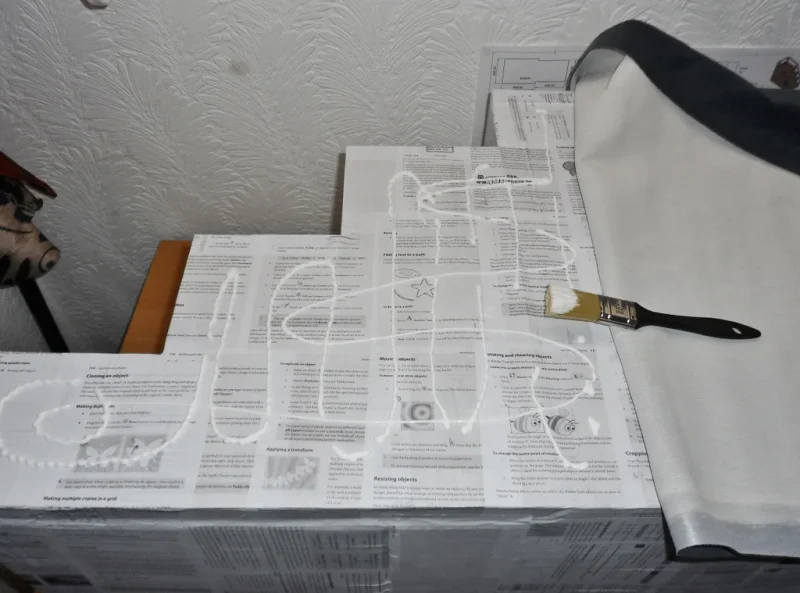
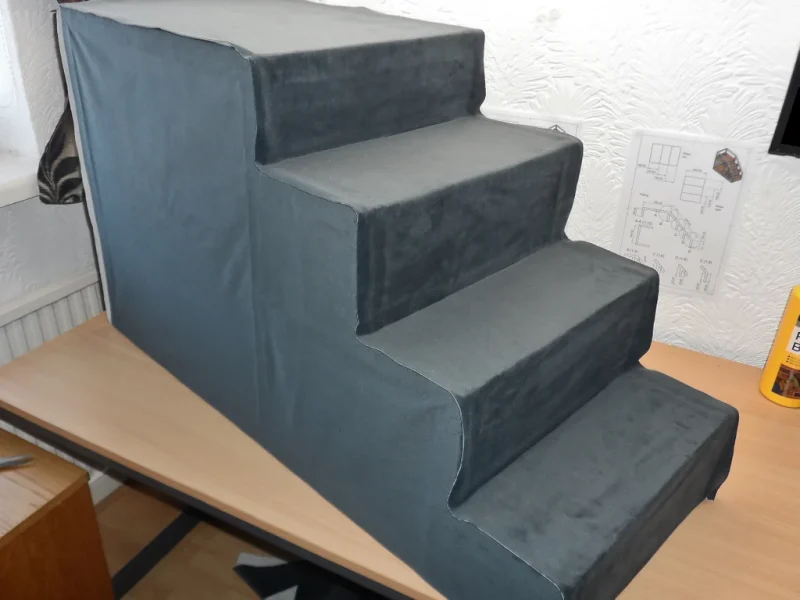
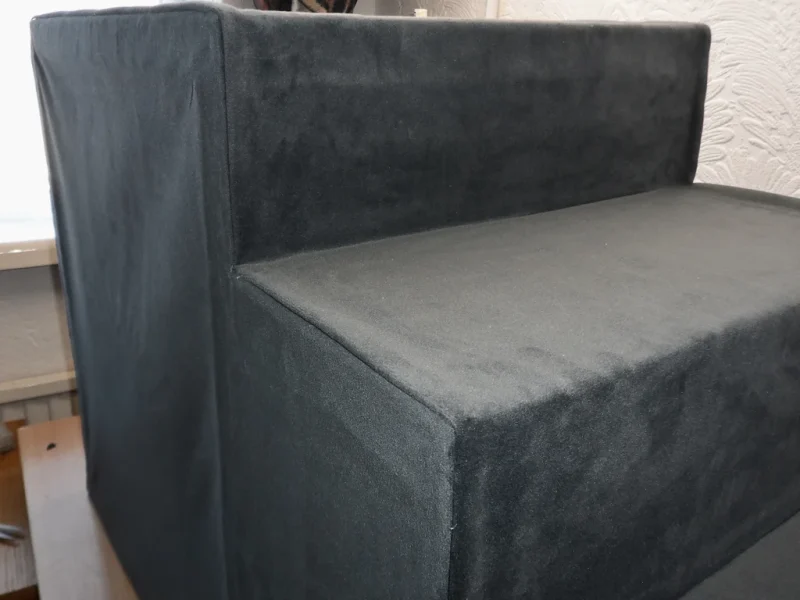
To cover the build I managed to get some very cheap fabric (£1 a meter) from a local fabrics store. I started by placing the fabric onto the face of the structure and affixed in place with hot glue. For larger areas I used the universal glue and the hot glue around the edges to make sure the fabric wouldn’t move. Next I aligned the fabrics with the stairs and started gluing it firstly halfway down and then halfway up.
Following that I trimmed and hemmed the excess fabric and secured it with hot glue.
Step 8: Accessories
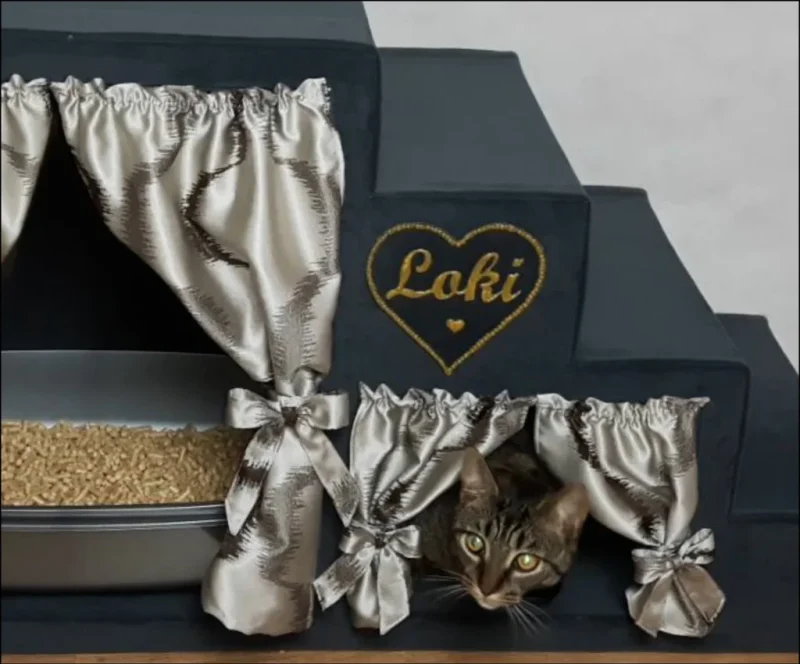
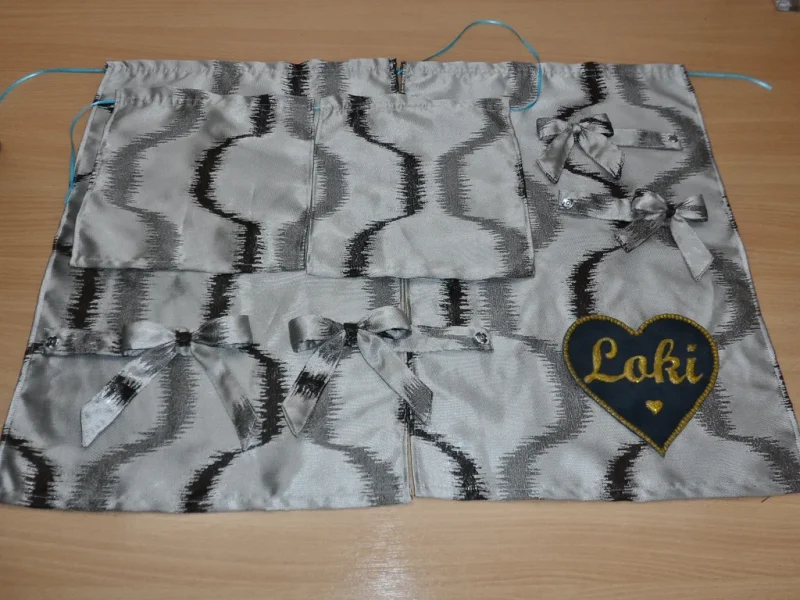
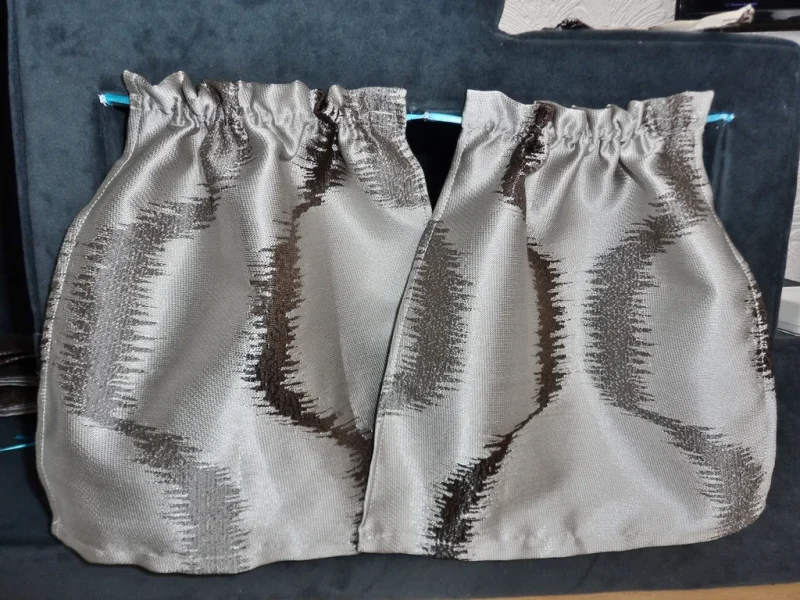
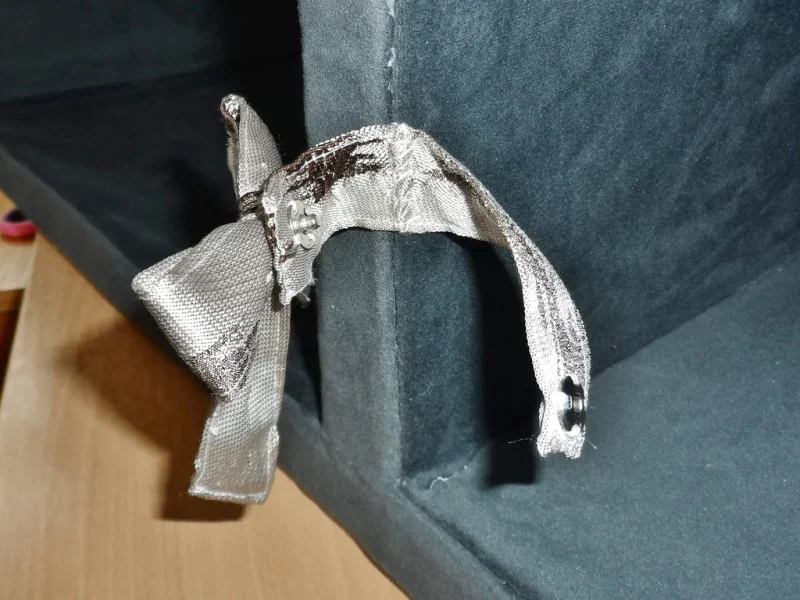
To finish off I made two pairs of tiny curtains and bow tiebacks. Once I had the curtains ready I slid a ribbon through the pair and stitched it to the top of the opening in the middle and on the sides. Next I sewed the push buttons onto the bows and stitched the bows on the sides of the openings.
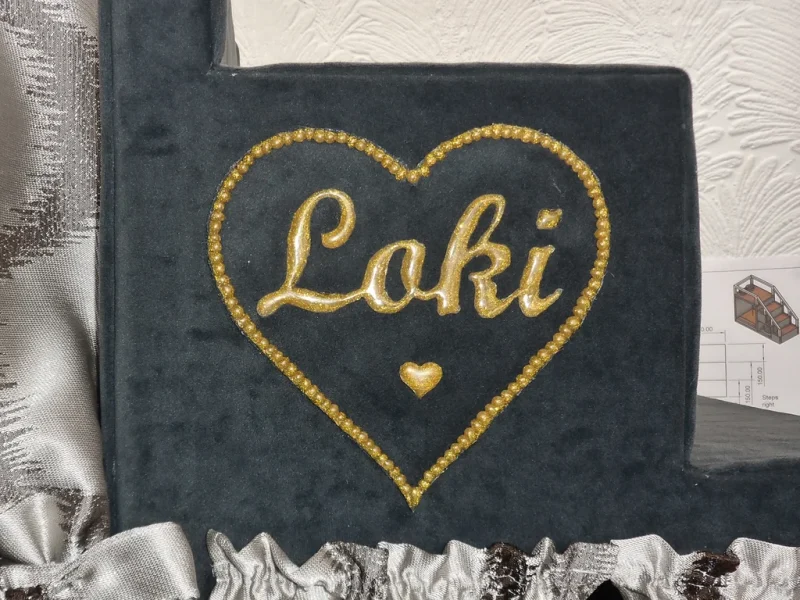
And lastly I decided to make him a name tag, because I’m sure that without it he wouldn’t know it’s his 😀 For this I printed out his name onto a piece of paper and placed over some greaseproof paper. Then I just outlined the name with hot glitter glue and transferred it onto a heart cut out. And finally I dotted the glitter glue around the heart and glued the whole thing onto the build.
Final Thoughts
This project took about 20 hours to finish but was definitely worth it. My little kitty is walking up and down the stairs like the king of his jungle. He likes to have a nice stretch down the stairway after his meal and he also enjoys the little hiding place. I’m not sure whether I’ll be keeping in the litter tray, as of yet he has not used it as he goes out to do his business so I’m not sure how that might go, but for now it’s nice to have it somewhat hidden 🙂


