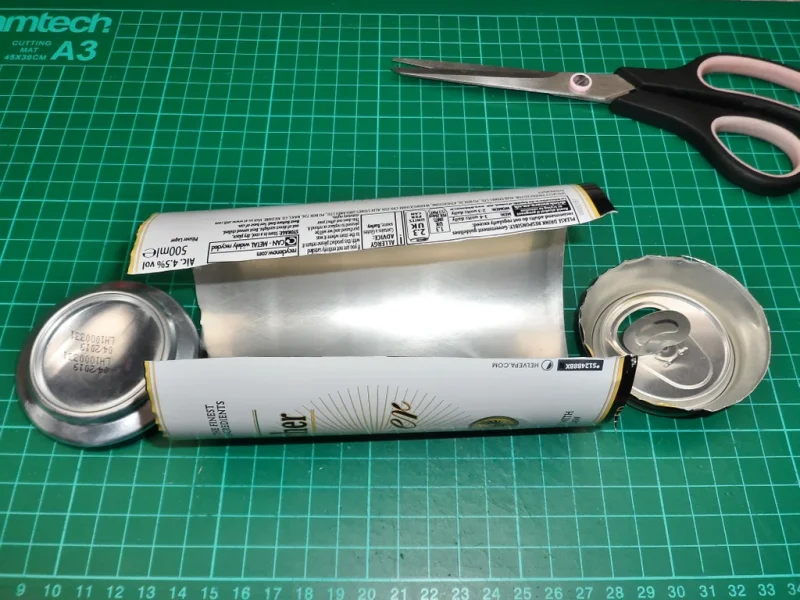
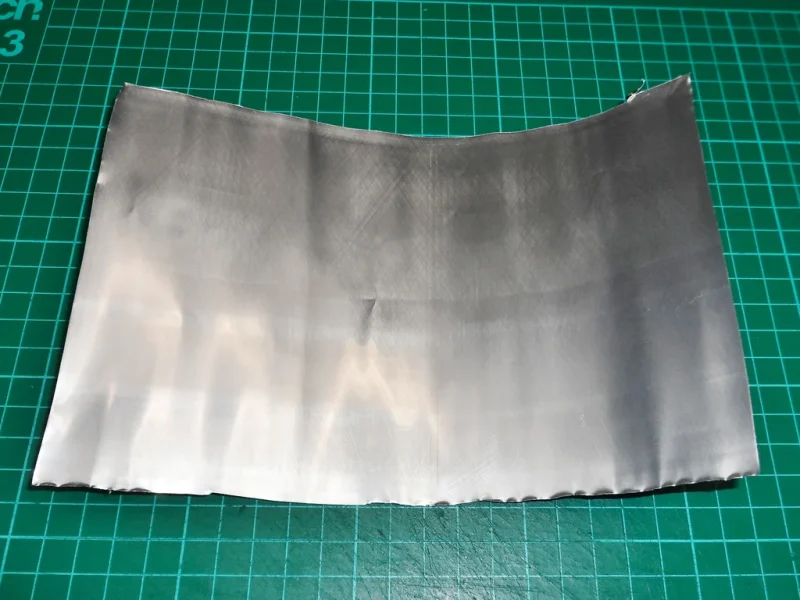
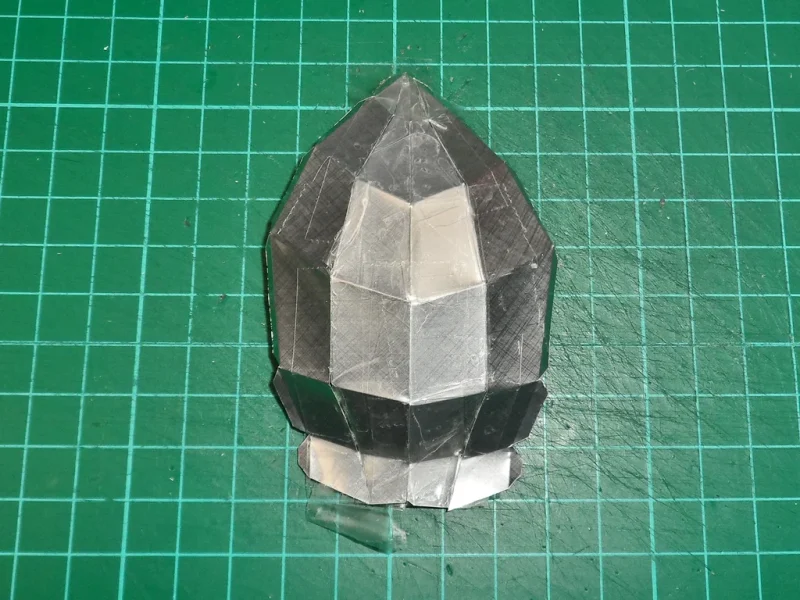
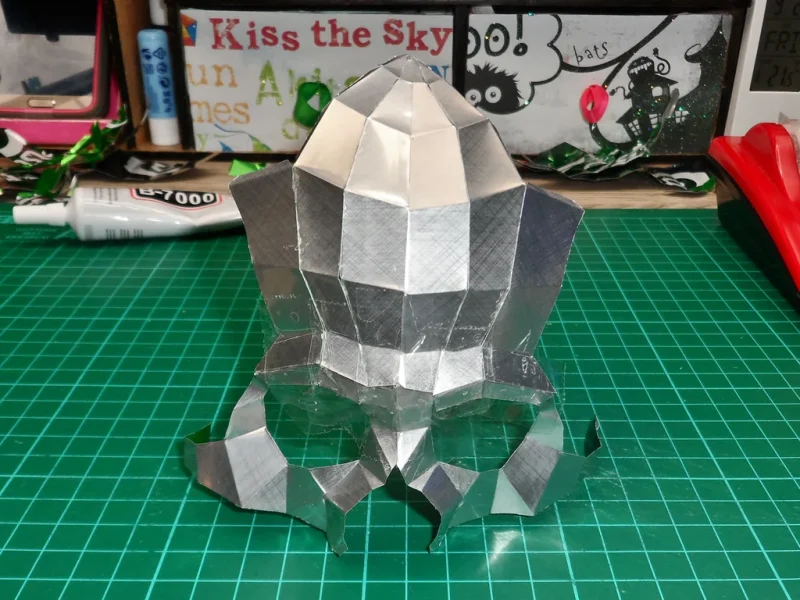
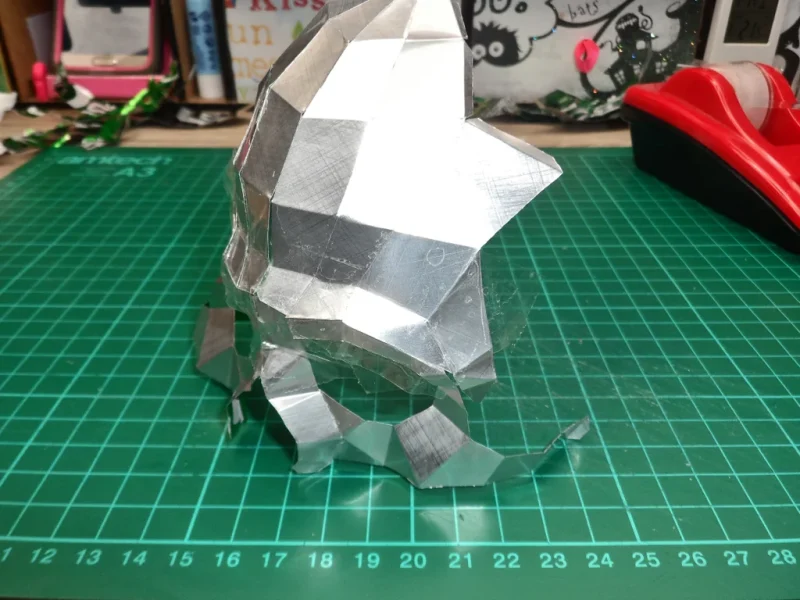
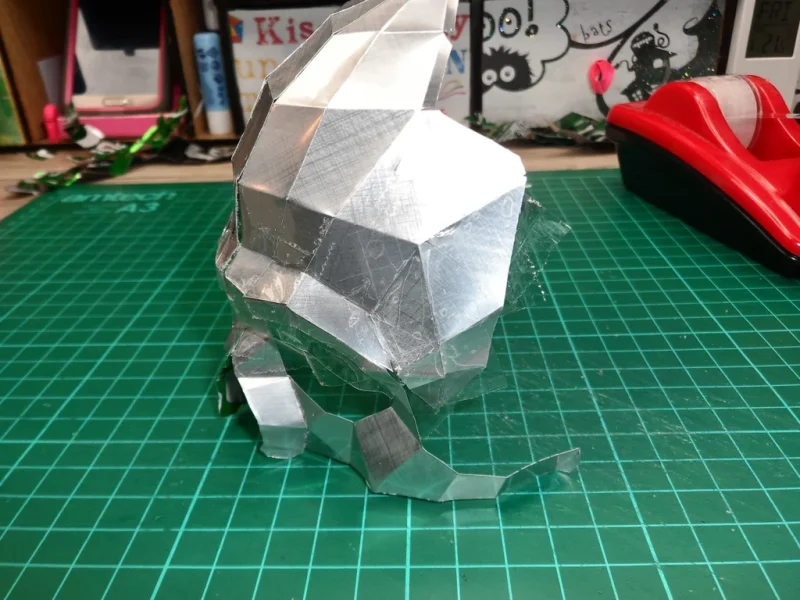
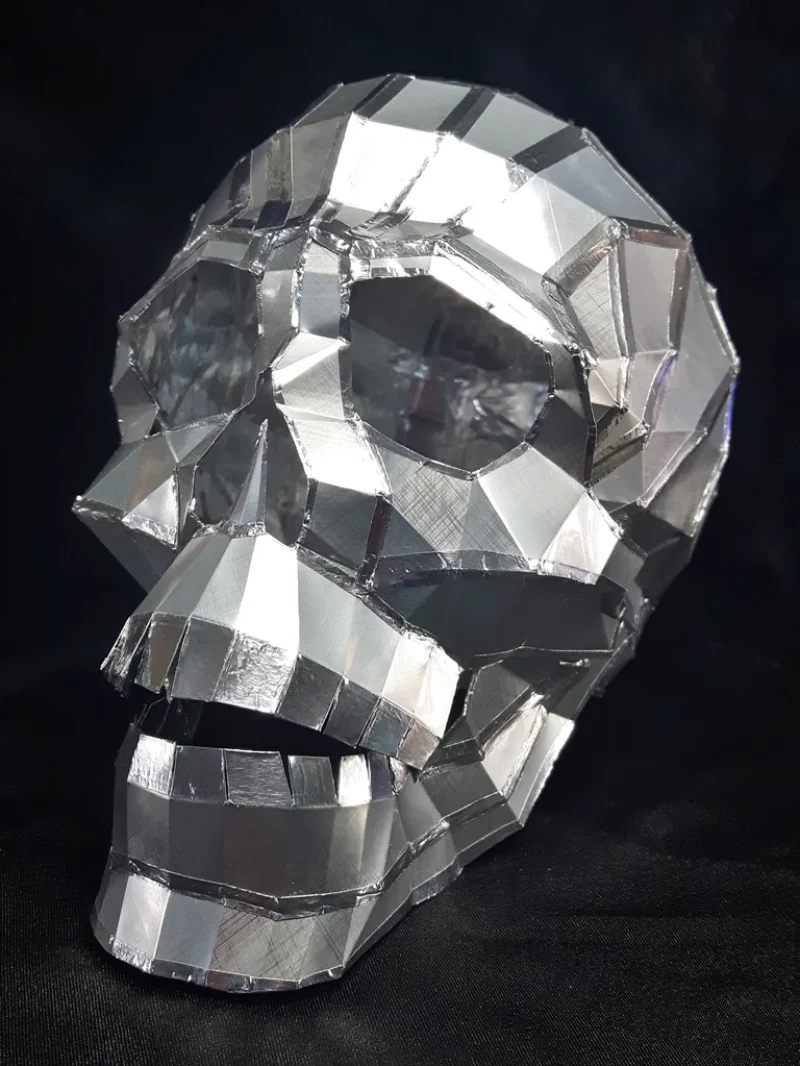
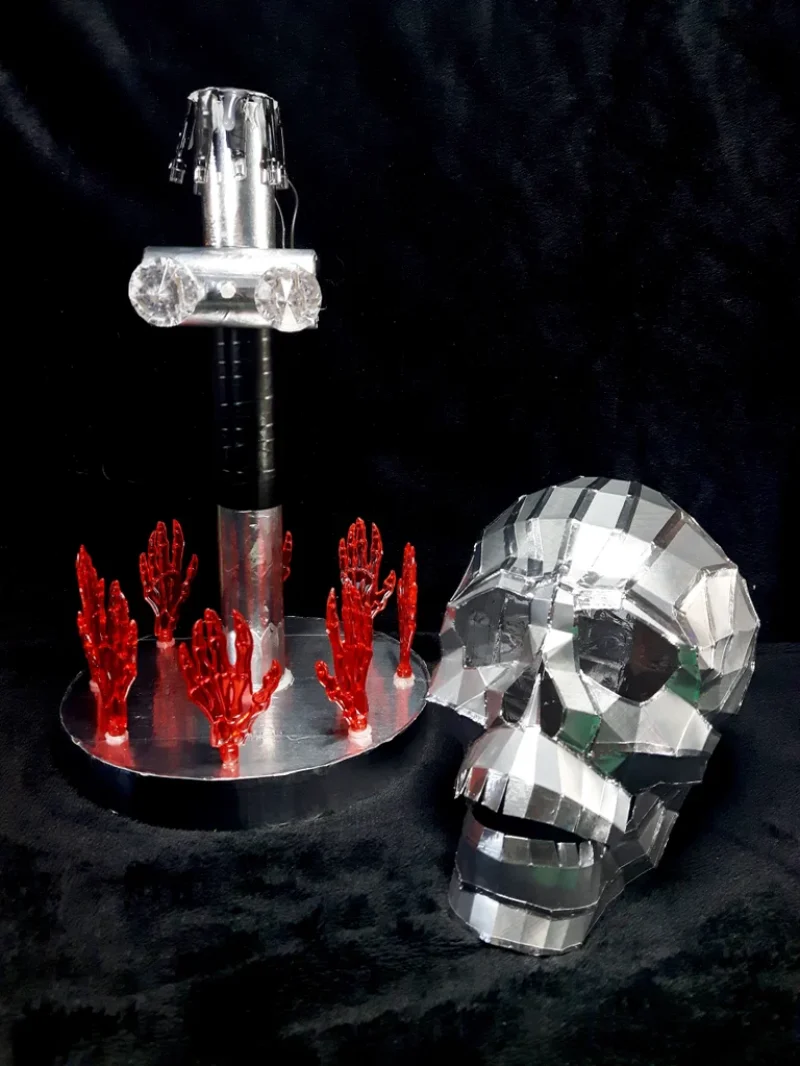
Step 1: Tools, Materials & Template
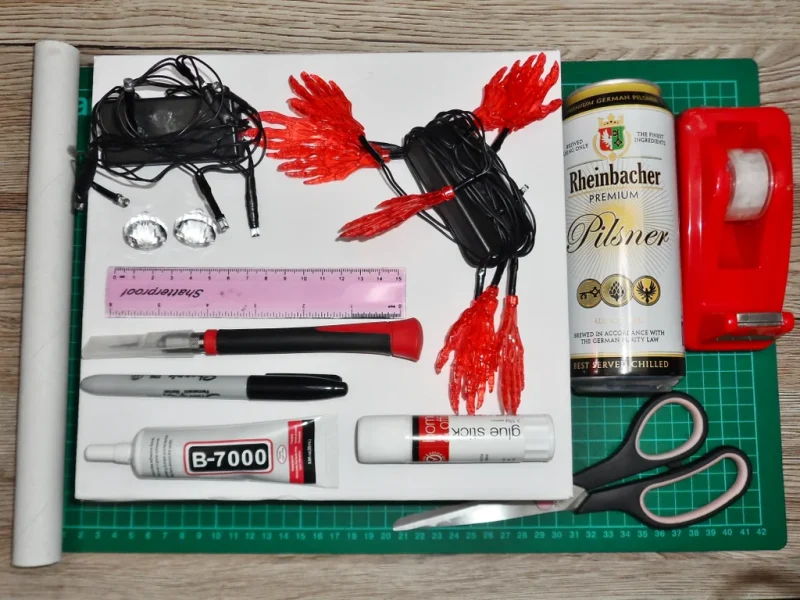
Tools &Materials:
- 5x aluminium can
- 2x LED string lights (I used purple and red with creepy hands)
- B-7000 glue
- 2x plastic diamonds with holes
- glue stick
- cardboard box
- cardboard tube (mine was from cling film)
- aluminium tape
- ruler
- compass
- marker
- hobby knife
- scissors
- clear tape
- glue gun and sticks
- skewer
- template
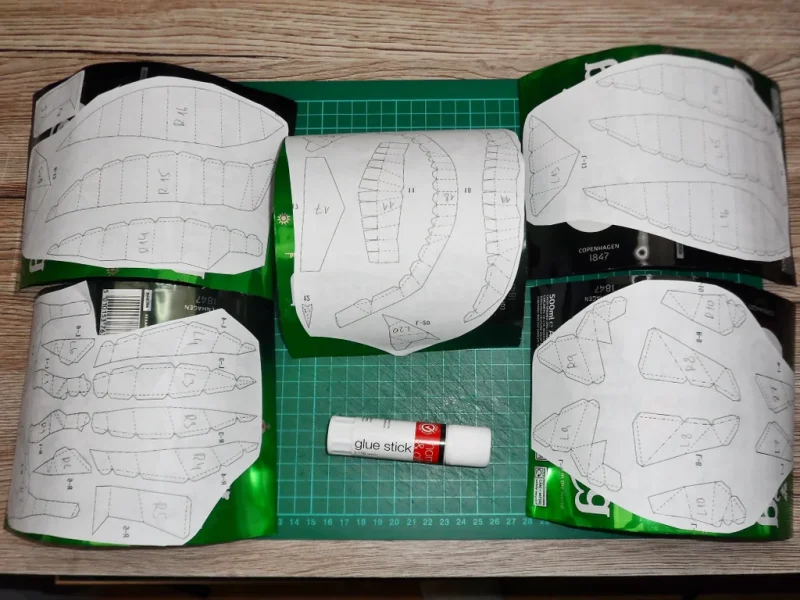
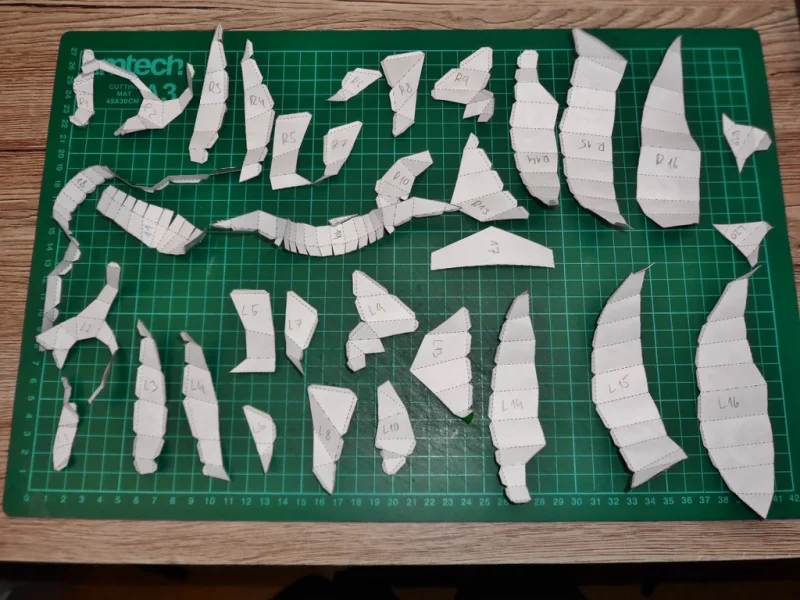
Here is a link for where I found the template for the paper skull and here you can download the original template. I’ve also included the adjusted template, I only flipped it and made it smaller to fit the cans better. The flipping of the template made the can folding a little easier.
Step
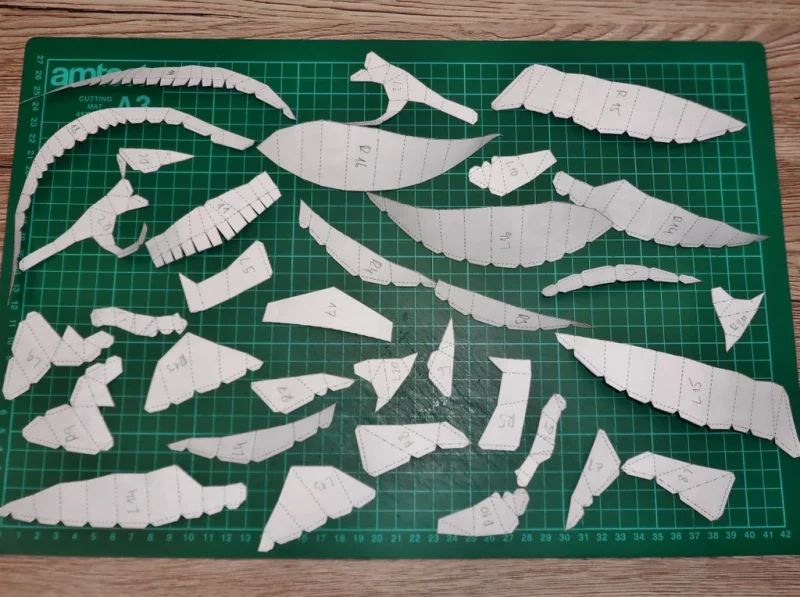
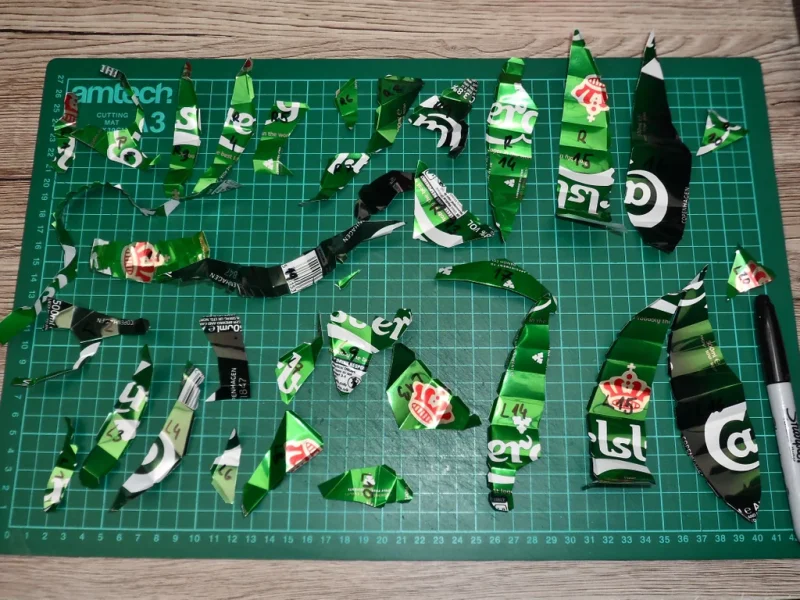
Print out the templates, attach them to the cans with a glue stick and let dry. Cut out all of the pieces with scissors.
Fold the pieces as follows:
– – – – – – – – – Broken lines
Fold along these lines. The printed surface should be on the inside of the folded shape.
— – — – — – – Dotted lines
Fold along these lines. The printed surface should be on the outside of the folded shape.
Remove the paper template form the aluminium pieces and write the reference numbers onto each one of them as you go. On the original template the right side seems to be swapped with the left which can be a little confusing at times, so to make it easier you can write “R1” instead of “L1” and so forth.
Be careful whilst working with the cans as they are quite sharp. Even though I didn’t manage to cut myself I did end up with a couple of splinters so you might want to wear some gloves 😉
Step 4: Assemble Part 1
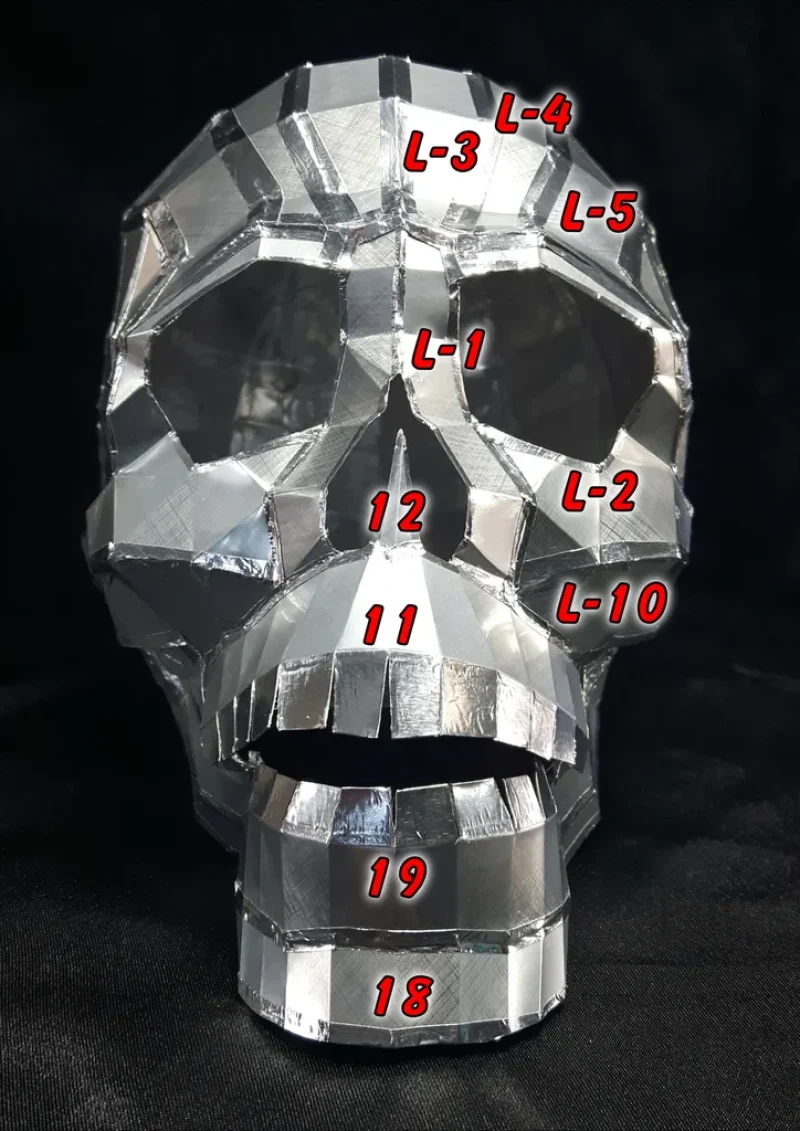
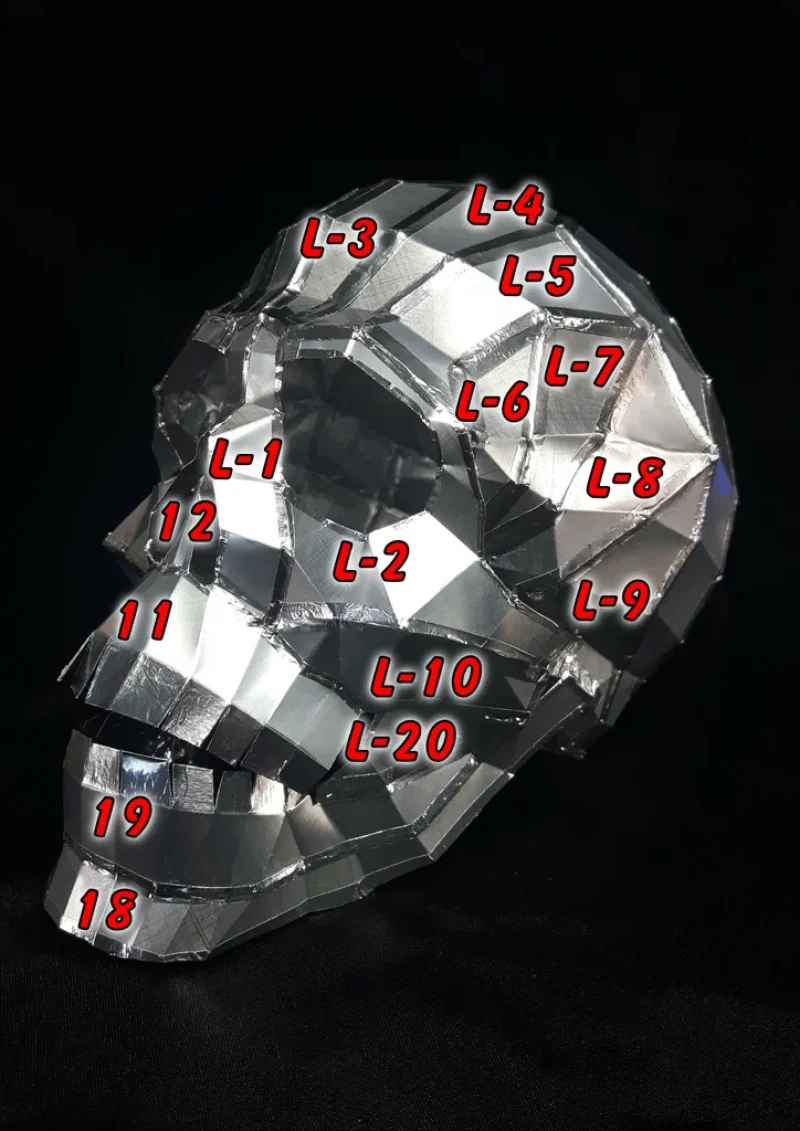
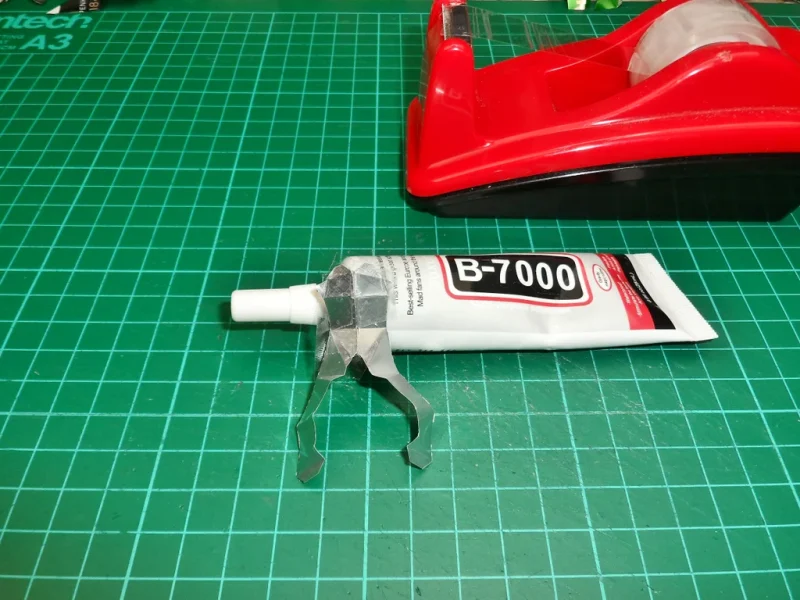
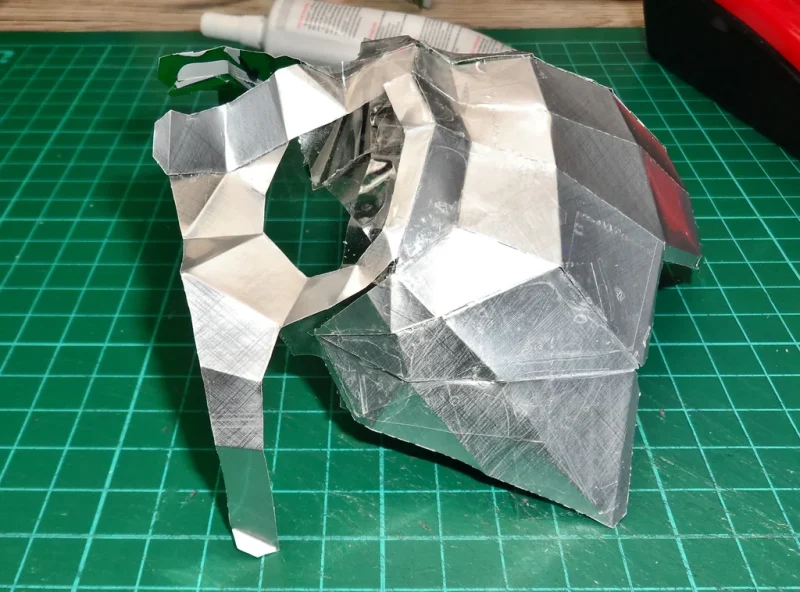
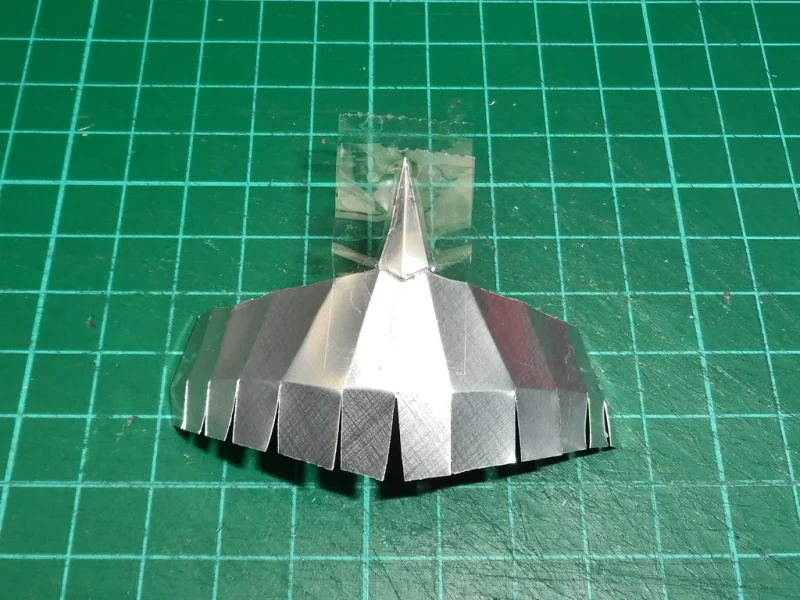
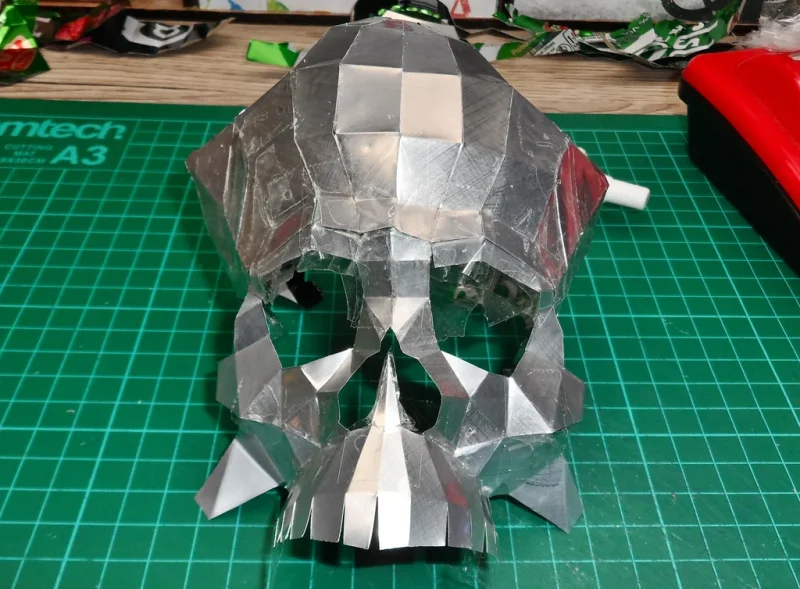
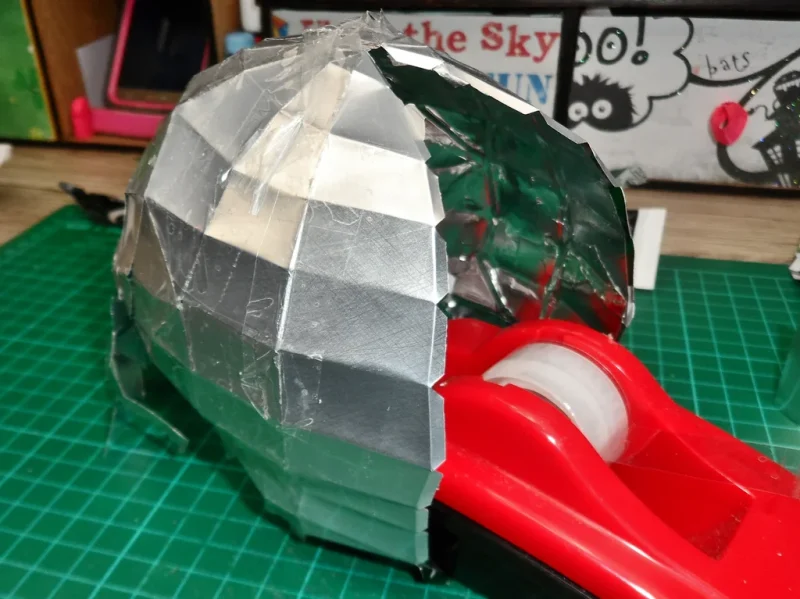
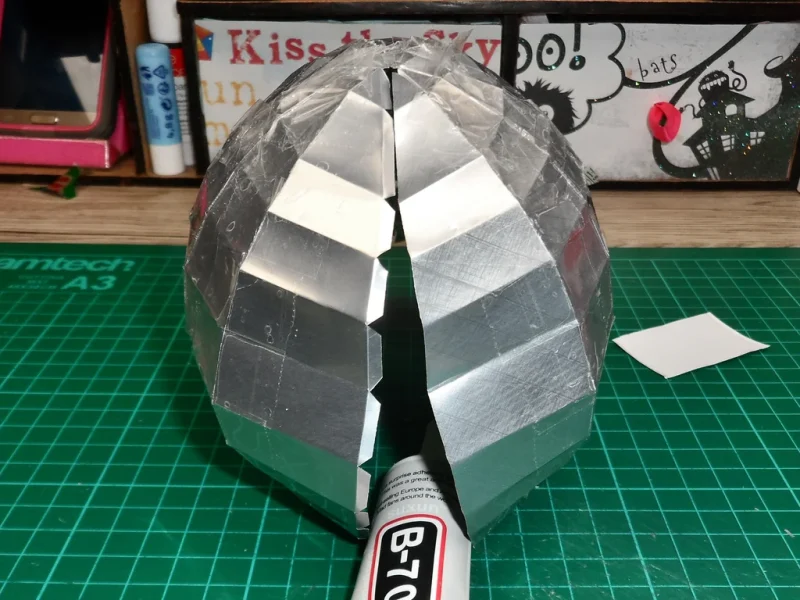
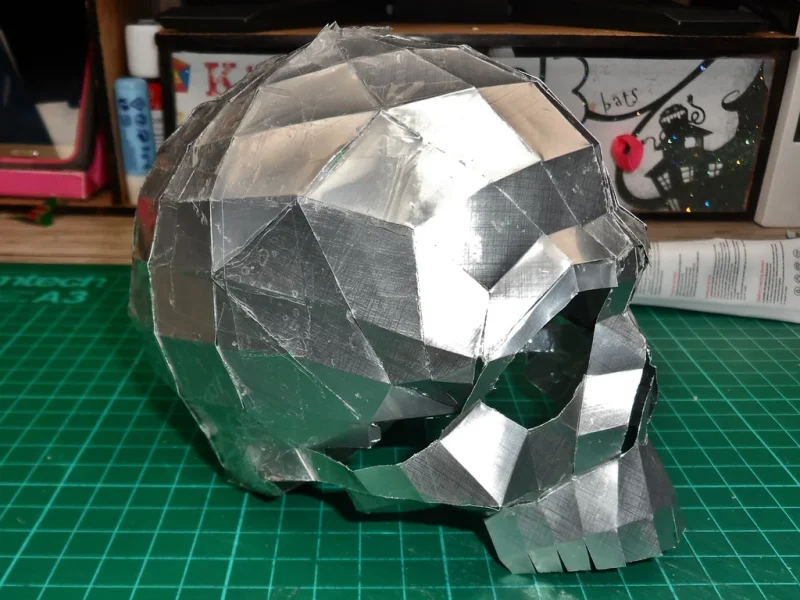
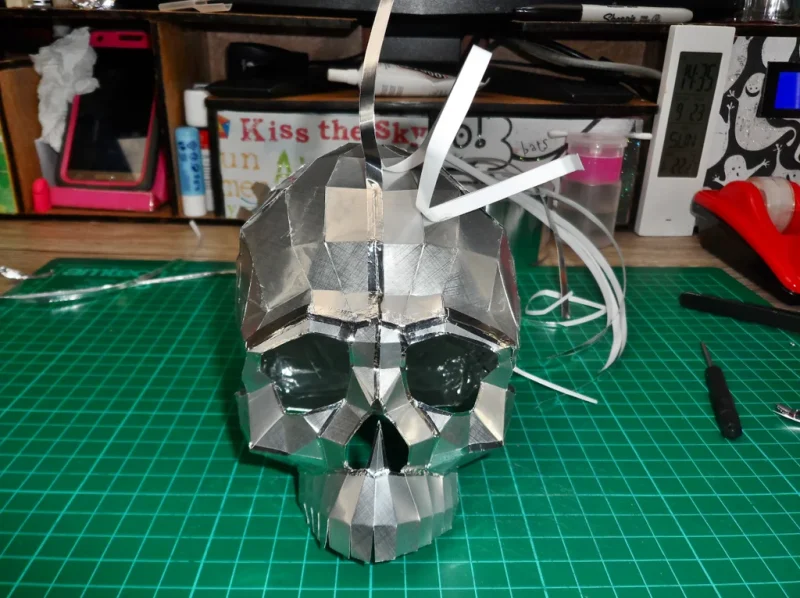
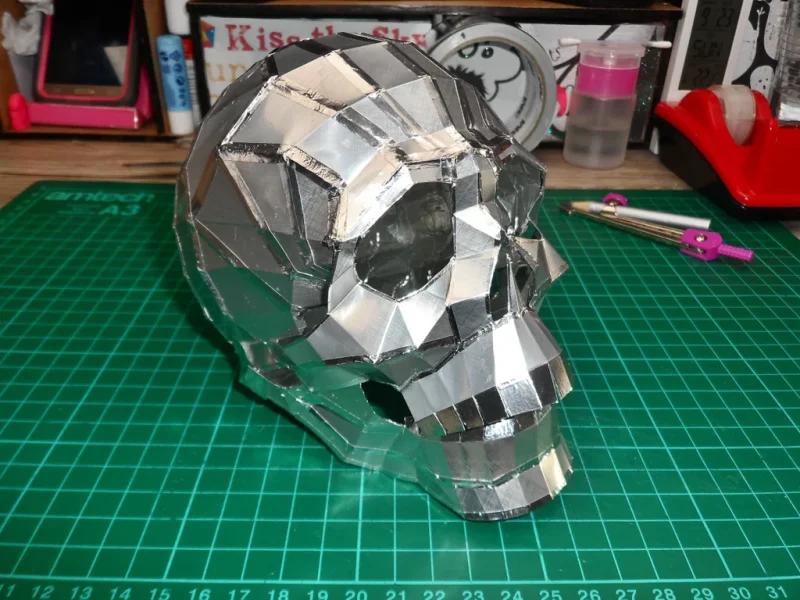
Glue the R-1 and L-1 pieces together with the B-7000 glue and put over the clear tape to hold it in place whilst the glue dries. Attach the R-2 to the R-1 and L-2 to the L-1 to create the face.
Glue the R-4, R-3, L-3 and L-4 pieces together to create the forehead. Attach the forehead to the face.
Glue as follows:
- R-5 and L-5 to R-4 and L-4
- R-6 and L-6 to R-5 and L-5
- R-7 and L-7 to R-6 and L-6
- R-8 and L-8 to R-7 and L-7
- R-9 and L-9 to R-8 and L-8
Step 5: Assemble Part 2
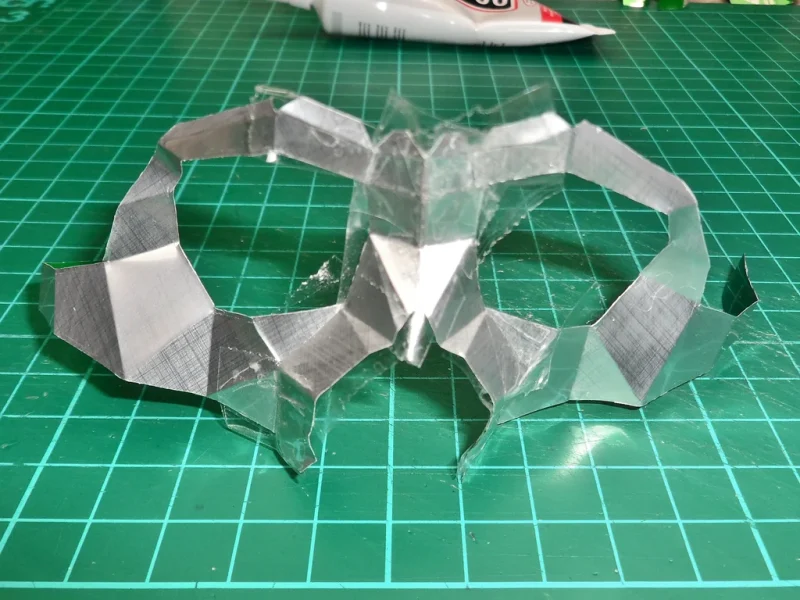
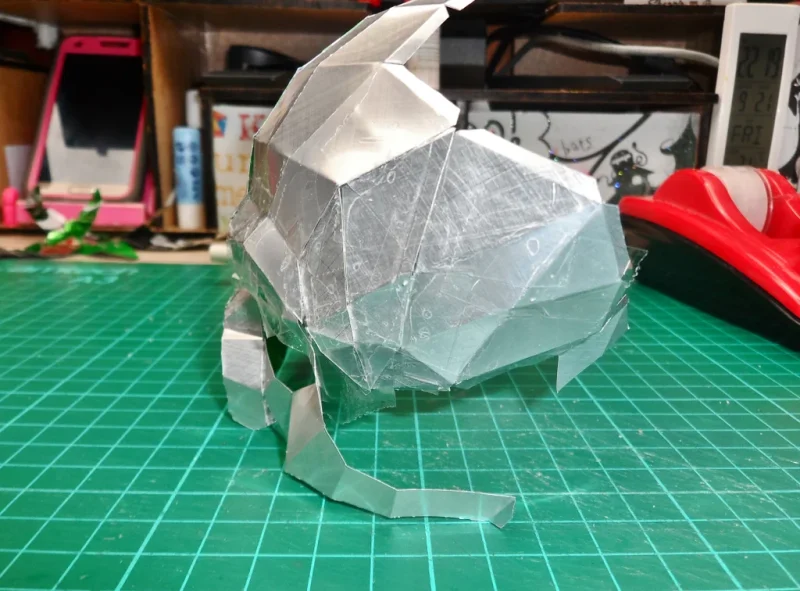
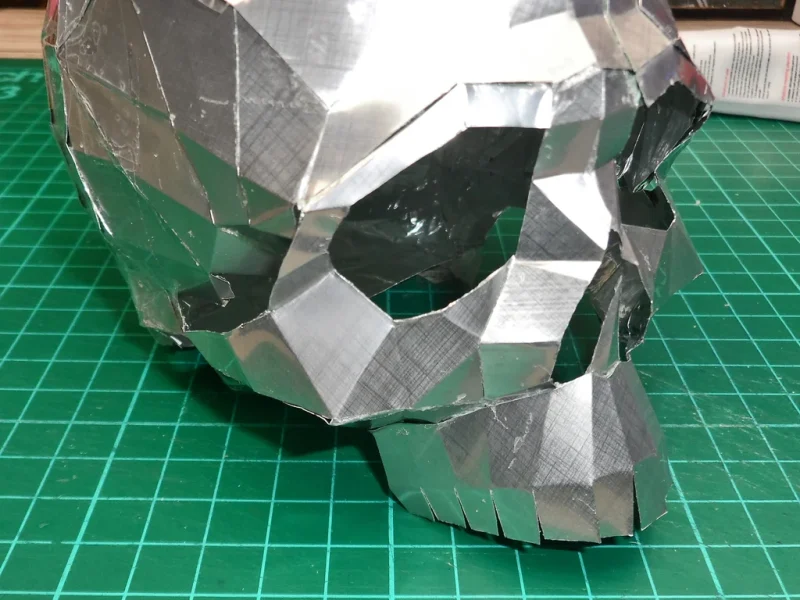
Glue the cheekbones (R-10 and L-10) to the face. Attach piece number 12 to 11 and glue the upper jaw to the face.
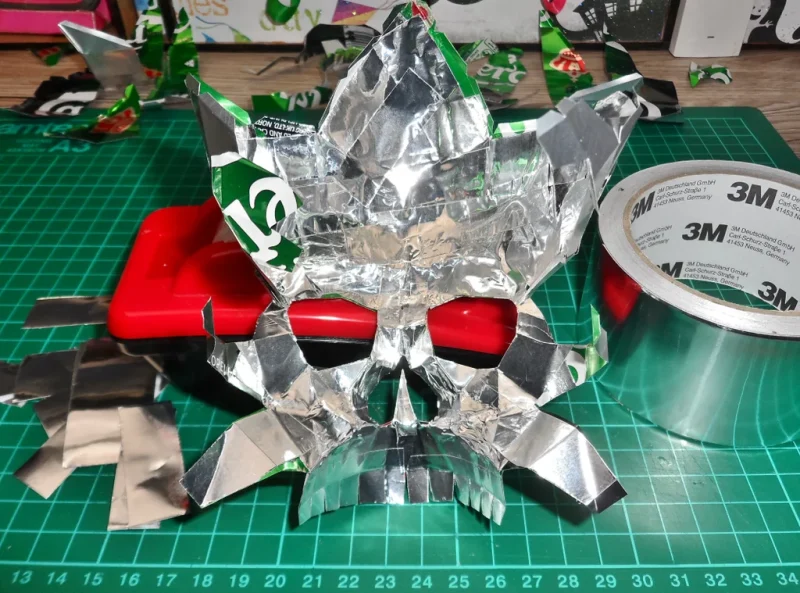
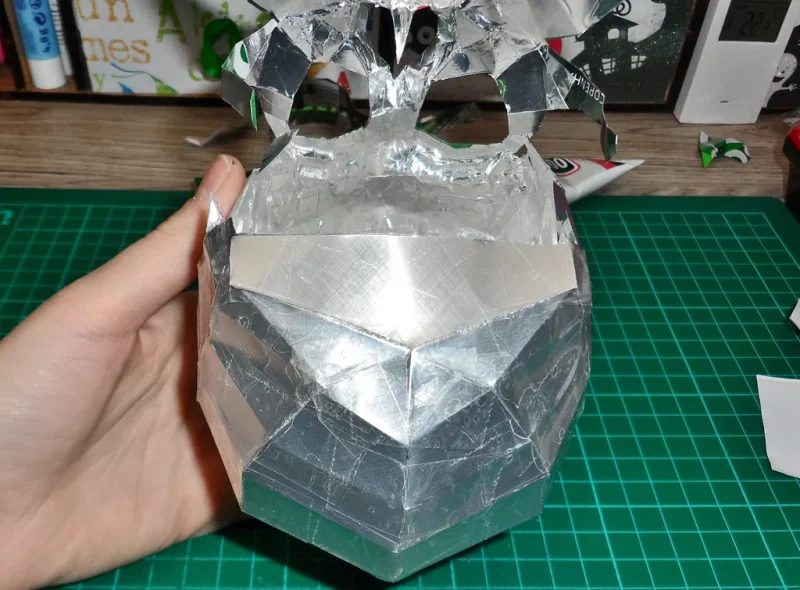
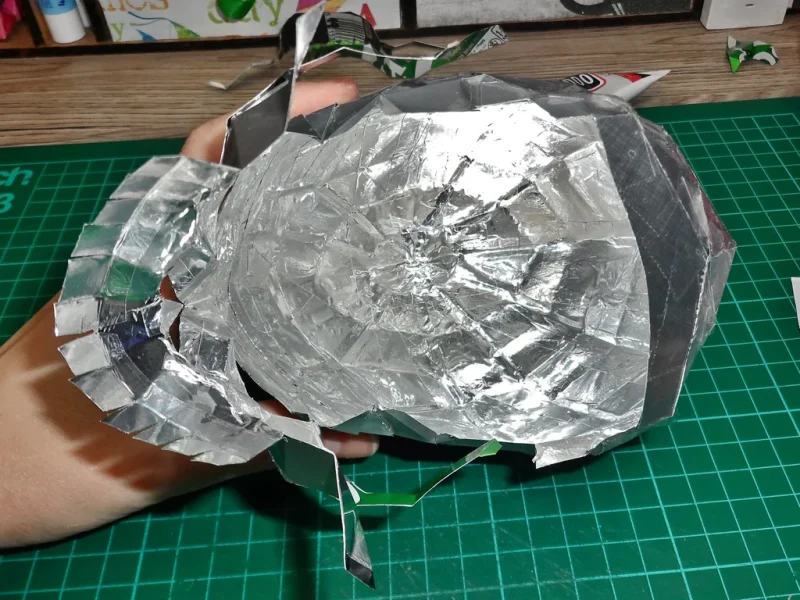
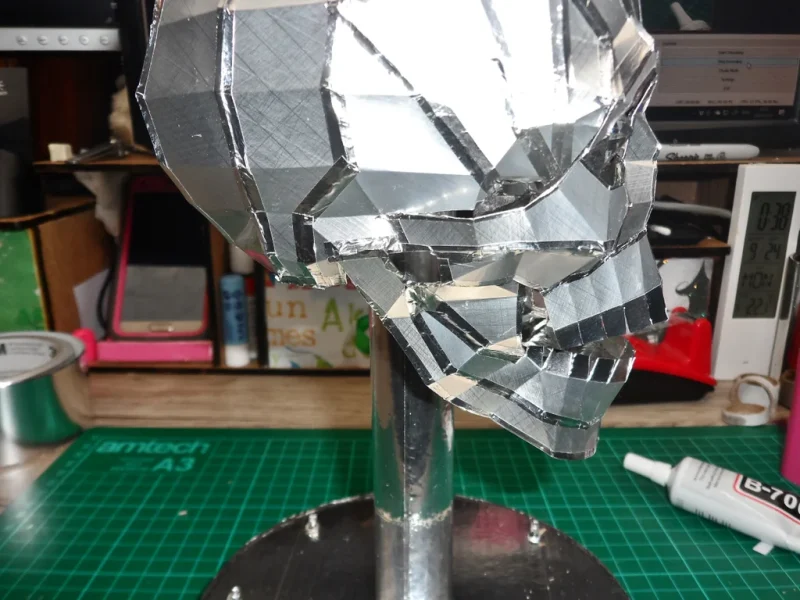
At this point I decided to stop using the clear tape on the inside of the skull and swap it for the aluminium tape. I wanted the skull to be reflective from the inside and the aluminium tape holds the joints better whilst drying.
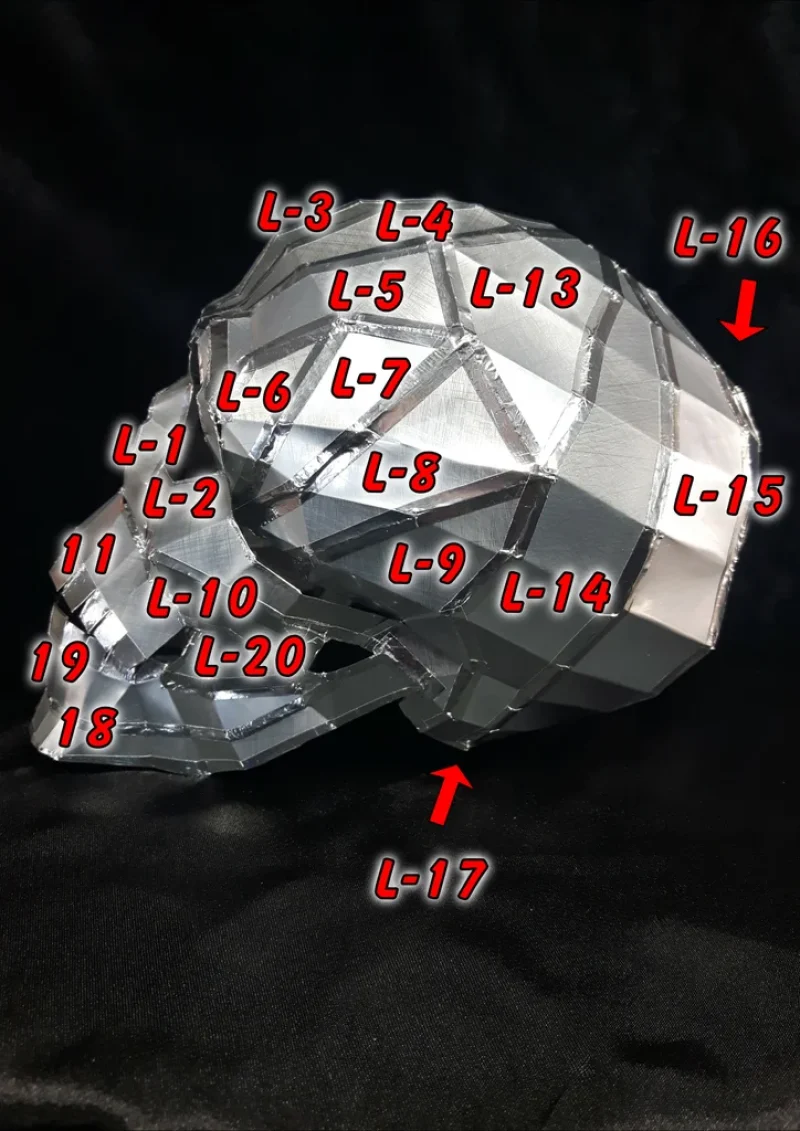
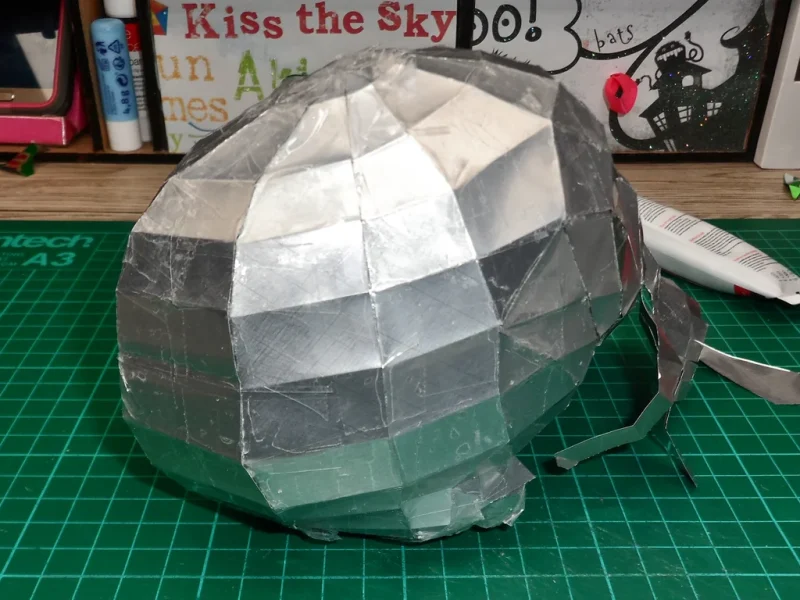
Carry on gluing as follows:
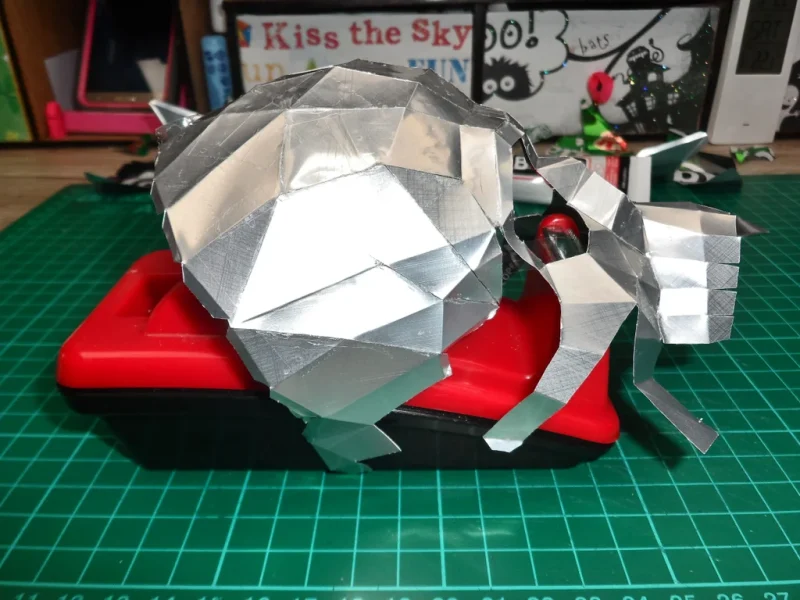
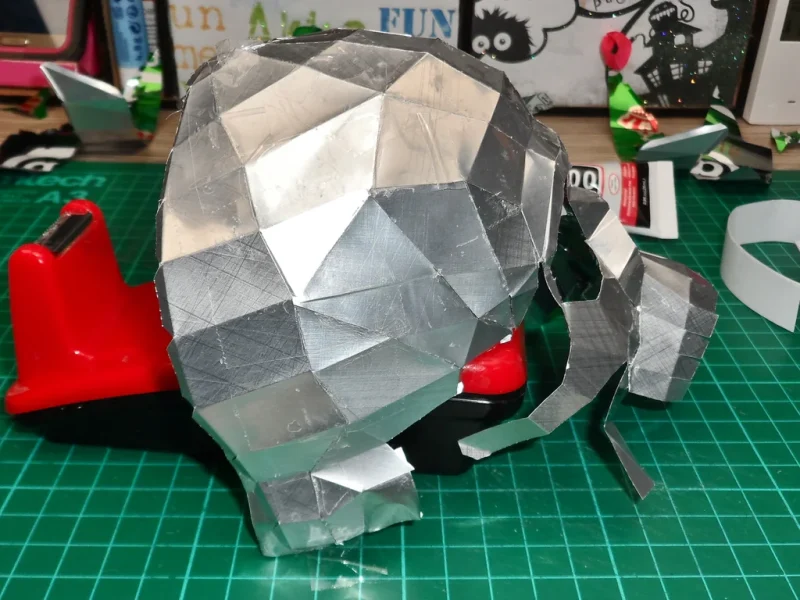
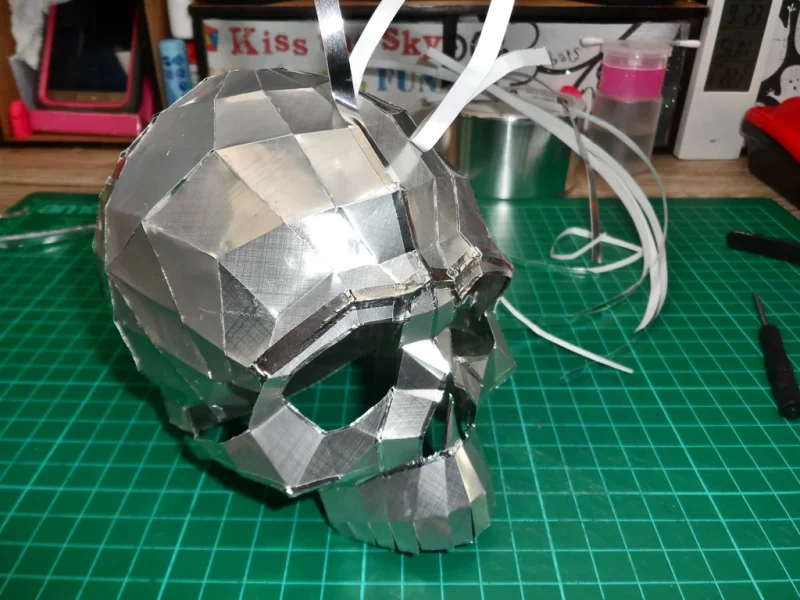
- R-13 and L-13 to the top of the head
- R-14 and L-14 to R-13 and L-13 and R-9 and L-9
- R-15 and L-15 to R-14 and L-14
- R-16 and L-16 to R- and L-16
- R-16 to L-16 to close the back of the head
Step 6: Assemble Part 3
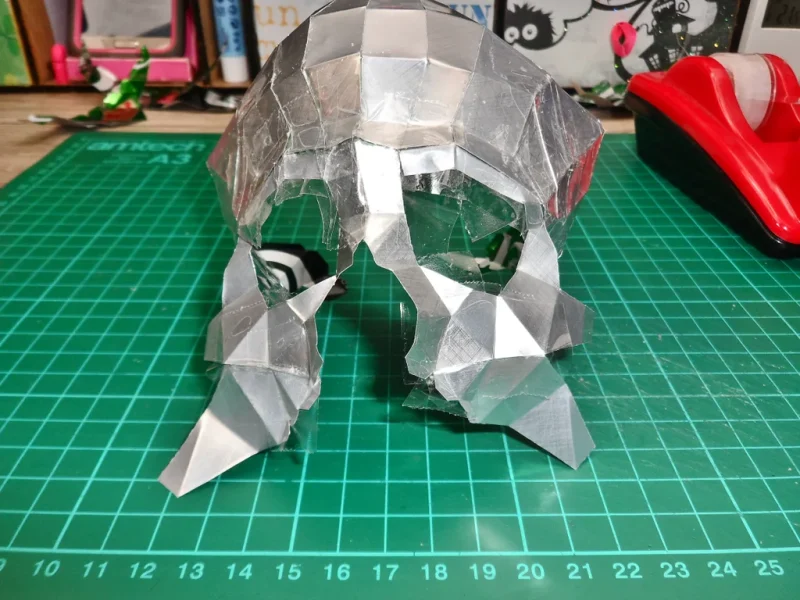
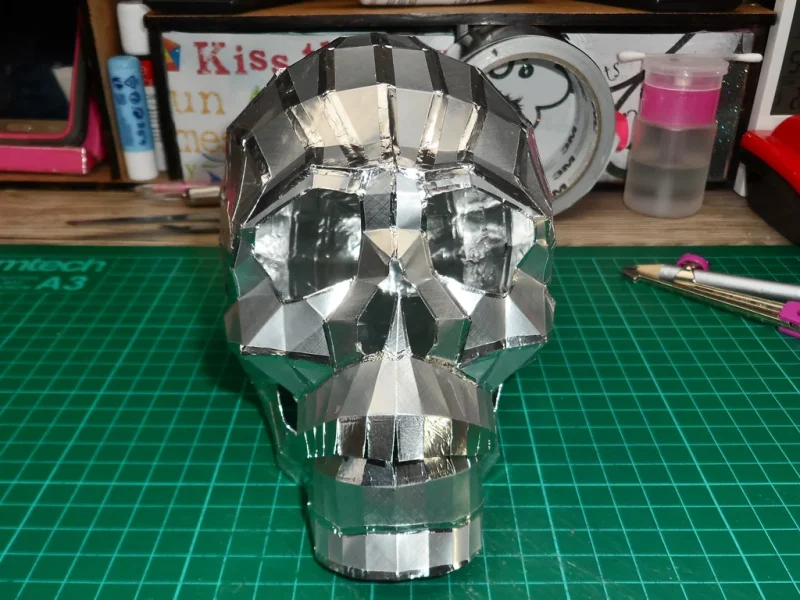
Glue piece 17 to the bottom of the skull and cover the naked parts of the skull with the aluminium tape on the inside. Glue the loose ends of the R-2 and L-2 to the R-9 and L-9 and join the cheekbone from the inside with the aluminium tape.
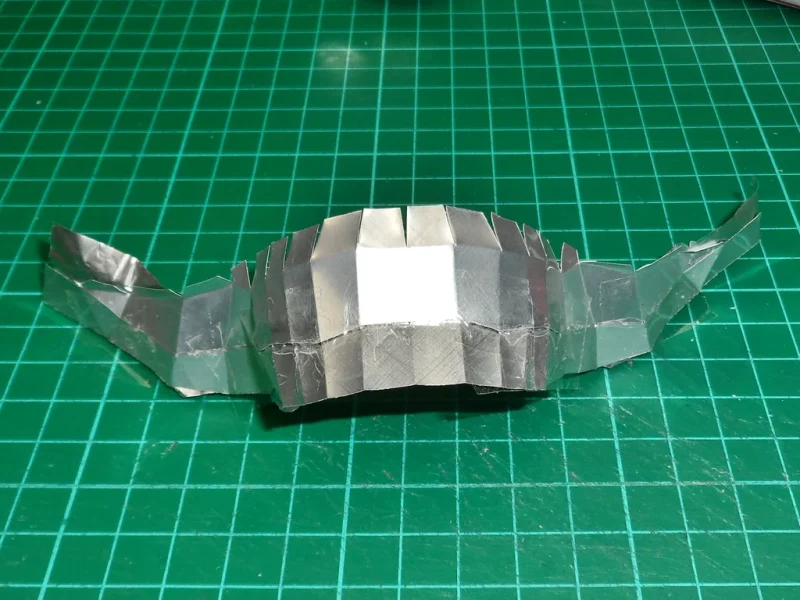
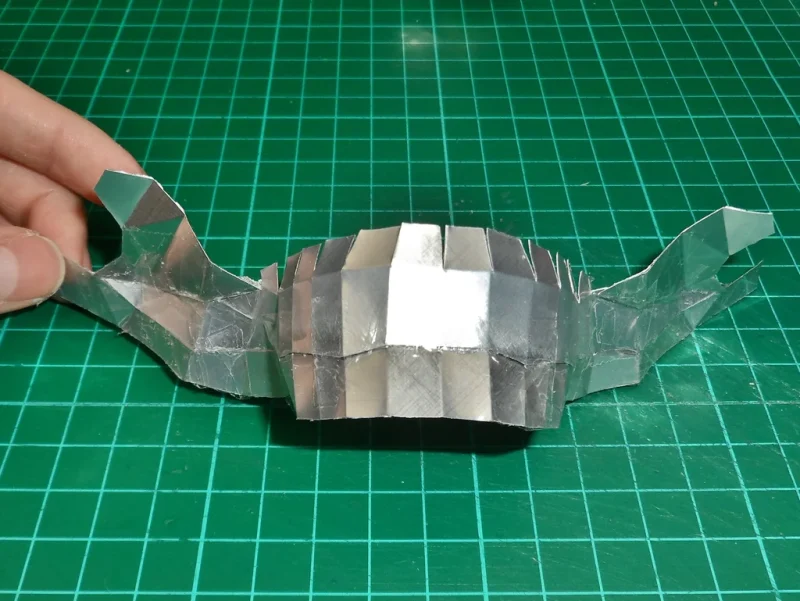
Glue together pieces 18 and 19 and attach R-20 and L-20 to the left and right side of the lower jaw.
Step 8: Stand
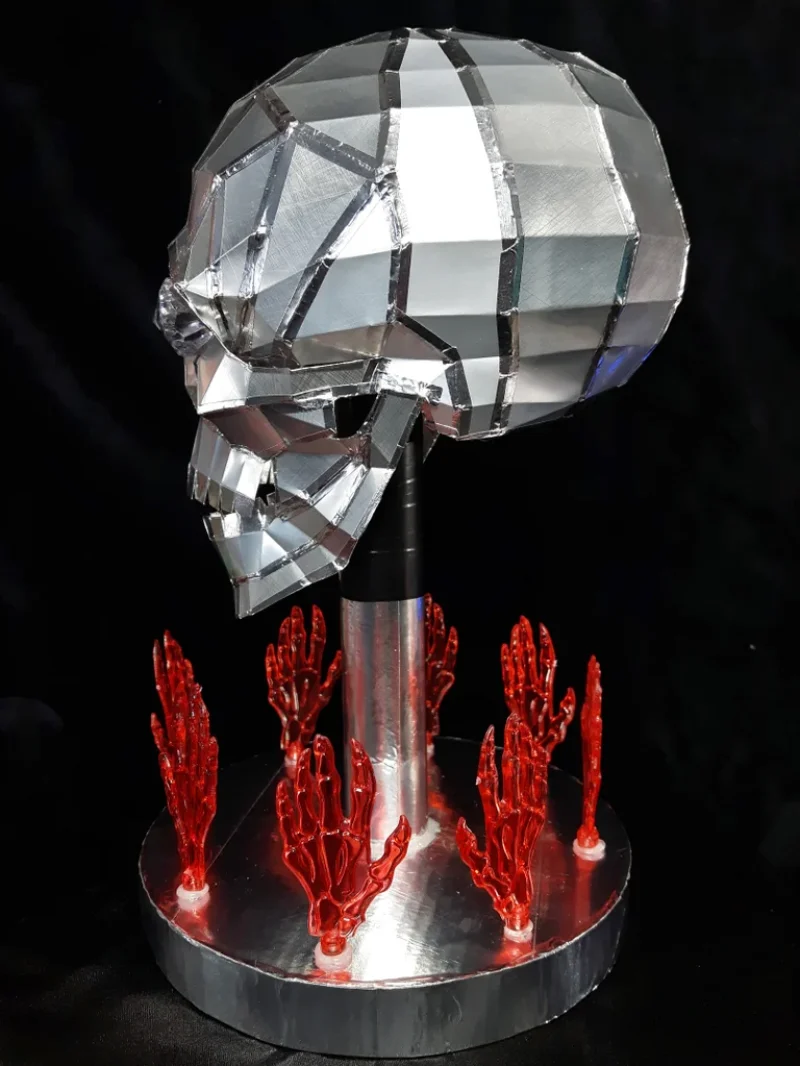
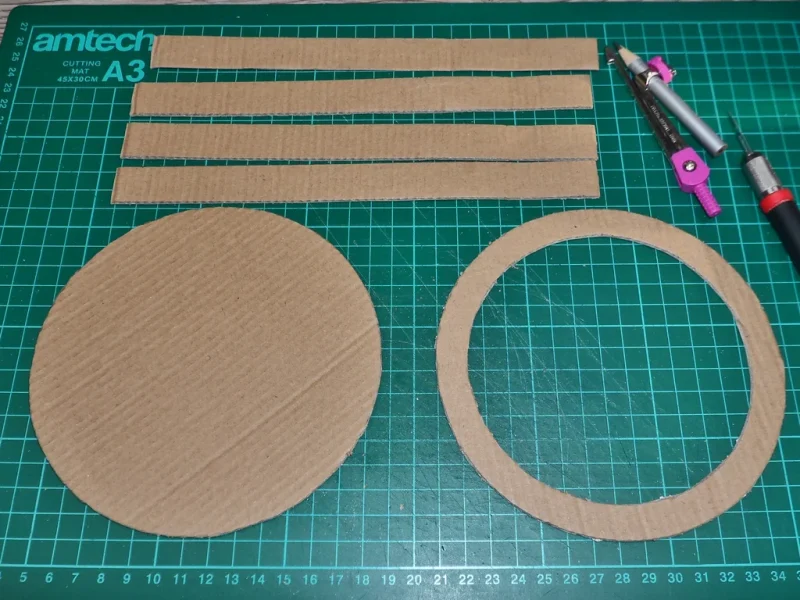
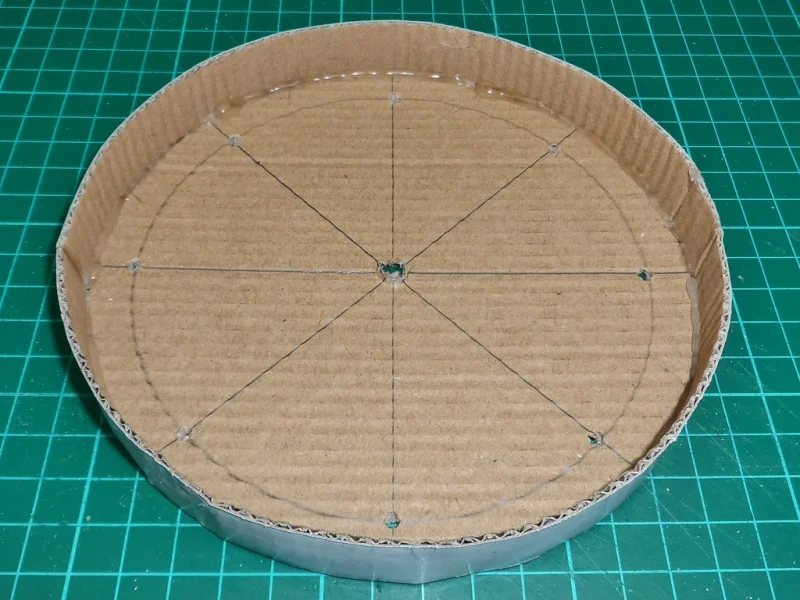
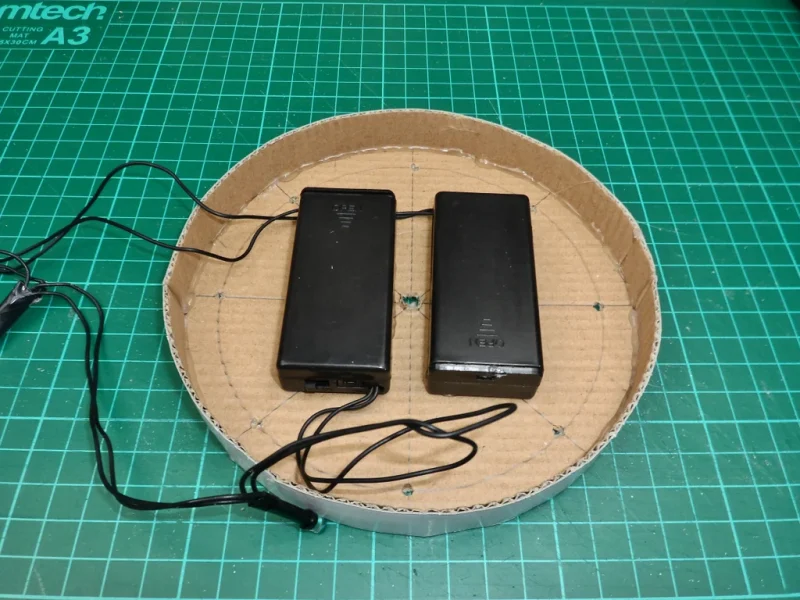
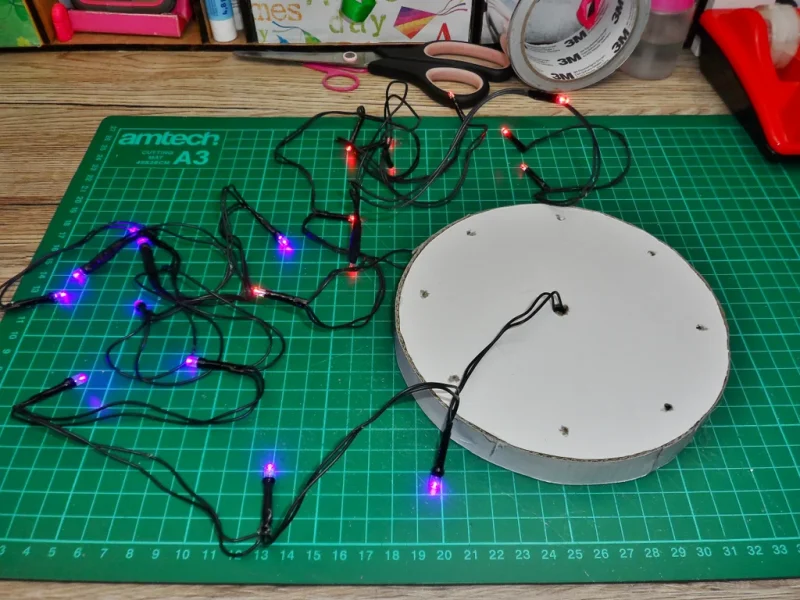
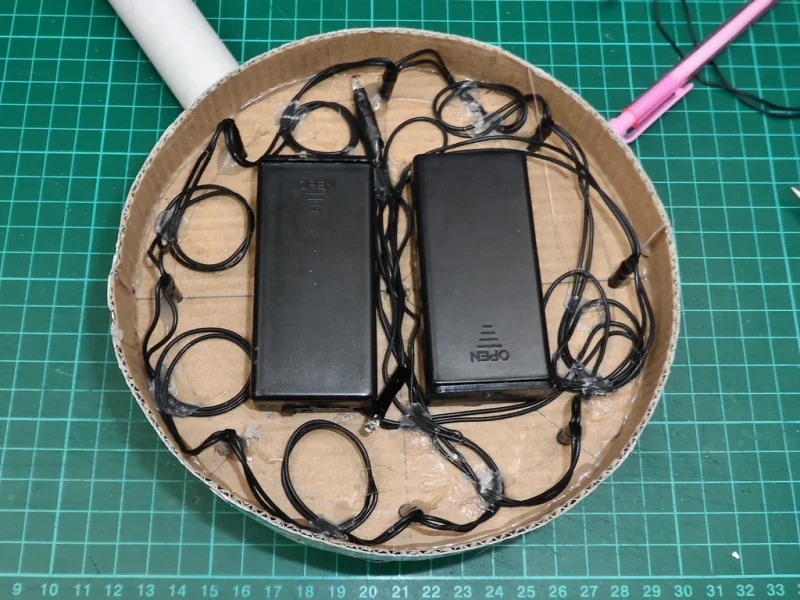
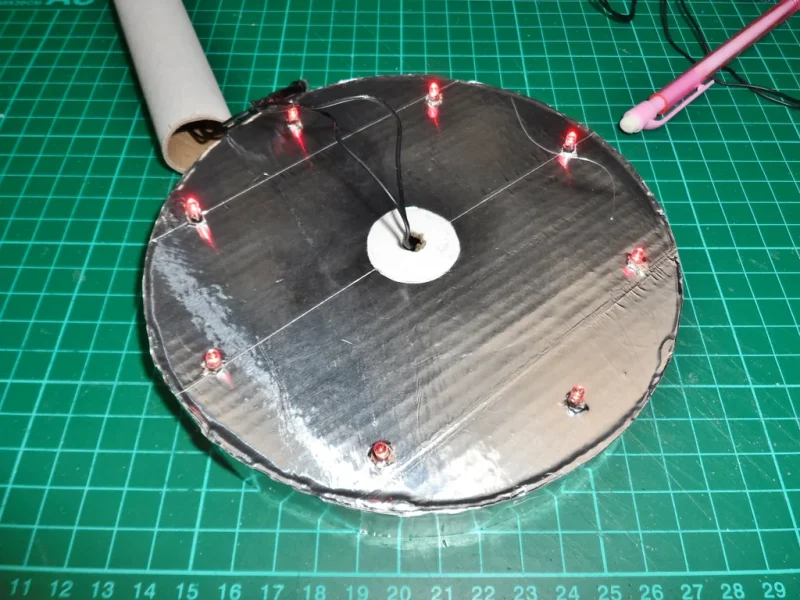
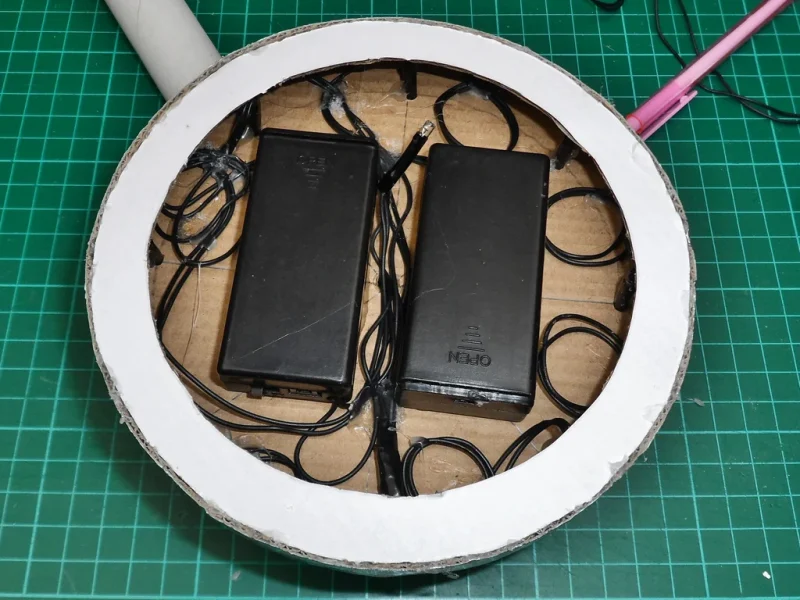
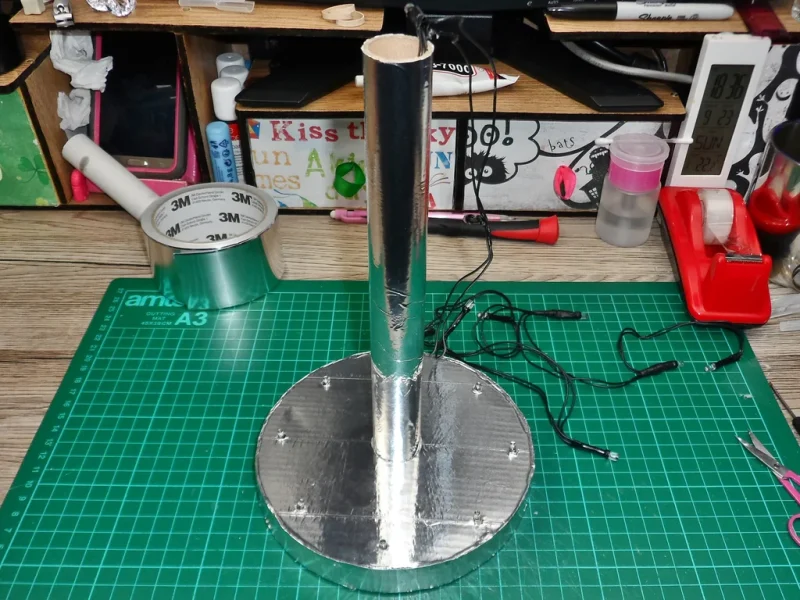
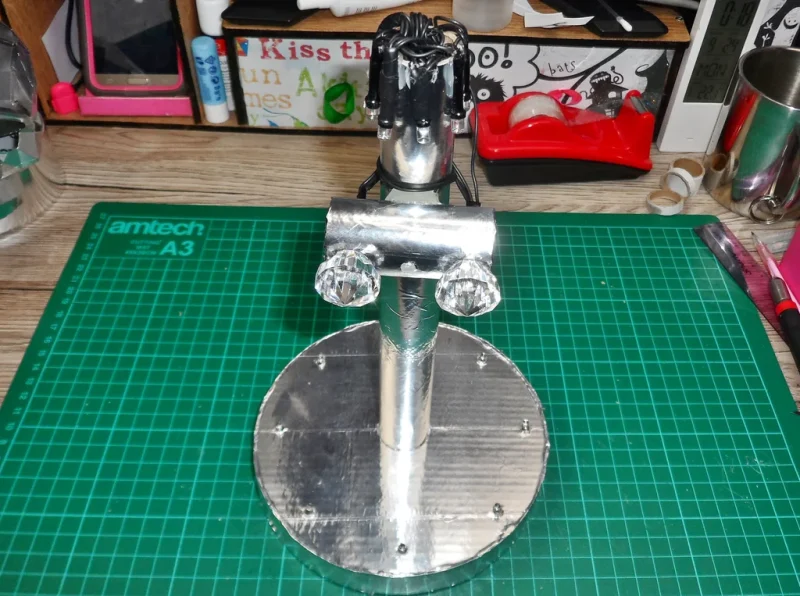
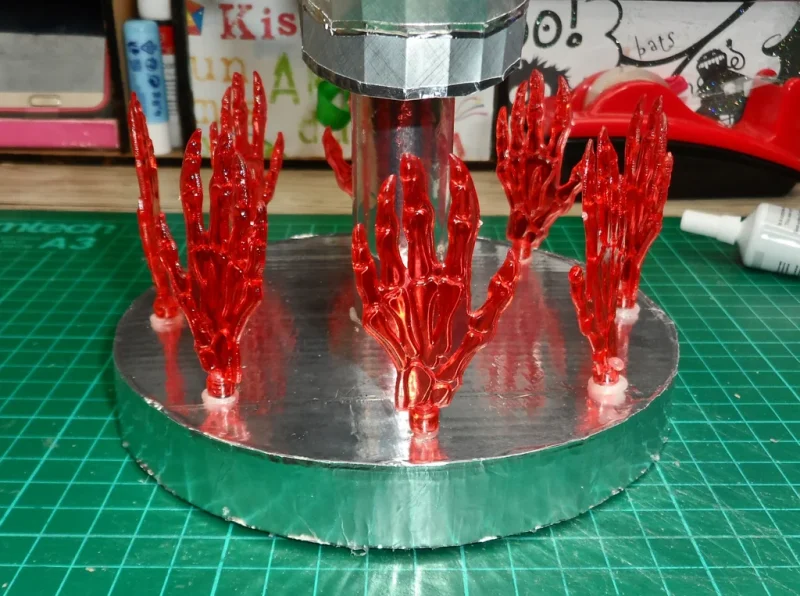
Cut out two 15cm cardboard circles (one with 12cm circle cutout inside) and 3-4 strips just slightly wider than the height of your battery packs. Make 8 or more holes around the cardboard circle for the LEDs to come through and glue around the strips. Attach the battery packs inside the base with hot glue. Make a hole in the center of the base and pull the LED string for the eyes through the hole. Cover the base with the aluminium tape. Stick the base LEDs in their holes and glue them in place. Glue the second circle onto the bottom of the base. Cut the tube into roughly 23cm length and cover with aluminium tape. Pull the LED string through the tube and glue the tube to the center of the base.
Step 9: Diamonds
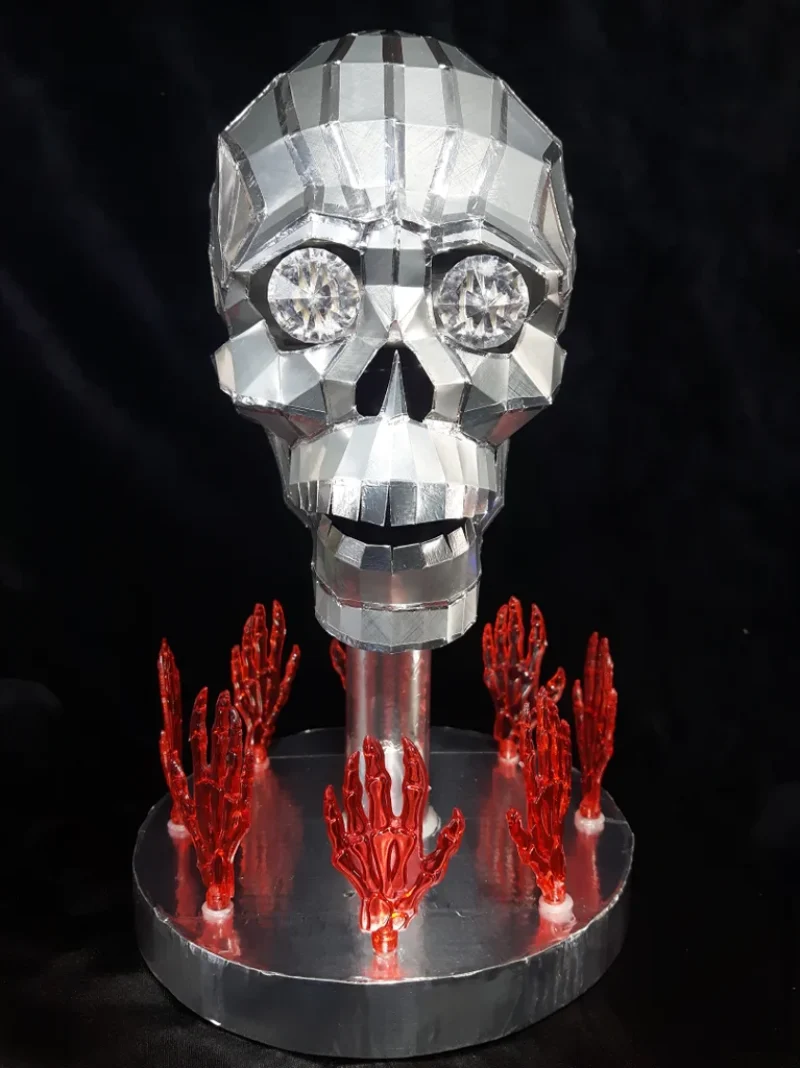
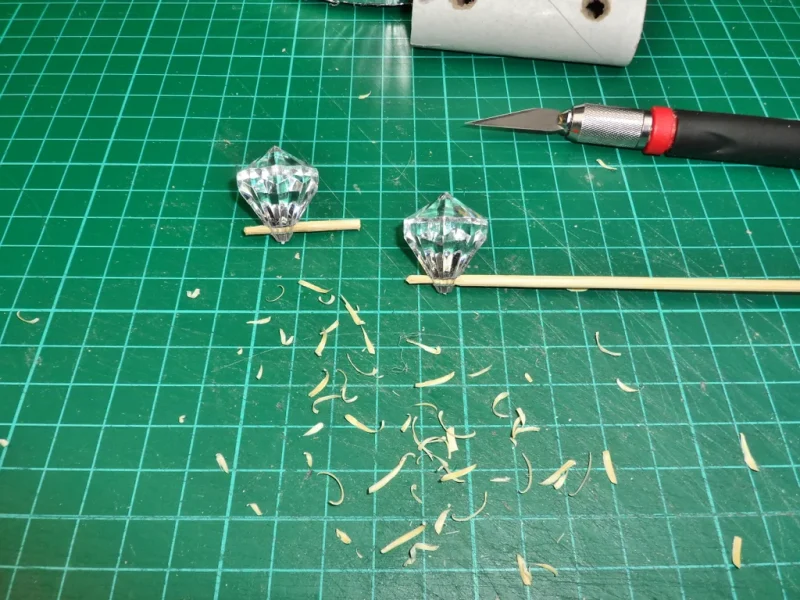
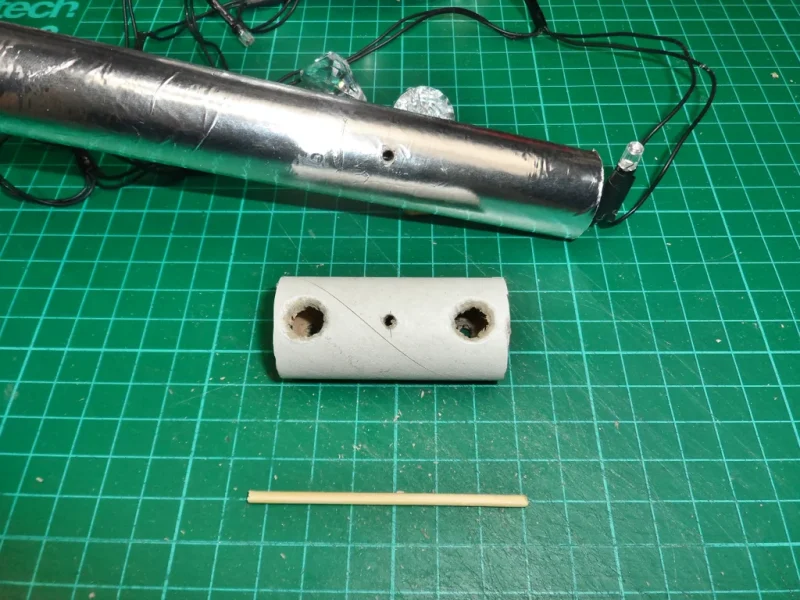
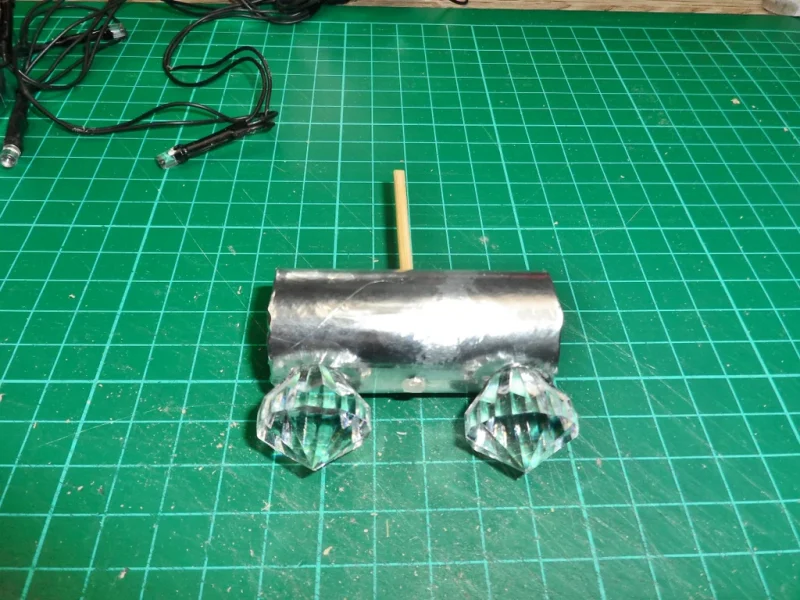
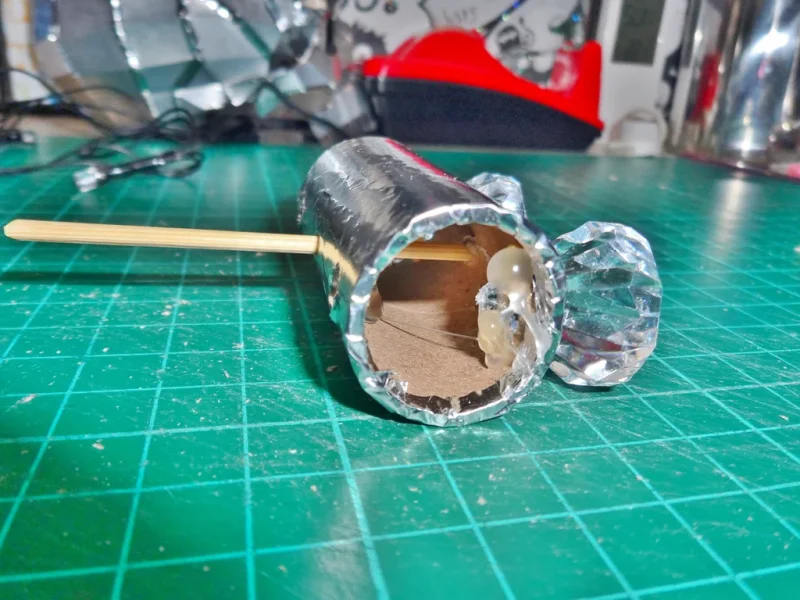
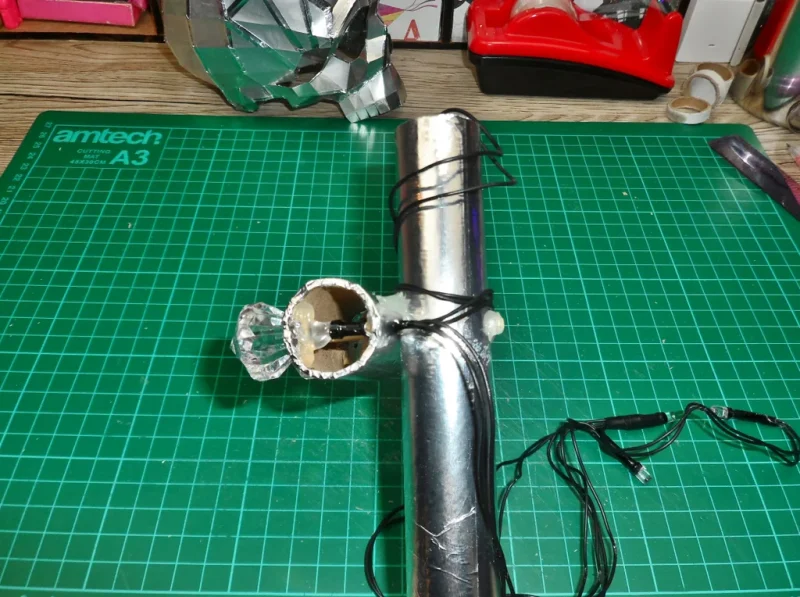
Sharpen the skewer and cut into two roughly 2cm pieces. Cut the leftover tube into a 55mm piece. Drill two holes on either side of the smaller tube for the diamonds (eyes) and two smaller holes on the other side of the tube for the LEDs to come through. Drill another hole through the tube in the center of the smaller tube and another on the base tube roughly 6cm from the top for the skewer. Cover the smaller tube with the aluminium tape, poke the diamonds through the larger holes and affix in place with the skewer pieces. Attach the smaller tube onto the base tube with the skewer and glue in place.
Step 10: Finishing Off
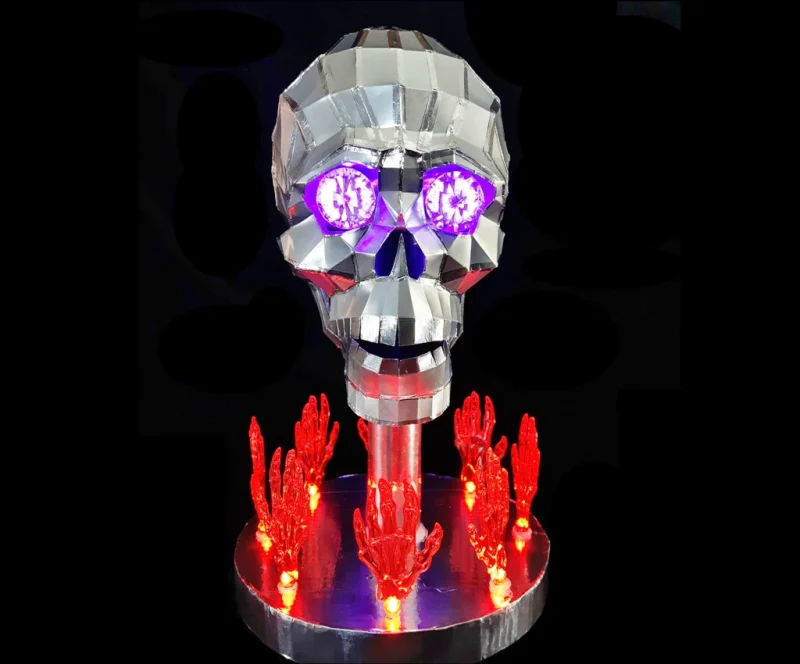
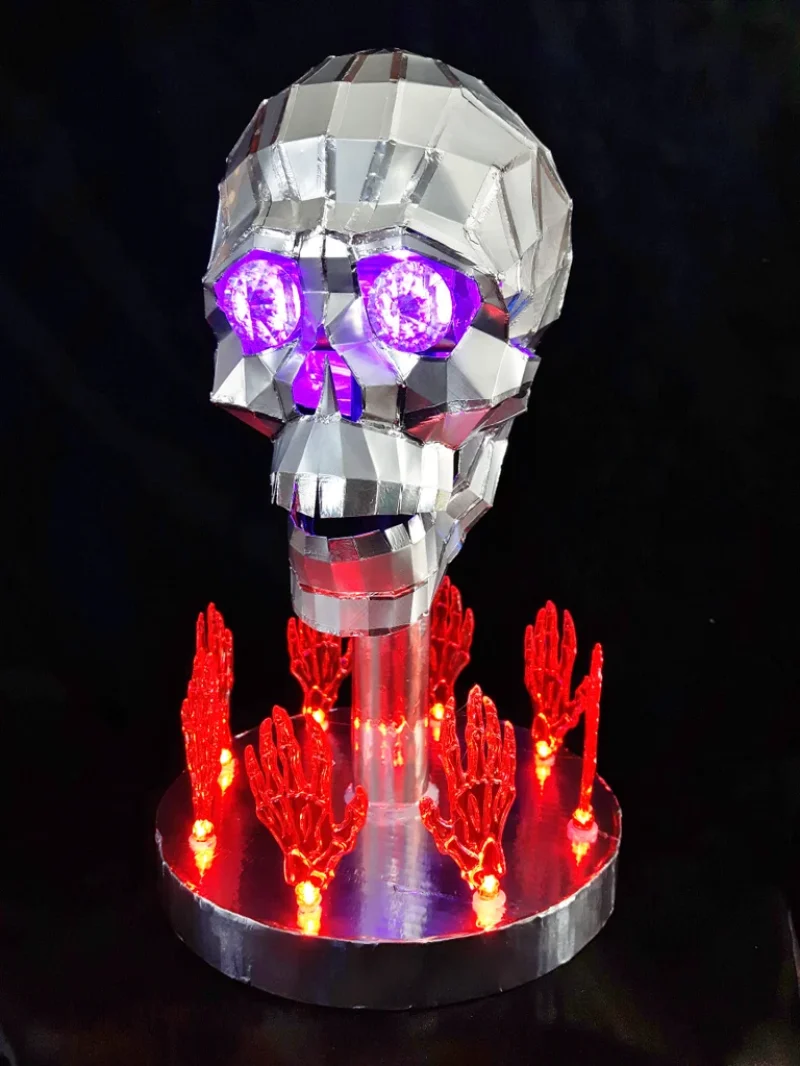
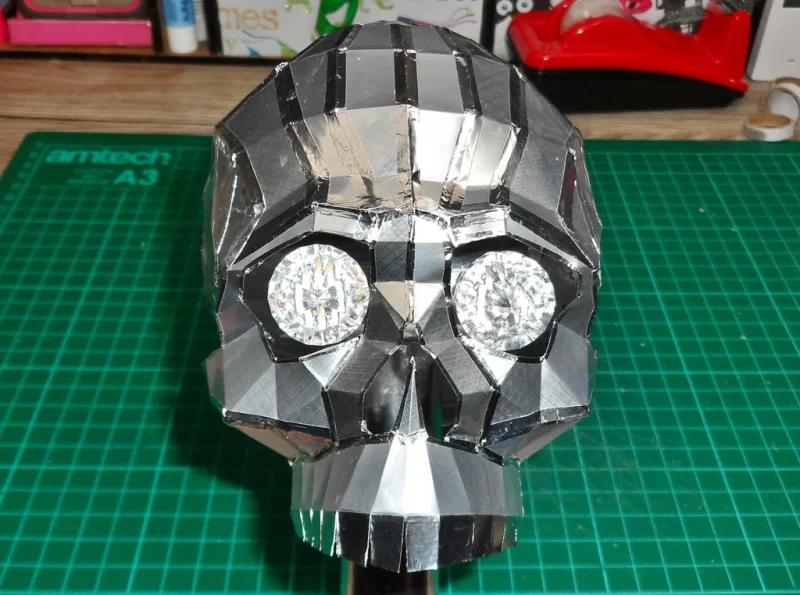
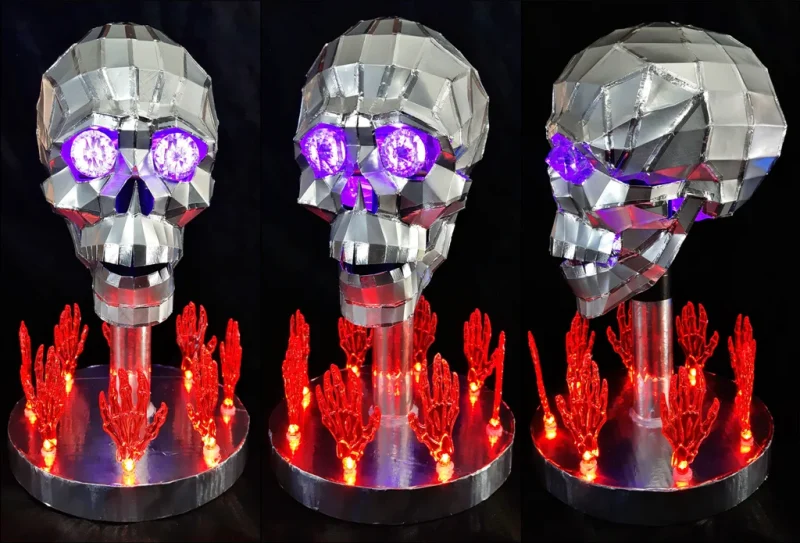
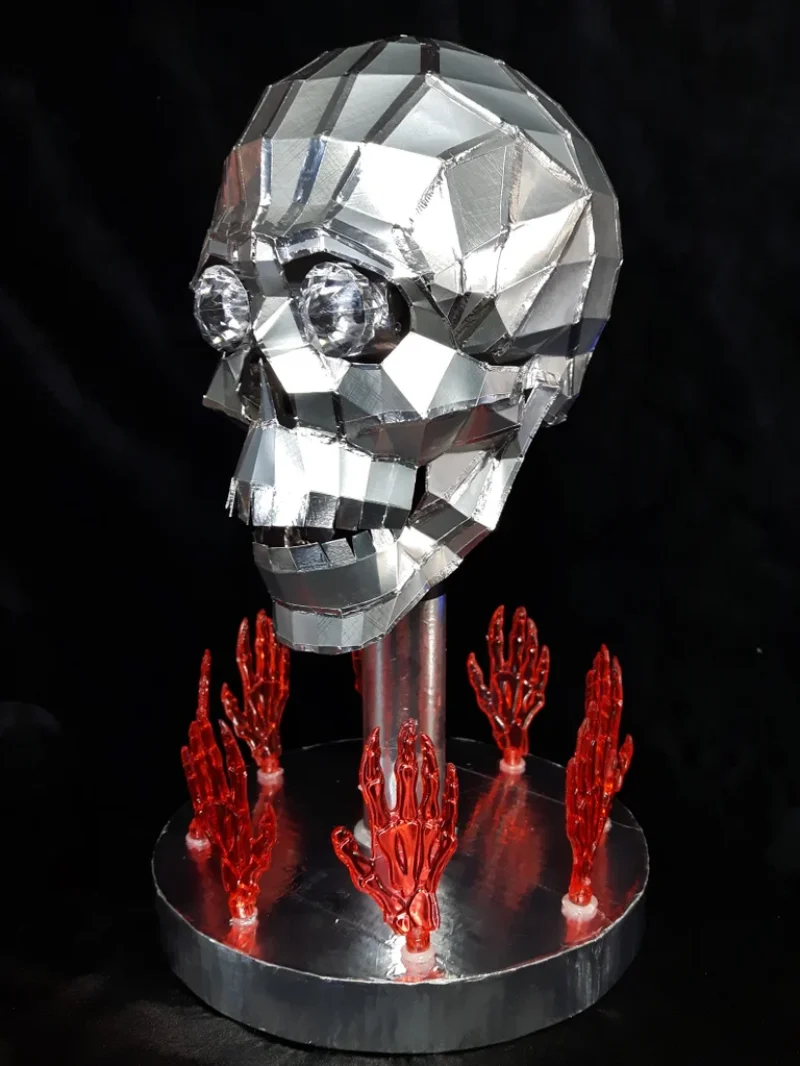
Poke the LEDs through the small tube holes and glue in place so that they are touching the diamonds. Glue the rest of the LEDs to the top of the tube and hide and glue the wires inside of the tube. Place the skull onto the stand and glue on the lower jaw piece. Affix the hands onto the base LEDs with a dab of hot glue.
The creepy hands LED string I used is from last years Halloween and since then I lost a couple of hands from the set otherwise there would be 10 creepy hands instead of 8 😀
Final Thoughts
This project took about 10 hours to finish and generally I’m very happy with how it turned out. The B-7000 glue is good but it takes a while to dry, there is probably something more suitable out there but this was something I had at home. If I was to make it again I would start using the aluminium tape from the beginning, it also made the whole thing a lot sturdier.


