Cordless Screwdriver Battery Replacement/upgrade
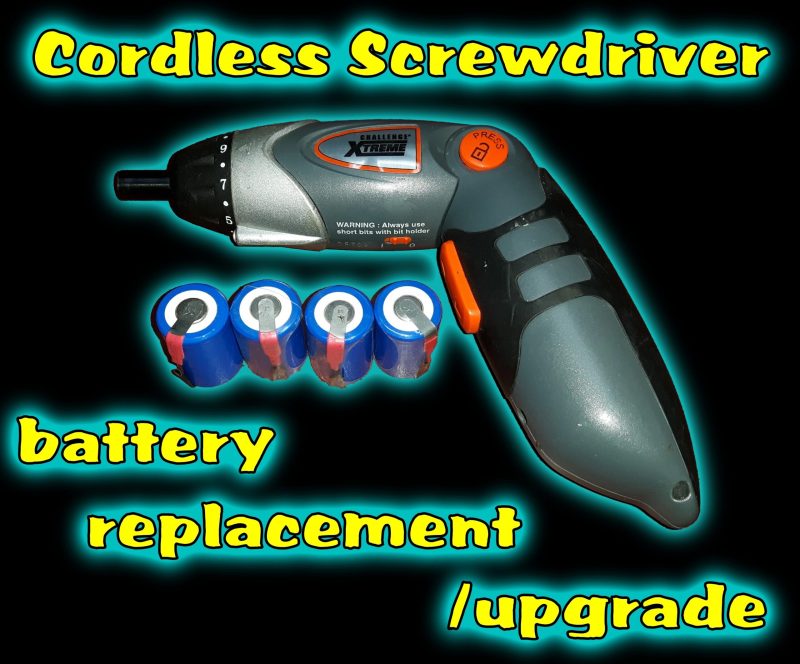
So what do you do when the batteries in your old cordless screwdriver decided to give up and they no longer hold their charge? Well you could just throw it away and get yourself a new one, after all you can get them for as little as £10. Or you could buy some new batteries and replace them yourself. It’s easy, you will save a little bit of money in doing so and you will enjoy the satisfaction of knowing that you have helped to save the environment just a little bit through repair instead of throwing away 😉
Step 1: Disassemble
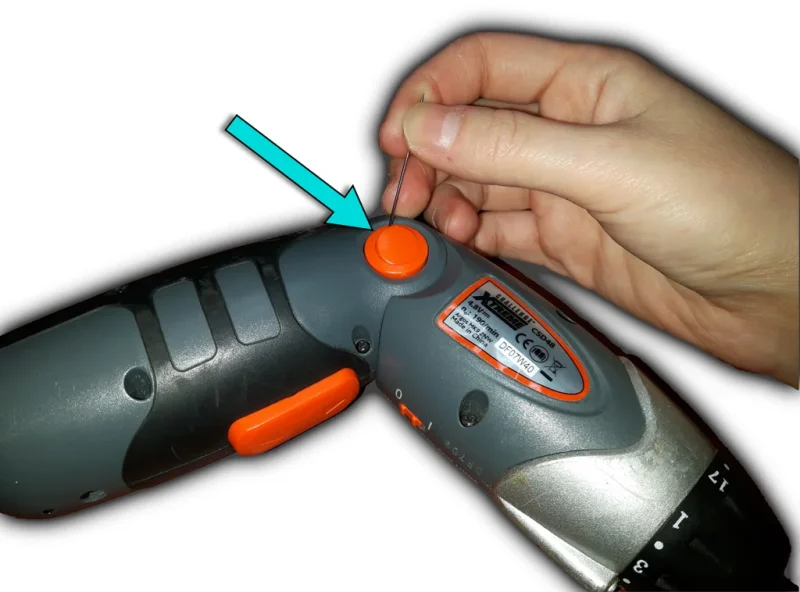
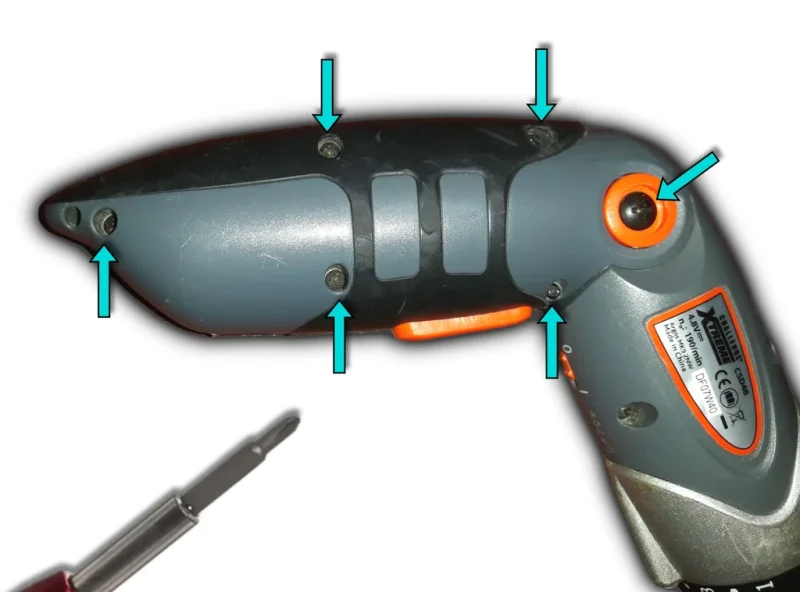
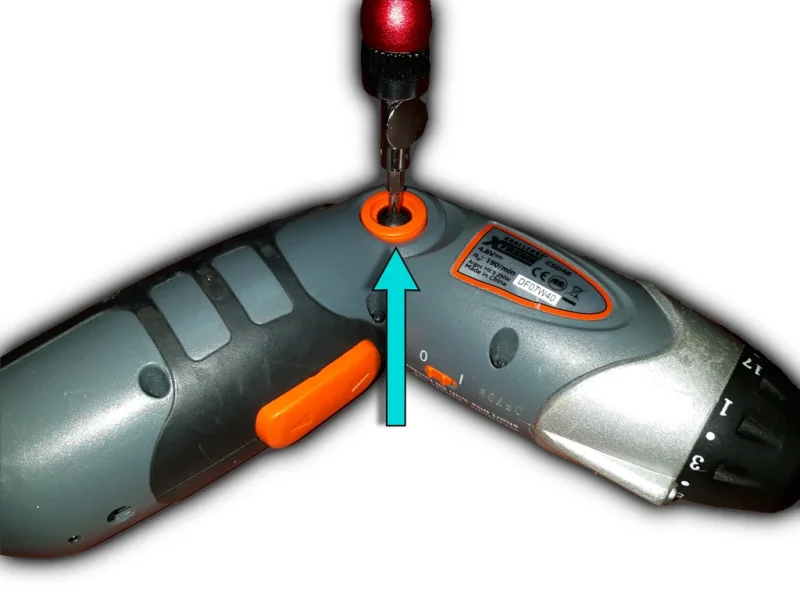
Locate and unscrew the case screws.
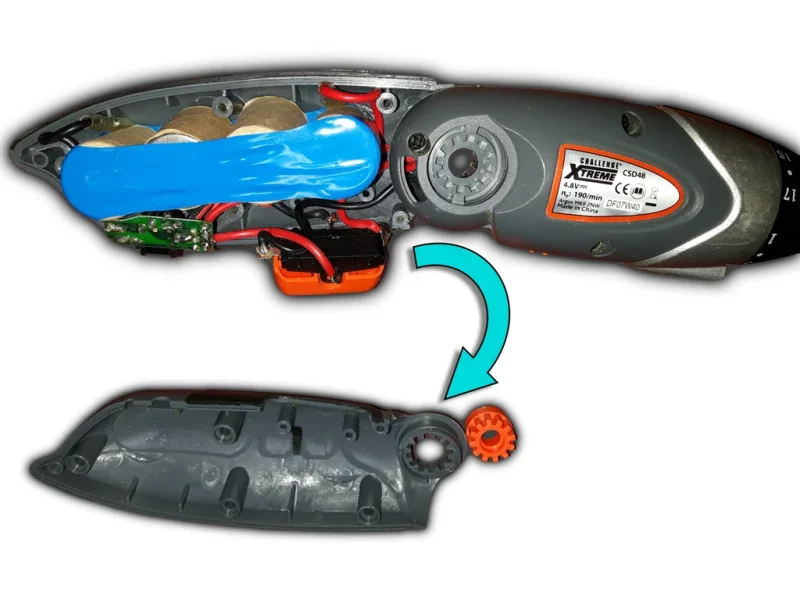
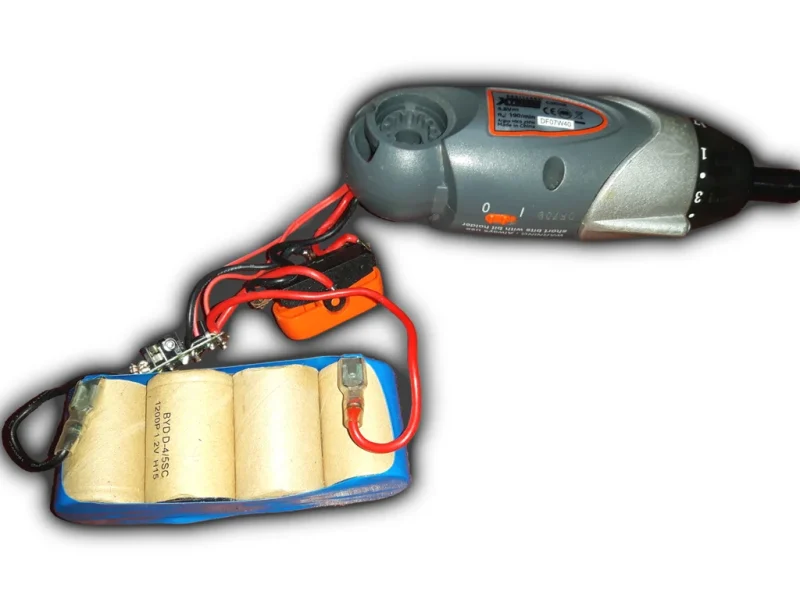
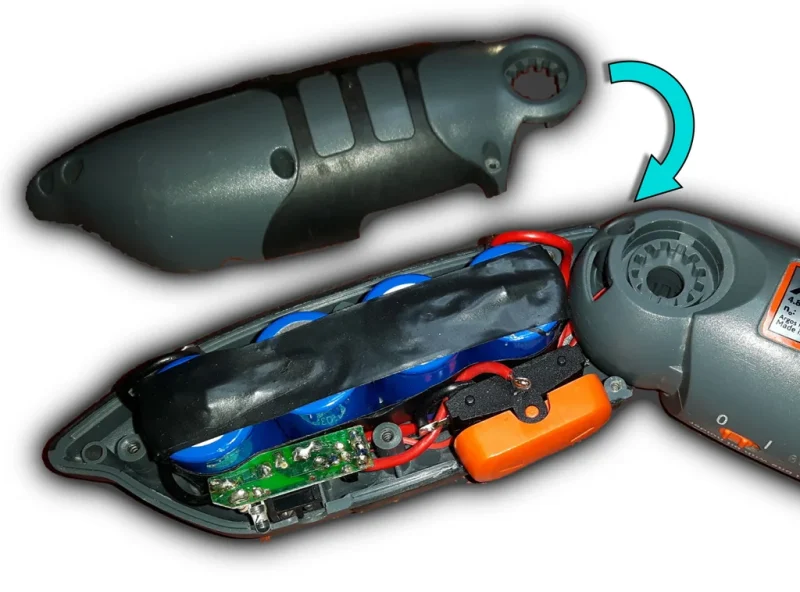
Pry the cover open to expose the battery pack.
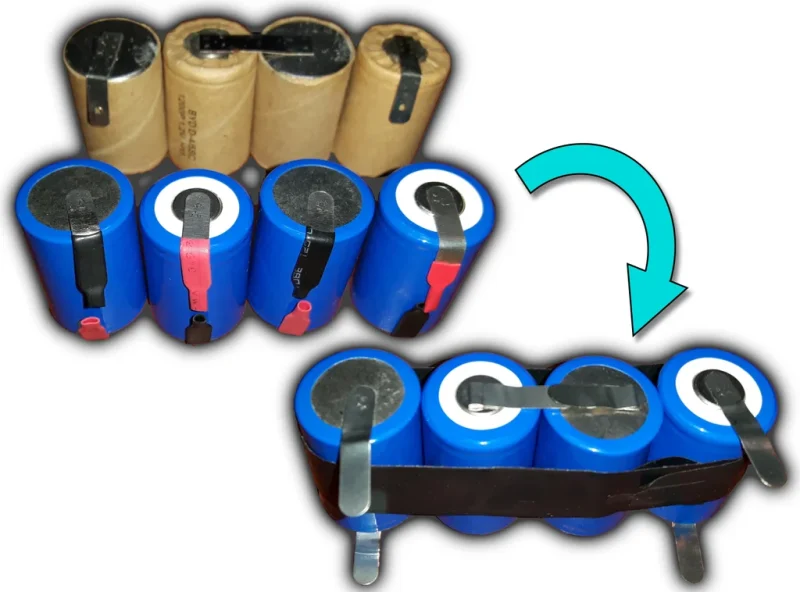
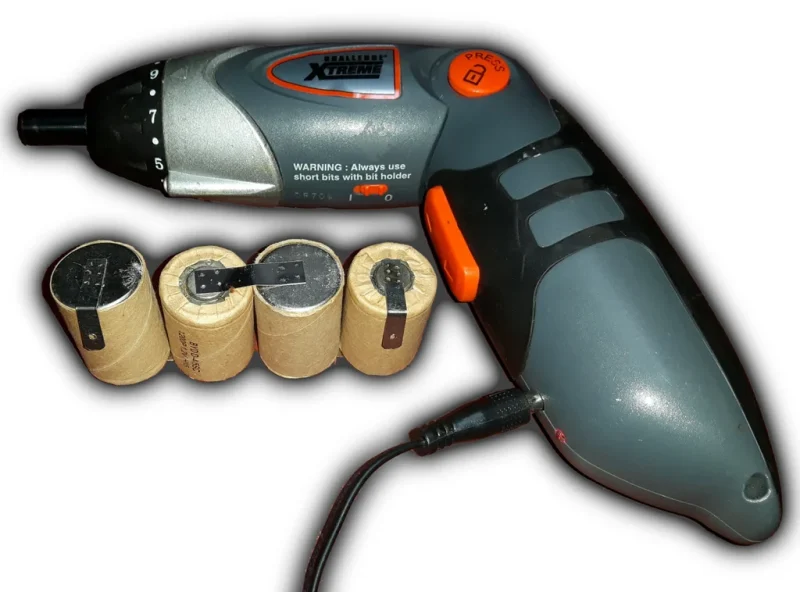
Note the type and size of the batteries you need. Next you can either pop to a shop and get yourself some new ones or you can by lazy like me and get them on ebay. I decided to upgrade the old NiCd 4/5 SC 1200mAh with new 2200mAh batteries.
Unplug or desolder the batteries.
Step 2: Replace
Arrange your new batteries according to polarity and secure them together with insulation tape.
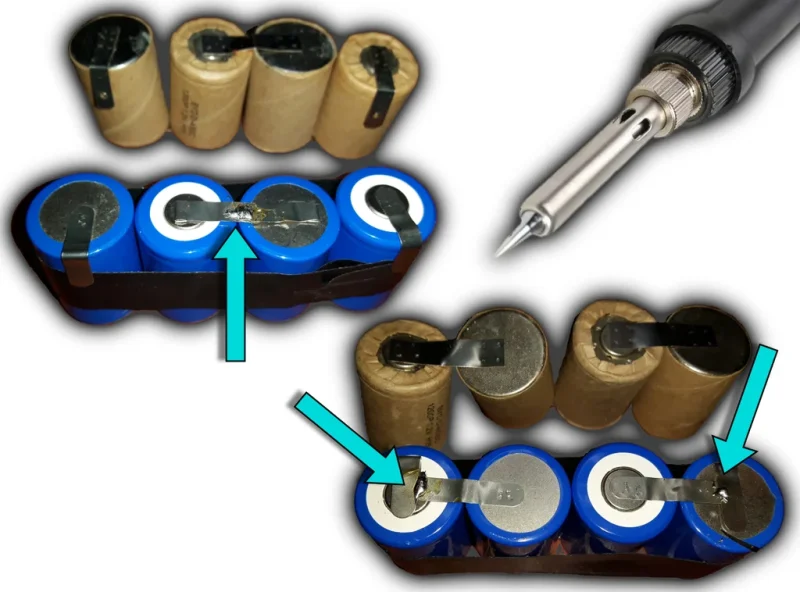
Solder the tabs using the old battery pack as a guide.
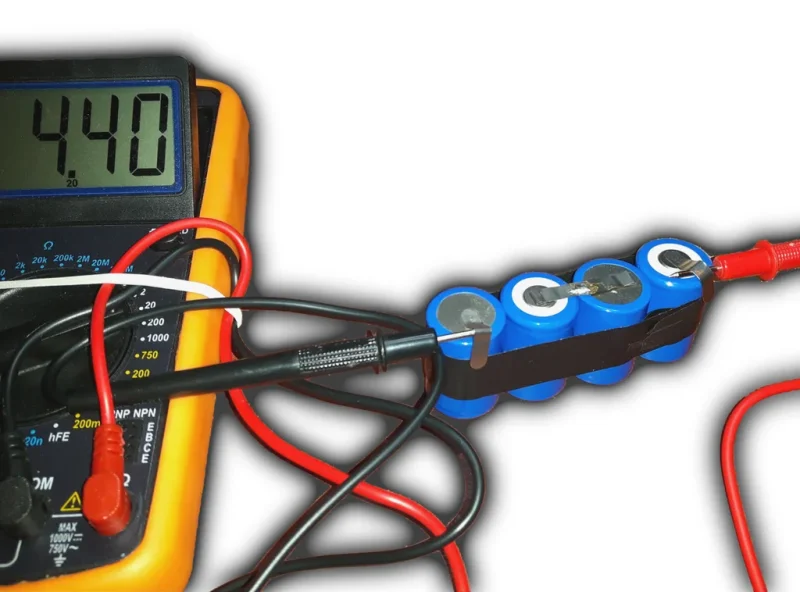
Use your multimeter to to check for correct voltage.
Wrap more insulation tape around the batteries to prevent any accidental shorts.
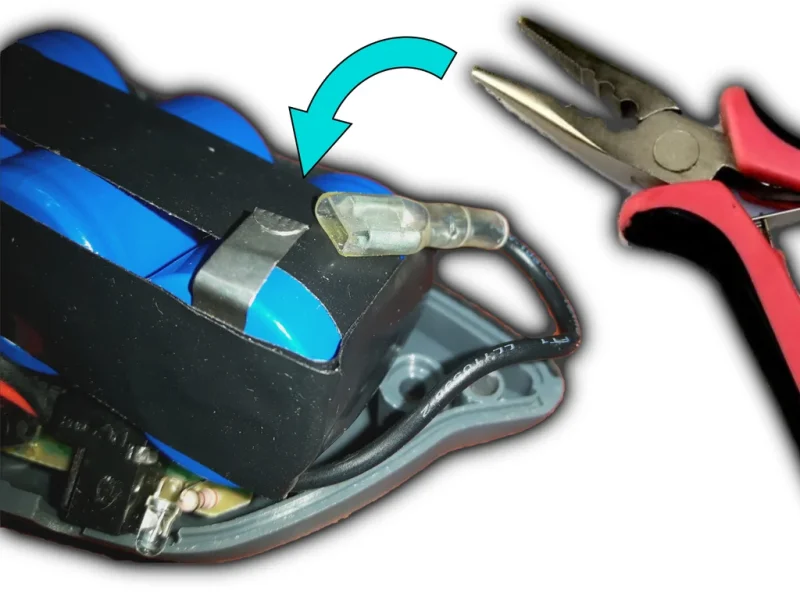
If needed, adjust the end tabs with pliers for a better fit.
If your new batteries don’t have tabs, you can still solder them together with a piece of wire. To make the soldering easier and prevent batteries from overheating, file down the top layer/coating of the batteries for a clean surface to solder to.
Here is a video with batteries with no tabs:

