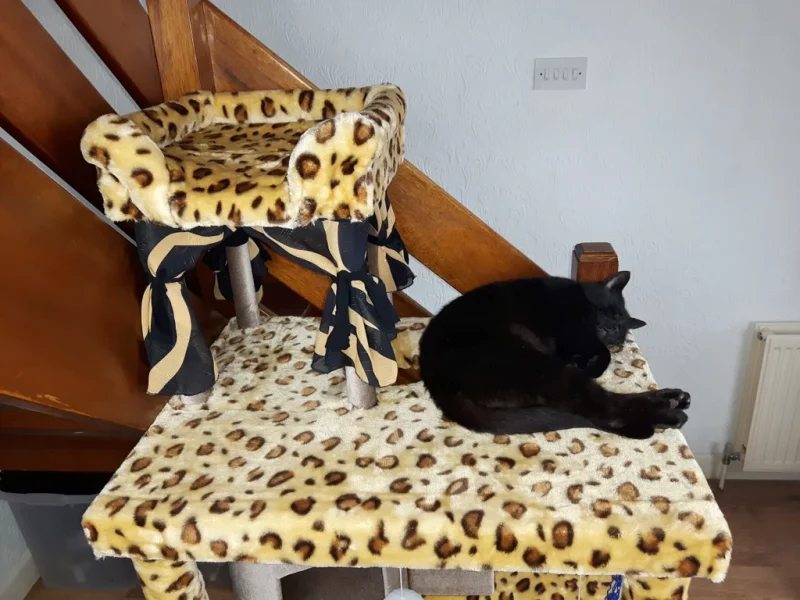
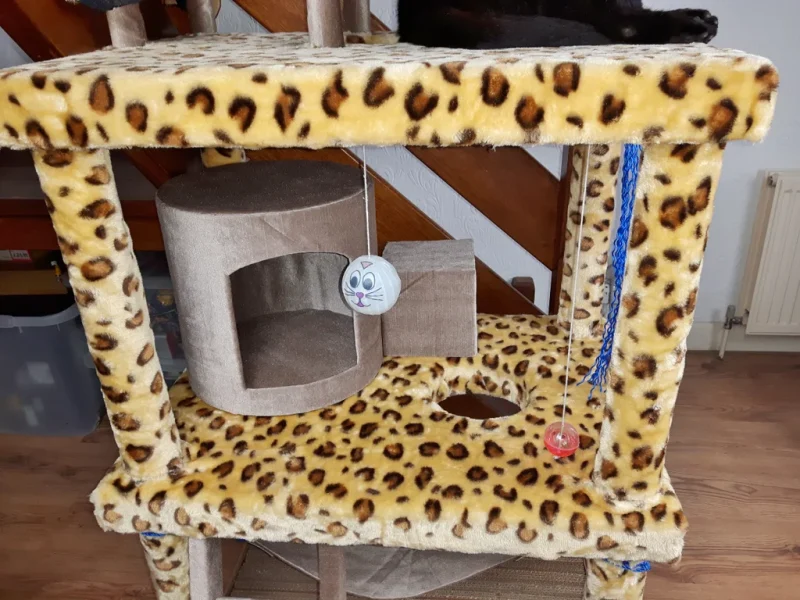
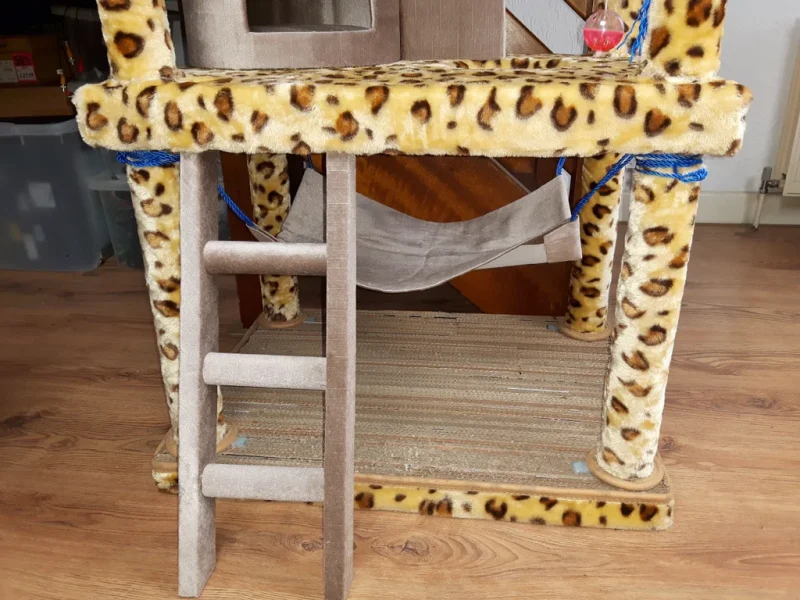
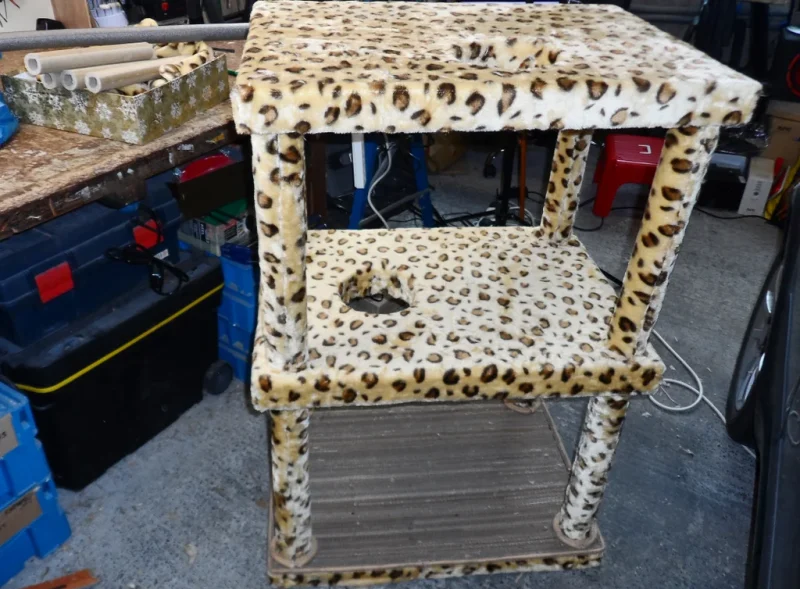
Cat Activity Centre
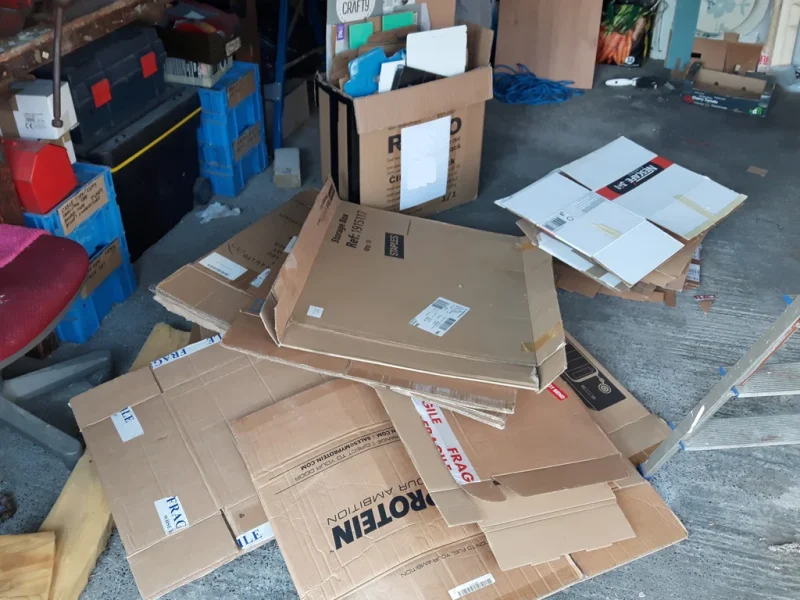
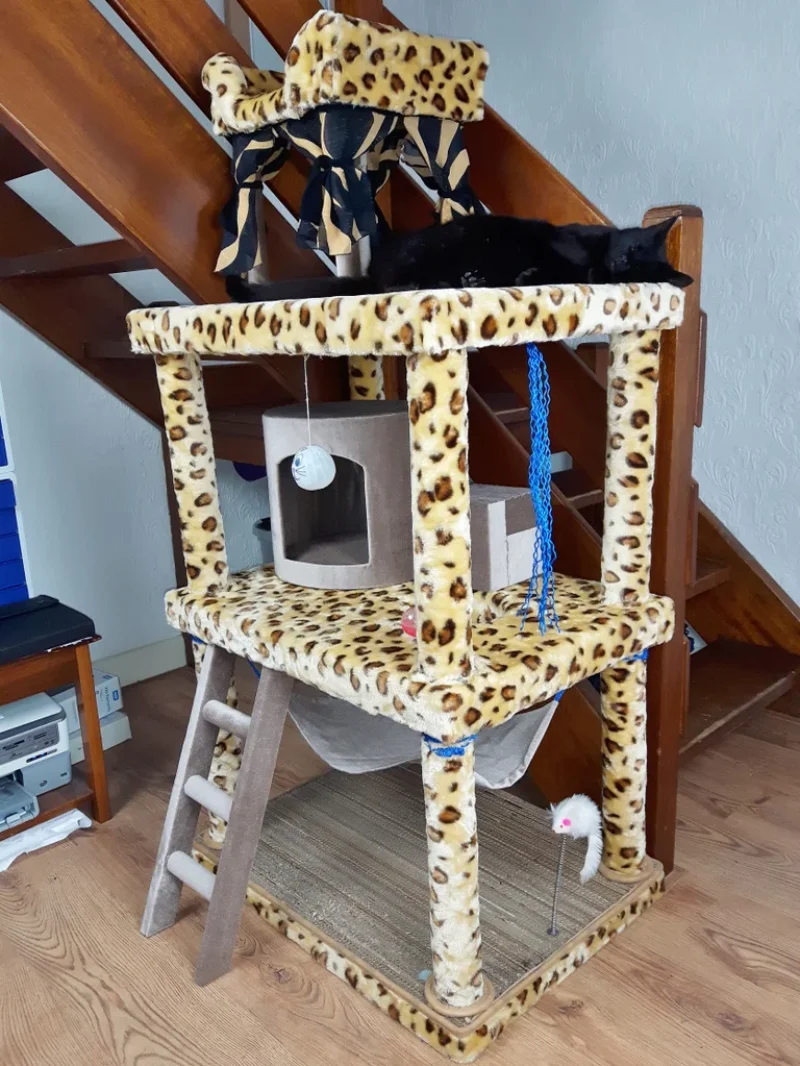
So I’m a bit of a cardboard box hoarder (you never know when you might need one right?) and over the years I managed to collect quite a few of them. The time has come and I finally decided to put them to use and I couldn’t come up with anything better than a cozy place for our kitty.
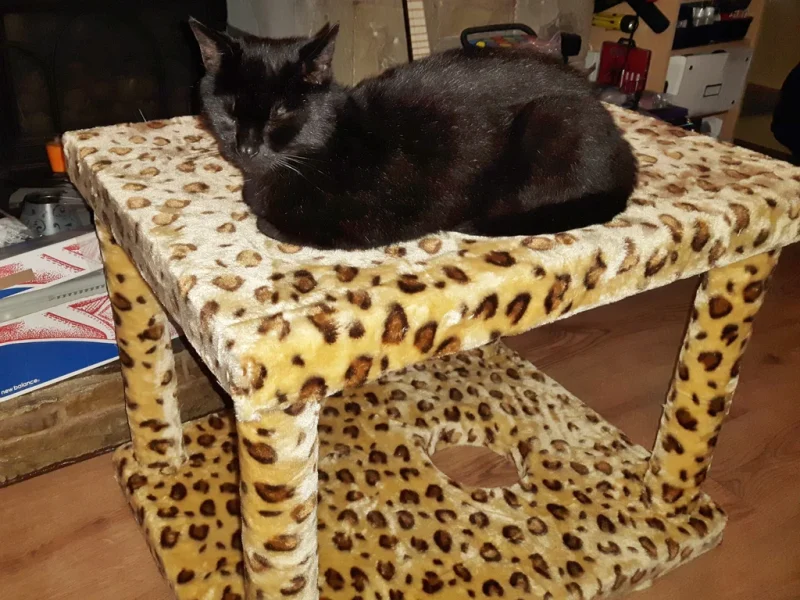
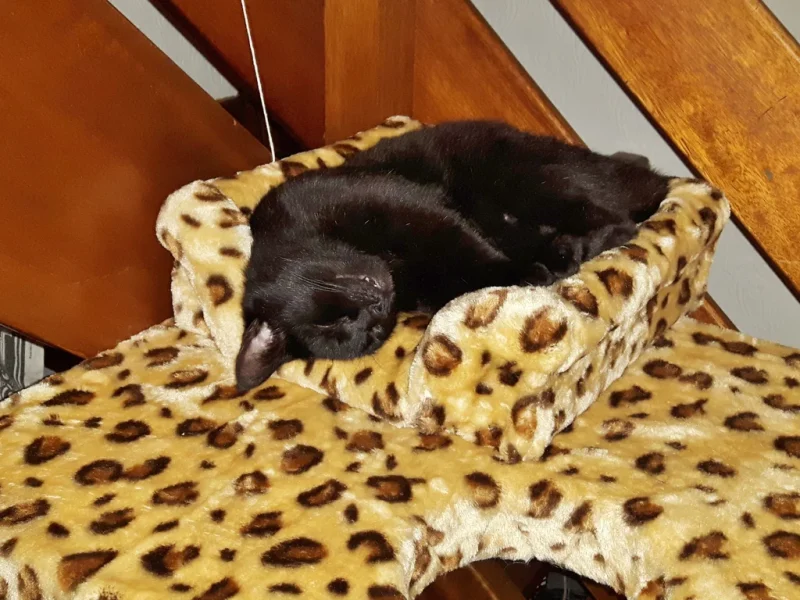
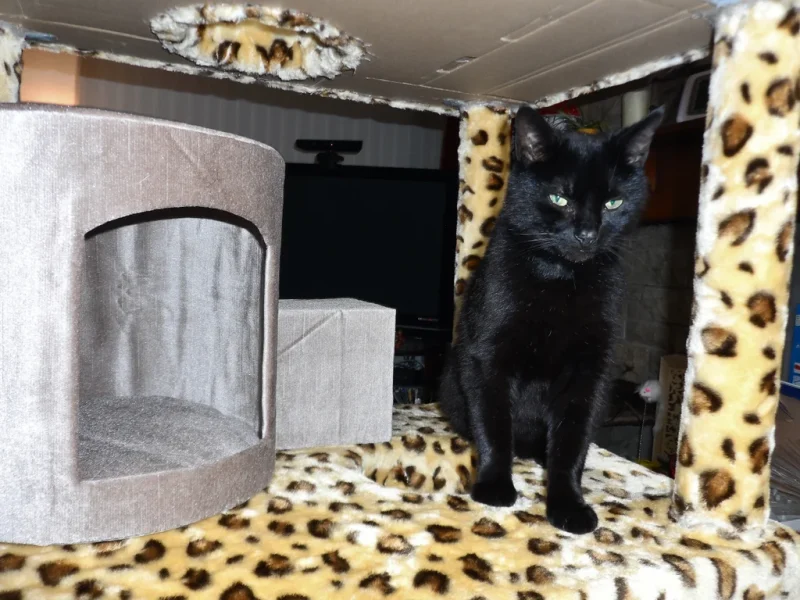
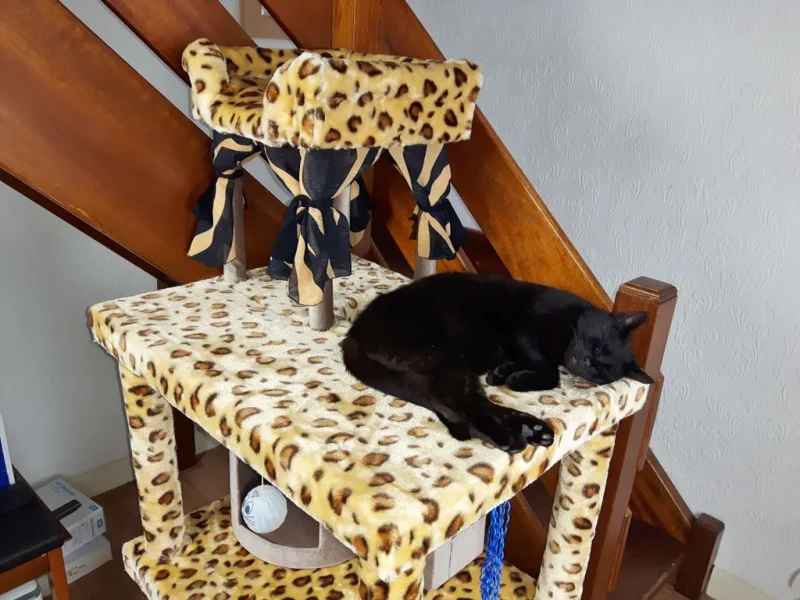
The project was quite easy, cheap and I think the kitty approves since he is spending most of his time in it 😉
Step 1: Tools & Materials
Tools:
- glue gun
- hobby knife
- hacksaw
- tape measure
- rotary cutter
- scissors
- drill
- compass
Materials:
- a mountain of cardboard boxes
- about 2kg of glue sticks
- cardboard tubes
- blanket and/or other fabric
- pipe insulation
- pillow filler
- rope
- 24 corner braces
- 16 short screws
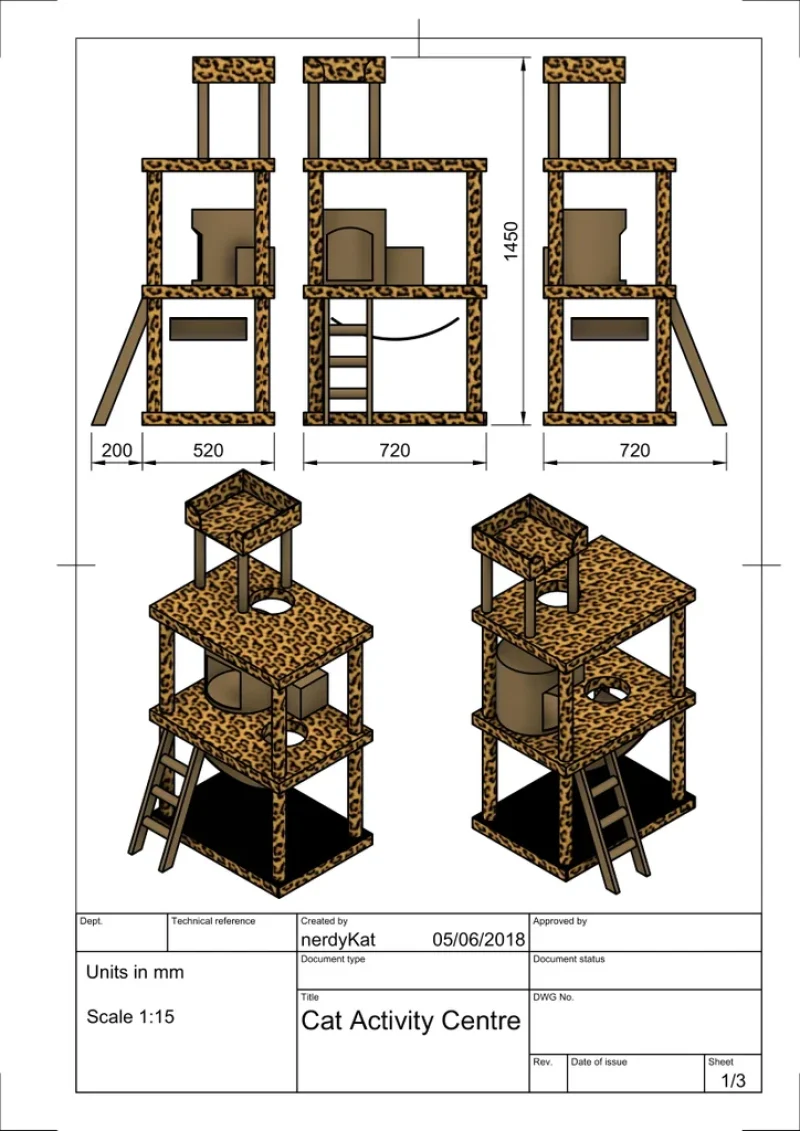
I’ve included the Fusion 360 file and this was pretty much the first time I used it so please excuse any mistakes 😉
Step 2: Ground Floor
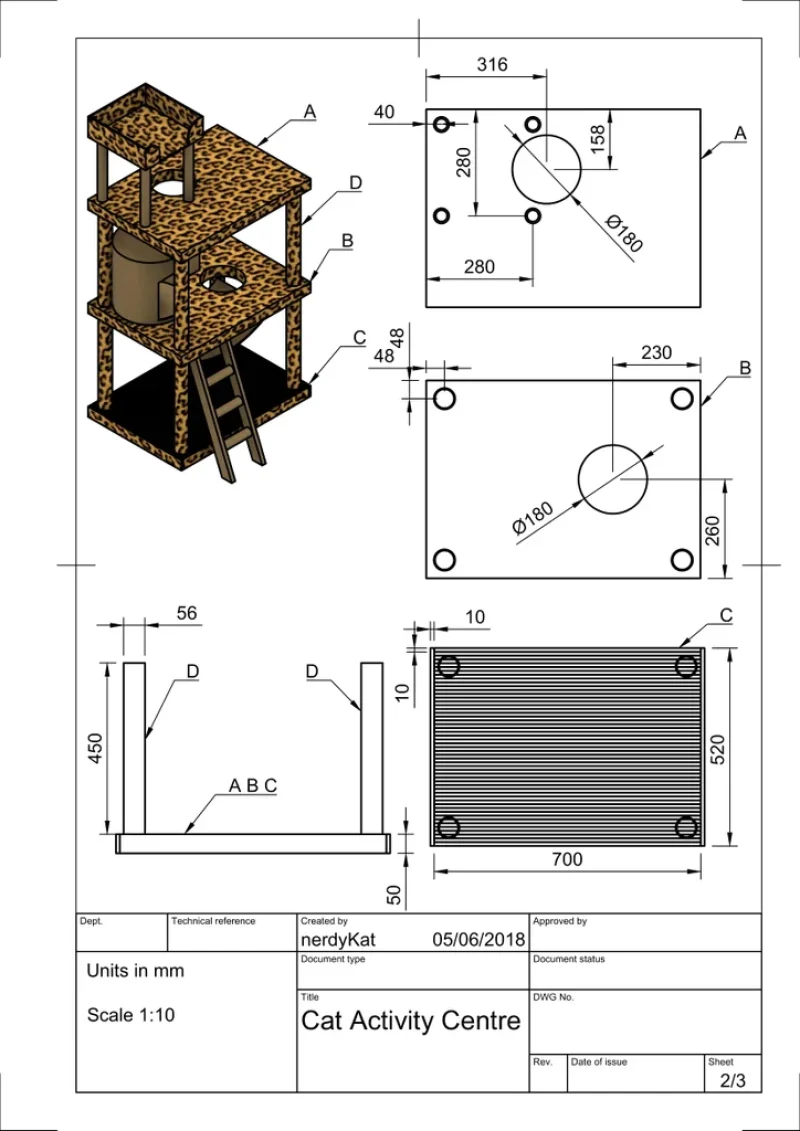
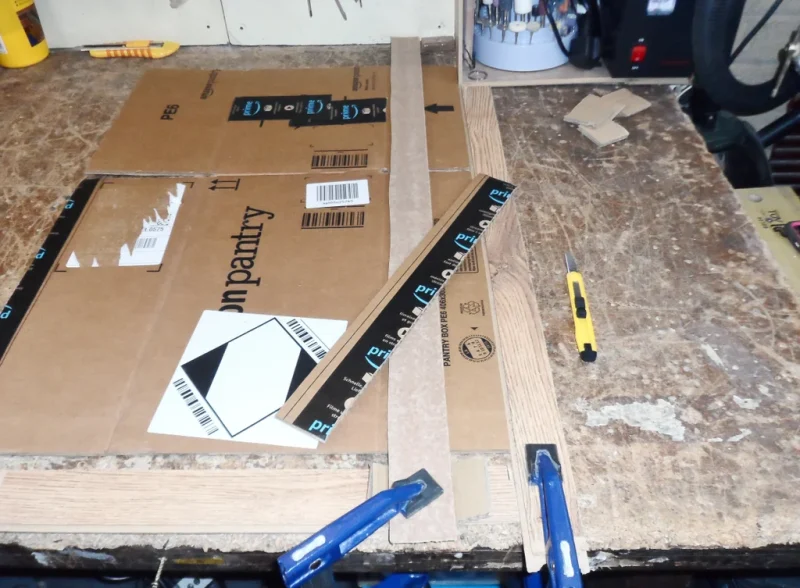
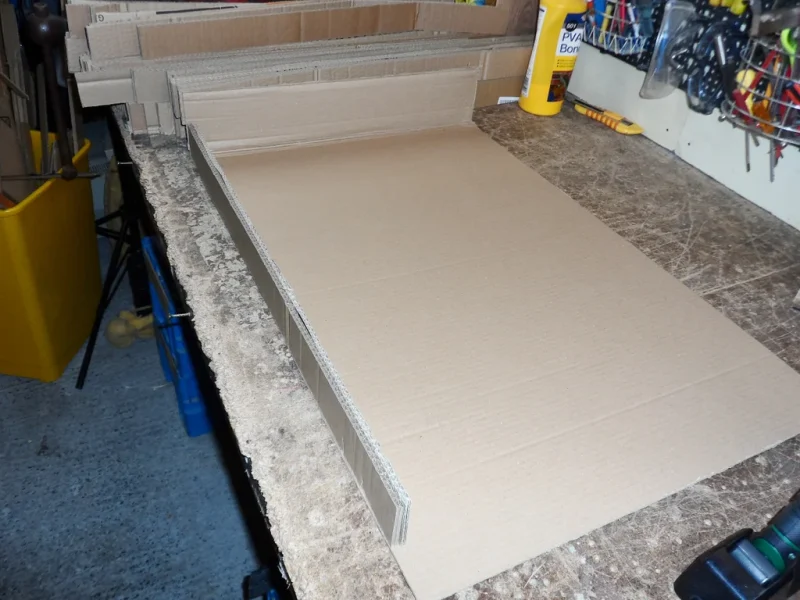
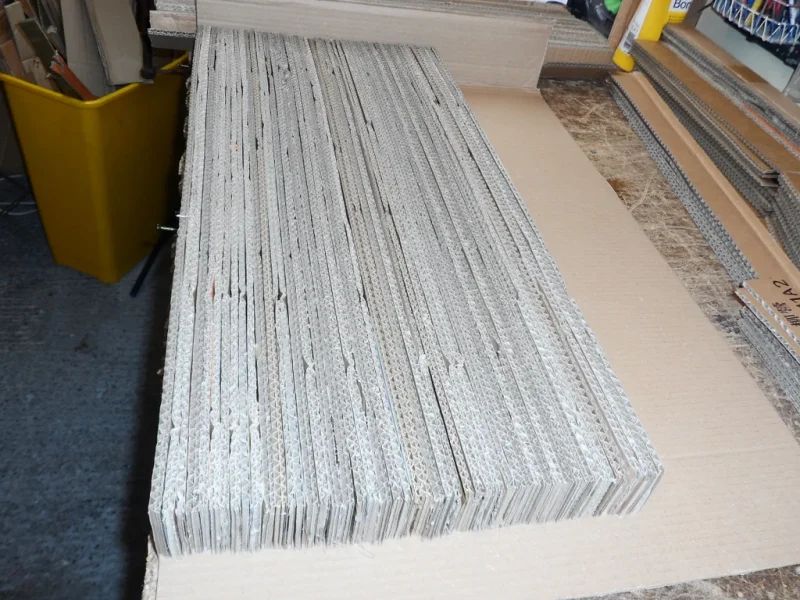
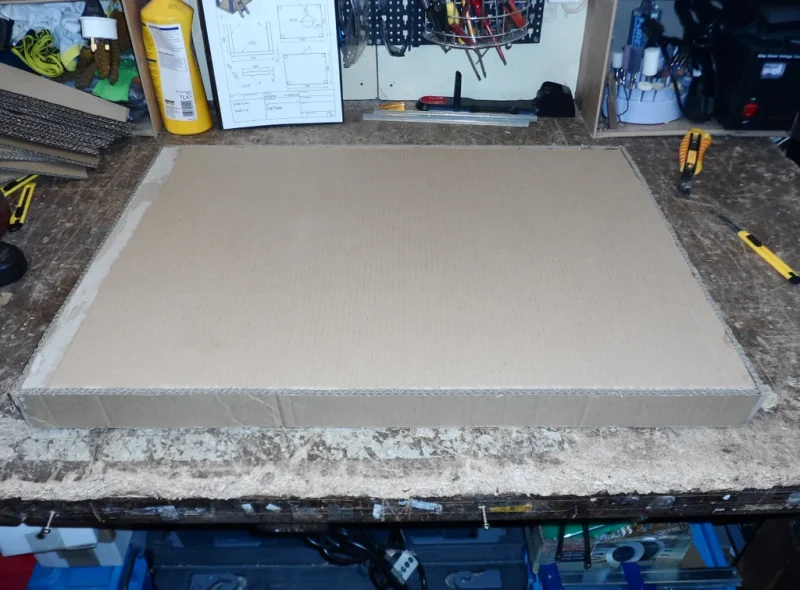
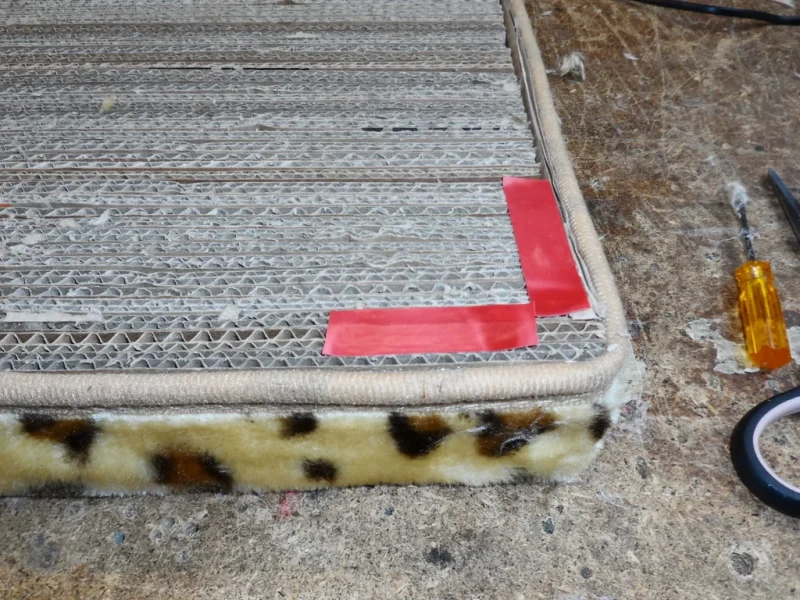
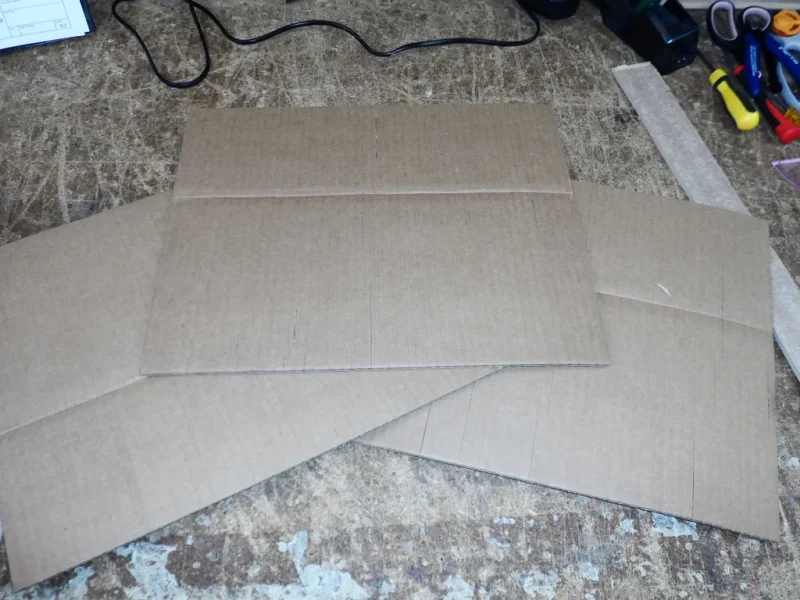
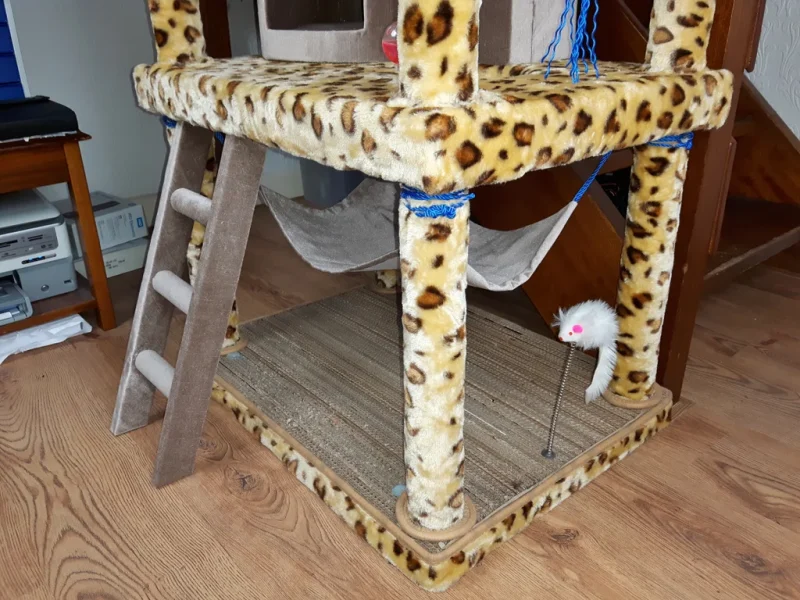
Start by cutting the cardboard boxes into 70cm x 5cm strips. I used about 80 strips just for the ground floor but this will depend on the thickness of your boxes and you will need more of them later.
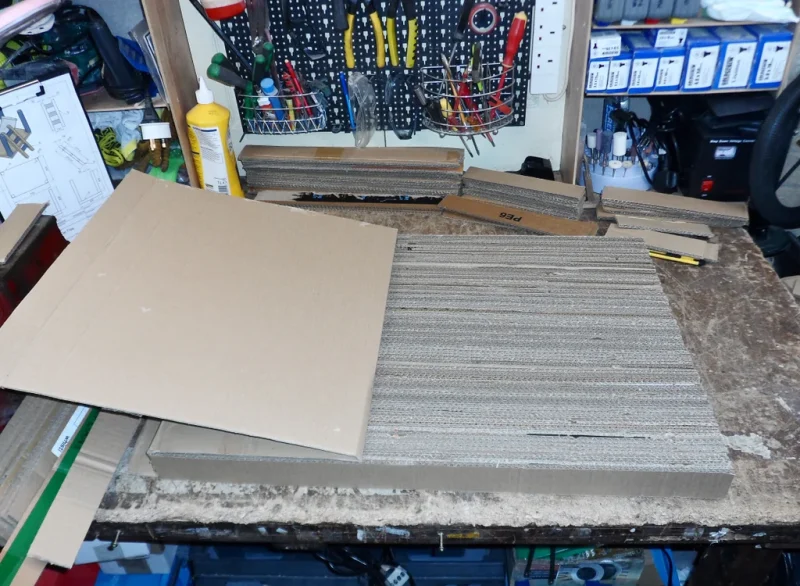
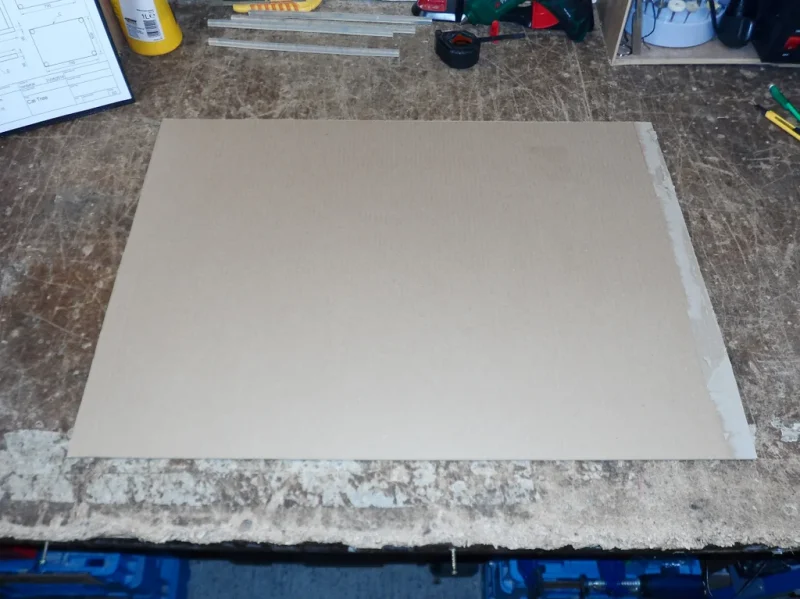
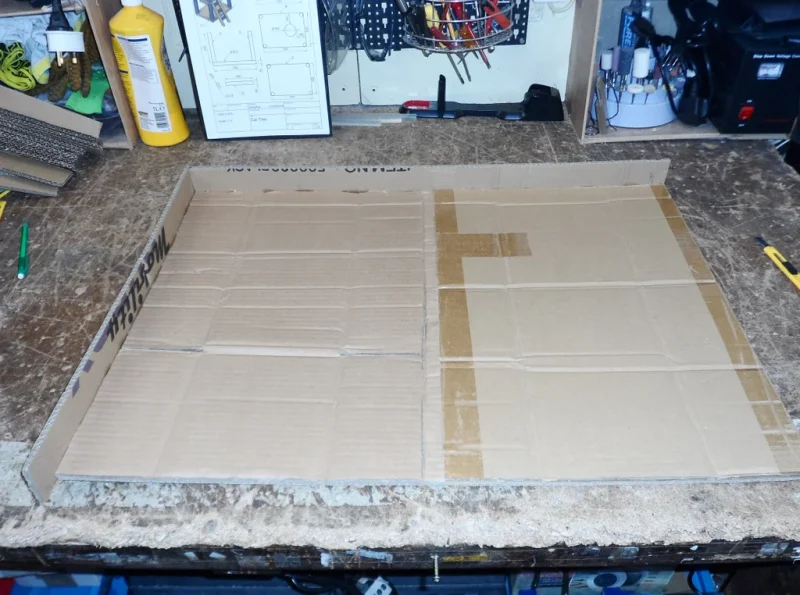
Cut out a larger piece of cardboard (70cmx50cm) and glue down the first row and a side piece. Carry on gluing all of the other rows.
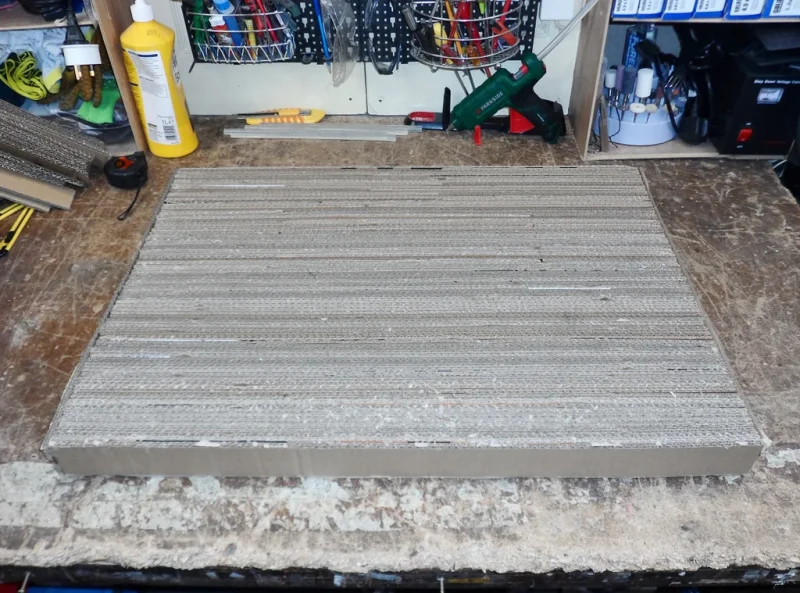
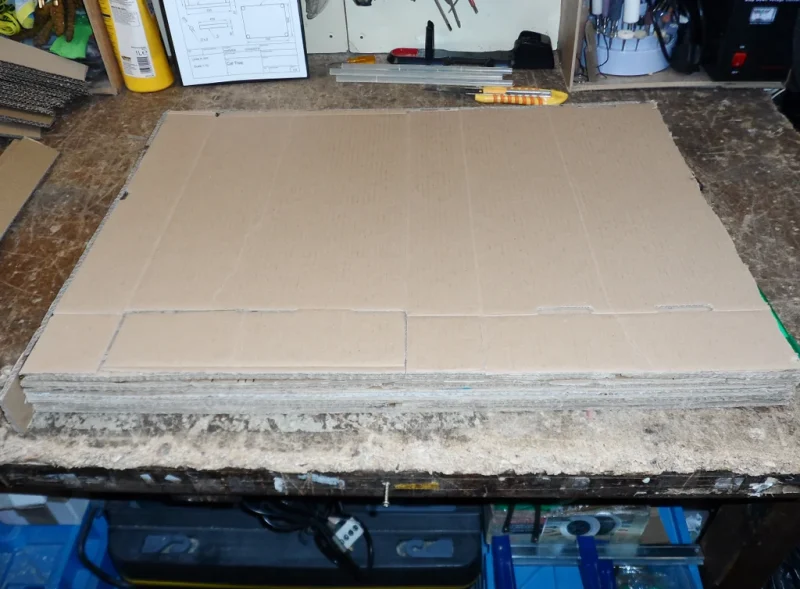
I decided not to glue the rows straight onto the large piece, since my 5cm strips were varying in height by a couple of mm so once I’d finished gluing the rows together I turned the whole thing upside down and glued on the large piece.
Step 3: Mid & Top Floor
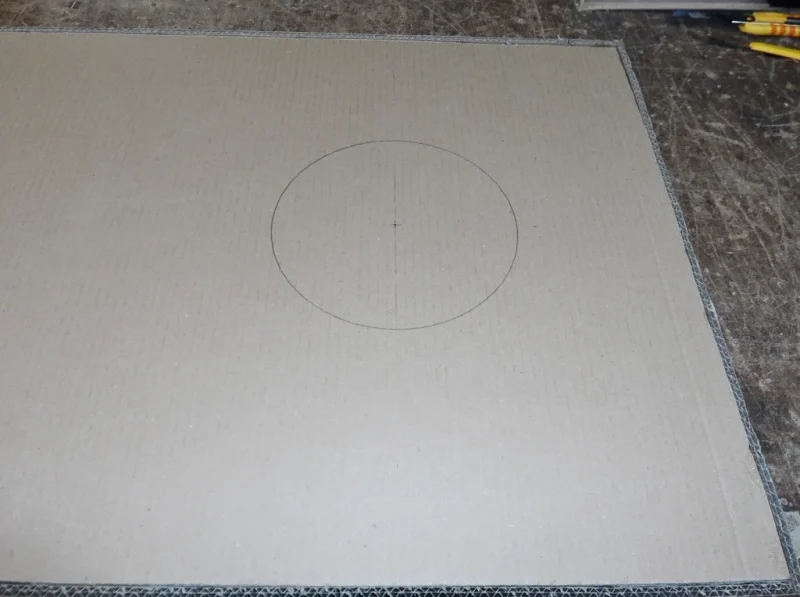
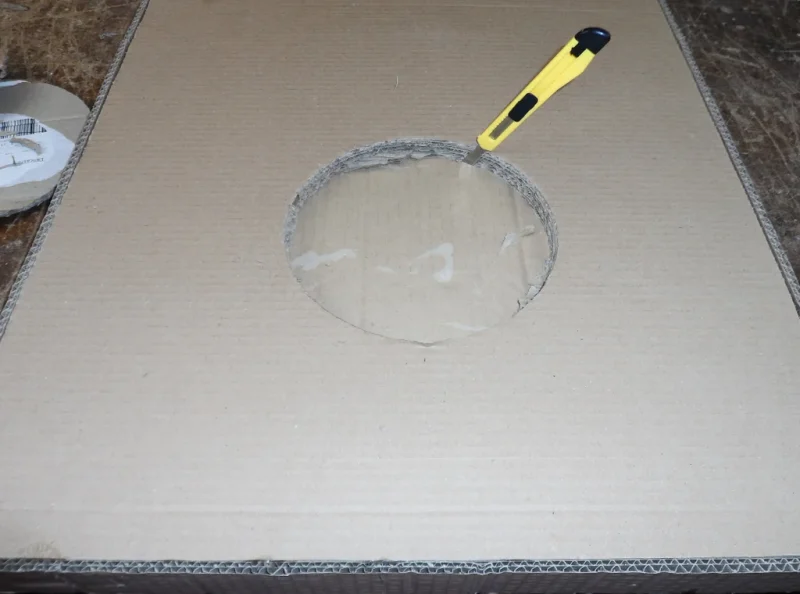
Cut out another 70cmx50cm piece and glue on the 5cm strips to the side and to the top. Place a disassembled cardboard box into the corner, glue on and cut off the leftovers. Carry on adding disassembled boxes until you reach the height of 5cm. Attach more of the 5cm strips to the other side and the bottom of the mid base.
Repeat process for the top floor. Once you finish gluing all of the floors make sure they are all the same size, if not just glue a few more of the 5cm pieces wherever needed.
Step 5: Pillars
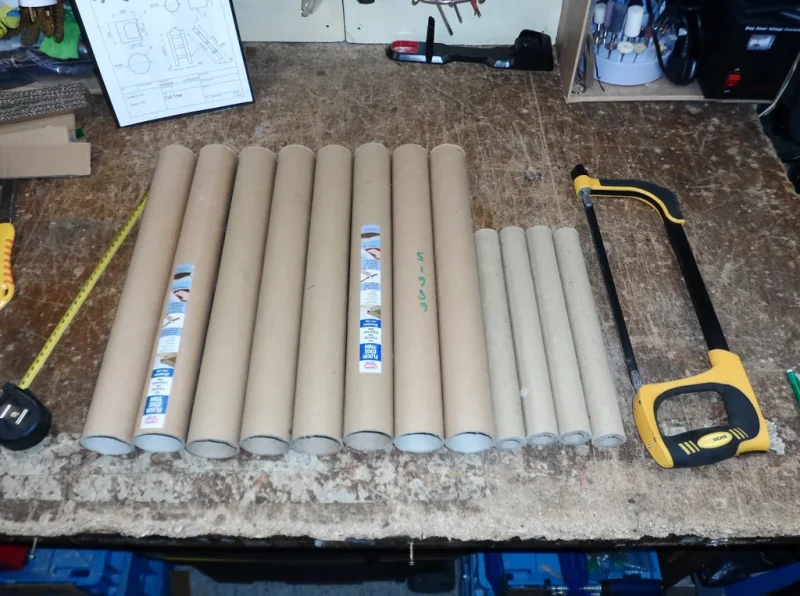
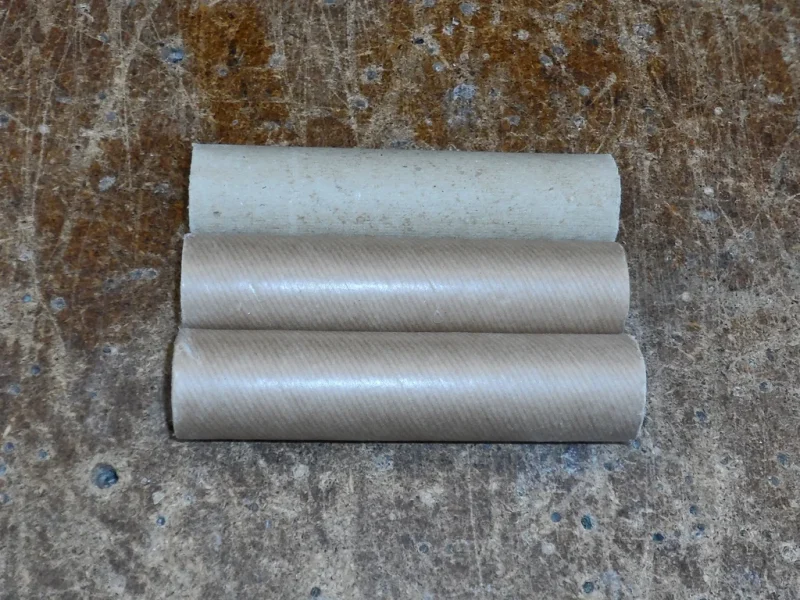
The tubes I used for the main pillars were saved from the floor edge trims (approximately 200cm x 5.6cm in diameter) and the tube used for the top perch pillars was about 150cm x 4cm in diameter (probably from something like a stretch wrap roll, but I have no idea :).
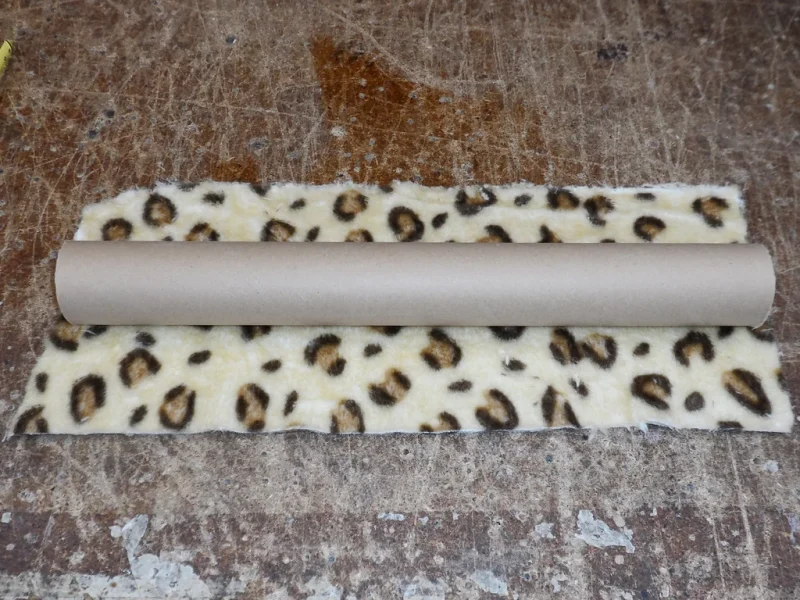
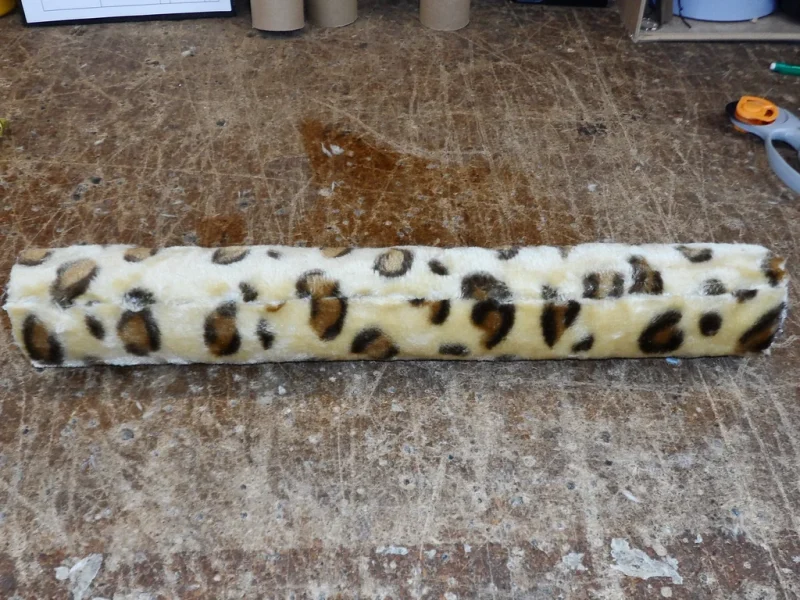
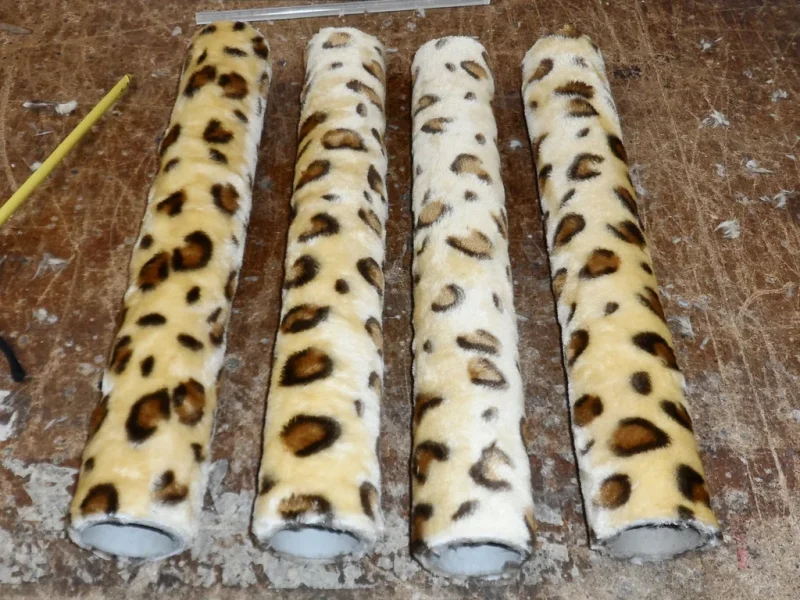
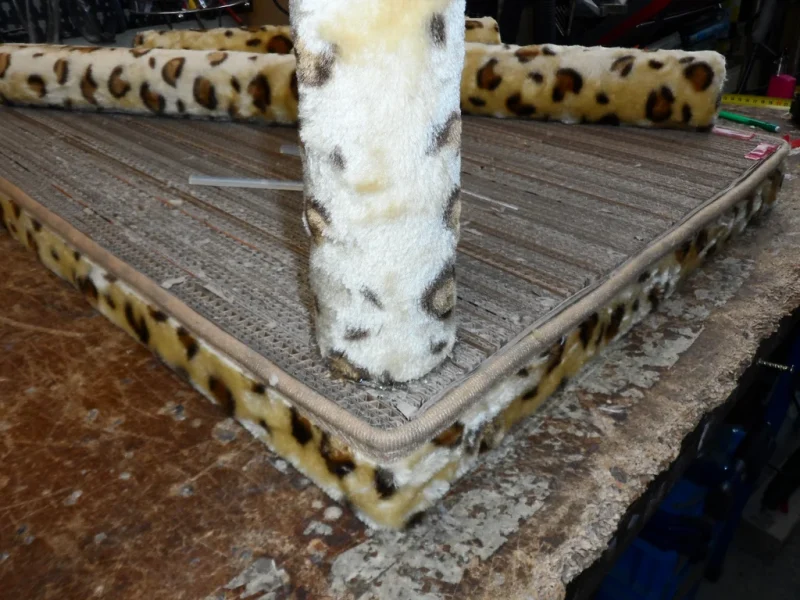
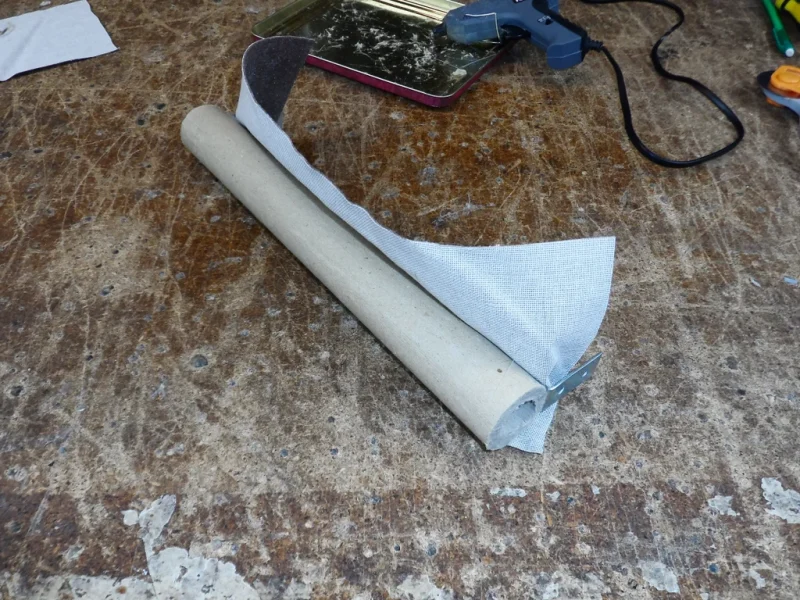
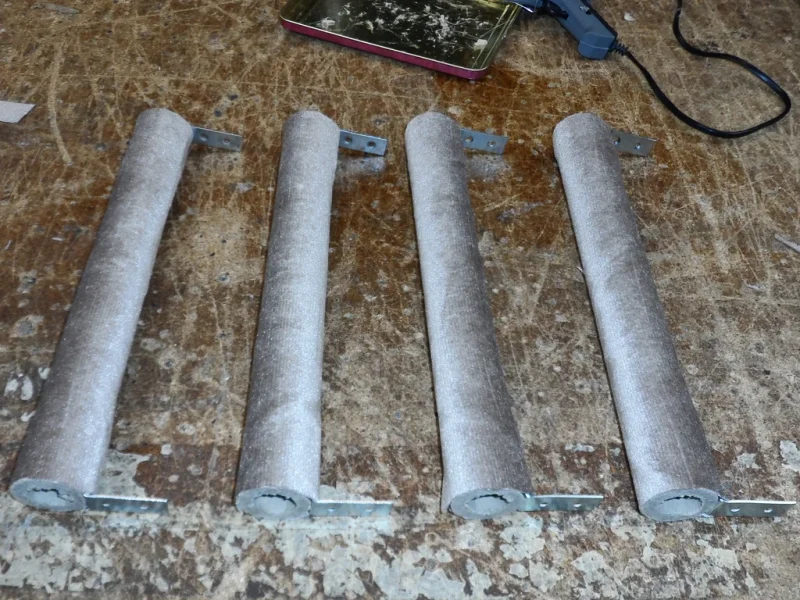
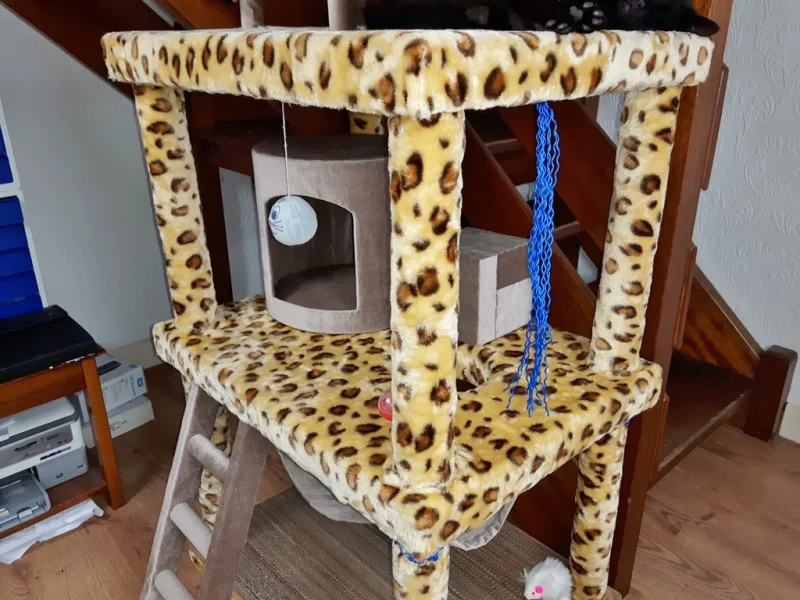
Cut the tubes into 8 x 45cm tall pieces for the ground and mid floor pillars and 4 x 30cm tall pieces for the top perch pillars. Attach the blanket onto the tubes using hot glue. At this point I began to wonder whether I’ll have enough blanket to cover everything so I left the top perch pillars for later.
Step 6: Mid & Top Floor Cover
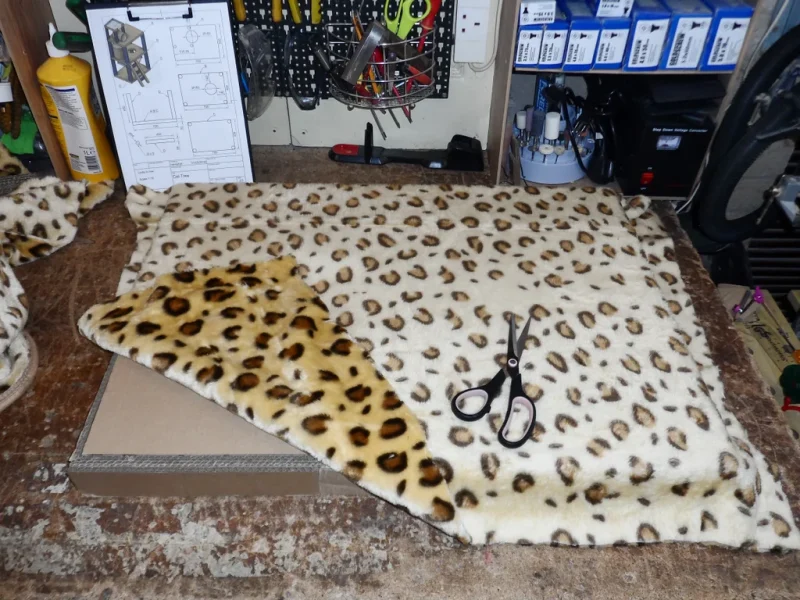
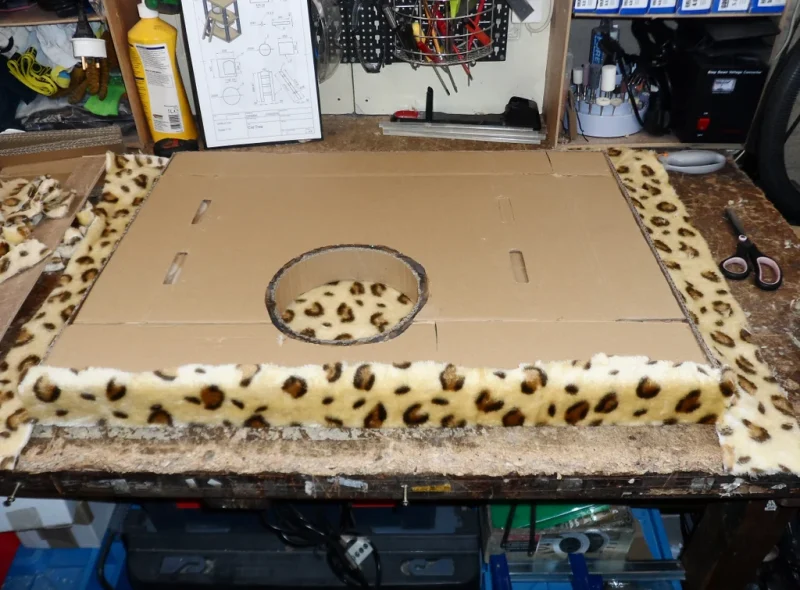
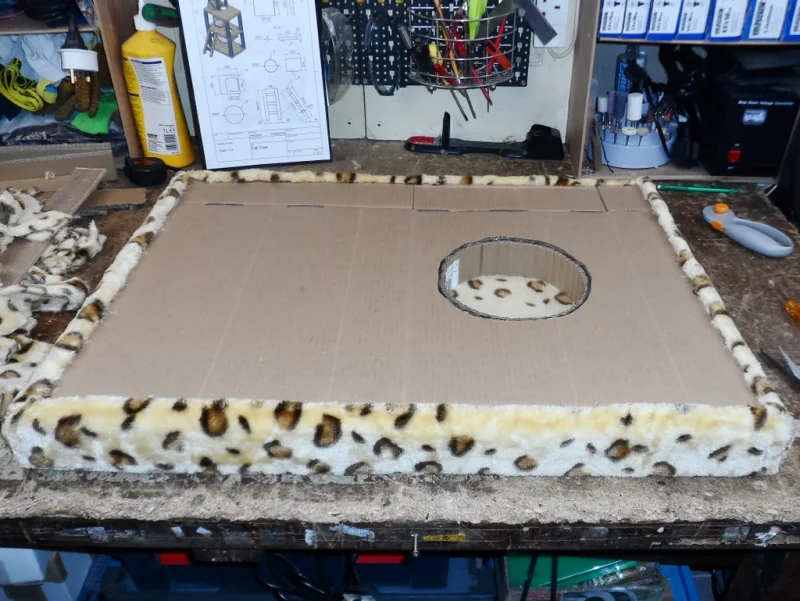
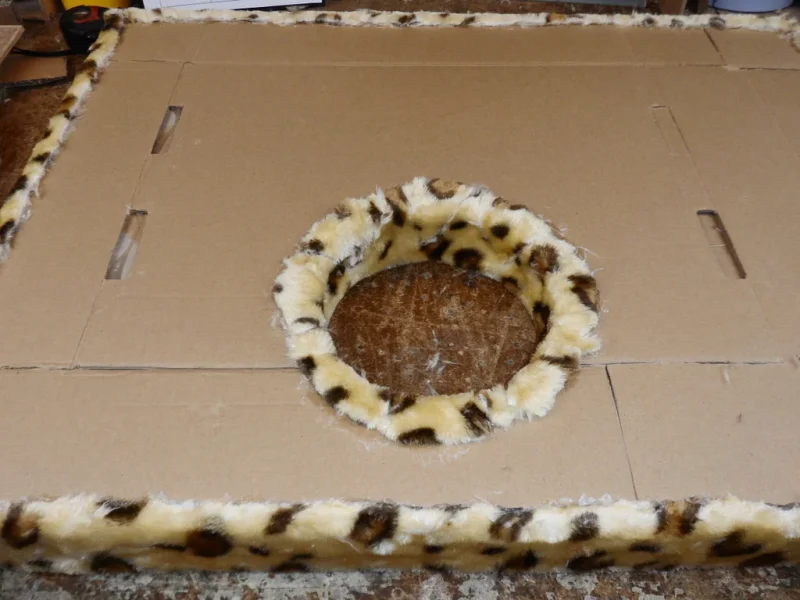
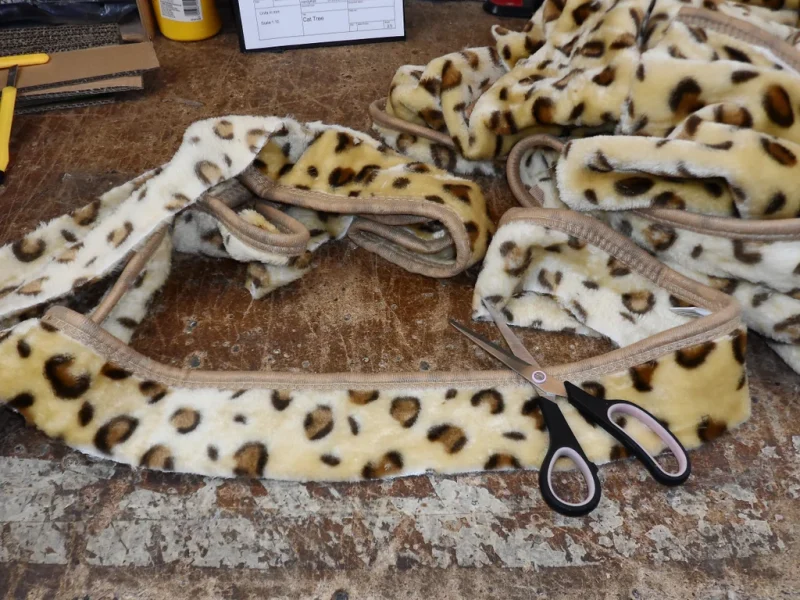
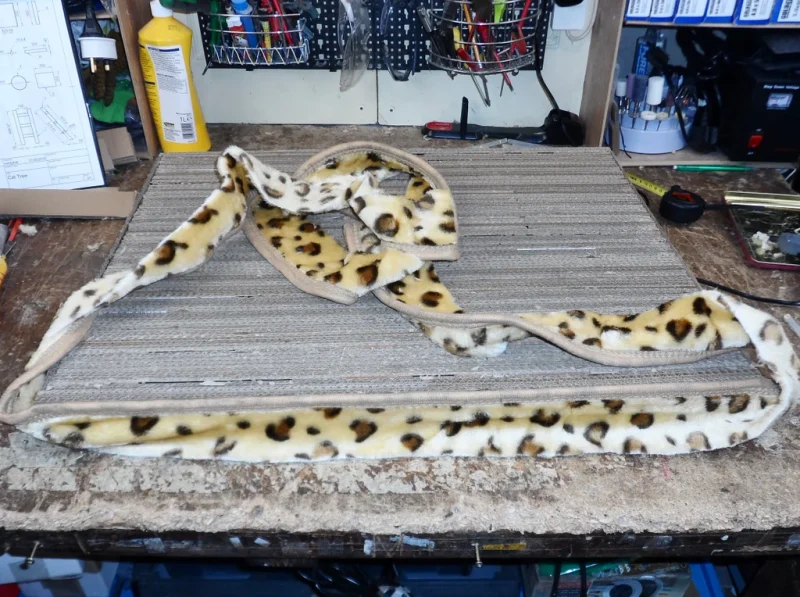
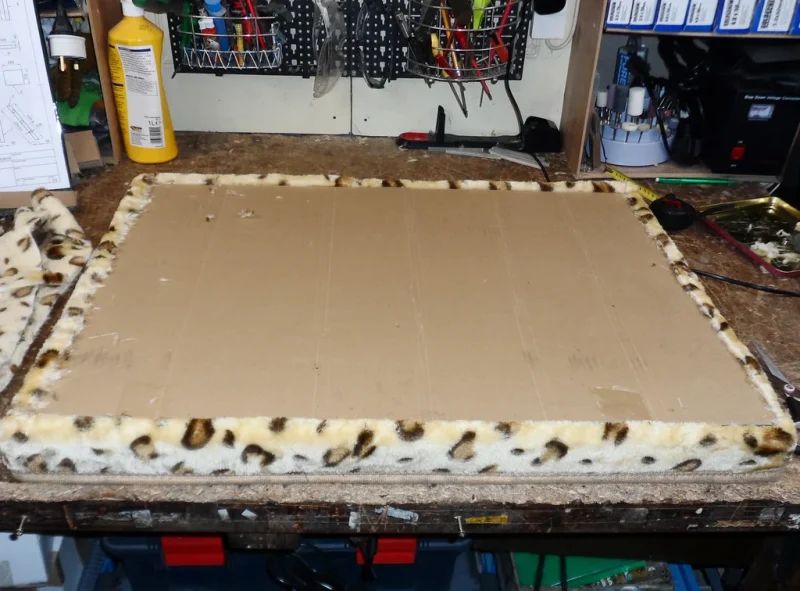
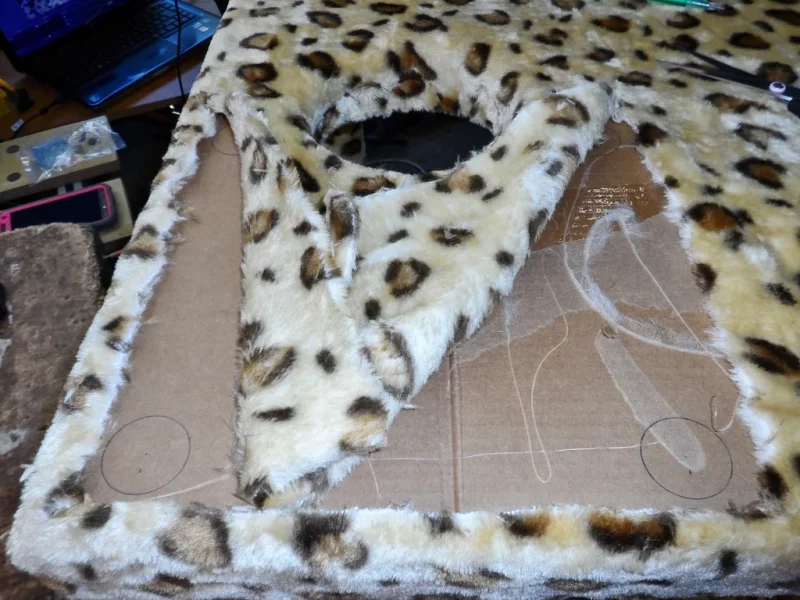
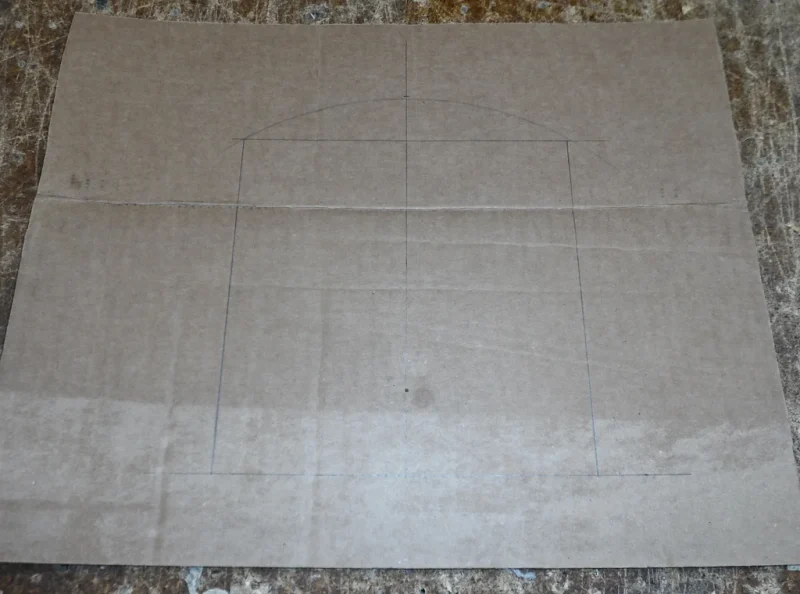
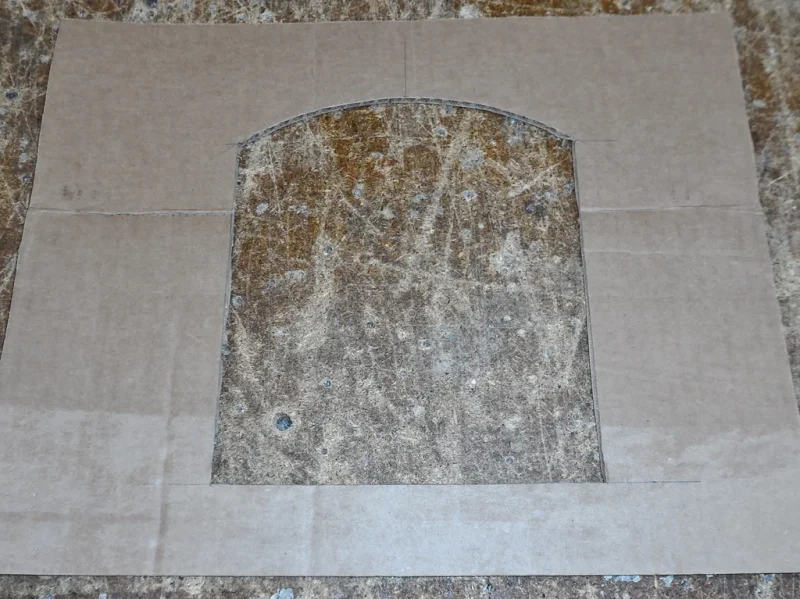
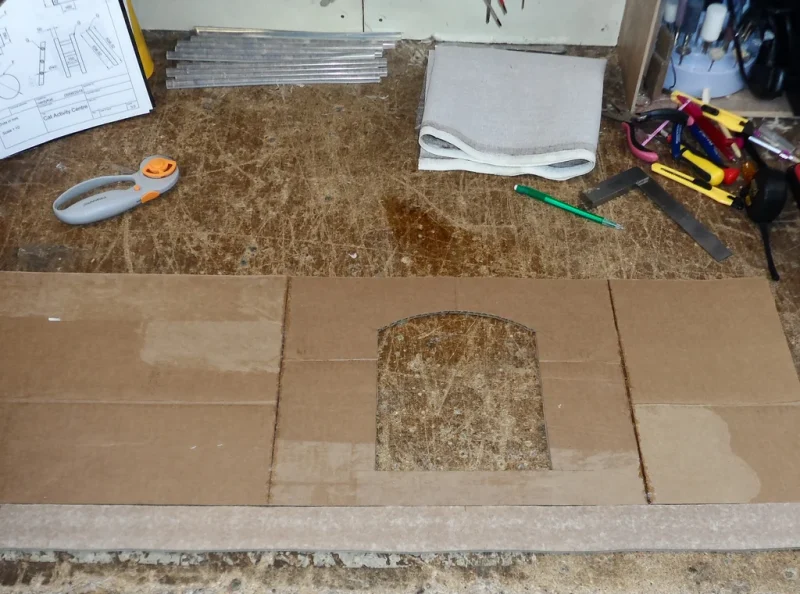
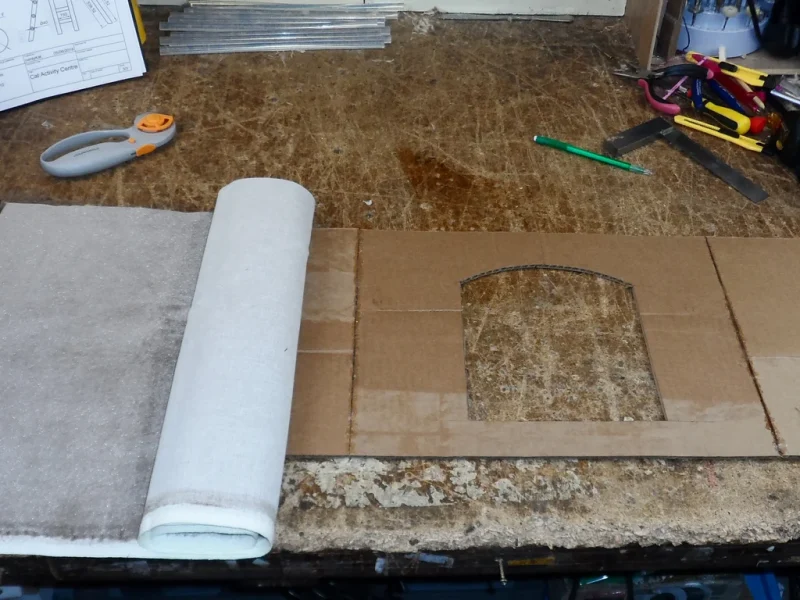
Cut out a piece of a blanket large enough to cover the top and the sides of the mid floor. Glue on using the hot glue. Turn upside down, cut around the edges and secure the edges with more hot glue.
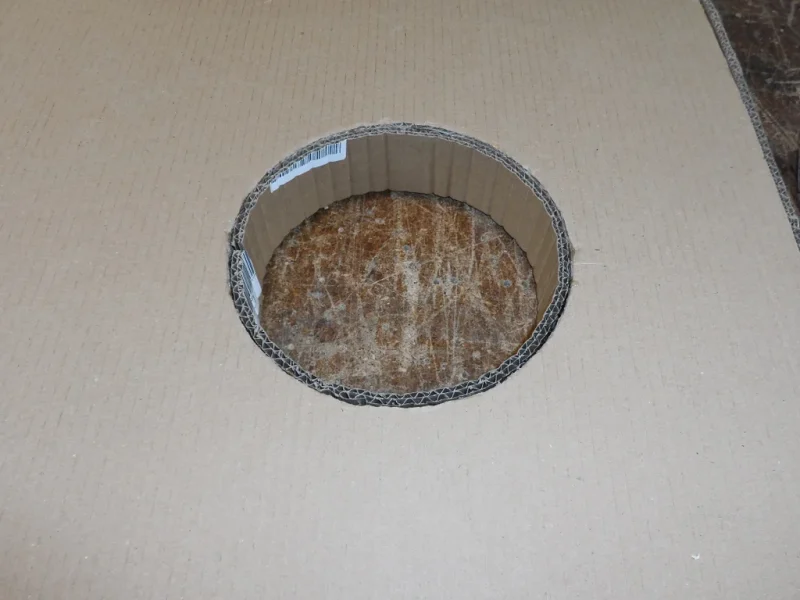
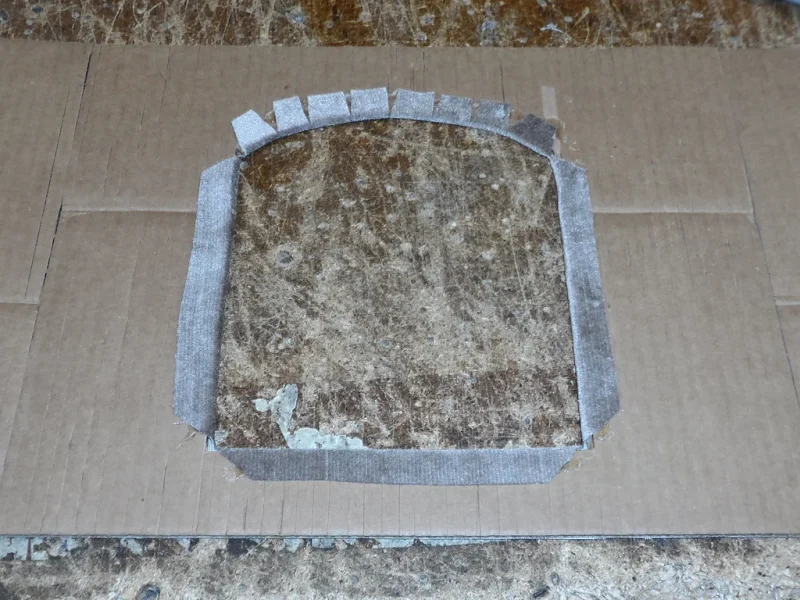
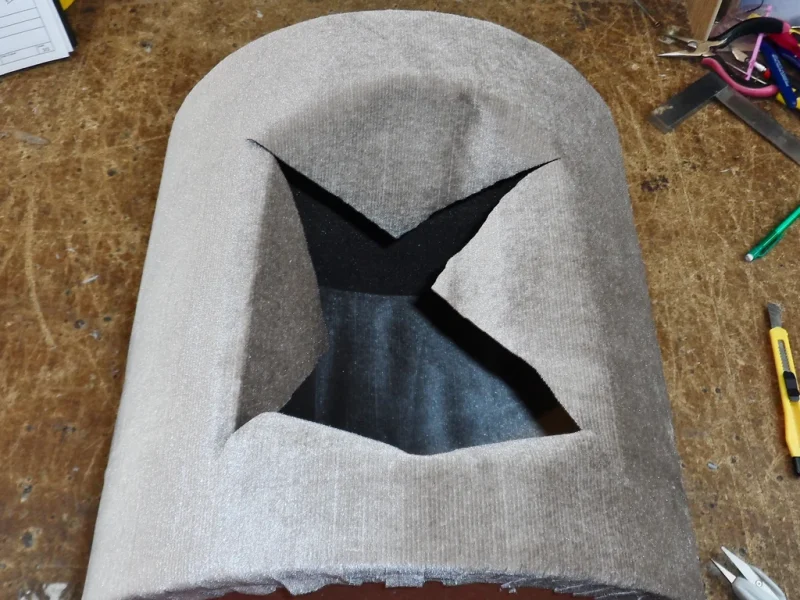
“Pizza” cut the blanket in the hole and glue the triangles onto the inside of the walk-through. Take a few pieces of the leftover blanket and fill between the triangles. Cut around the edges of the walk-through and secure with the hot glue.
Repeat for the top floor.
Step 7: Joining Mid & Top Floors
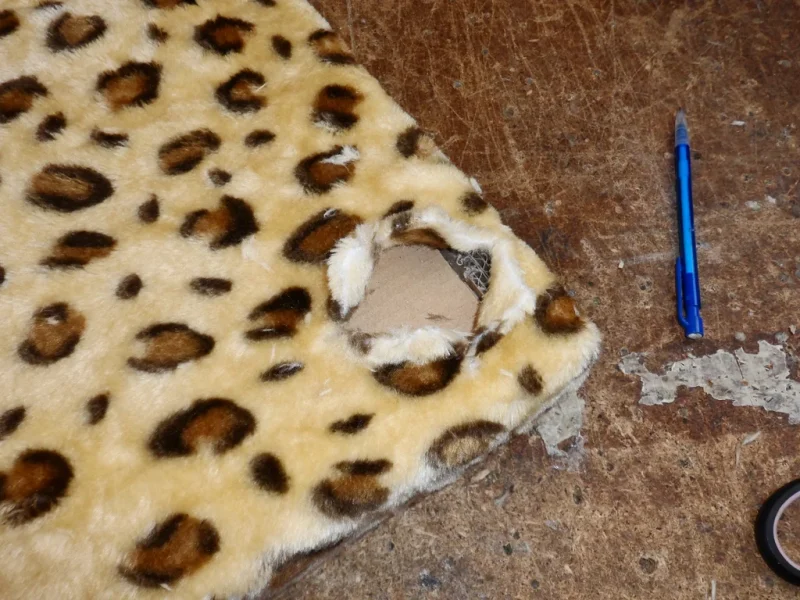
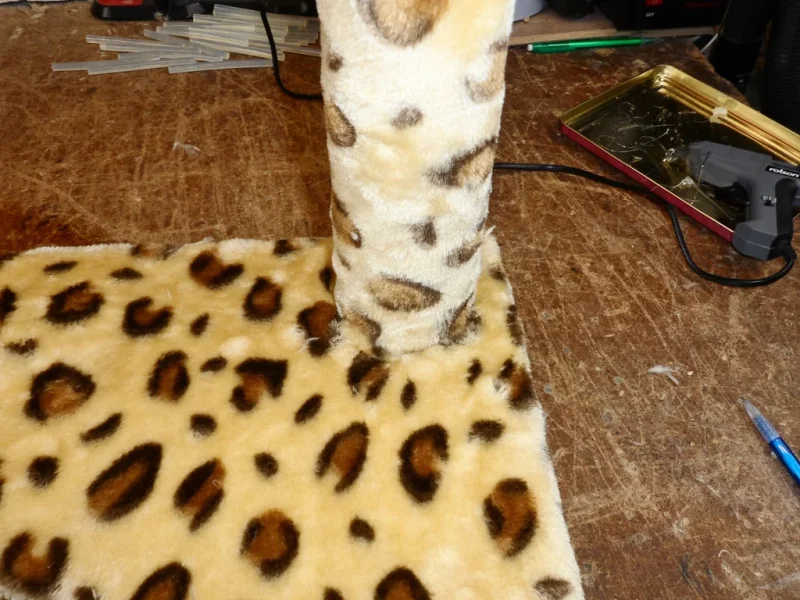
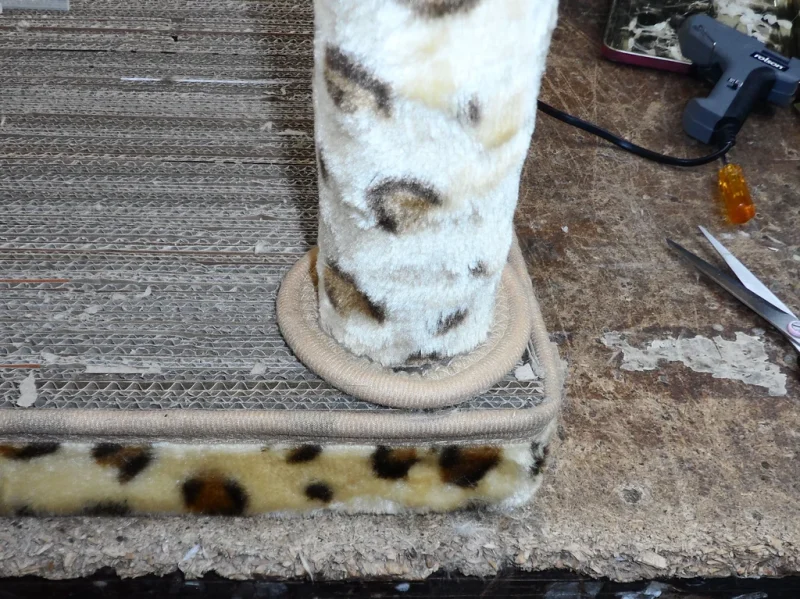
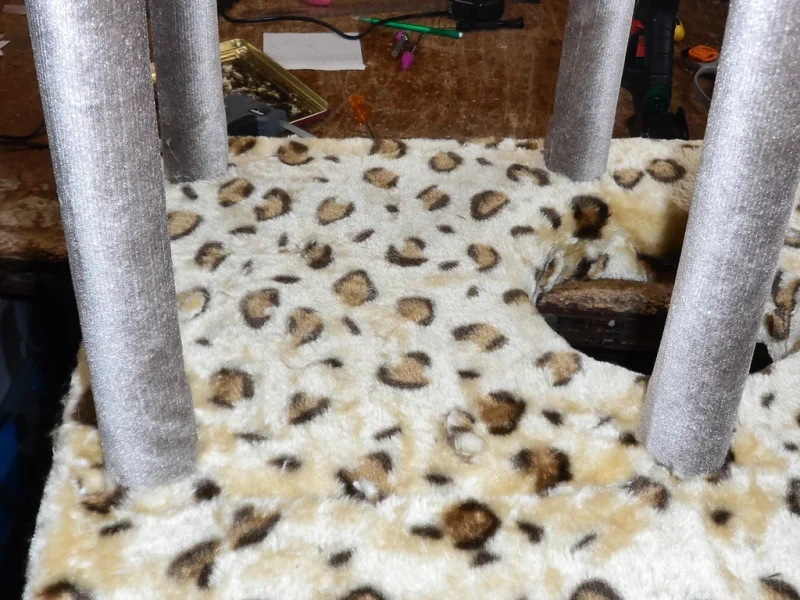
Take the mid floor and cut a hole into the blanket in the corner for the pillar. Mark 2cm from each side and glue in the pillar. Apply glue around the pillar and fold in the remaining blanket. Repeat for the other three pillars.
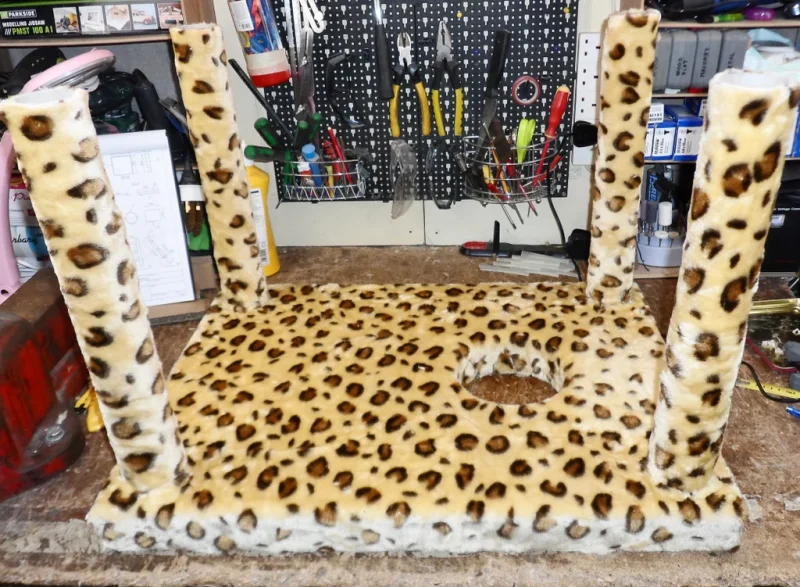
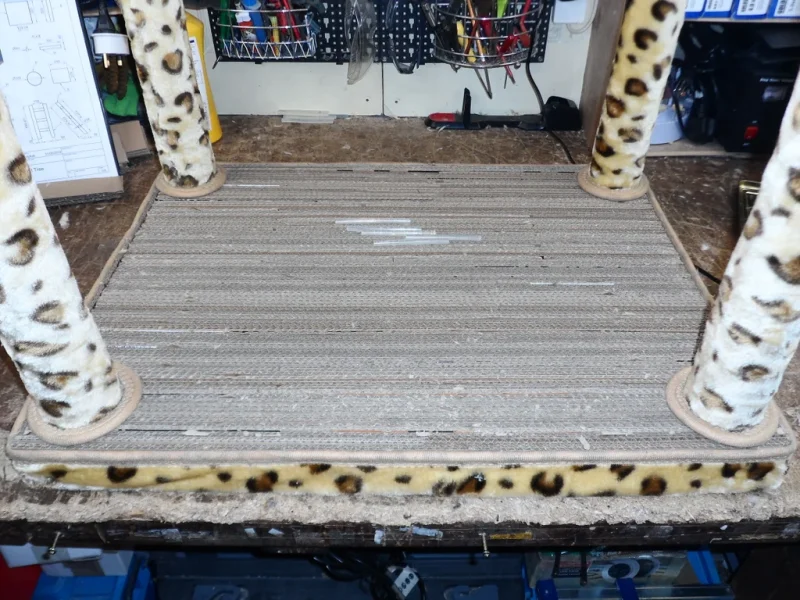
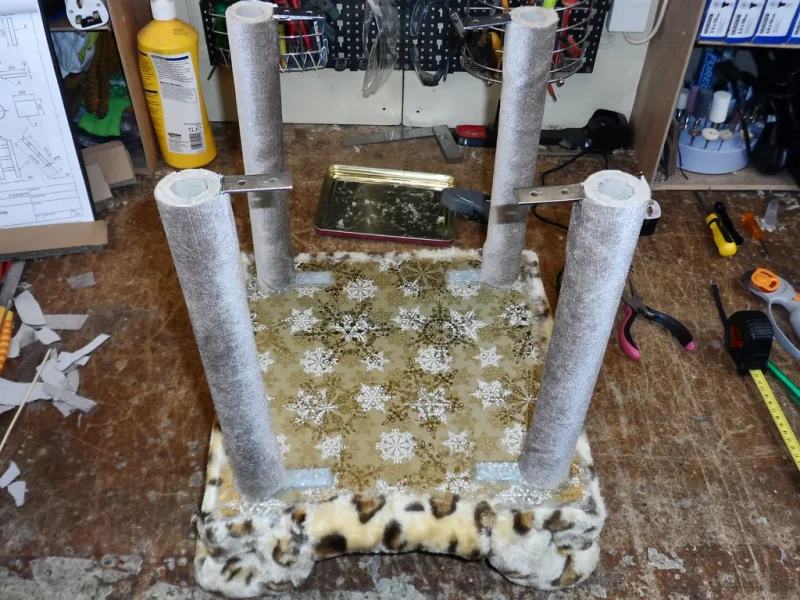
Take the top floor, turn it upside down and mark 2cm from each side for all of the pillars. Turn the mid floor upside down and place onto the top floor. Glue the pillars onto the top floor.
Step 10: Top Perch
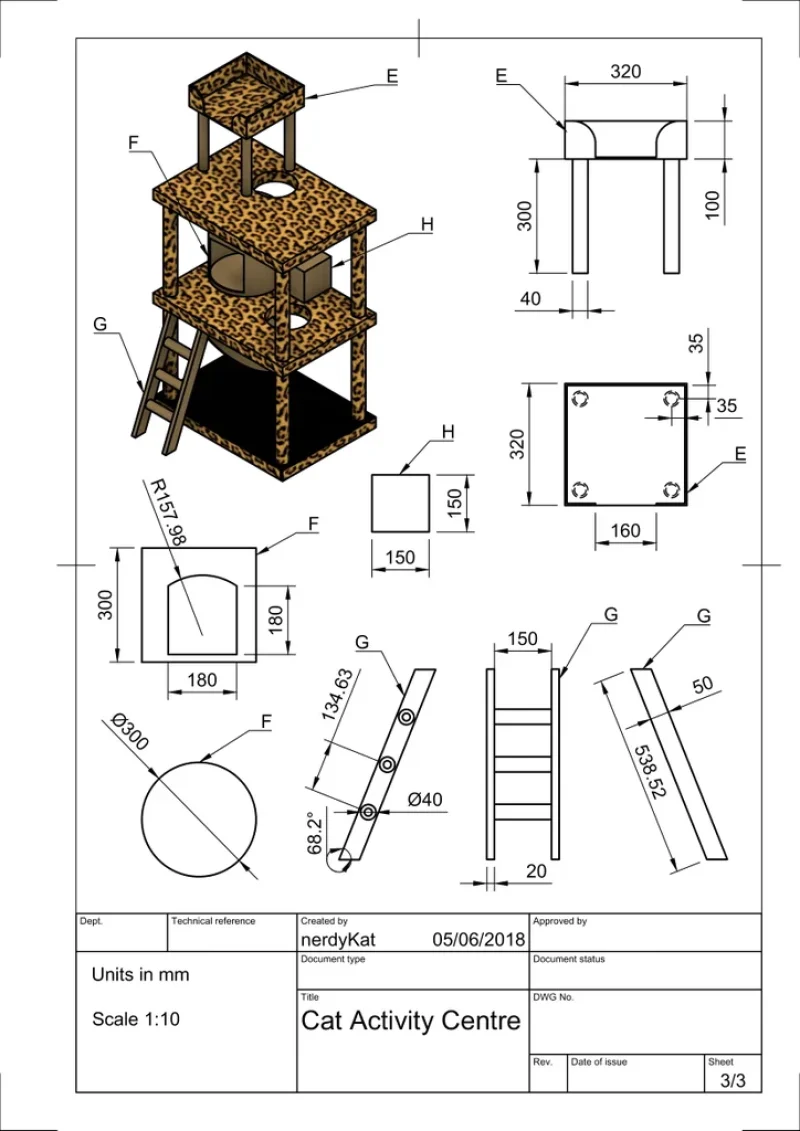
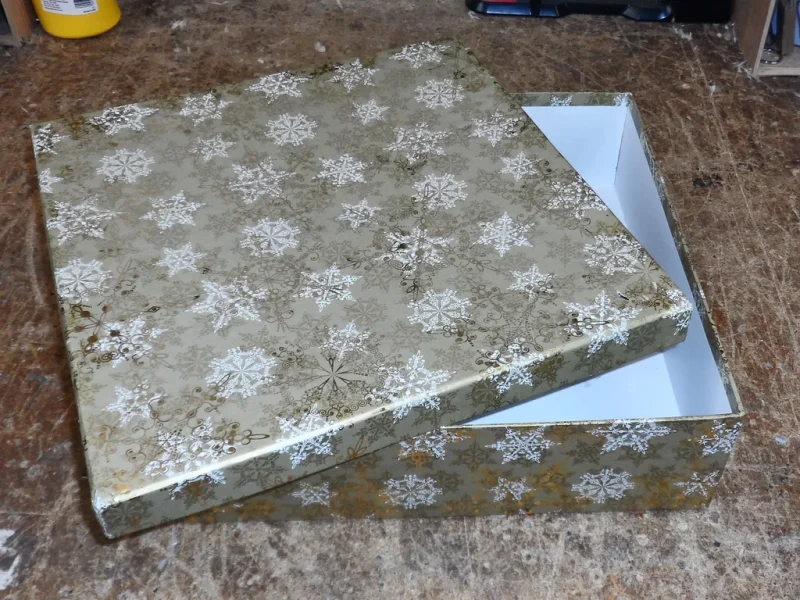
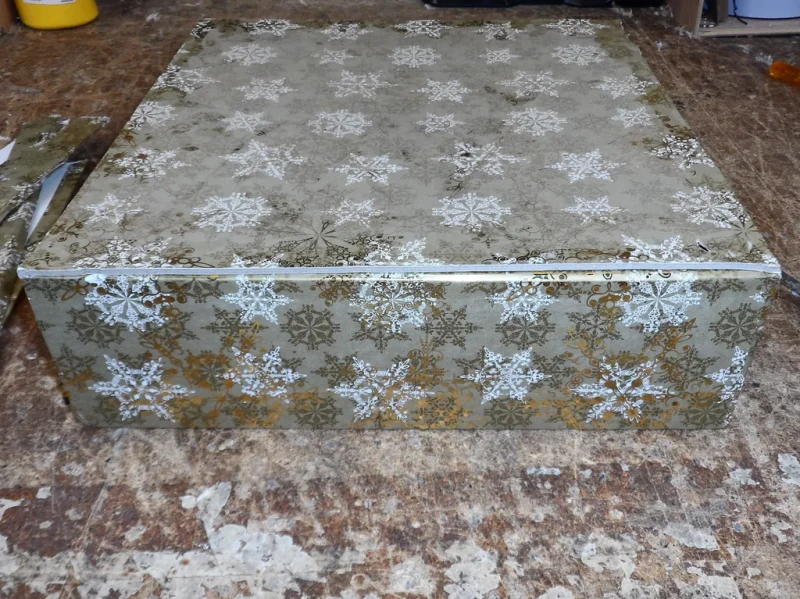
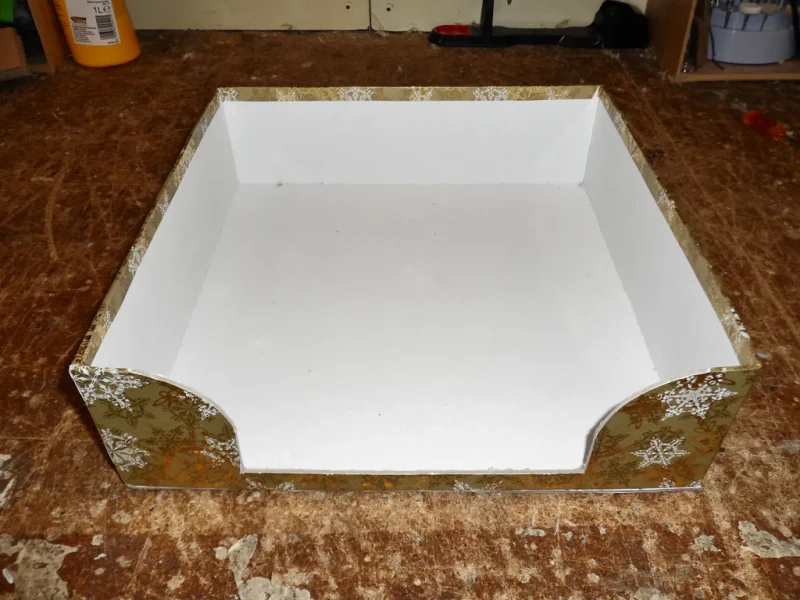
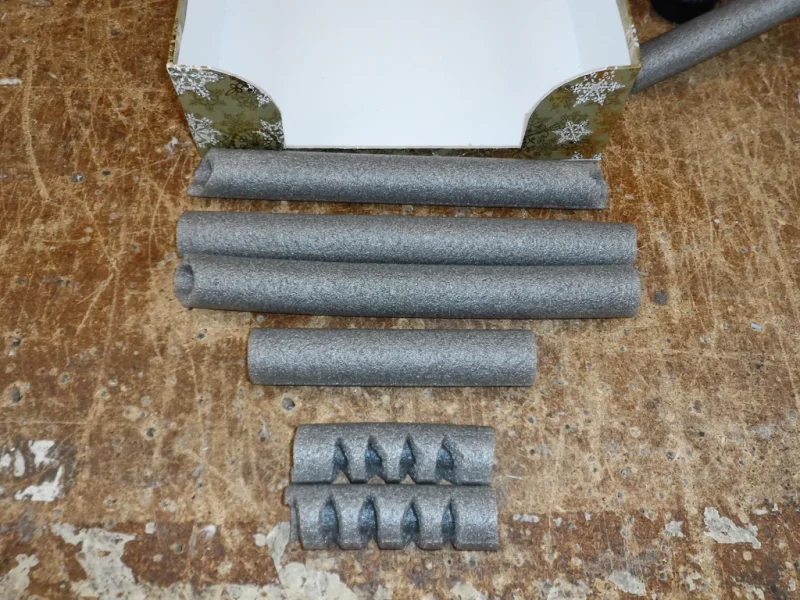
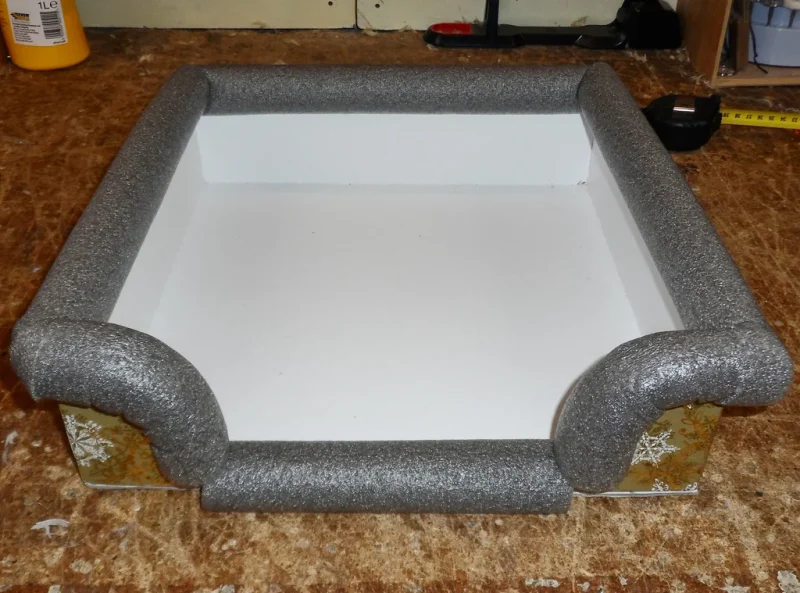
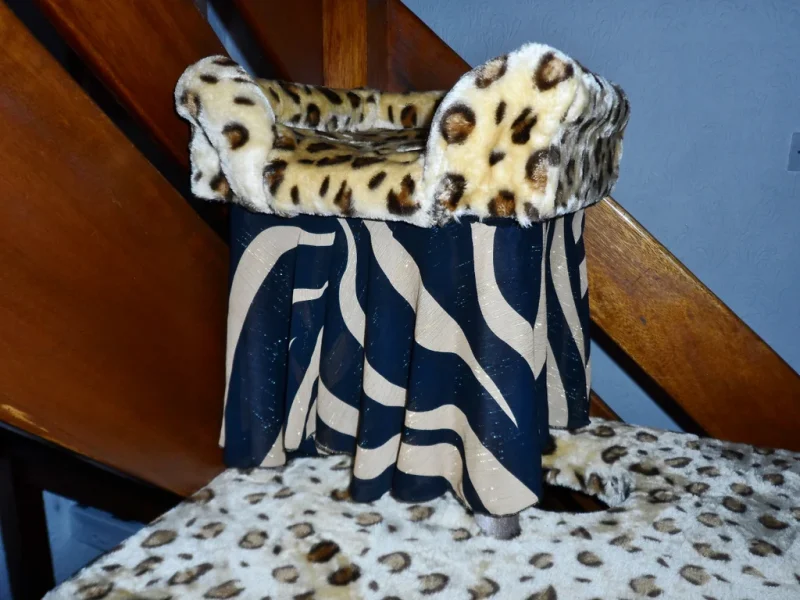
For this step I used one of those Christmas boxes (32cm x 32cm). Glue the lid onto the bottom of the box and cut off the edges. Cut out an opening with round edges about 16cm wide into the front of the box.
Take the pipe insulation and cut into pieces long enough to cover the edges of the box and glue them on.
Step 11: Top Perch Cover
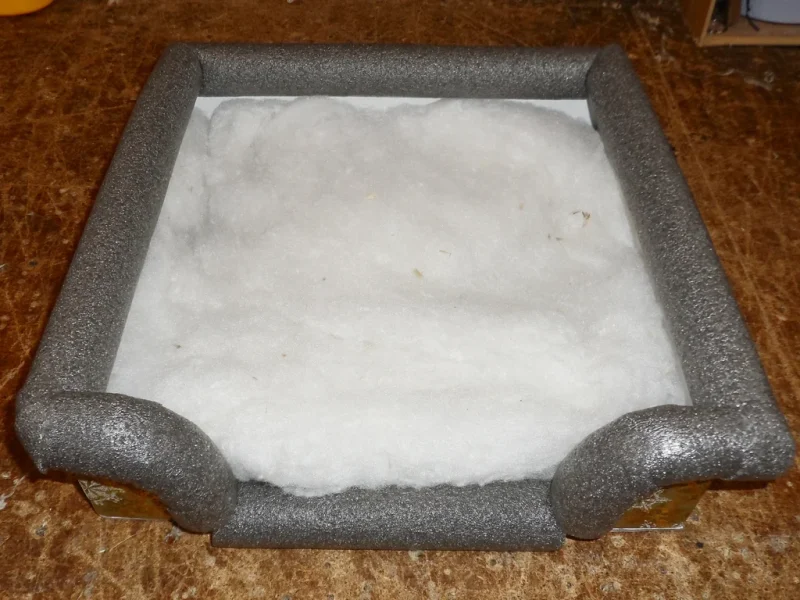
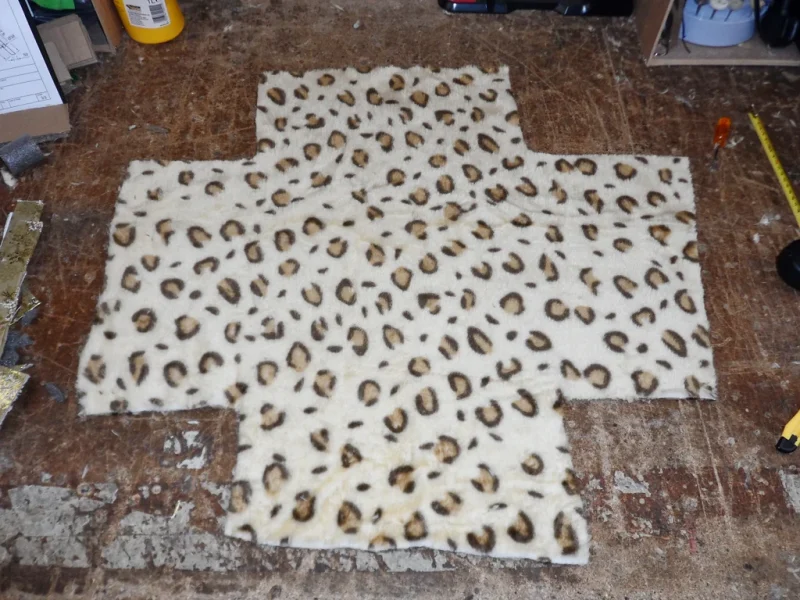
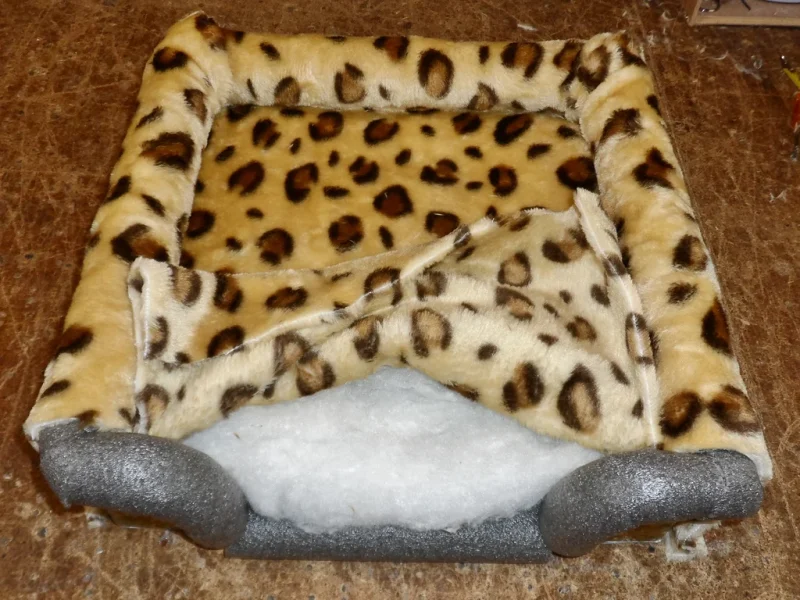
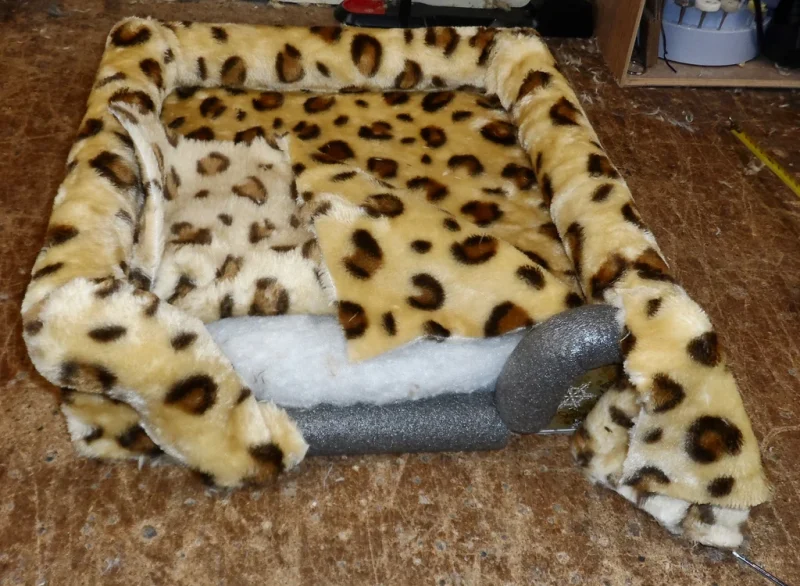
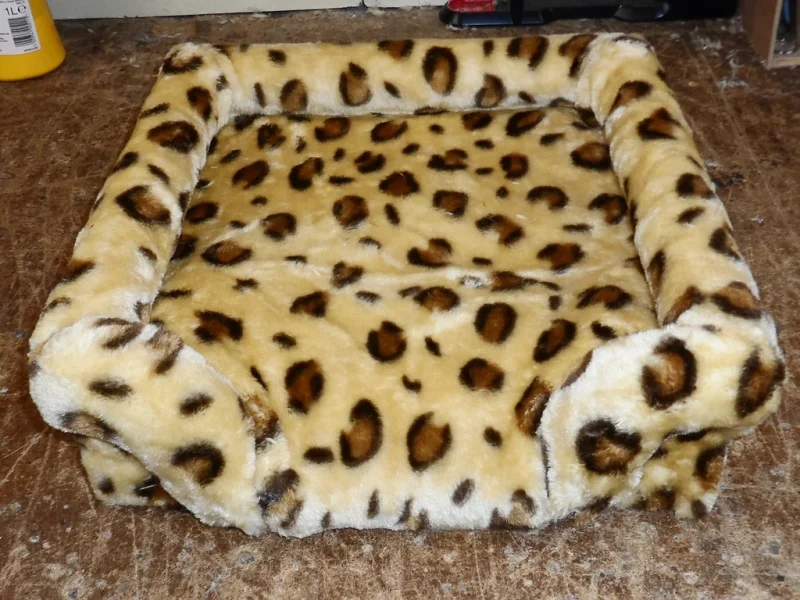
Cover the bottom of the box with pillow filler. Cut out a piece of the blanket in a cross shape large enough to cover the box. Glue it onto the box adding smaller pieces for the front as necessary. I’ve also applied some glue onto the inside just under the pipe insulation to keep the blanket nicely curled around the insulation.
Step 13: Extra Support
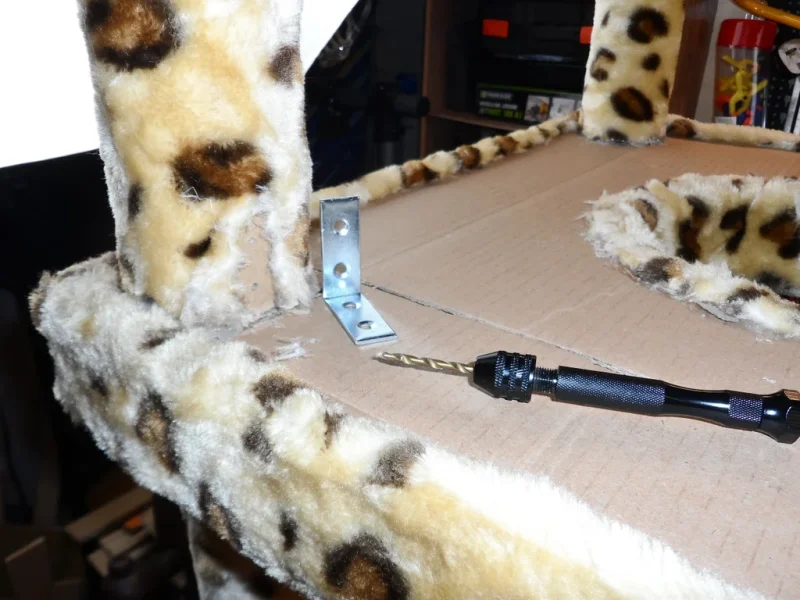
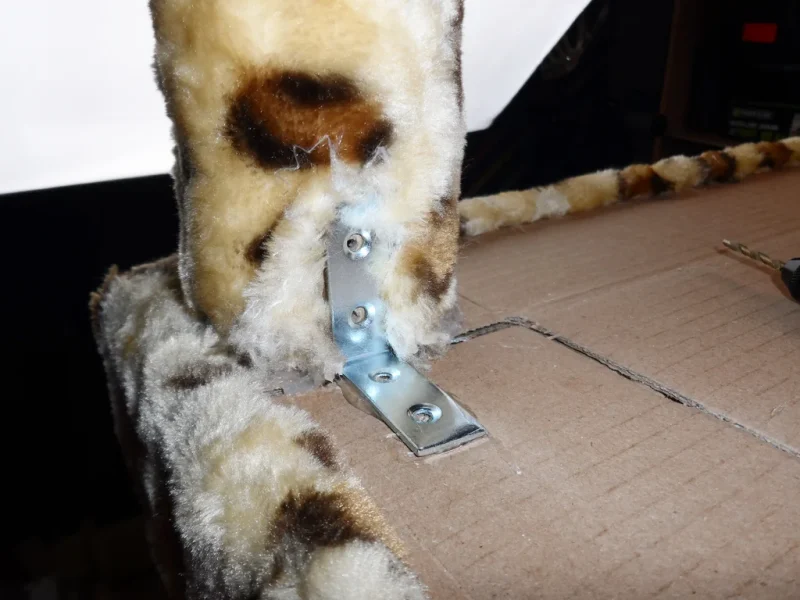
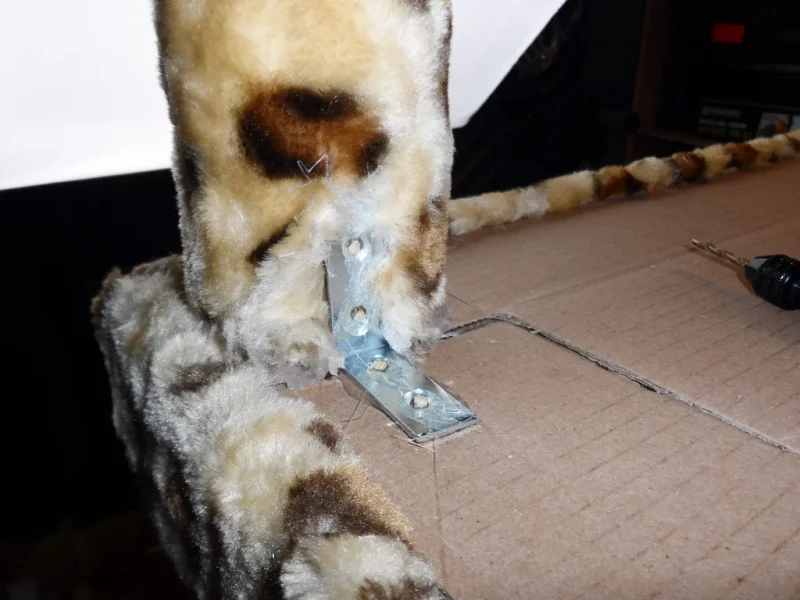
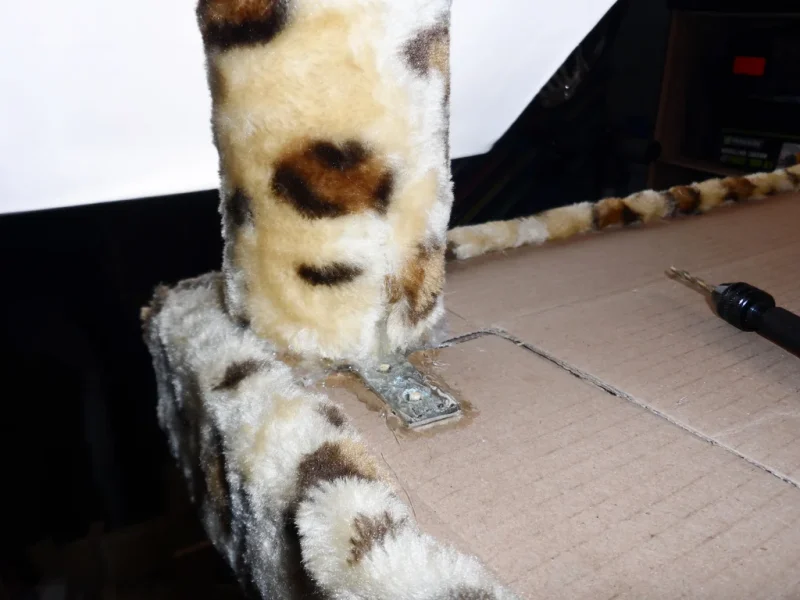
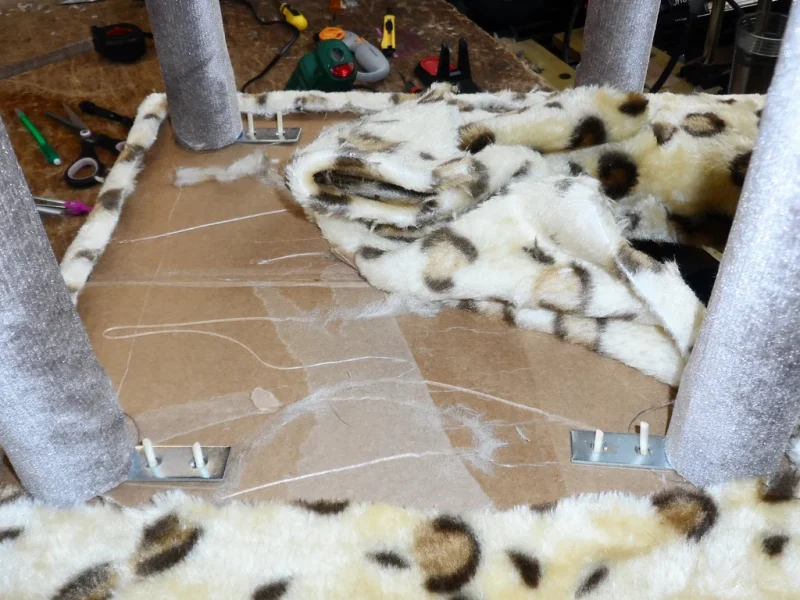
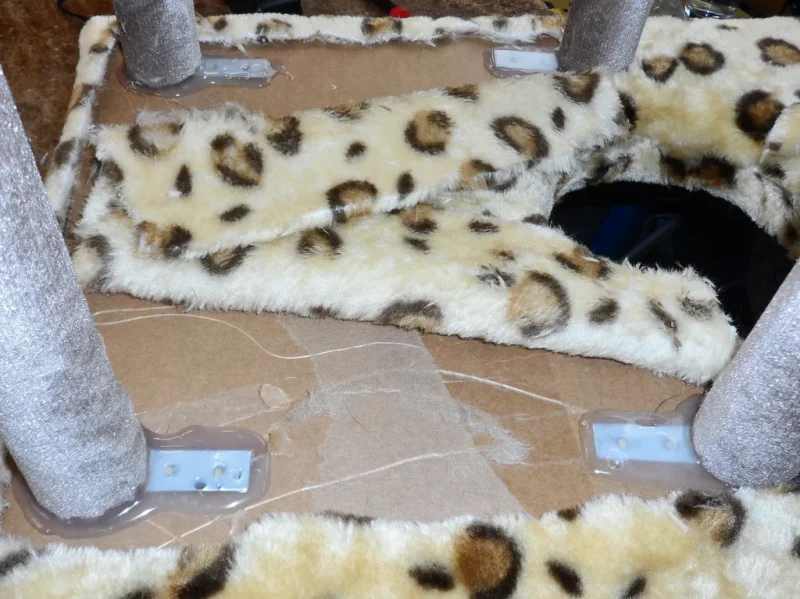
Once I joined the floors together I noticed that the whole structure was a little wobbly, so I added some corner braces onto all of the 8 pillars top and bottom. I cut an opening in the blanket, drilled 4 holes for the braces, glued the braces on and secured them with pieces of skewer.
Step 14: Top Perch Pillars
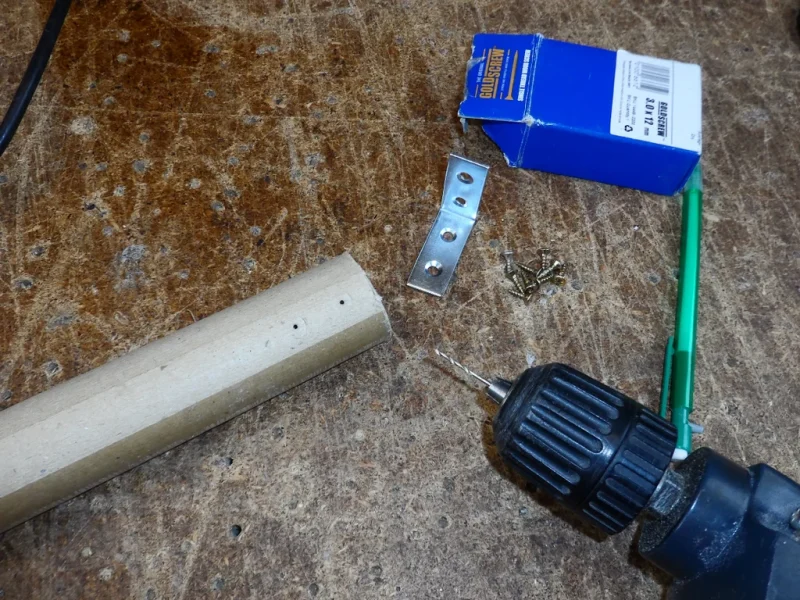
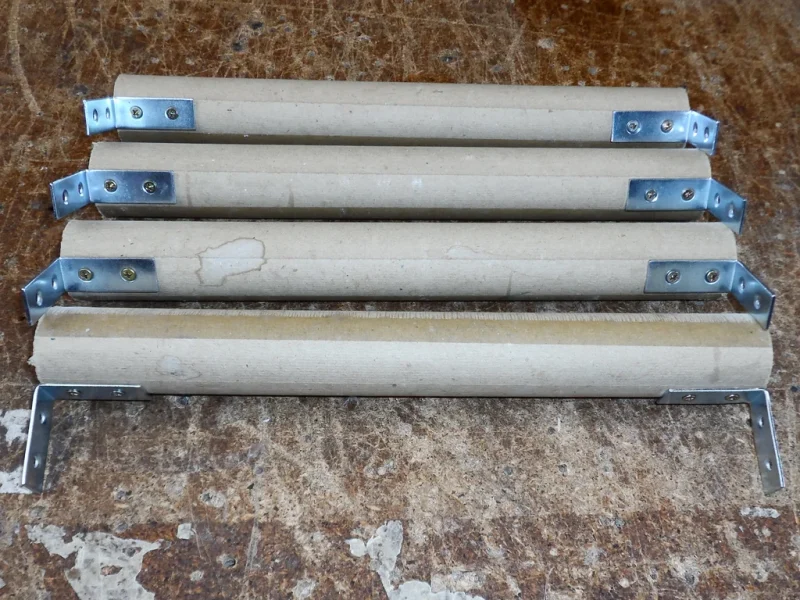
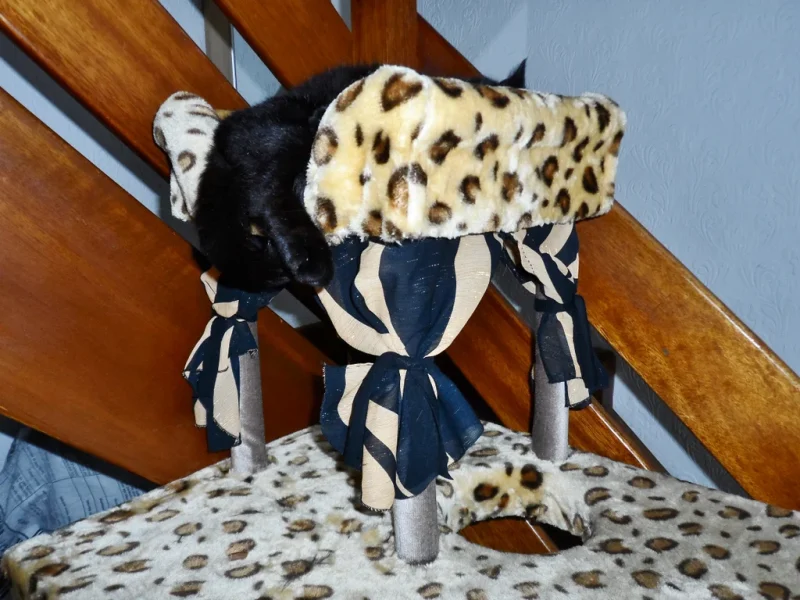
Drill holes into the top perch pillars for the braces and secure them in with screws. Repeat for each end of the pillars. I decided to use screws instead of skewer bits because the tube was much thicker than the floor edge trims tube.
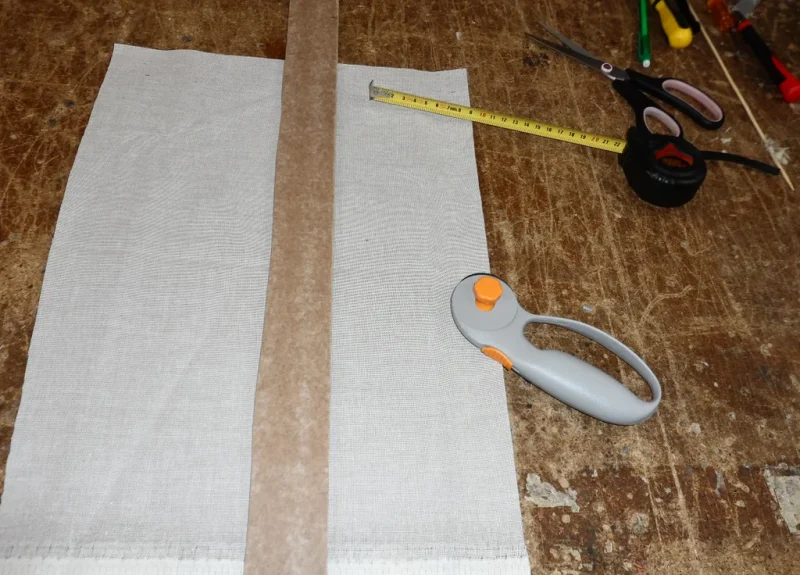
Cut out pieces of the blanket or other fabric large enough to cover the pillars and glue them on.
Step 15: Attaching Top Perch
Drill 8 holes into the top perch box for the braces and glue in pieces of skewer. Glue on the perch pillars.
Cut out an opening in the blanket of the top floor for the top perch pillars. Mark the position of each pillar and drill the holes for the braces. Glue pieces of skewer into the brace holes and glue on the pillars. Glue the opening shut.
Step 17: Condo Cushion
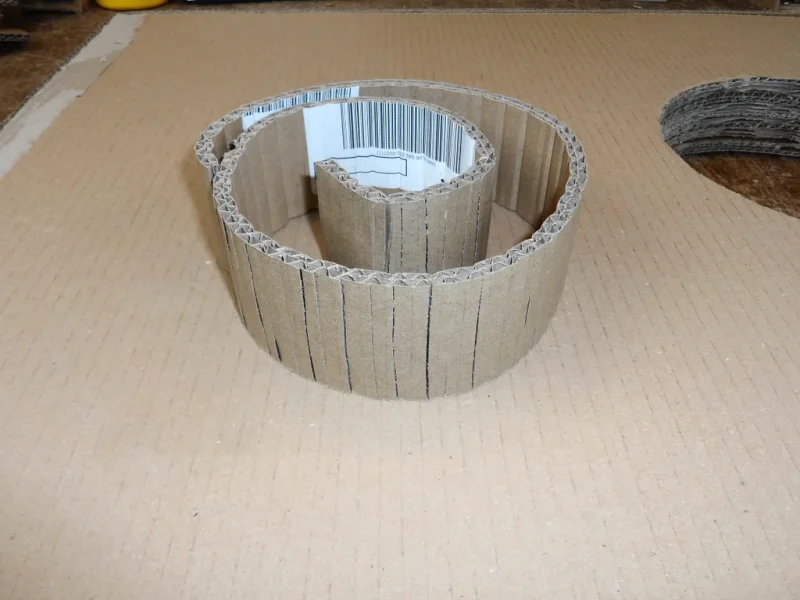
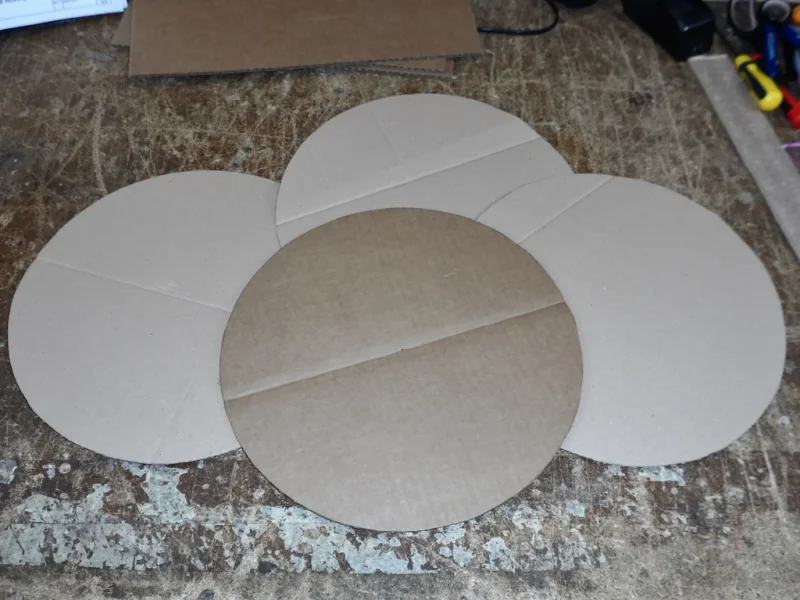
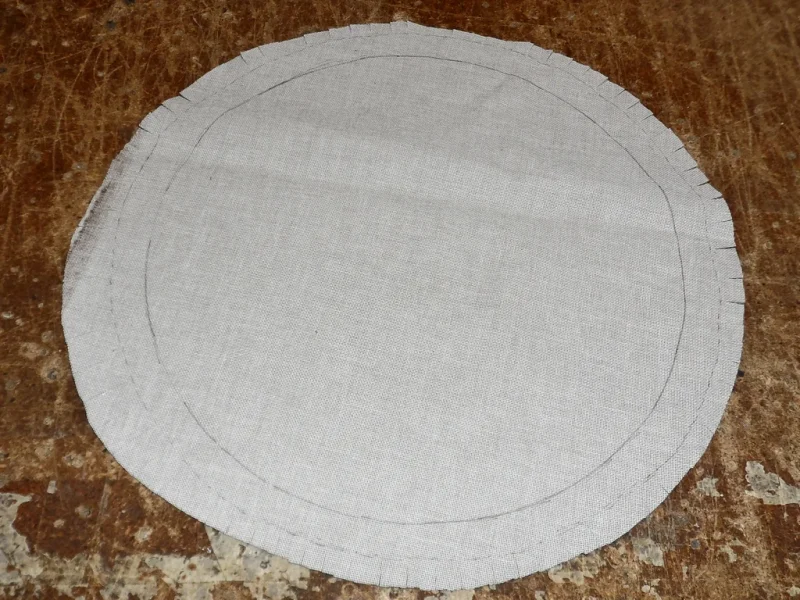
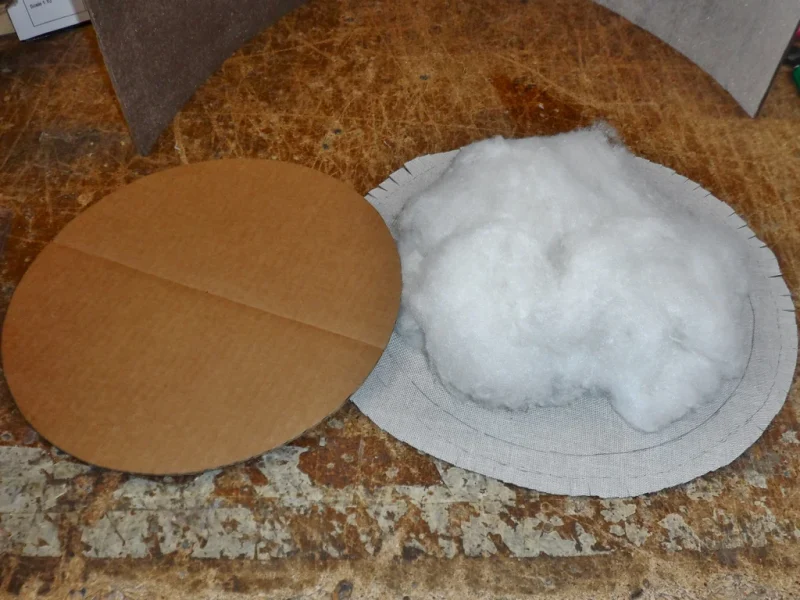
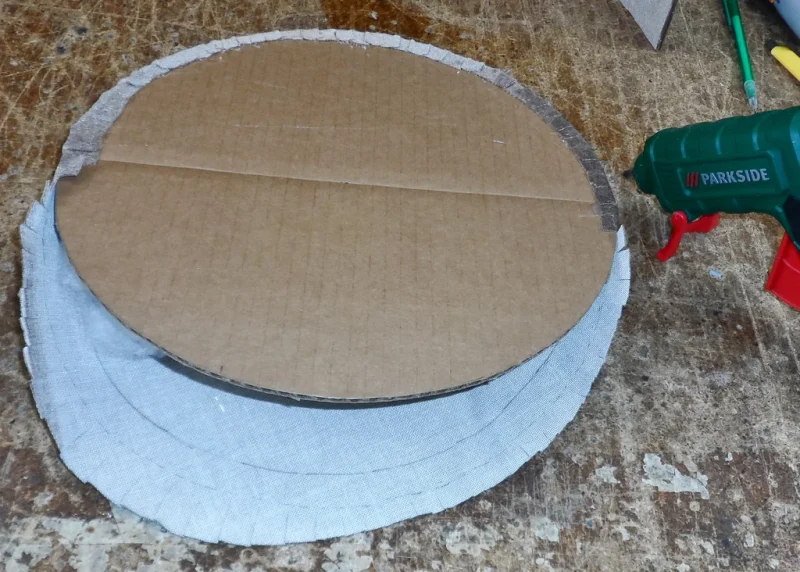
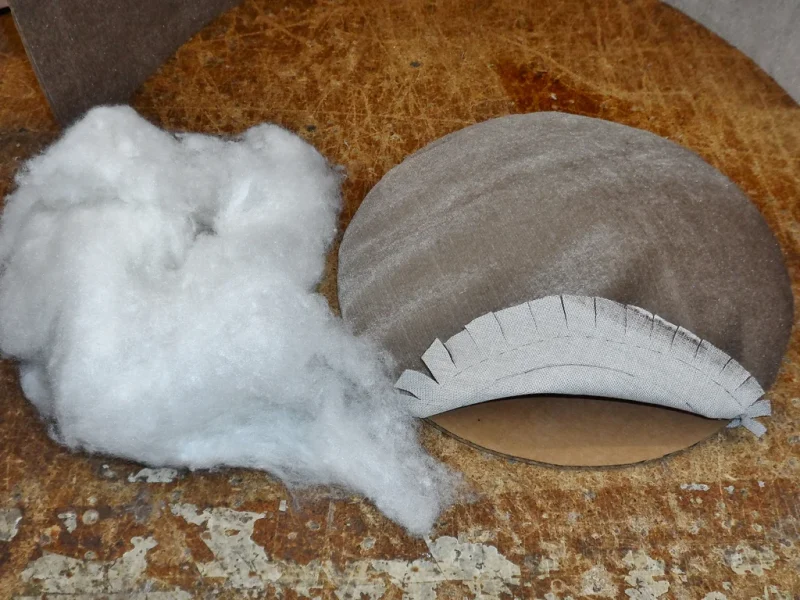
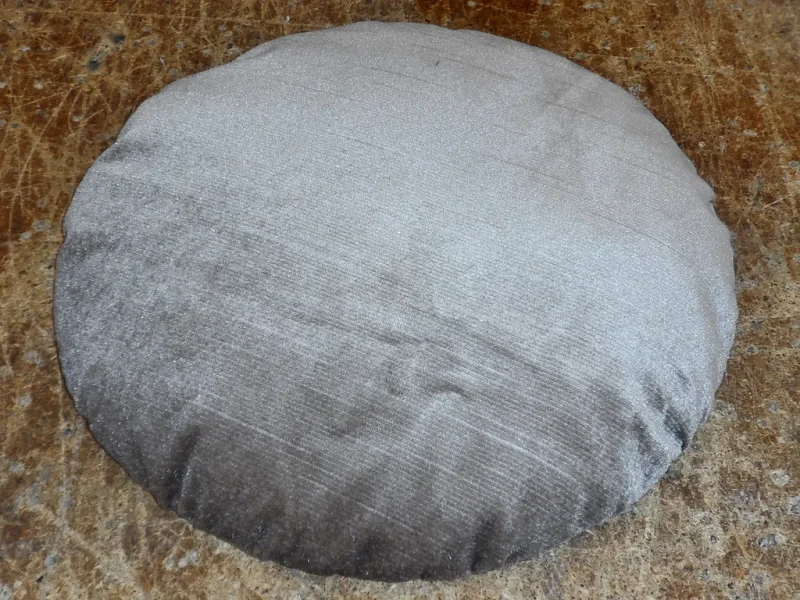
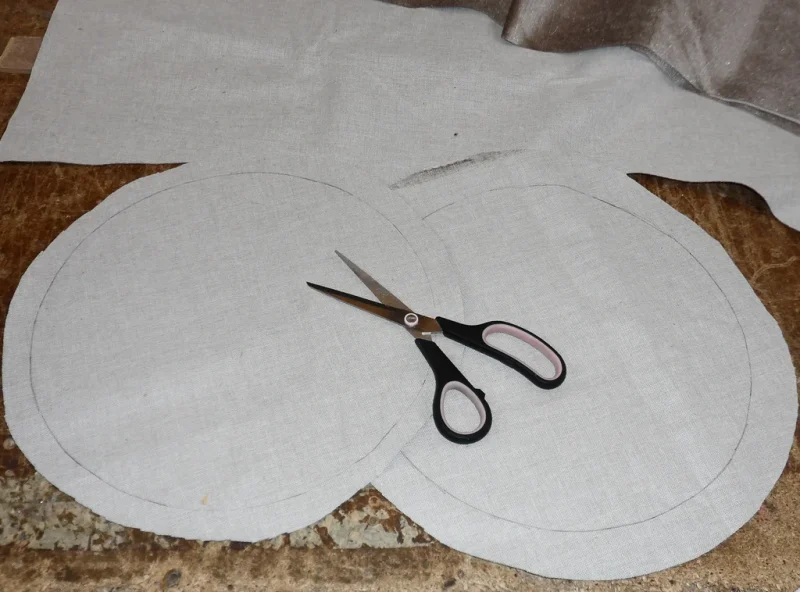
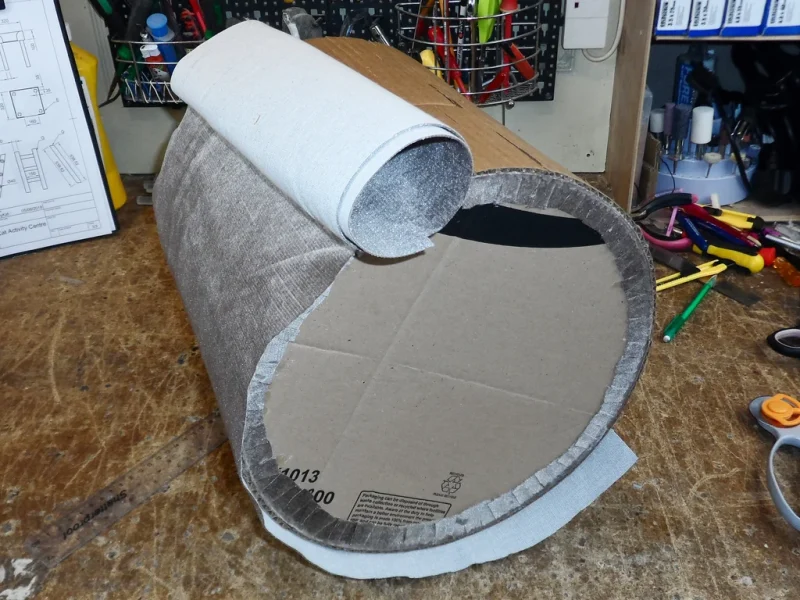
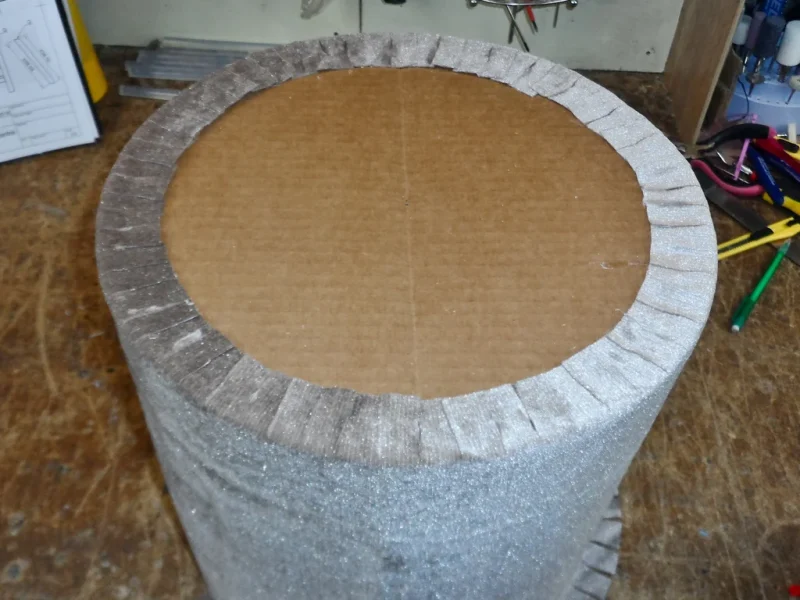
Cut out 4 cardboard circles 30cm in diameter. Draw a 34cm in diameter circle onto the fabric and cut out leaving about 1cm around. Make cuts about 1cm wide around the circle diagonally. Place the pillow filling onto the fabric circle, put one of the cardboard circles on the top of the filling and glue the fabric onto the cardboard circle. Before you fully glue the fabric on you can add or remove filling as required.
Step 18: Condo Assembly
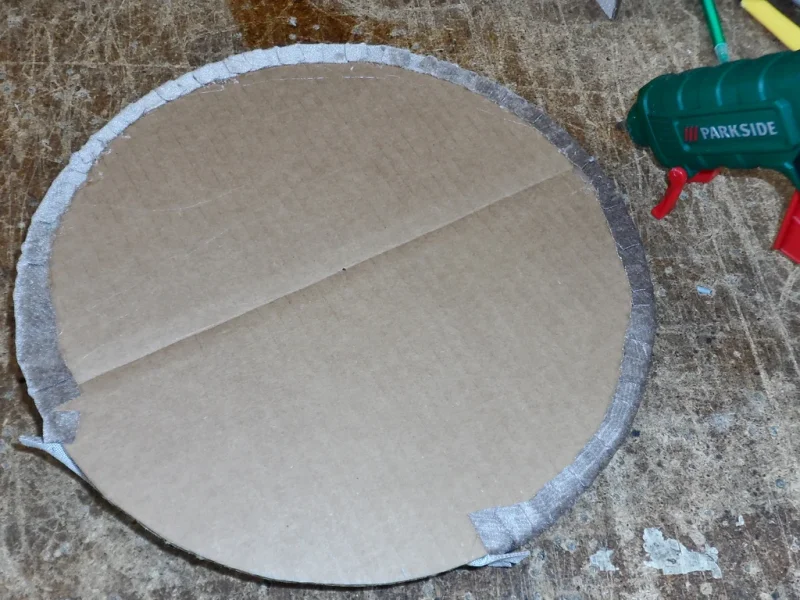
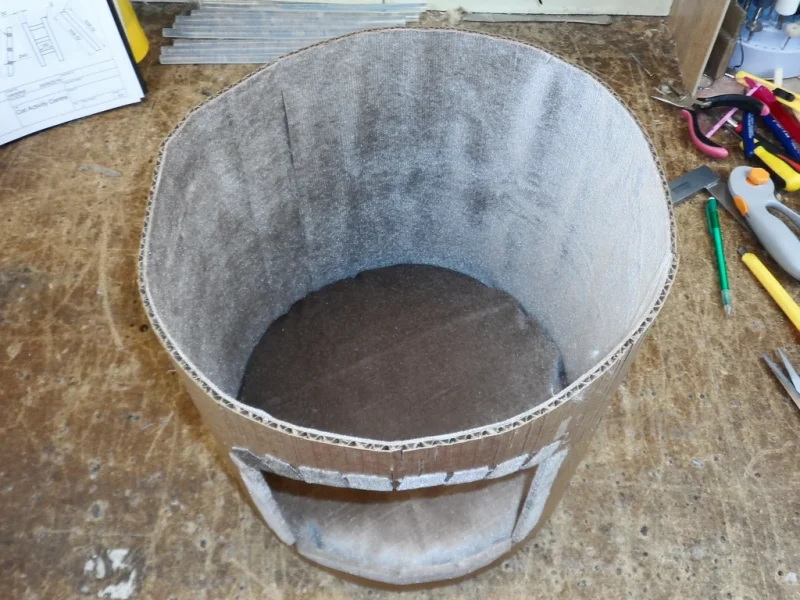
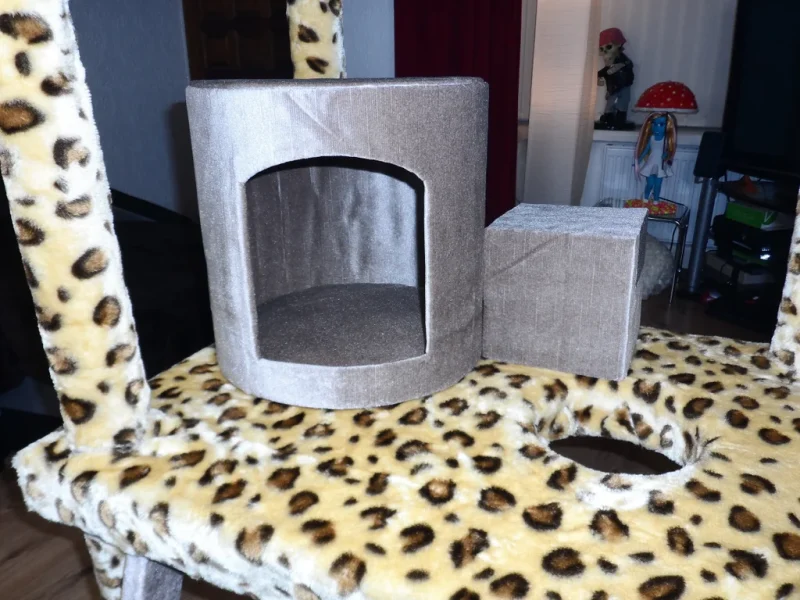
Place the cushion into the condo and glue around the bottom. Cut out another two fabric circles 30cm in diameter leaving 1cm around. Glue the fabric circles onto two of the cardboard circles and place one of them into the condo facing inside and glue around.
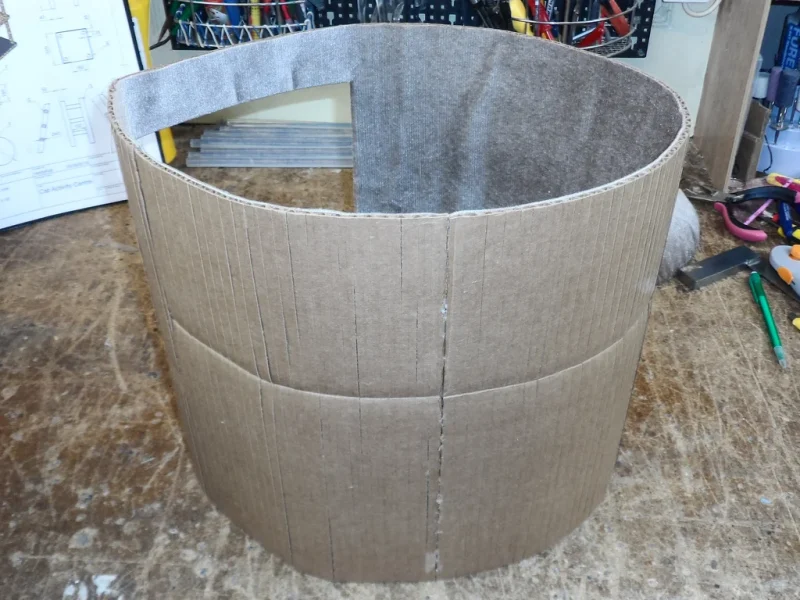
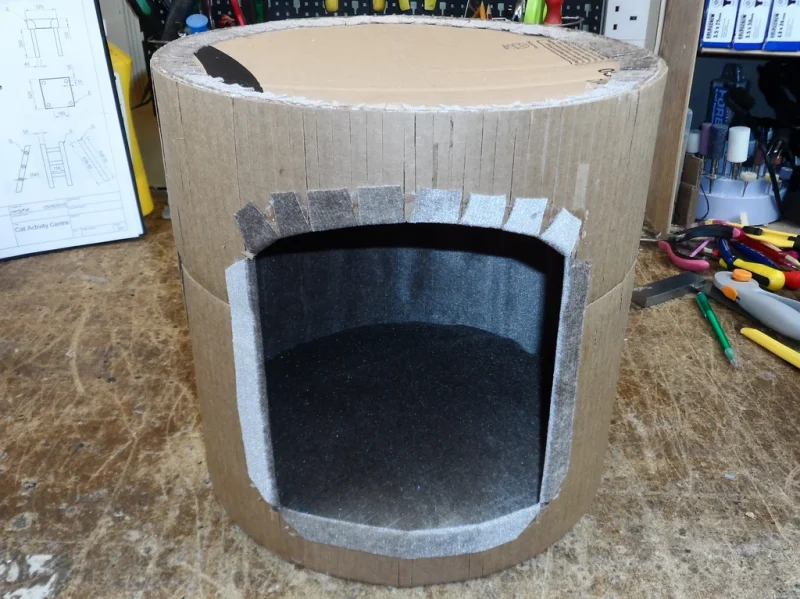
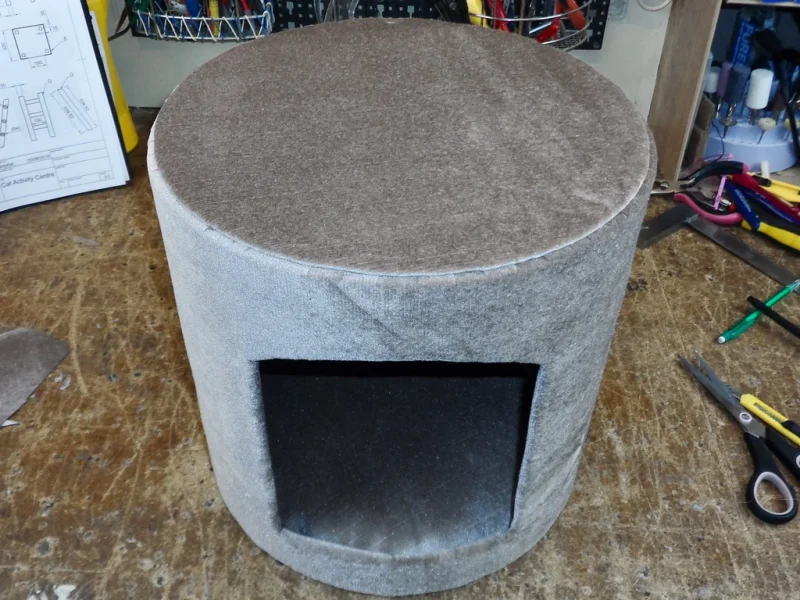
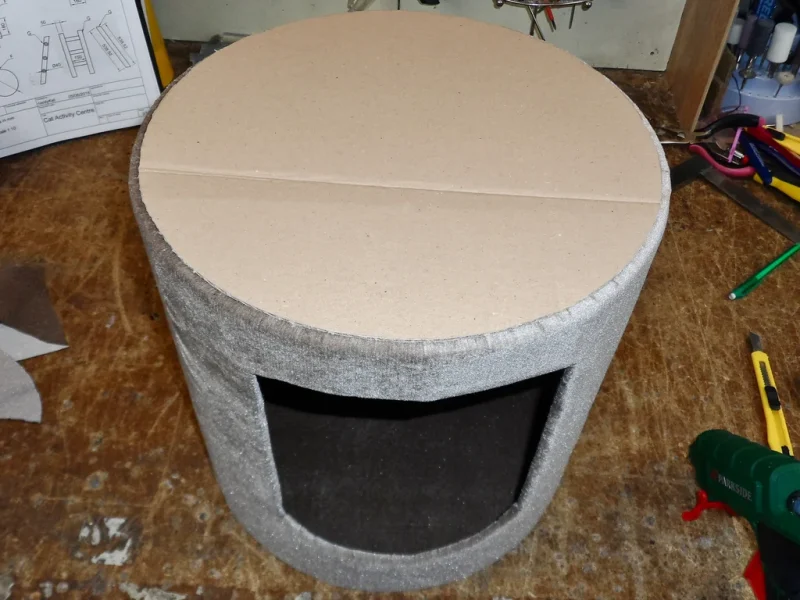
Cover the condo with fabric. Cut out an opening for the entrance and secure the edges on the inside of the condo. Glue the cardboard circle covered with the fabric onto the top of the condo and the plane one onto the bottom.
Step 19: Ladder
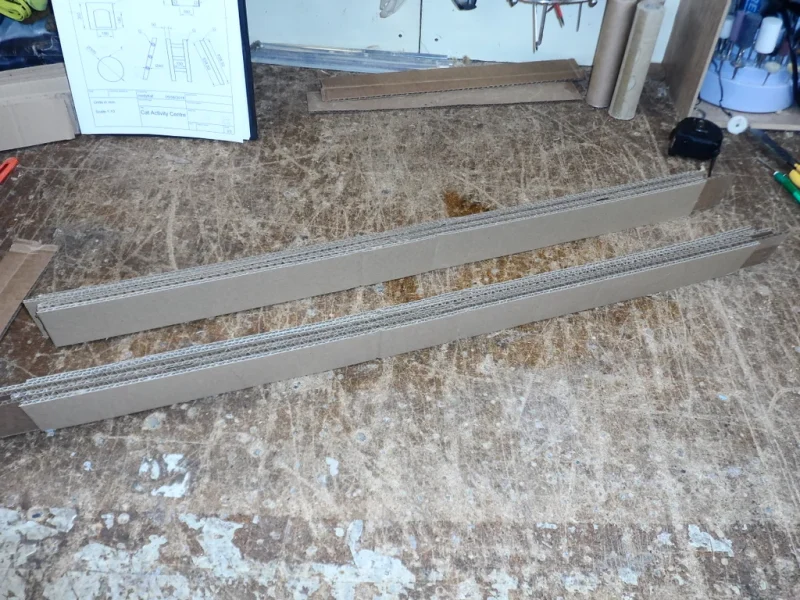
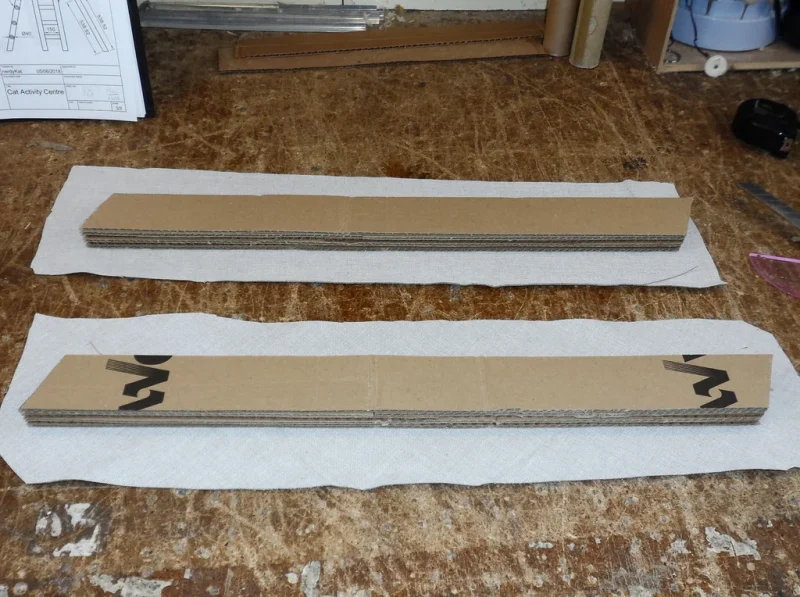
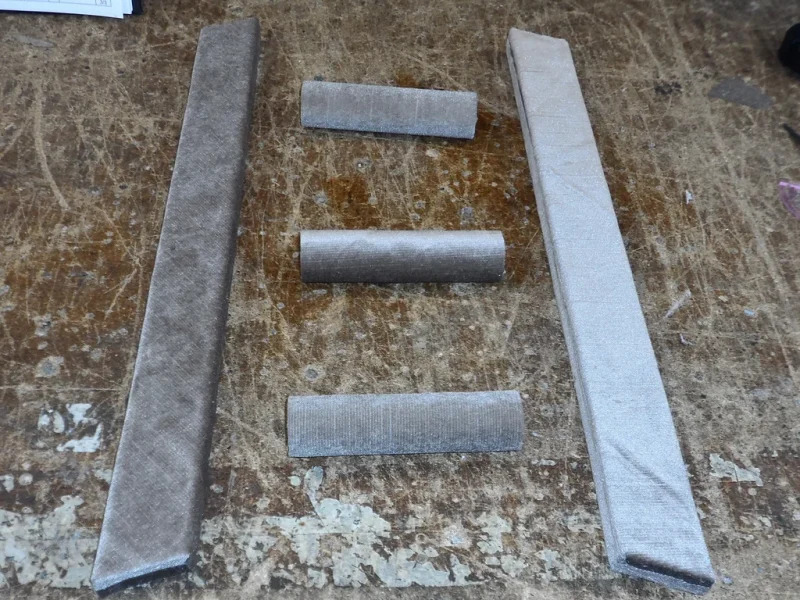
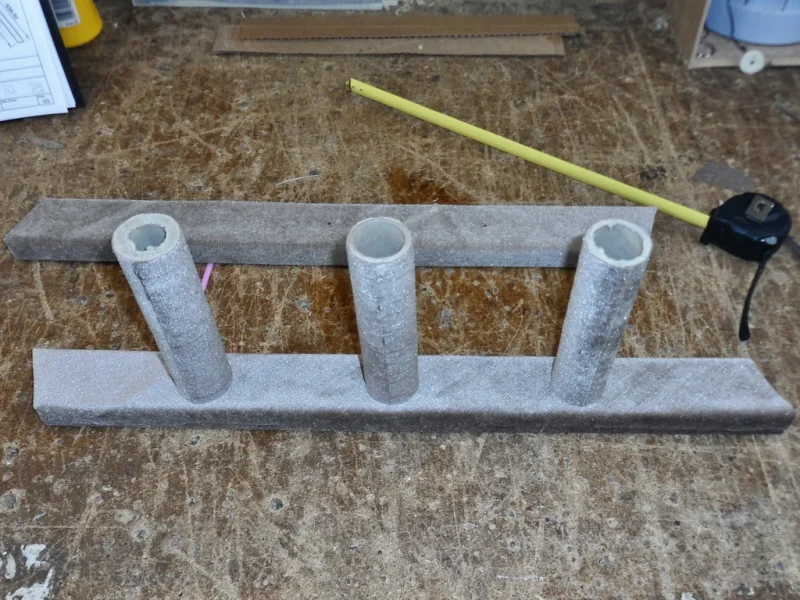
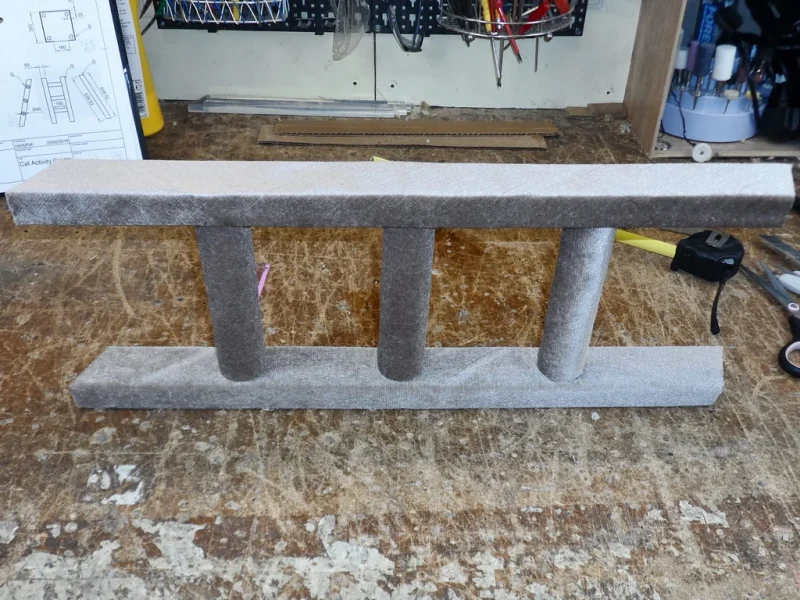
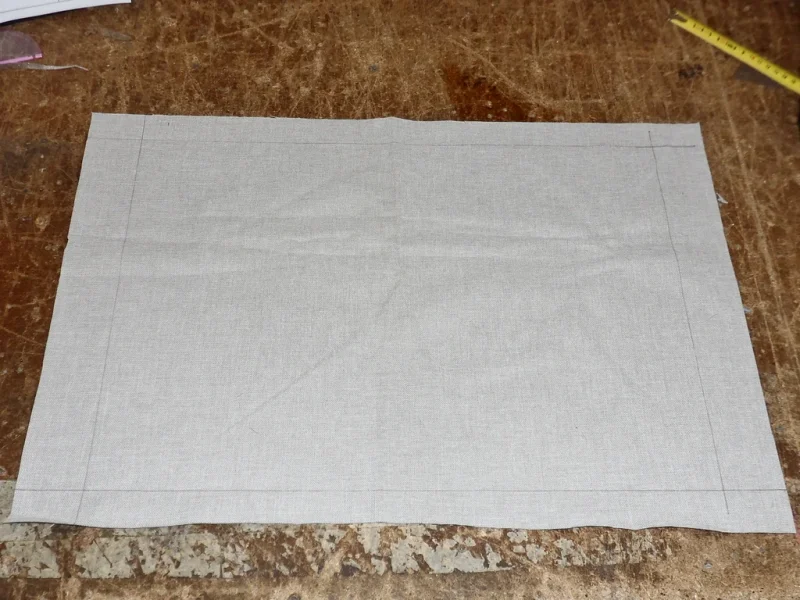
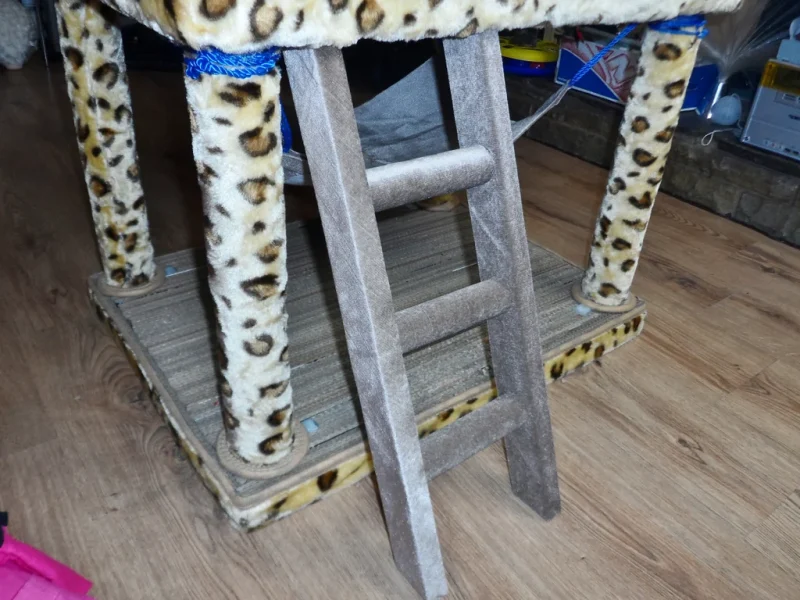
Cut another tube into 3 x 15cm pieces and cover with fabric (you can use the cling film tube for this). Glue more of the 5cm cardboard strips together to create the sidepieces for the ladder. Originally I wanted the sidepieces to be 5cm wide but I decided that 2cm would be enough. Cut out the sidepieces as per the drawing included and cover with fabric. Mark the position for the tubes and glue the ladder together.
Step 20: Hammock
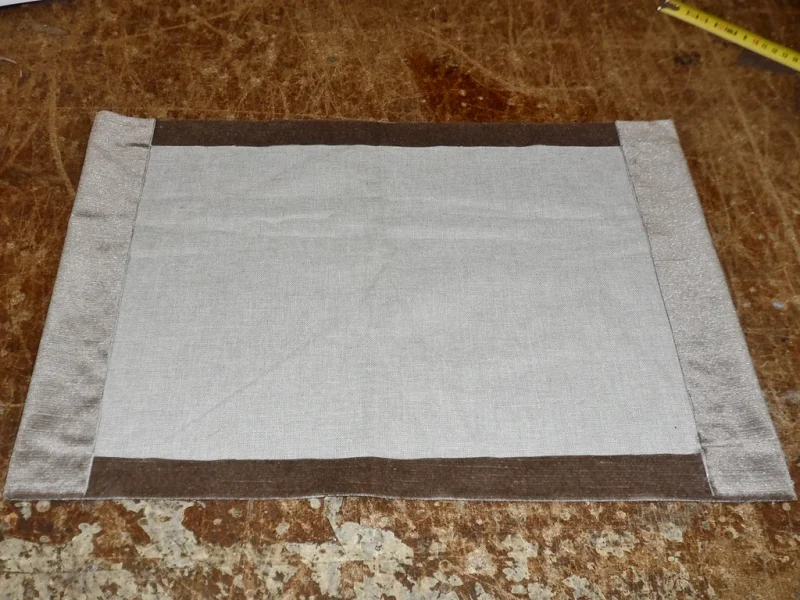
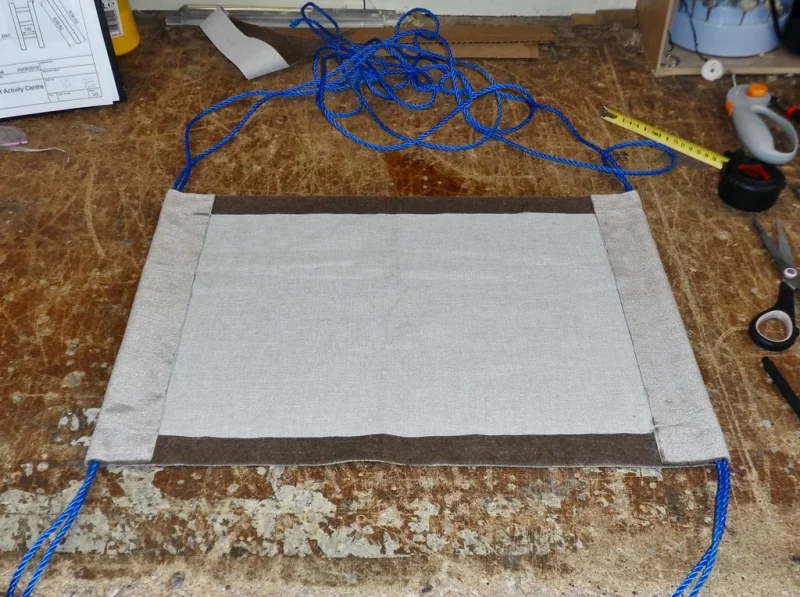
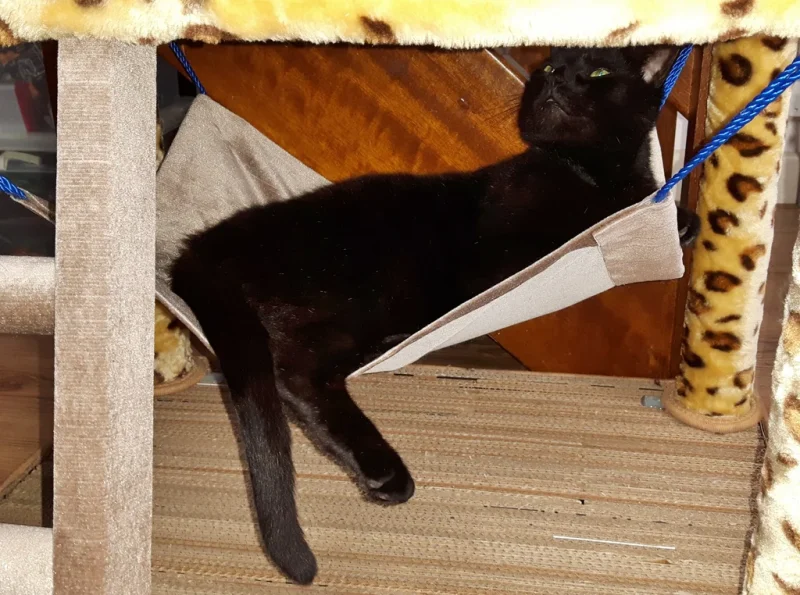
Cut out a piece of fabric 60cm x 40cm. Fold in and glue the edges 3cm on the long side and 5cm on the short side leaving an opening in the short side for the rope. Slide the rope through both of the short sides and glue the opening shut.
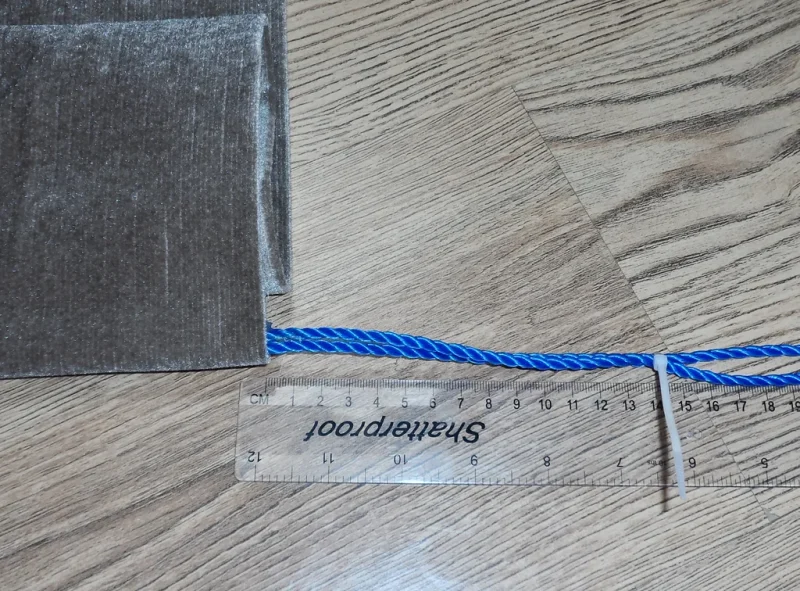
Take 4 zip ties and place them onto the rope about 14cm from the hammock.
Step 21: Attaching Features
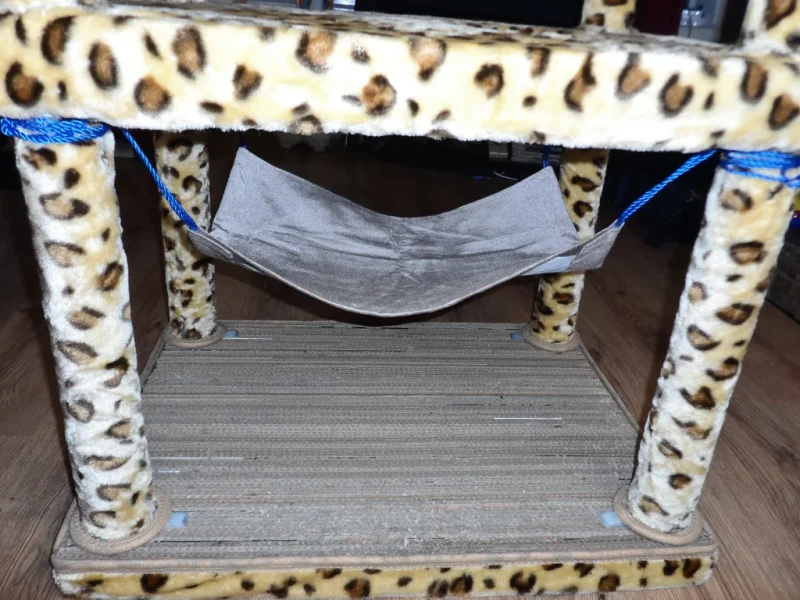
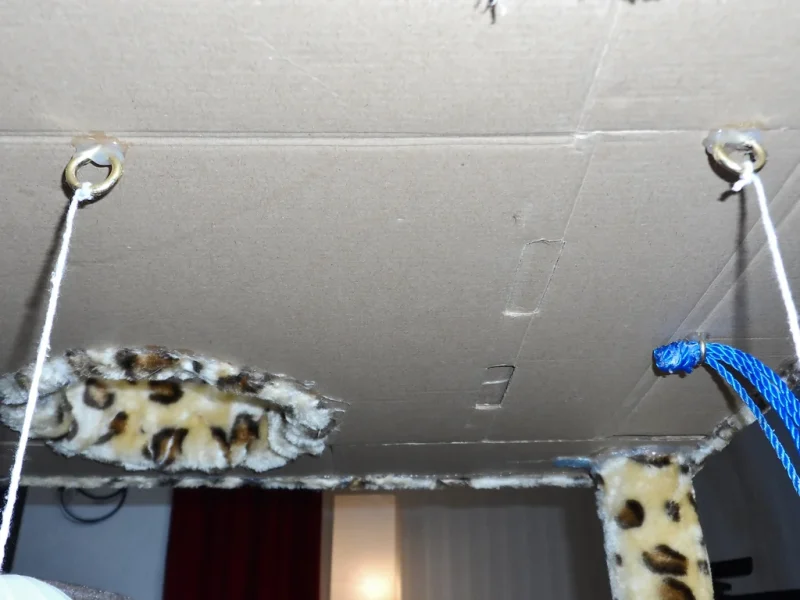
Tie the hammock ropes around the ground floor pillars. Apply glue onto the top of the ladder and glue in place. Glue the condo onto the mid floor (I made a little cardboard box covered with fabric as an additional step). Add 2-3 screw in eyes onto the bottom side of the top floor for hanging some of your cats toys.
For the top perch I decided to glue on some fabric to make them look like bed posts.
Final Thoughts
The whole project took about 22 hours to finish and seeing my little kitty enjoying it made it all worth while. If I was to make this activity centre again I would probably glue the pillars and braces first before covering it with the blanket and I would certainly order the 2kg of glue sticks before hand as I ran out halfway through and had to wait for more to be delivered.
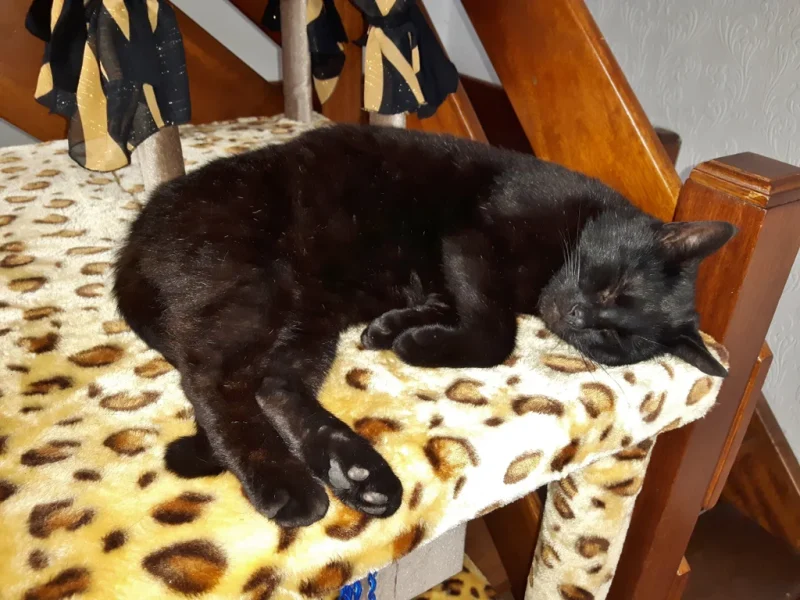
Finally Nap Time
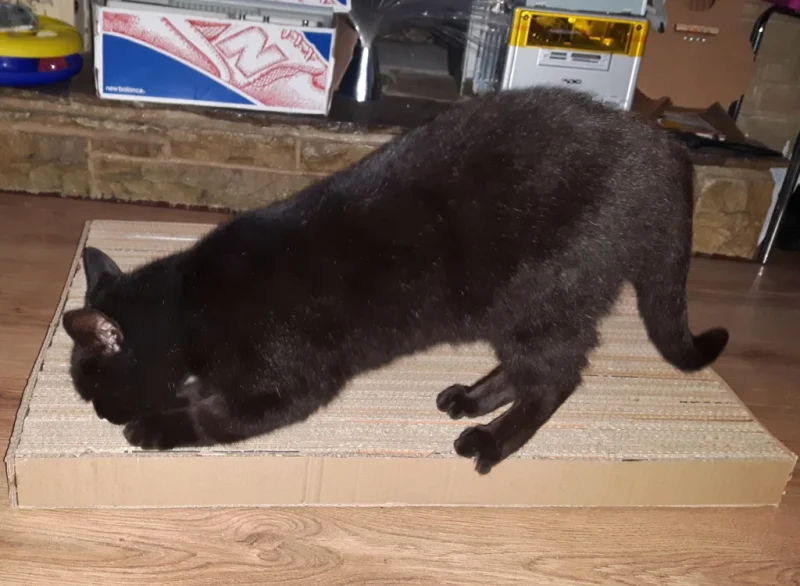
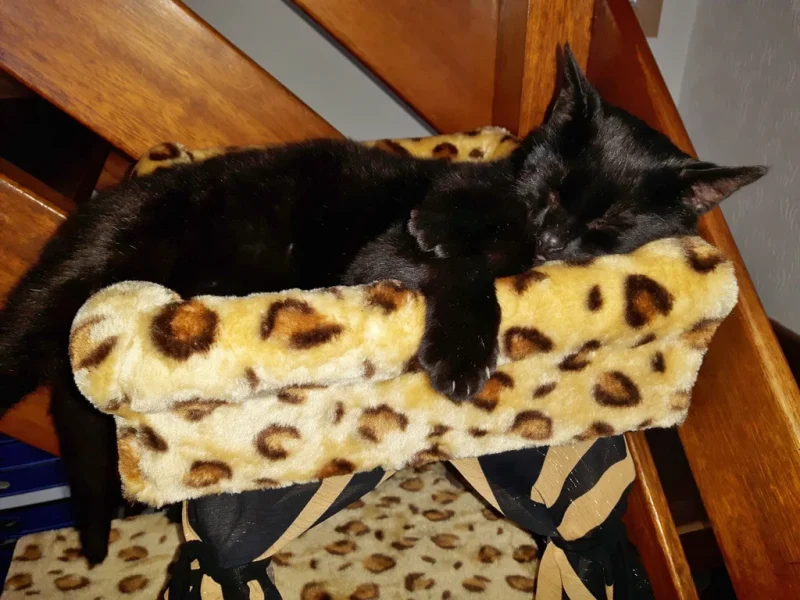
I’m not quite sure if the cat activity centre is the correct name for this project since our little kitty seems to be mainly napping on it. Maybe a Cat Naptivity Centre? So far he really enjoys the ground floor scratch area and the top floor / top perch. He usually enjoys a little scratching session on the ground floor before jumping straight up to the top floor to sleep, so there was really no need for me to make the ladder for him (only used it twice) but I think its a nice feature 😀


