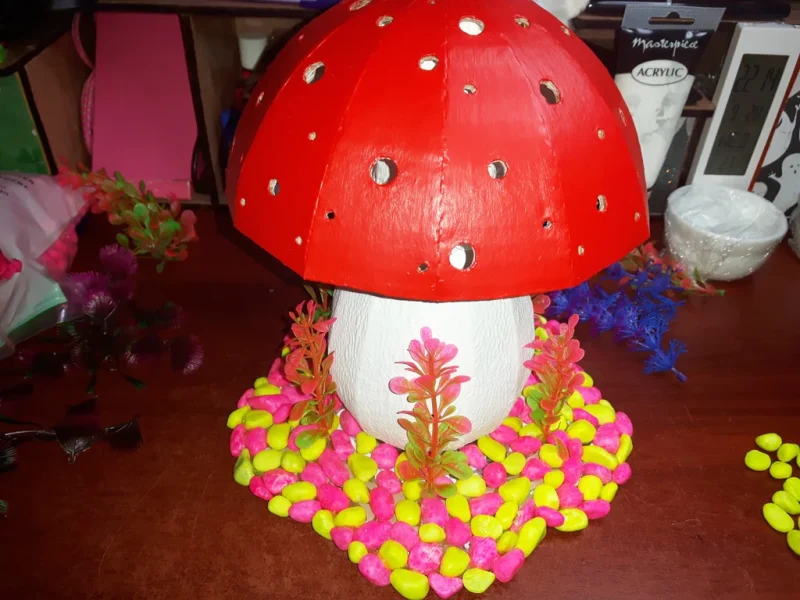
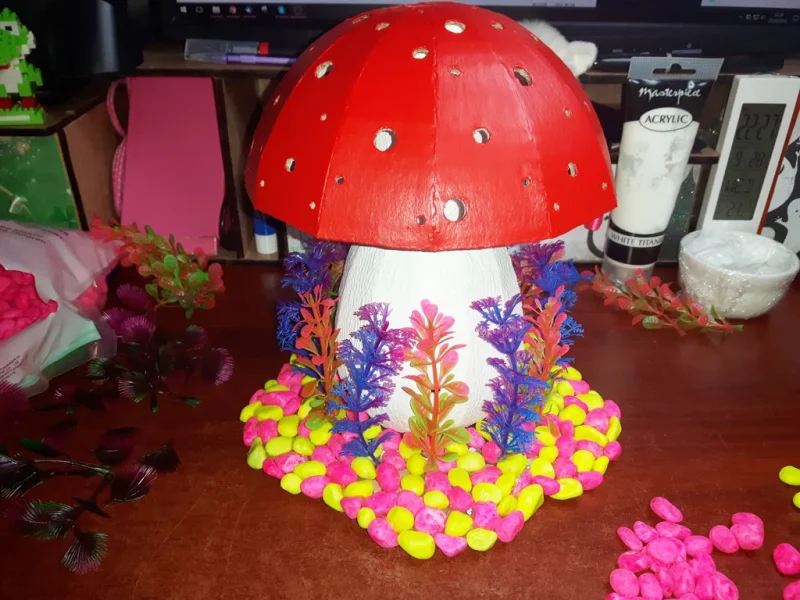
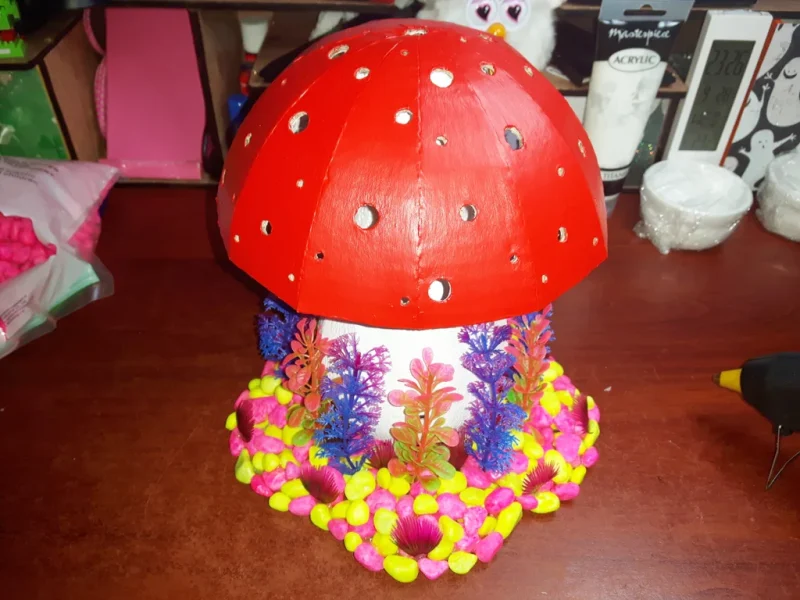
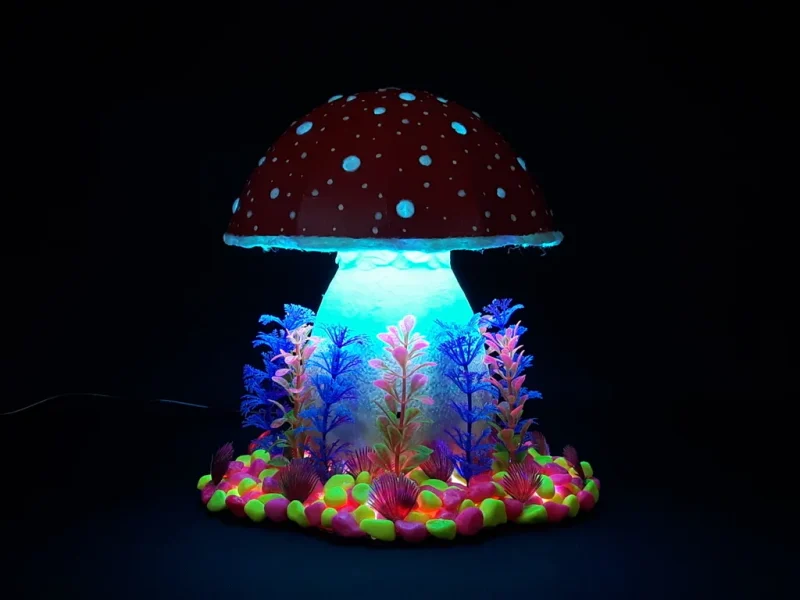
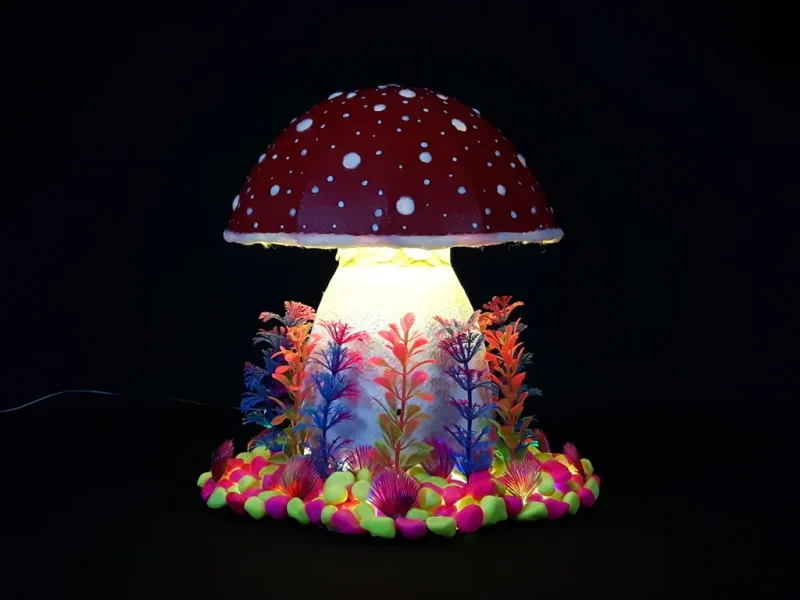
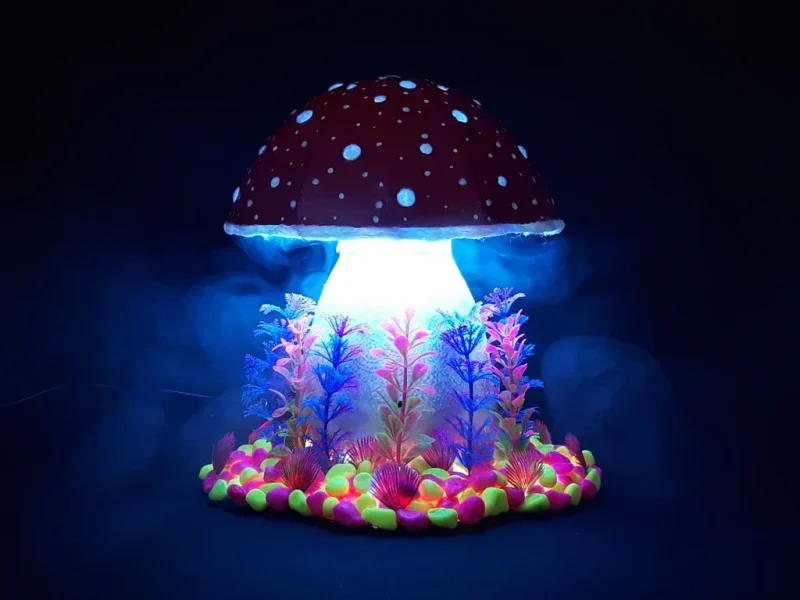
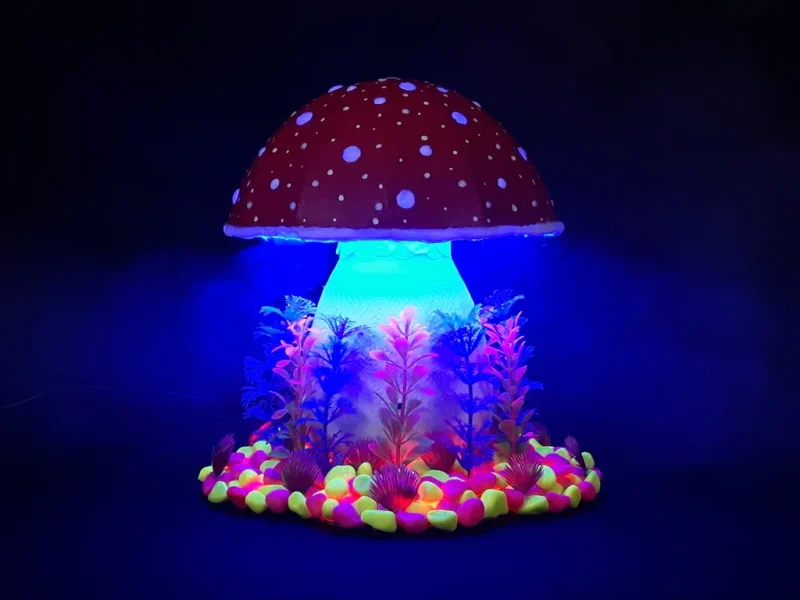
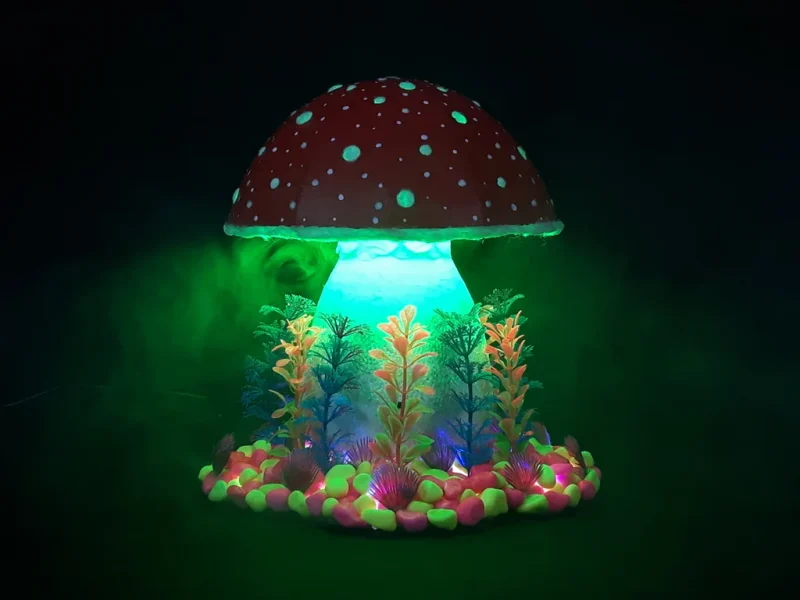
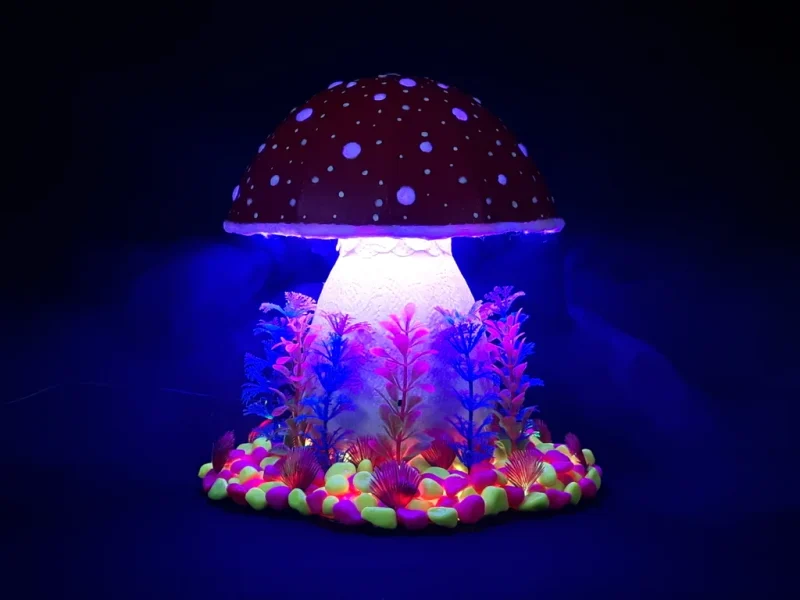
Cardboard Magic Mushroom Lamp
Welcome to my “magic” tutorial 😉
I have decided to make this lamp for my little nephew, I think it will look great in his bedroom.
Overall this project was quite easy to make and anybody could do it.
Hope you’ll enjoy!
Here is a video showing the whole process step by step.
Step 1: Tools and Materials
Materials:
- cardboard box
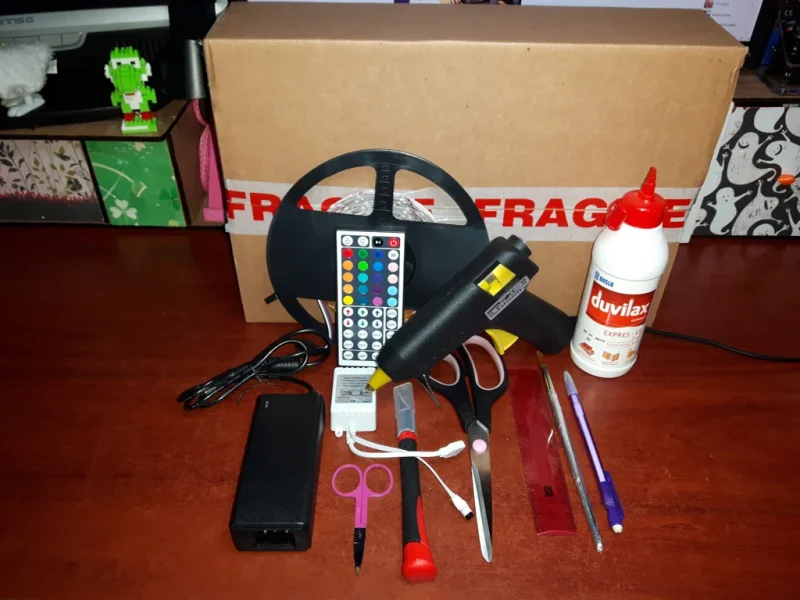
- LED Strip kit, something like this
- glue (I used wood glue, but I think paper glue would be fine)
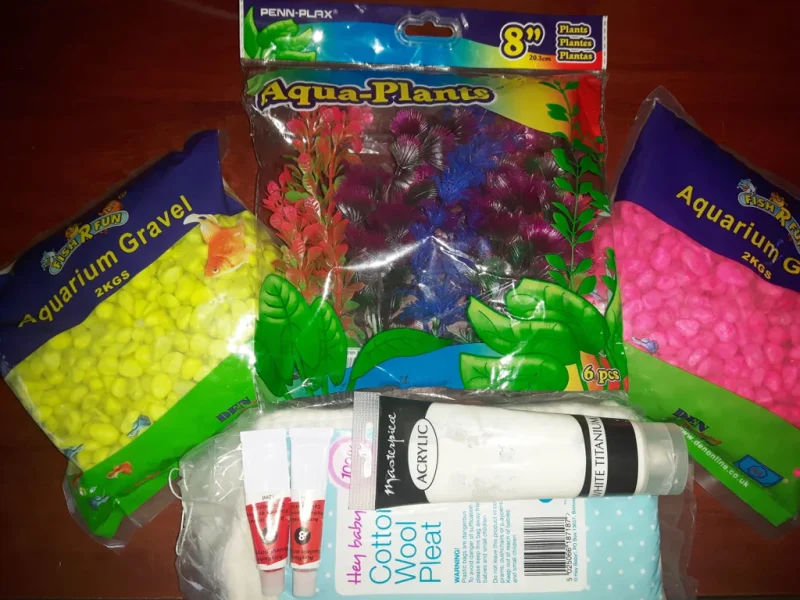
- aquarium gravel(pink and yellow)
- aquarium plants
- acrylic paint (white and red)
- cotton wool
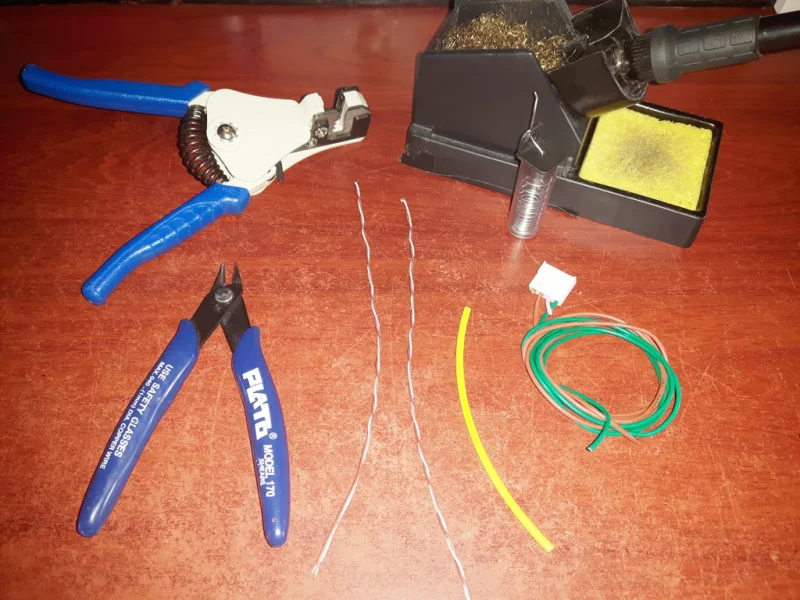
- 2.5 m stranded core wire
- 1 m solid core wire
- heat shrink tube
- 5 textured pieces of kitchen towel
Tools:
- glue gun and lots of glue sticks
- scissors
- hobby knife
- ruler
- pencil
- paint brush
- wire stripper
- wire cutter
- soldering iron and solder
Step 2: Cutting and Shaping
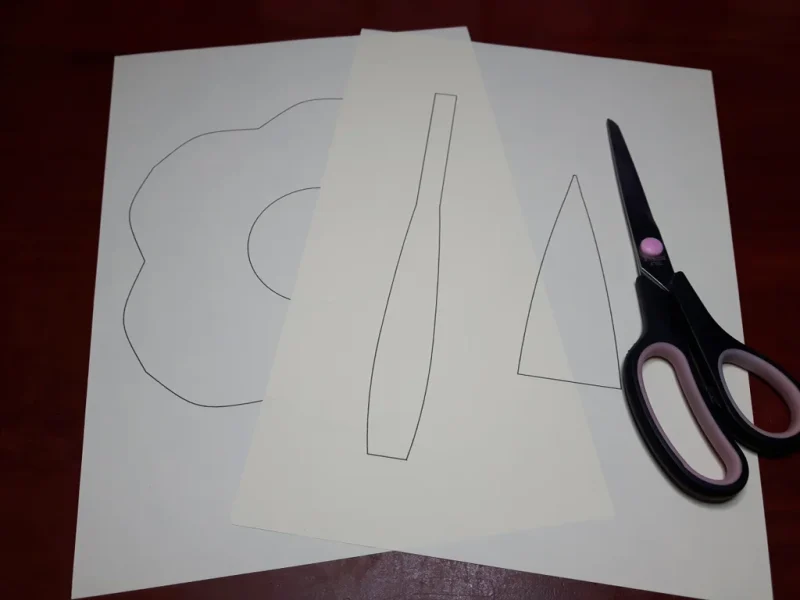
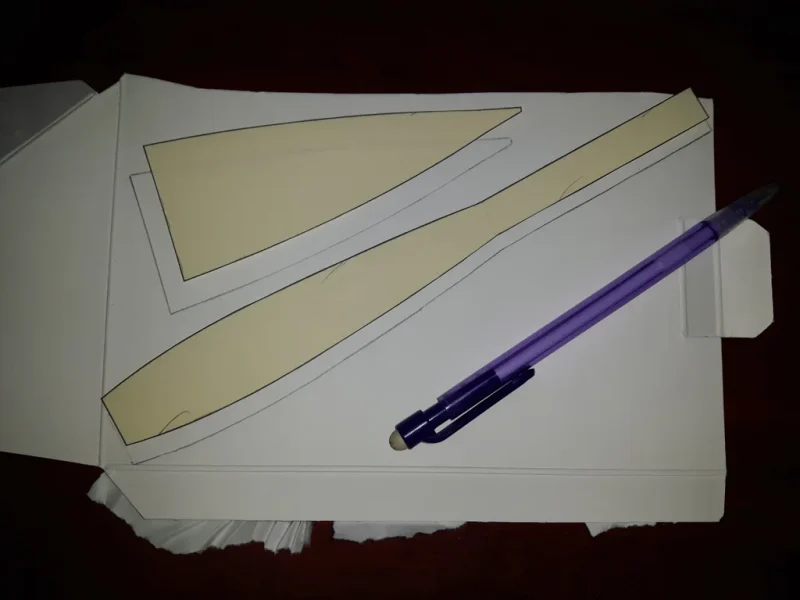
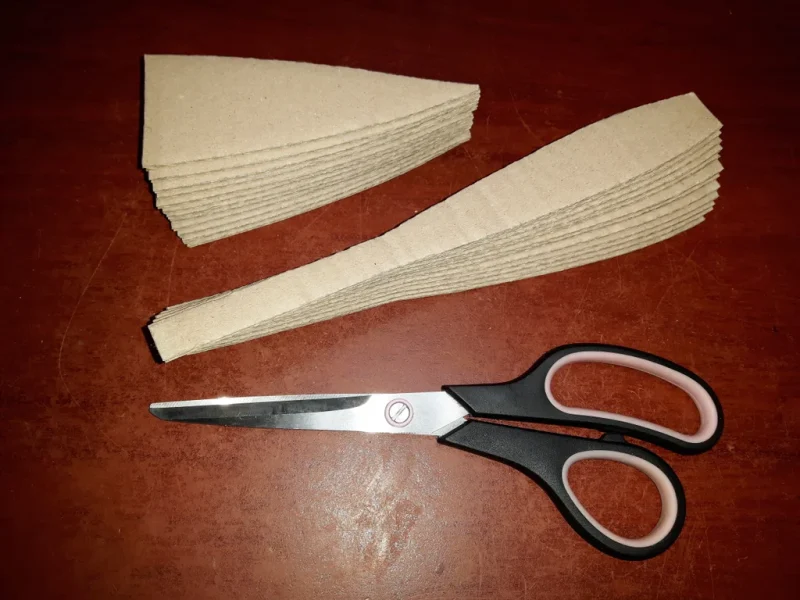
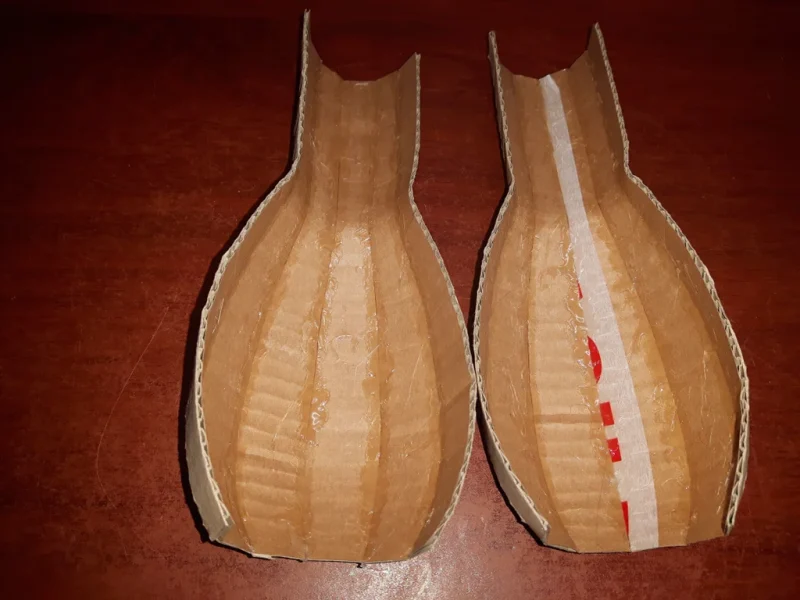
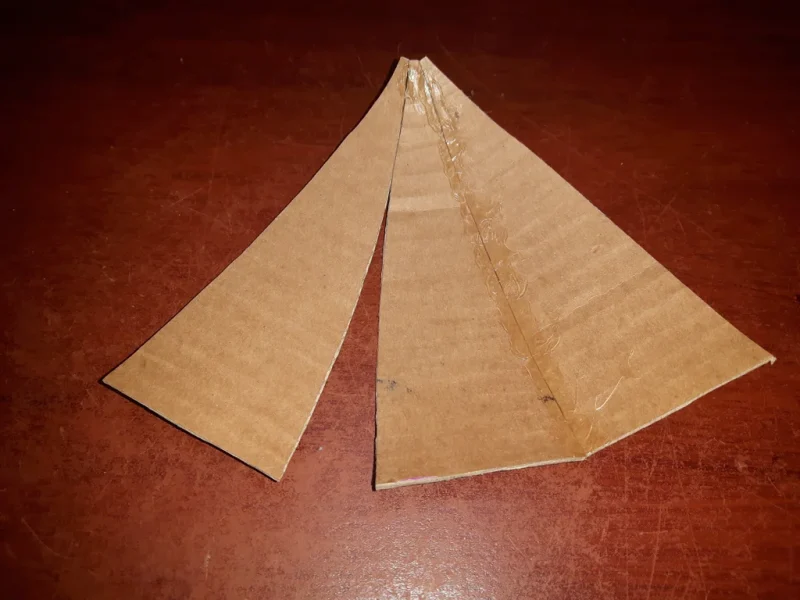
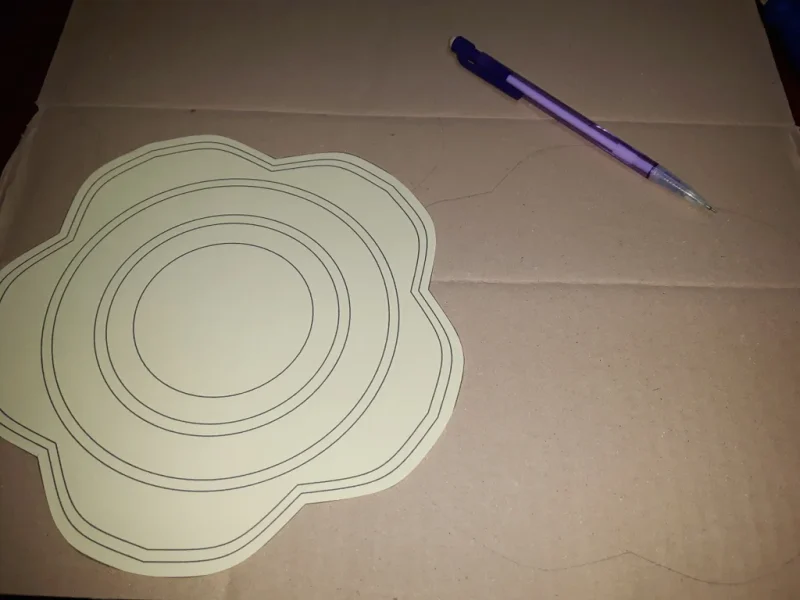
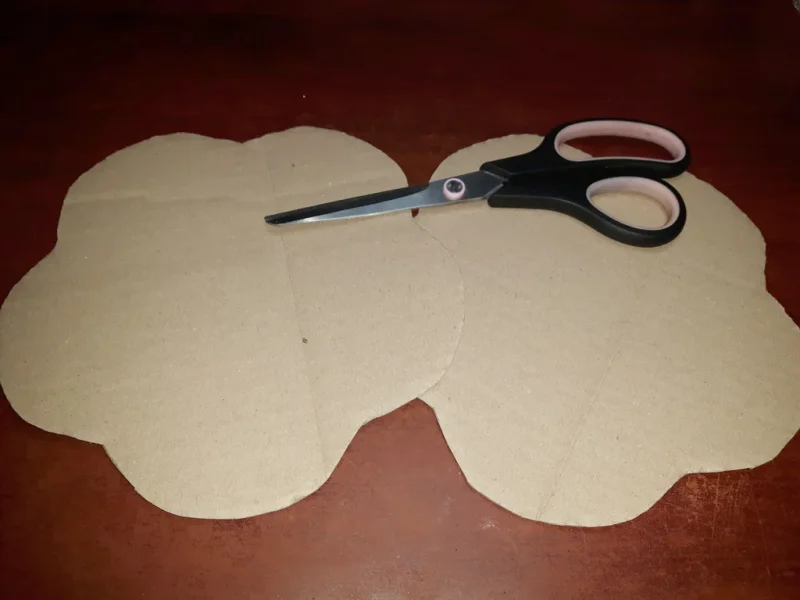
Print the template and cut it out, then trace it on a thicker paper (in my case I used a box from Dove shower gel gift pack).
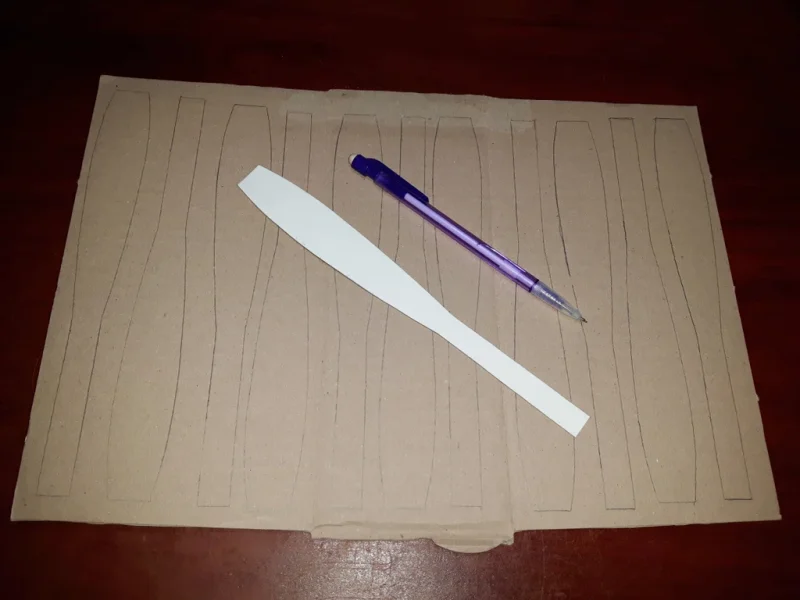
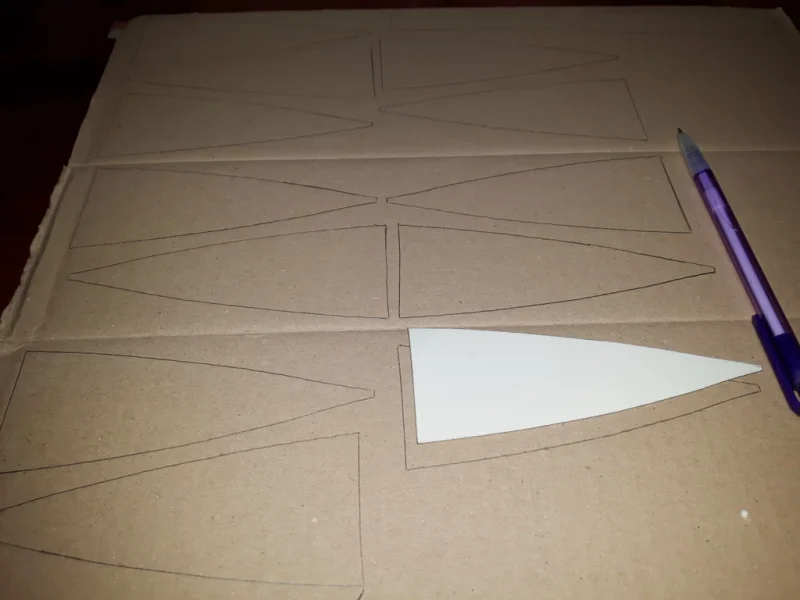
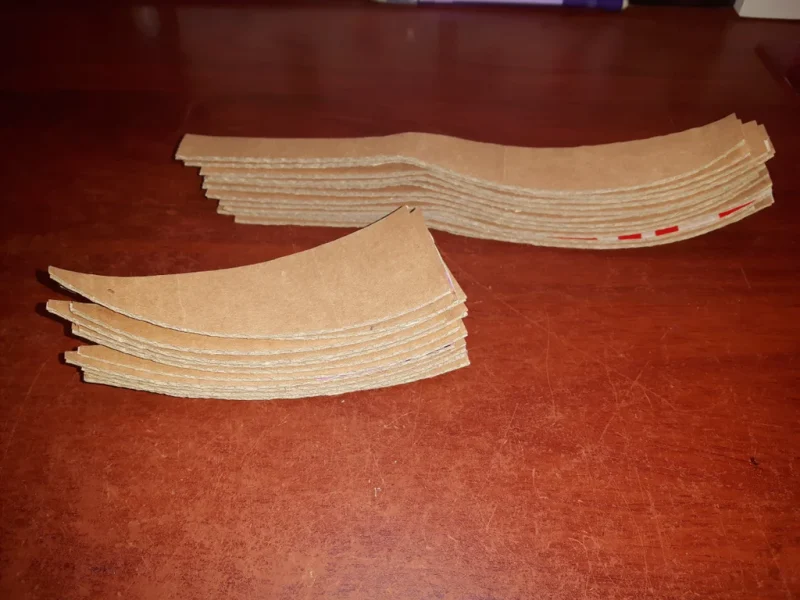
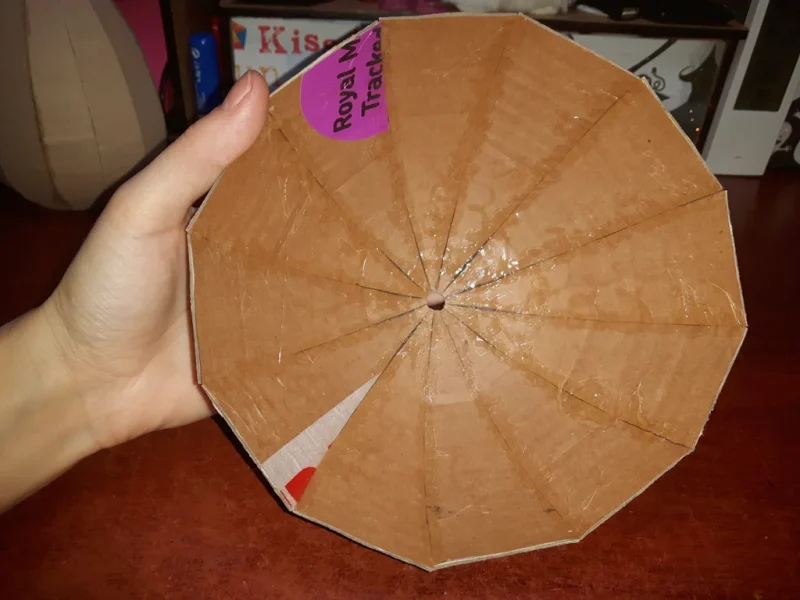
Tear or cut the cardboard box into four, more manageable pieces and trace the mushroom body and head 12 times each.
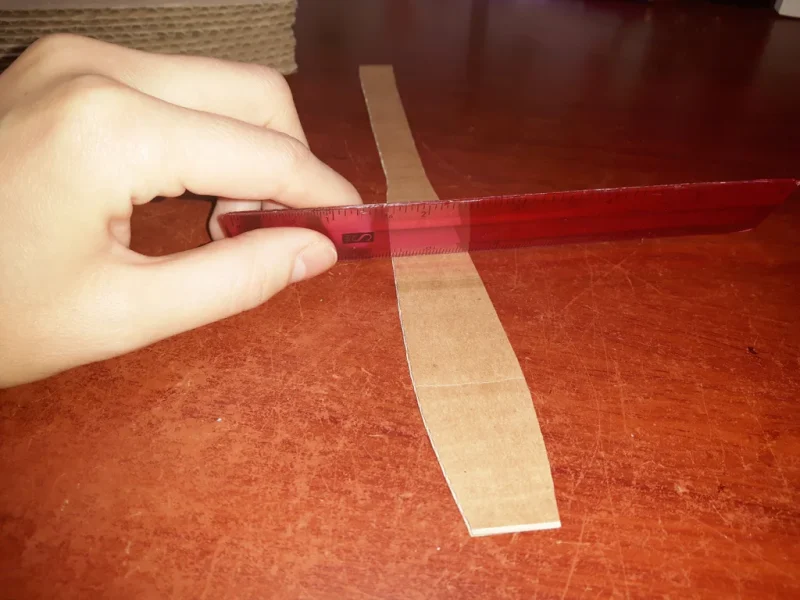
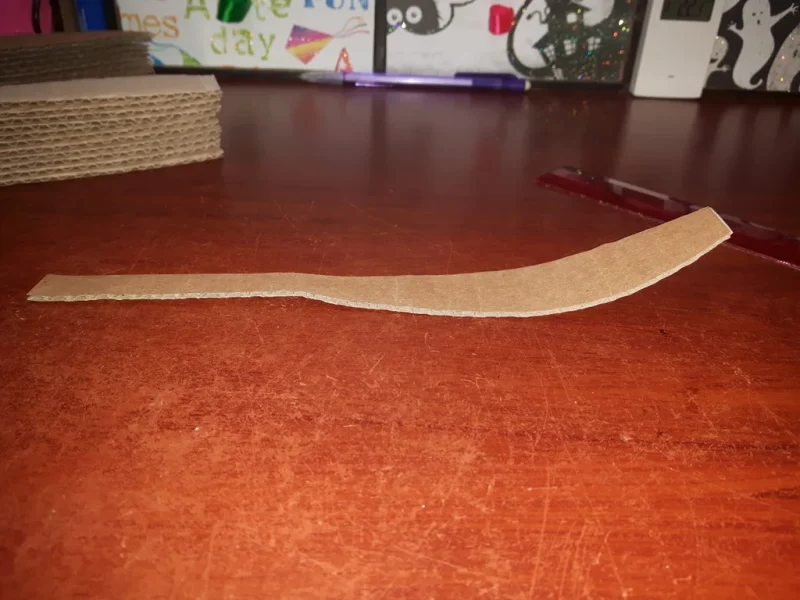
Cut out all of the pieces. Flatten the pieces out by applying pressure on the ruler and then give it a bit of a curved shape.
Step 3: Gluing
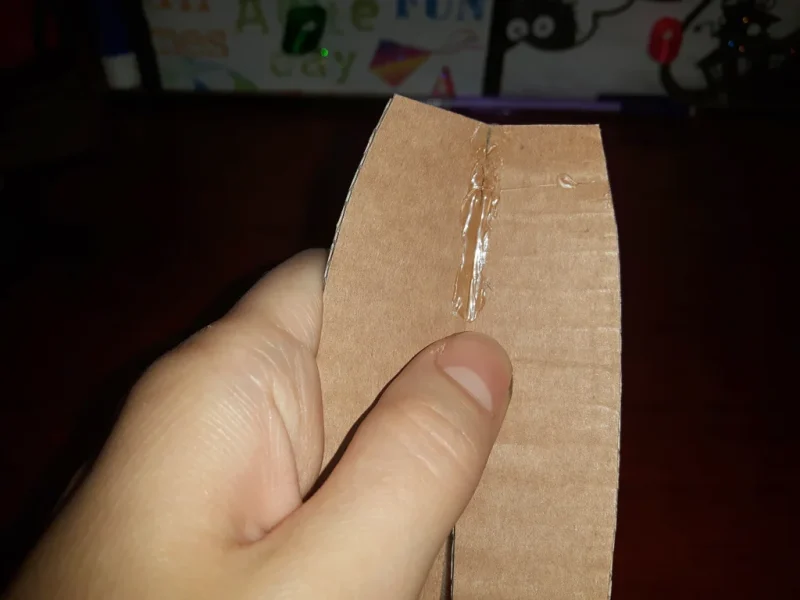
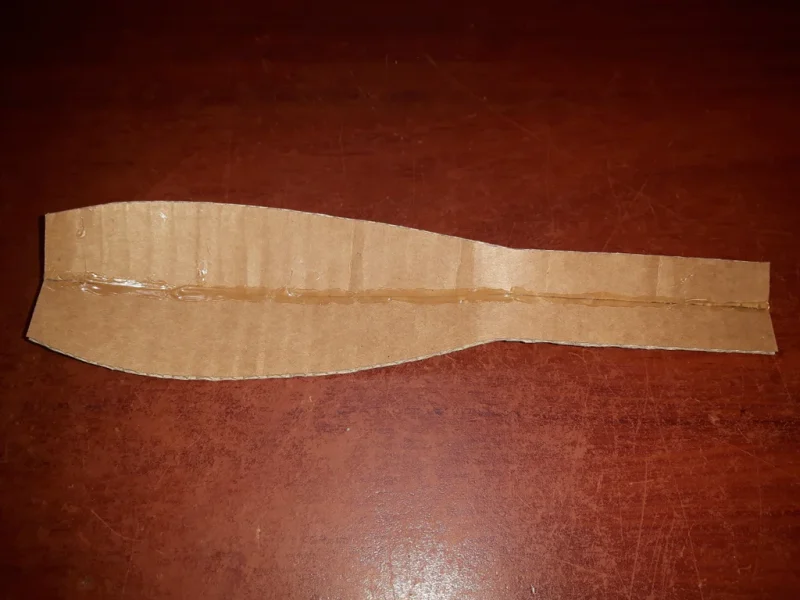
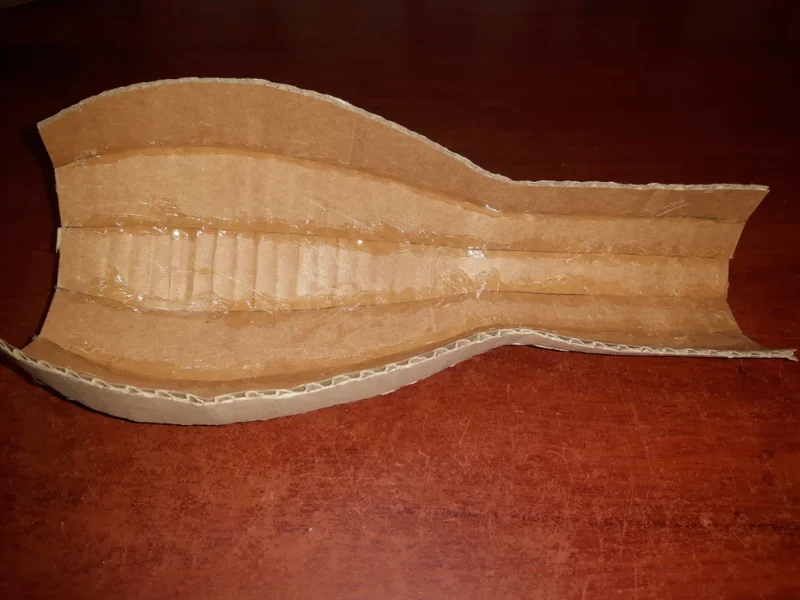
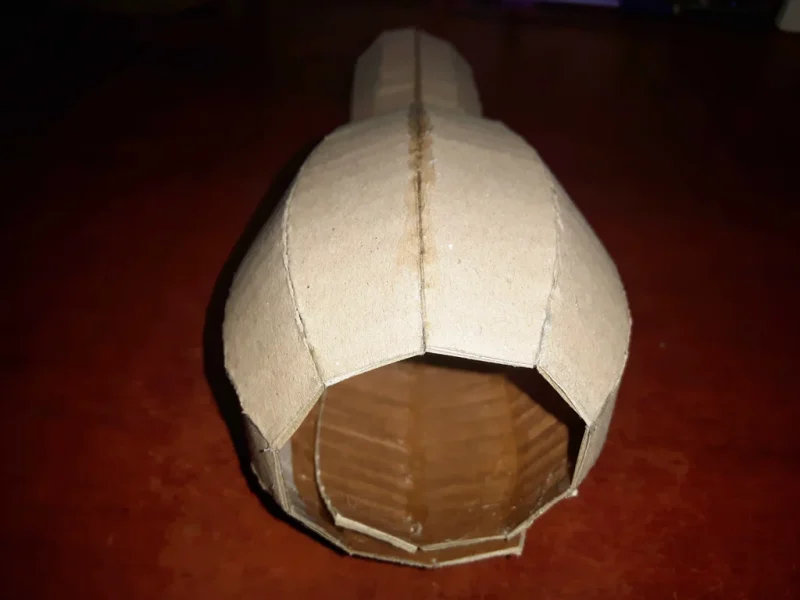
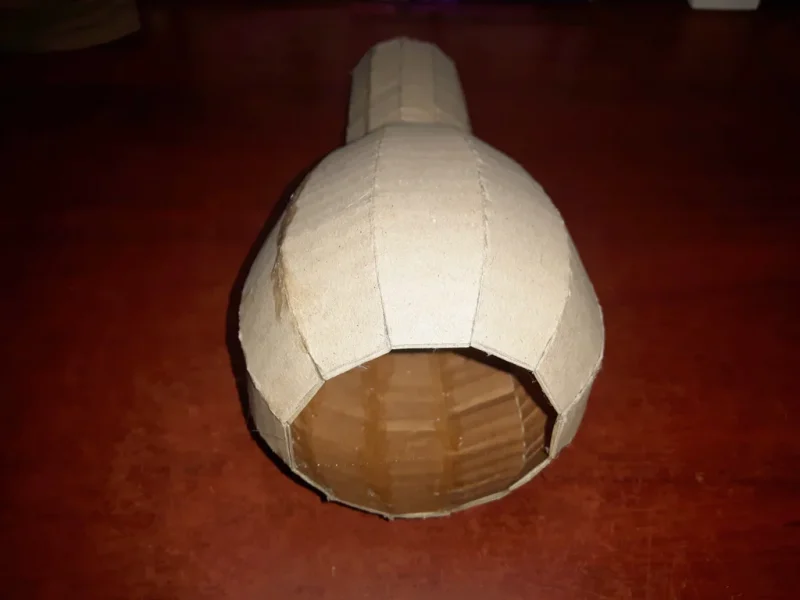
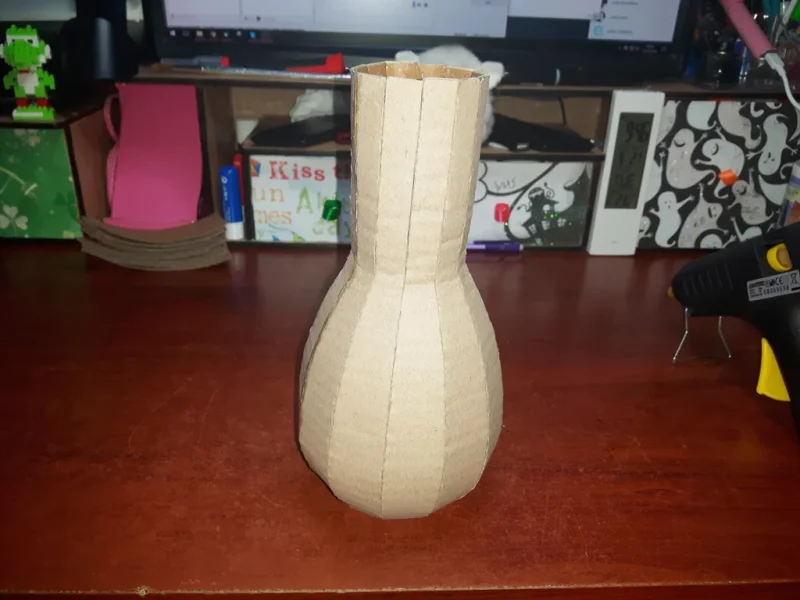
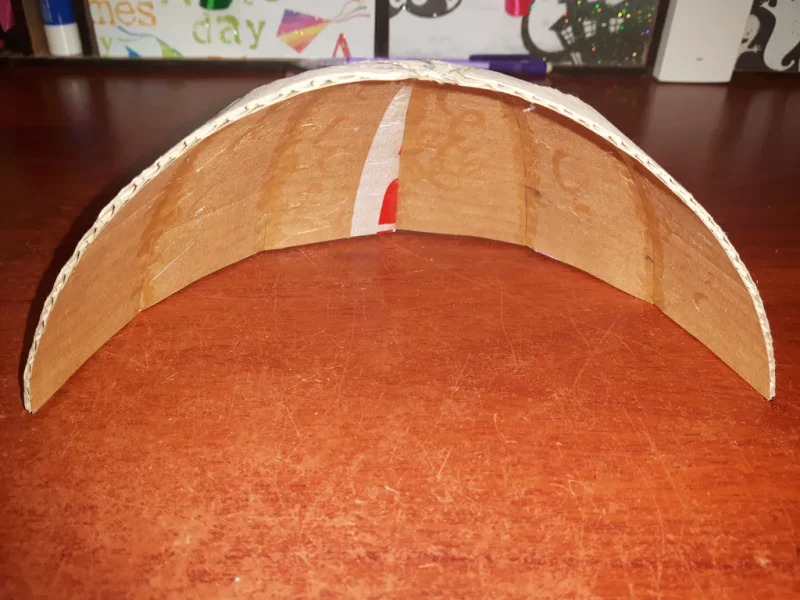
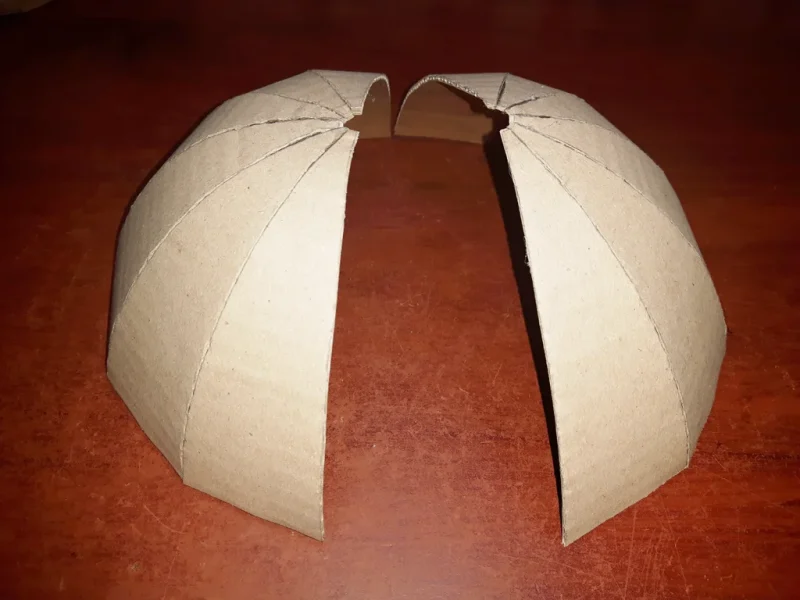
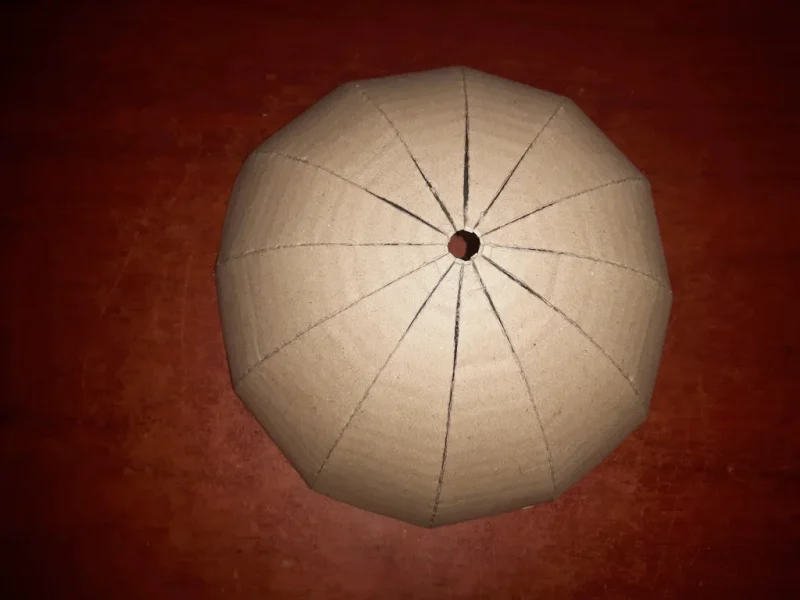
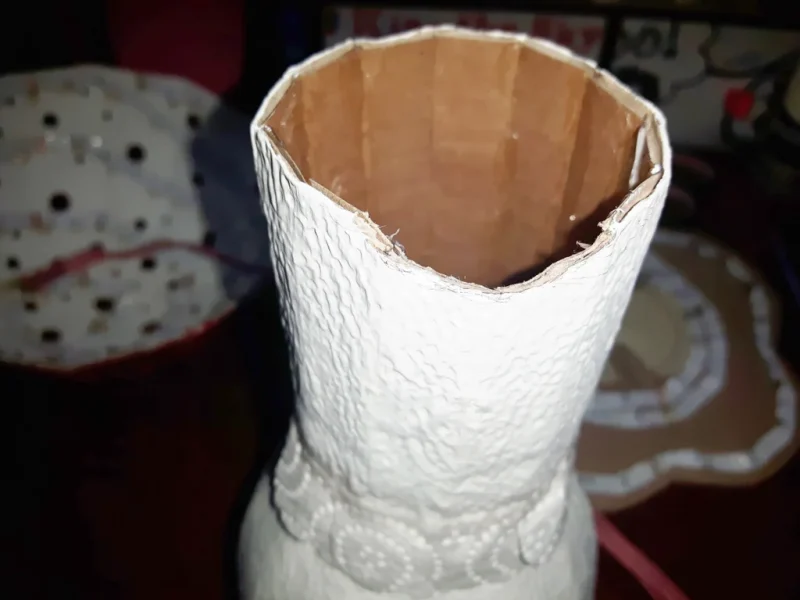
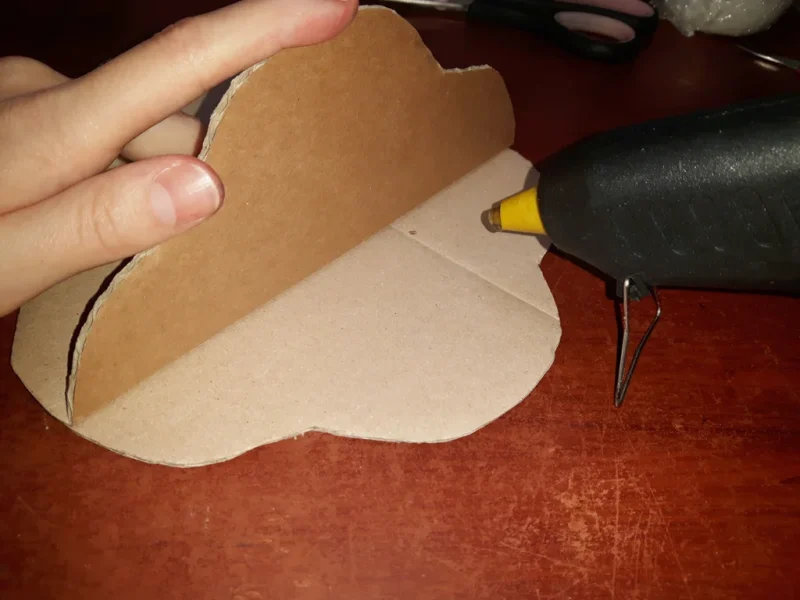
Take two body pieces and with a glue gun, glue the bottoms together from inside. Wait until it dries and then make your way down little by little. You’ll have to hold it while it dries. Carry on gluing the pieces until you reach the sixth one and then make the second half just like the first one.
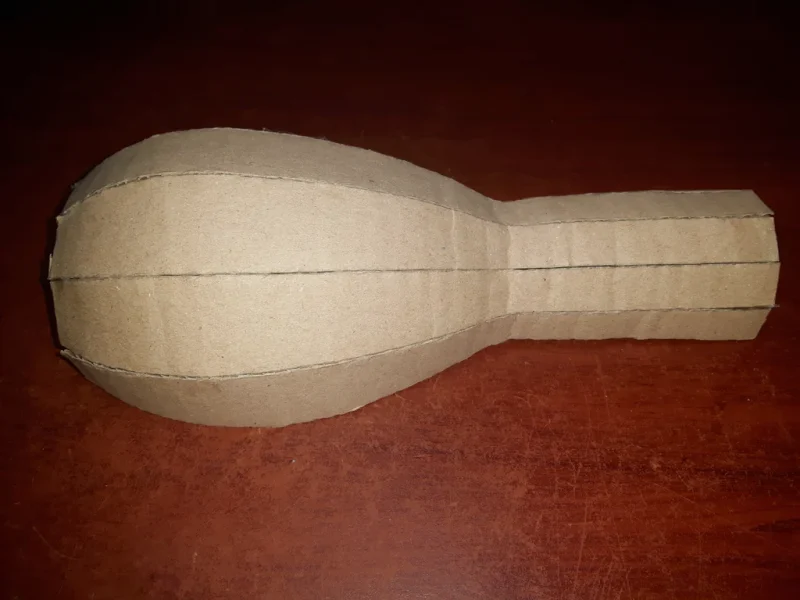
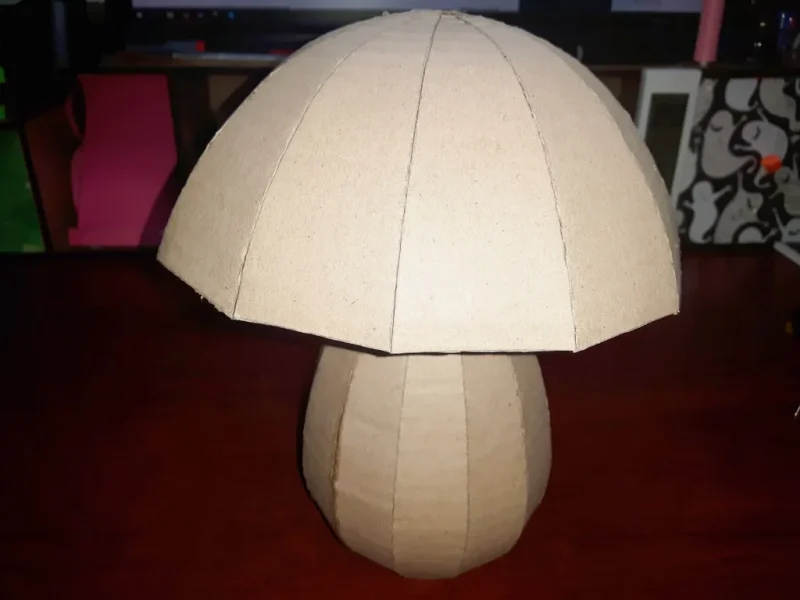
When you have both halves ready, glue them together from outside.
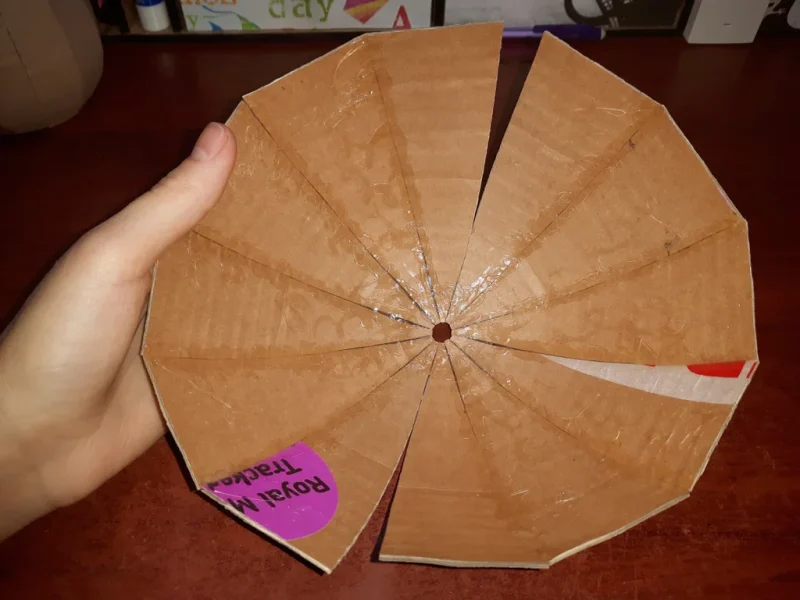
Do the same for mushroom head.
Step 4: Make the Holes
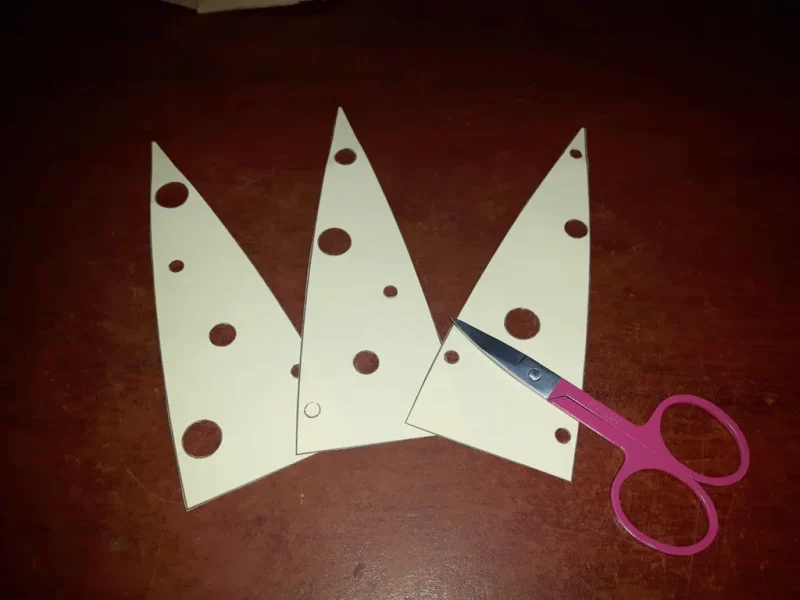
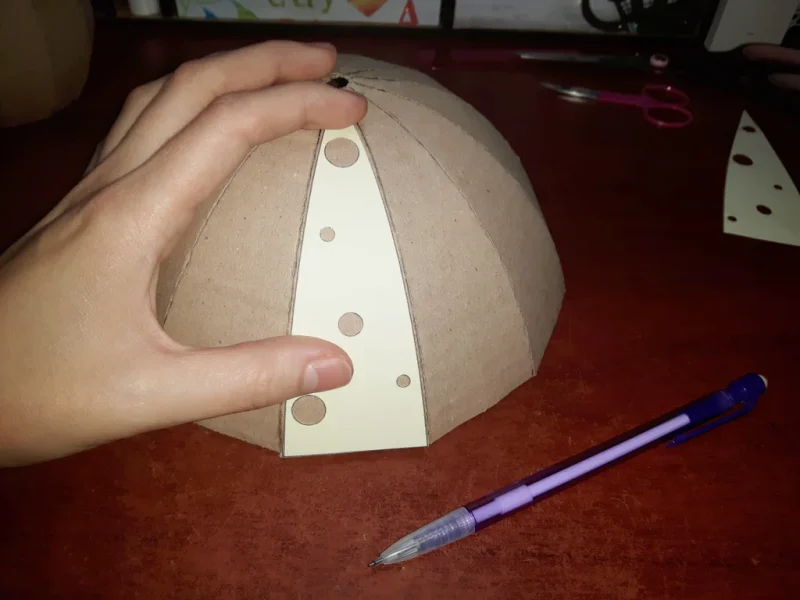
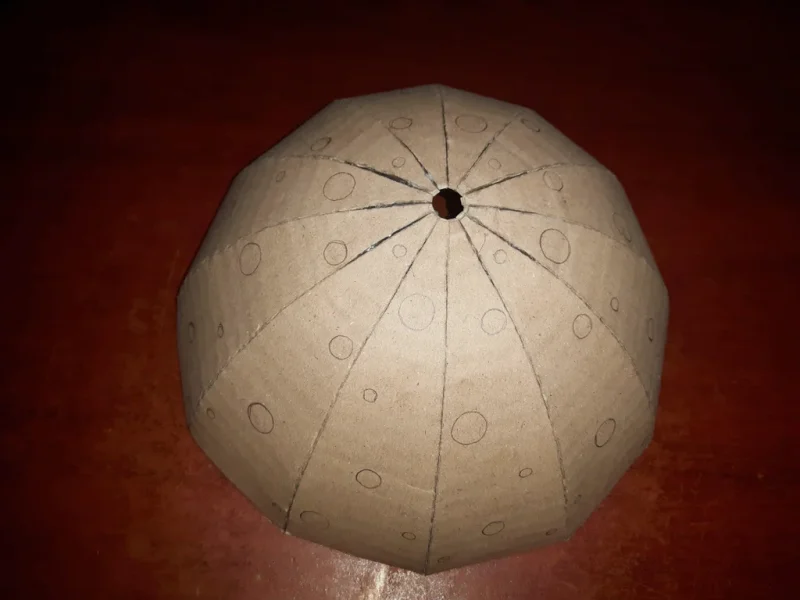
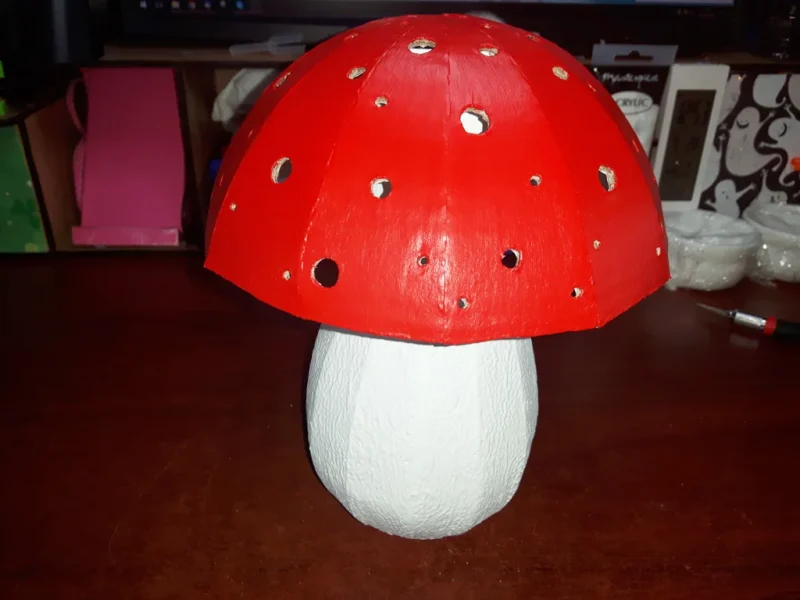
Cut out the template and trace the holes on the mushroom head. You’ll need to do this 4 times with each template, or you could just draw them randomly, but I found it much easier to do it this way.
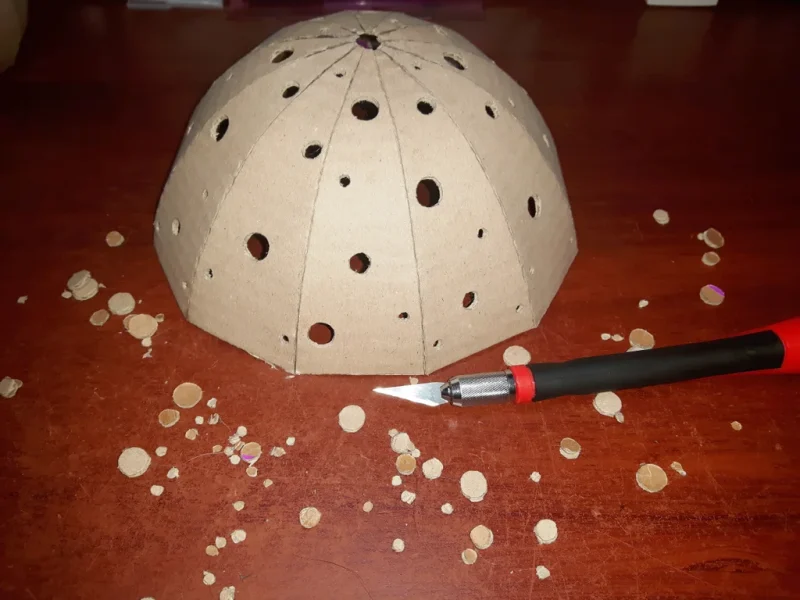
Carve the holes with a hobby knife.
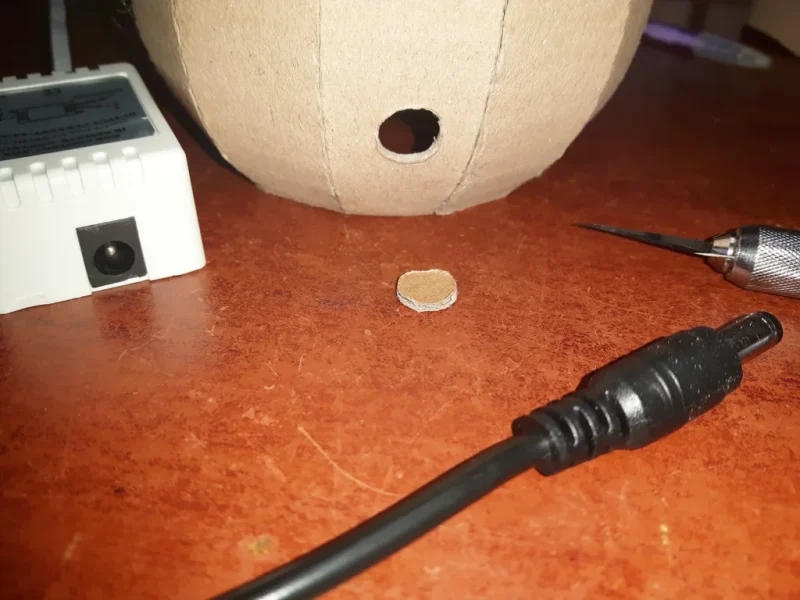
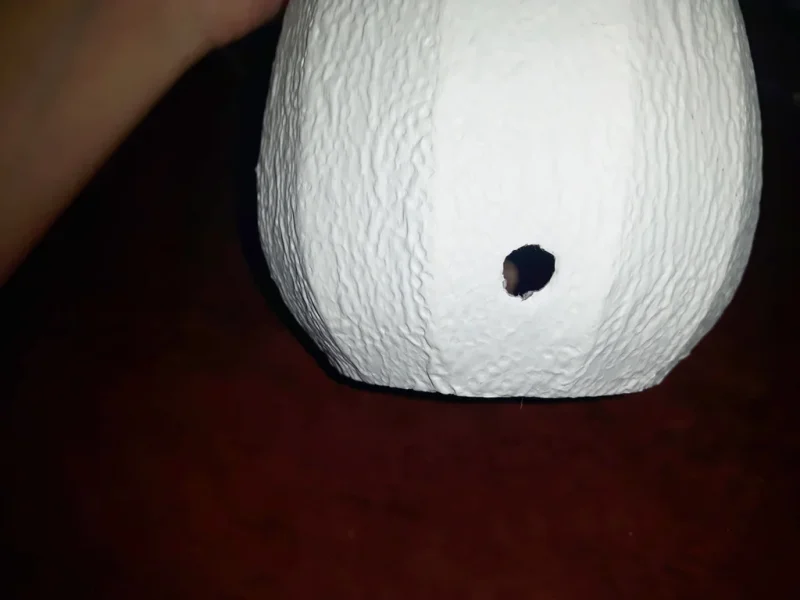
Find a best place for the power cord on the mushroom body and cut that out as well.
Step 5: Give It Some Texture
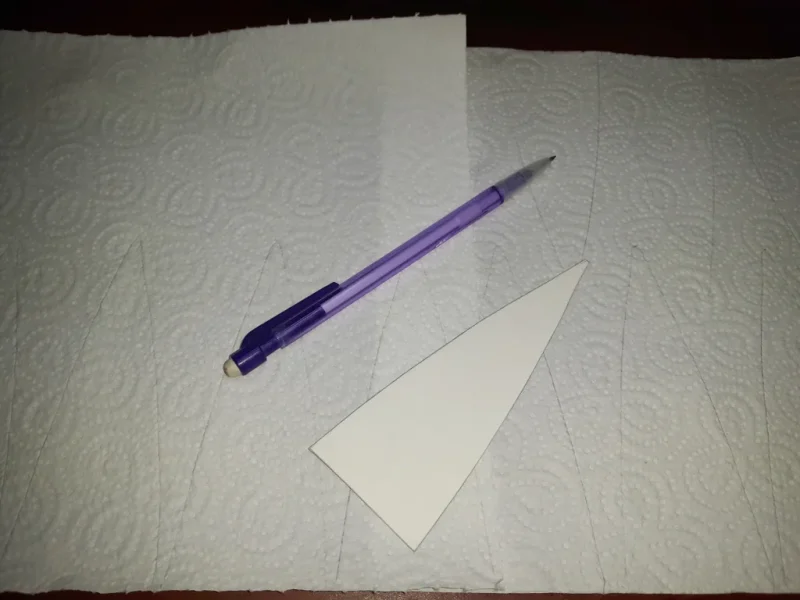
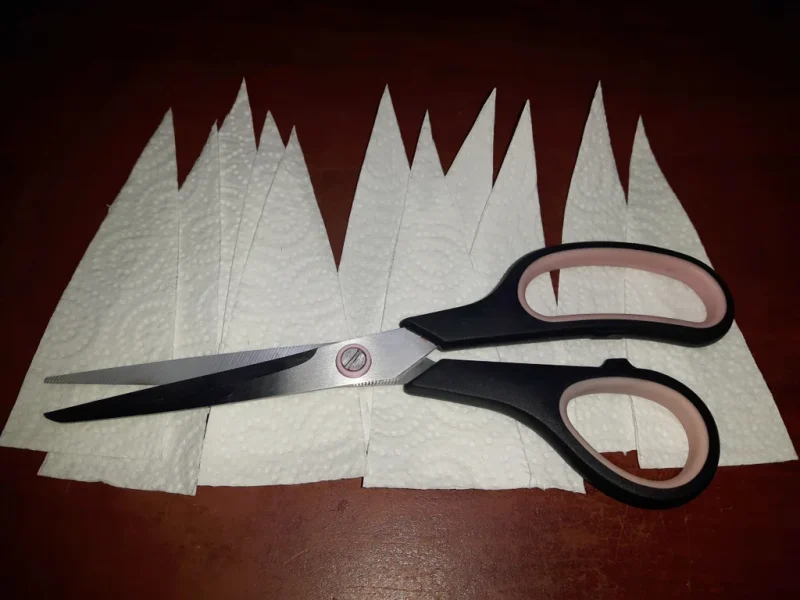
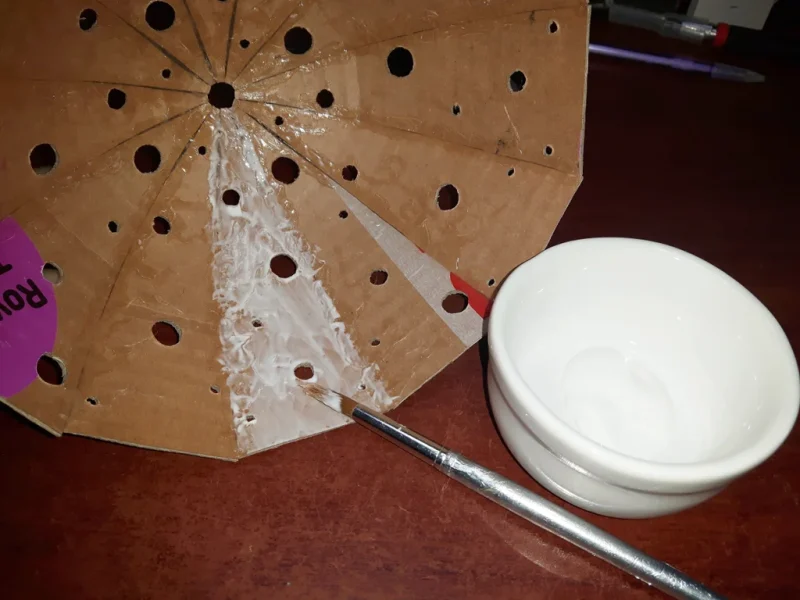
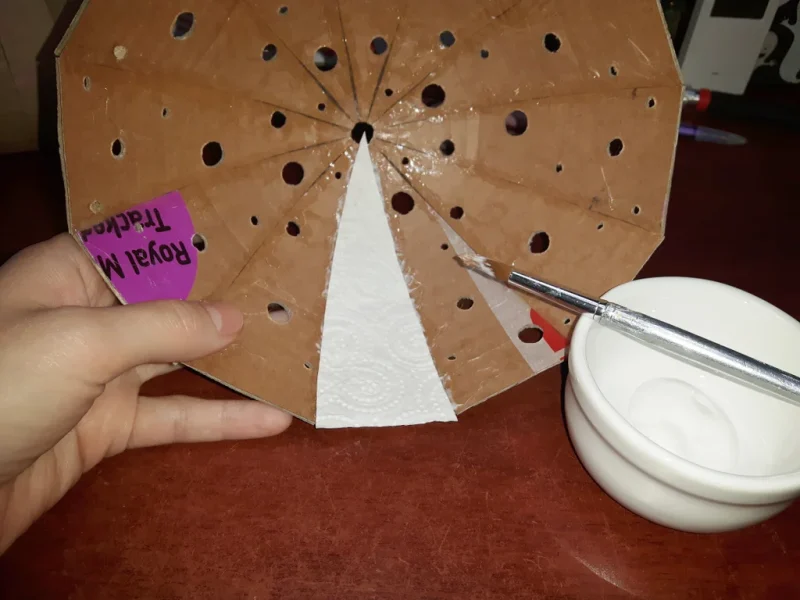
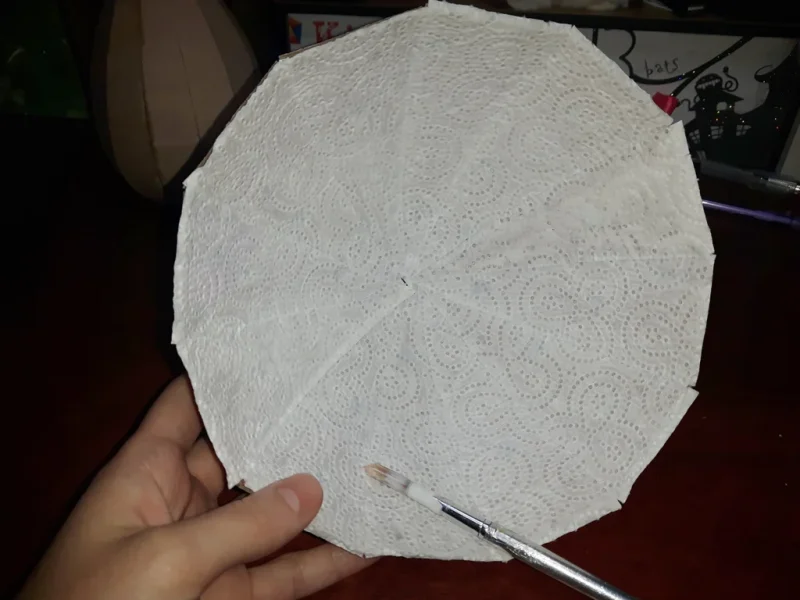
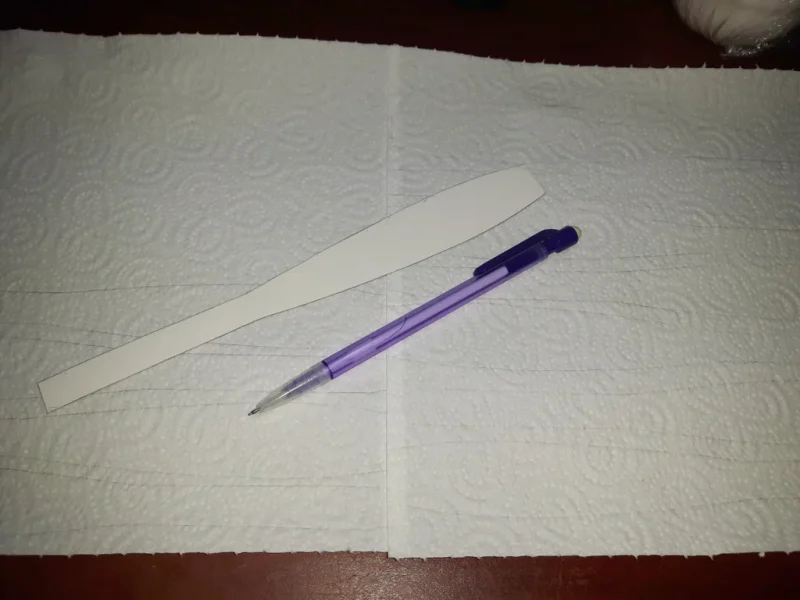
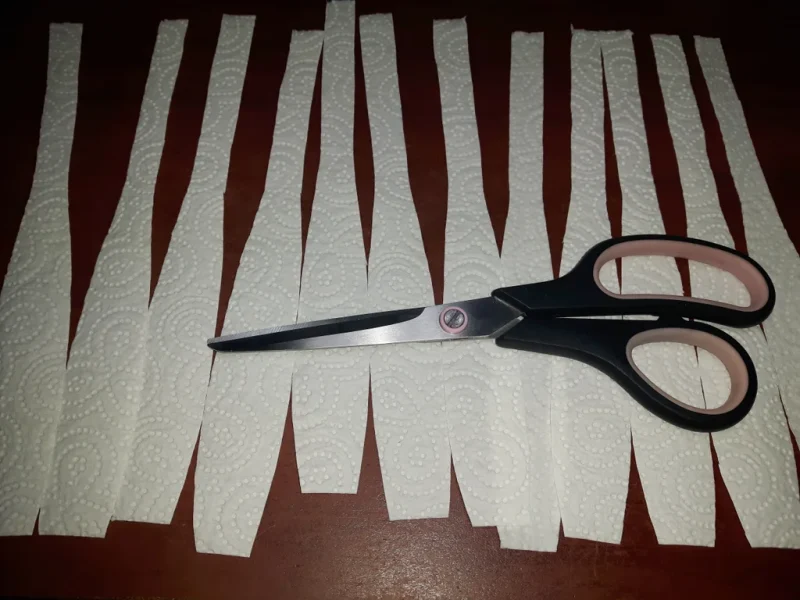
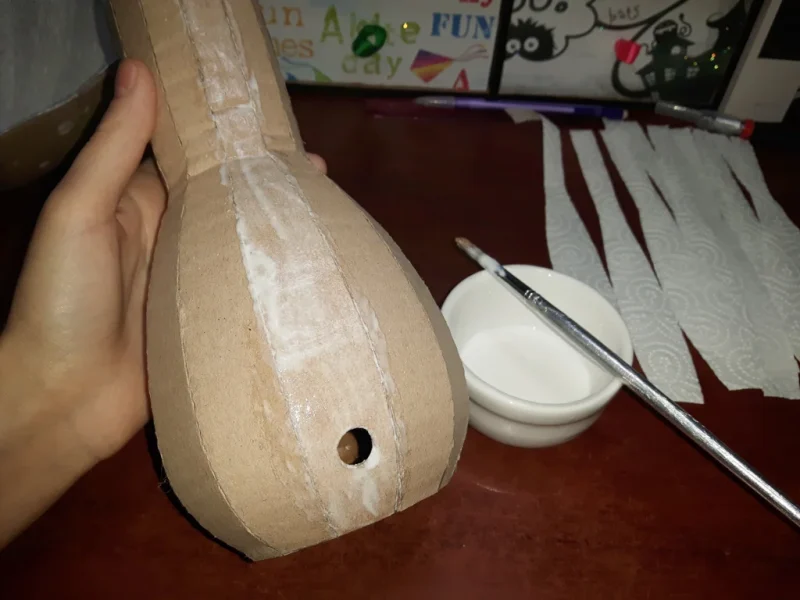
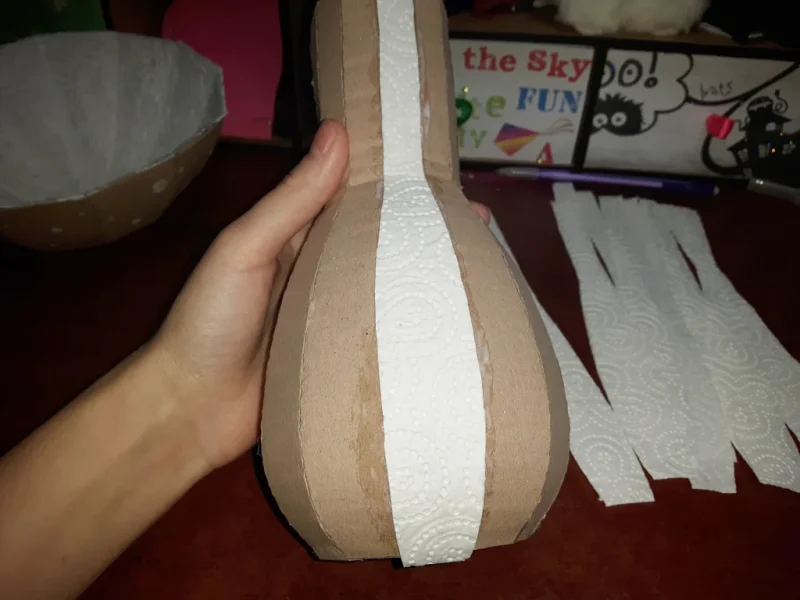
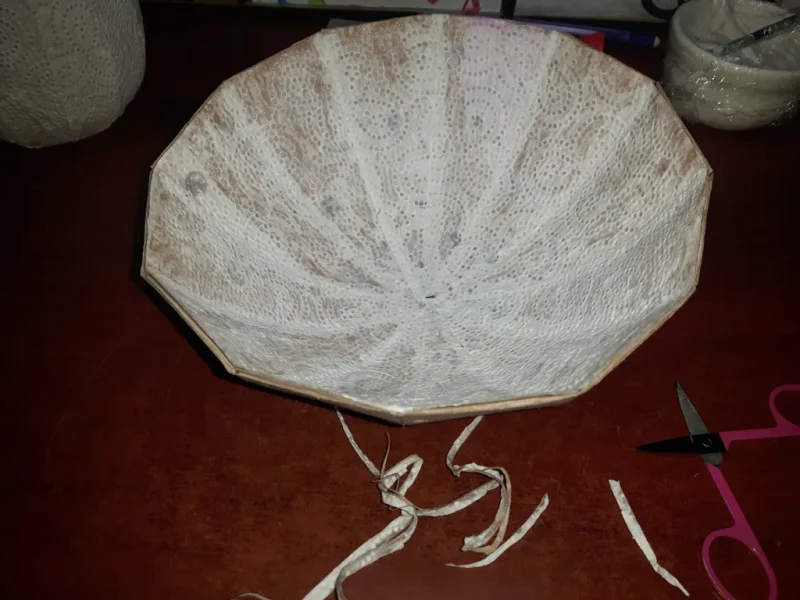
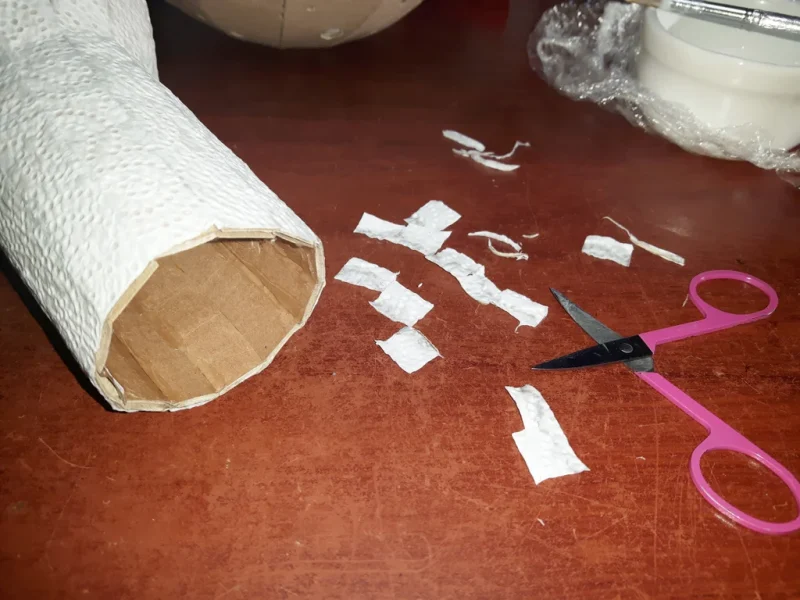
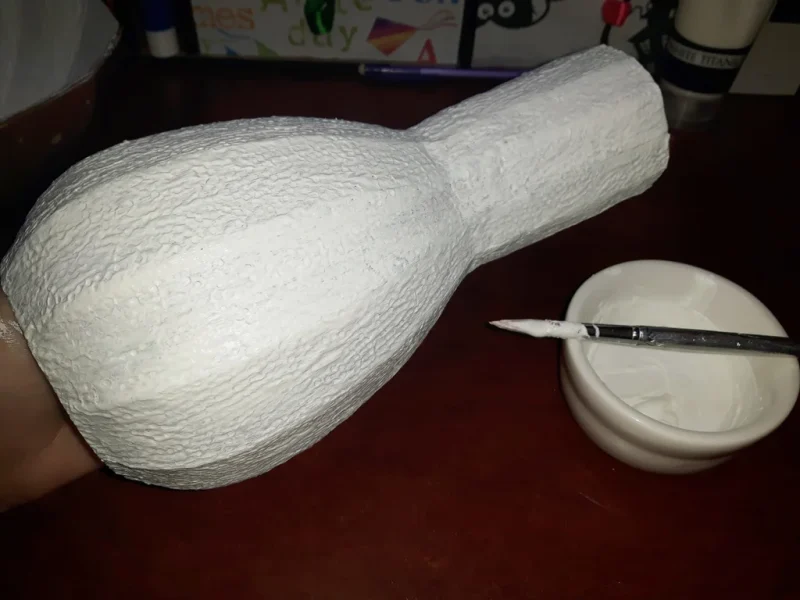
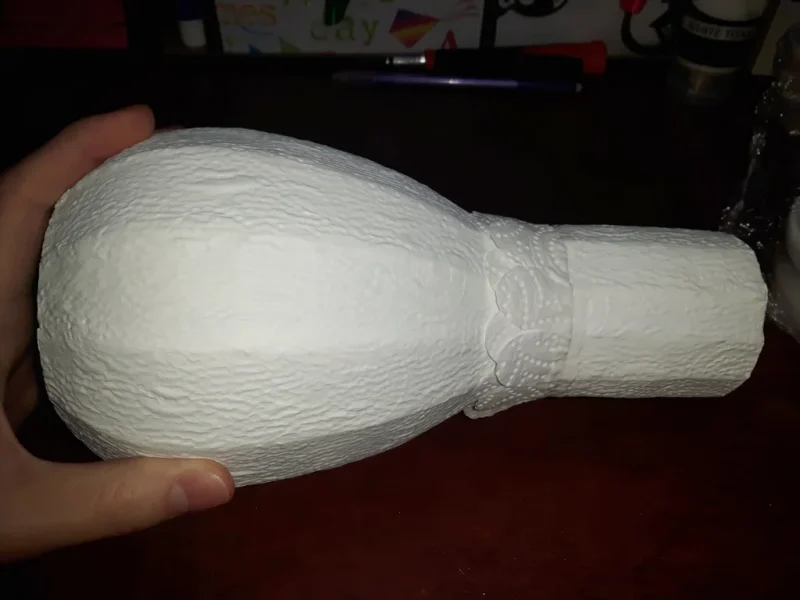
Trace the head template on the kitchen towel 12 times and cut it out. Mix the wood or paper glue with some water and apply a generous amount on the inside of mushroom head, then place the kitchen towel pieces on one by one.
Once you have all of the pieces in place, let it rest for half an hour and then generously apply the glue on top of the kitchen towel.
Repeat the same process for the mushroom body.
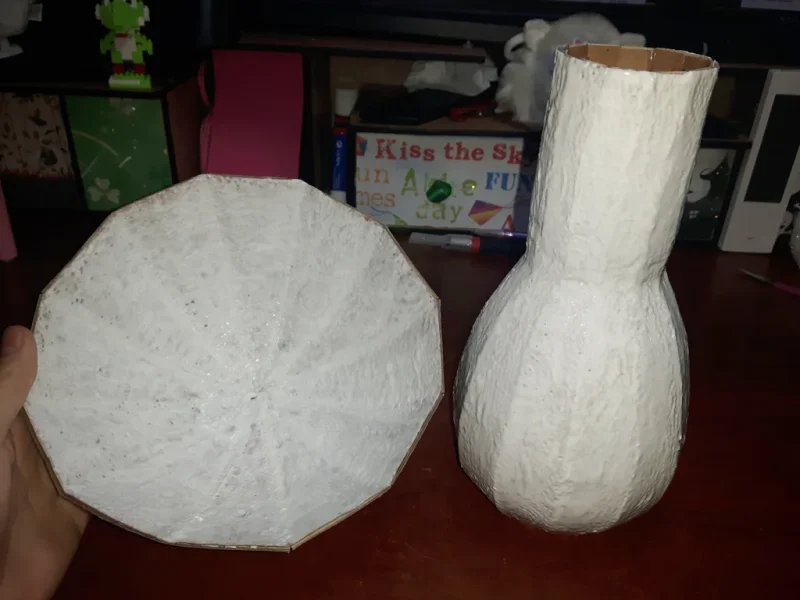
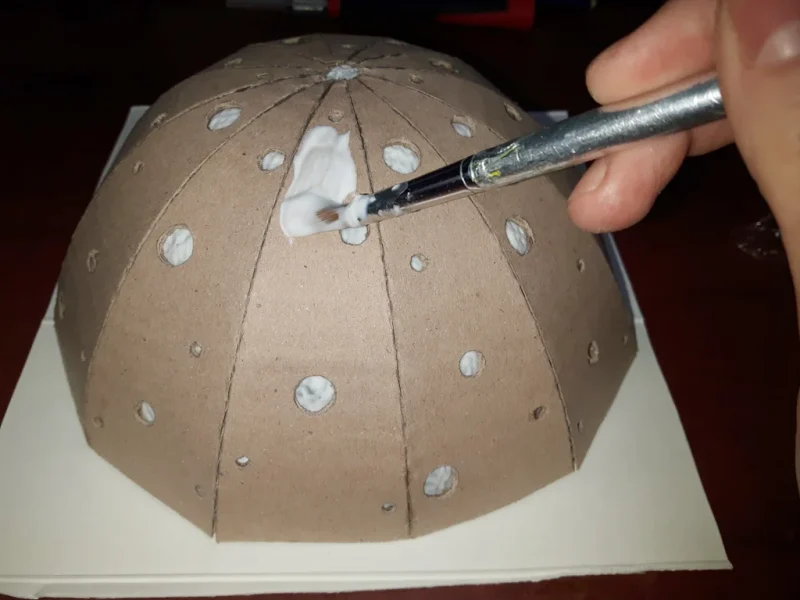
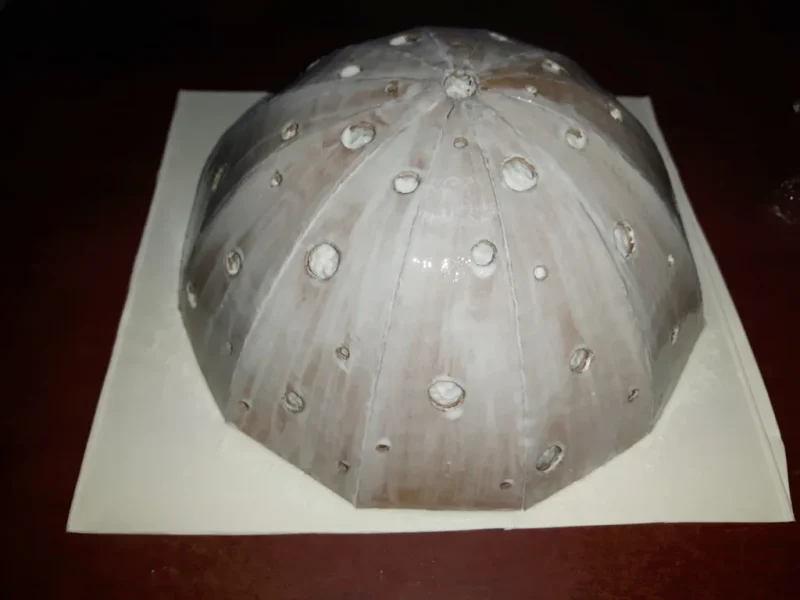
Let it dry a bit and paint the glue again on the inside of mushroom head, body and this time on top of the head as well, make sure you get the glue into all of the creases. This will make the cardboard quite firm and smooth.
Leave the mushroom dry overnight.
Step 6: Painting
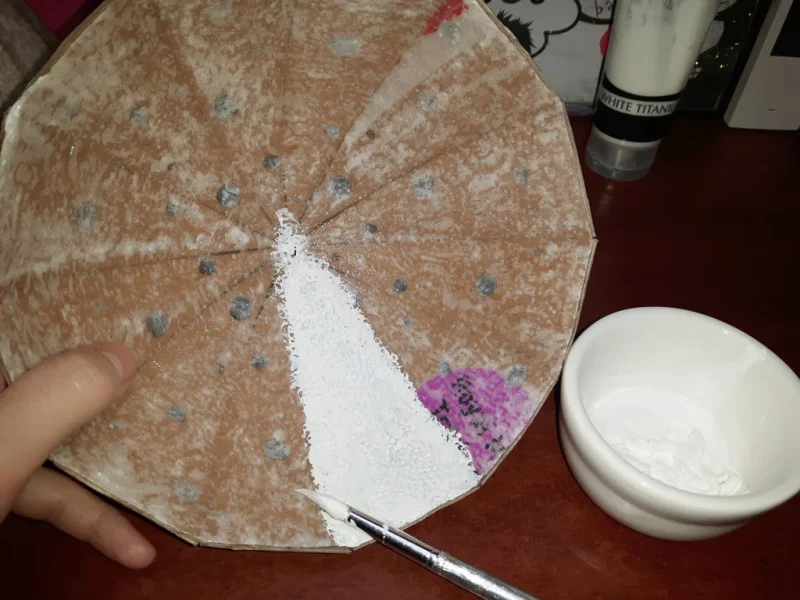
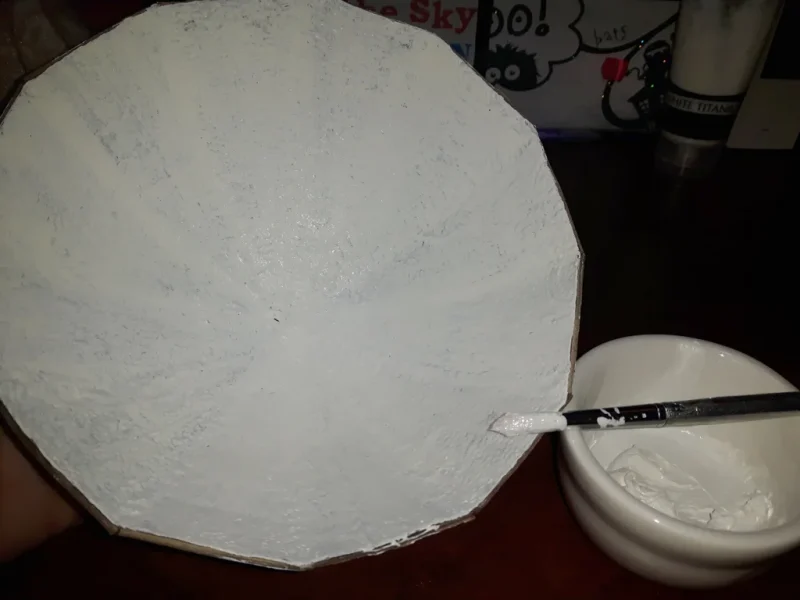
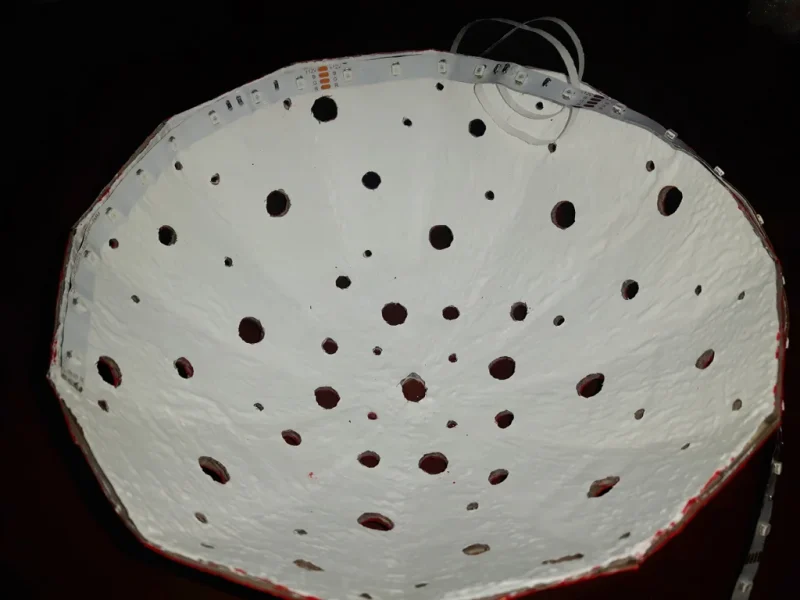
Start by painting the inside of head with the white acrylic paint. Once done, carry on with the body. You will probably have to repeat the process two or three times.
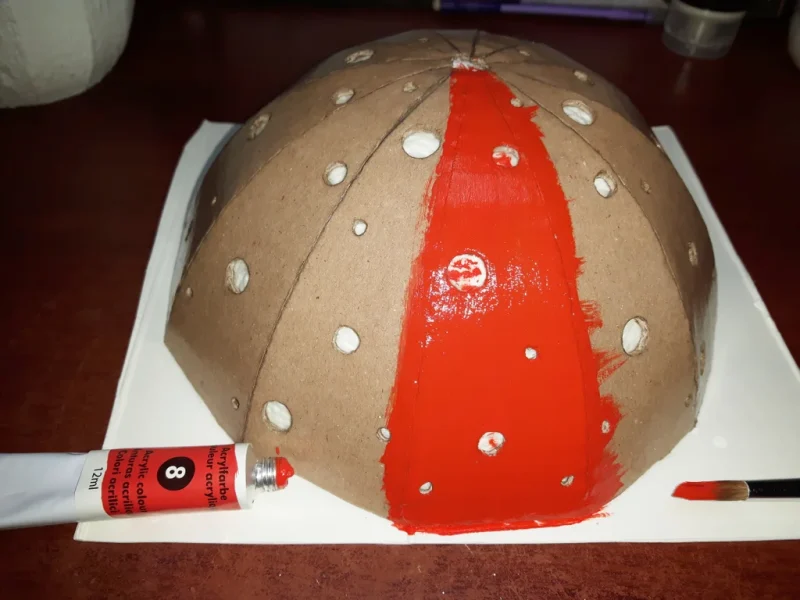
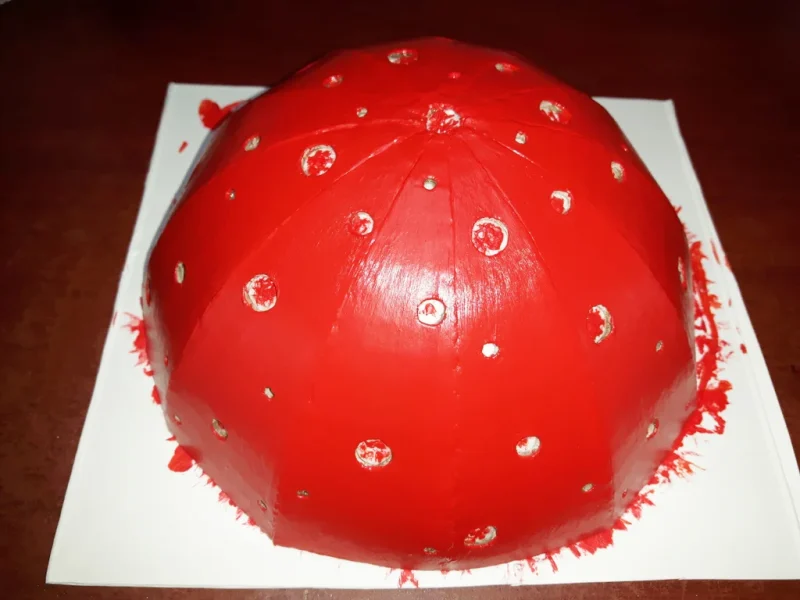
When dry, color the outside of mushroom head with red paint. It will require at least couple coats of paint just like the body.
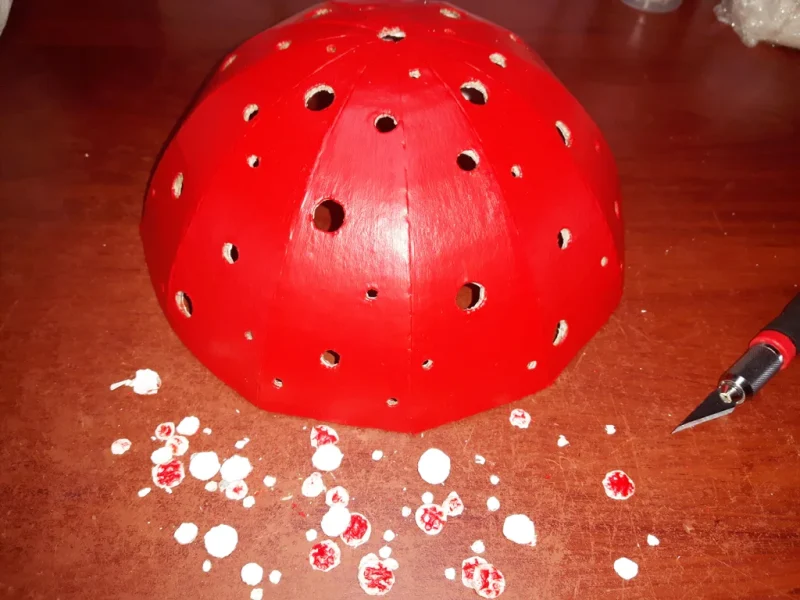
Carve the holes out with a hobby knife again.
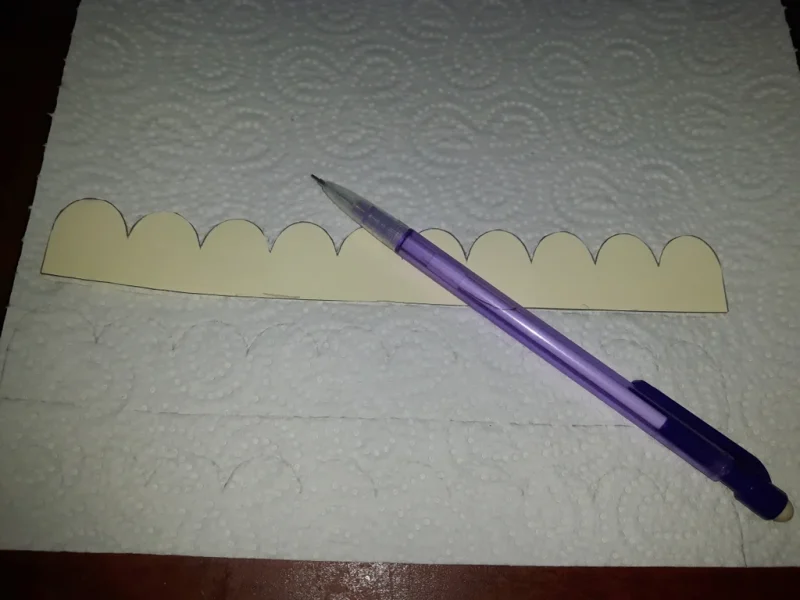
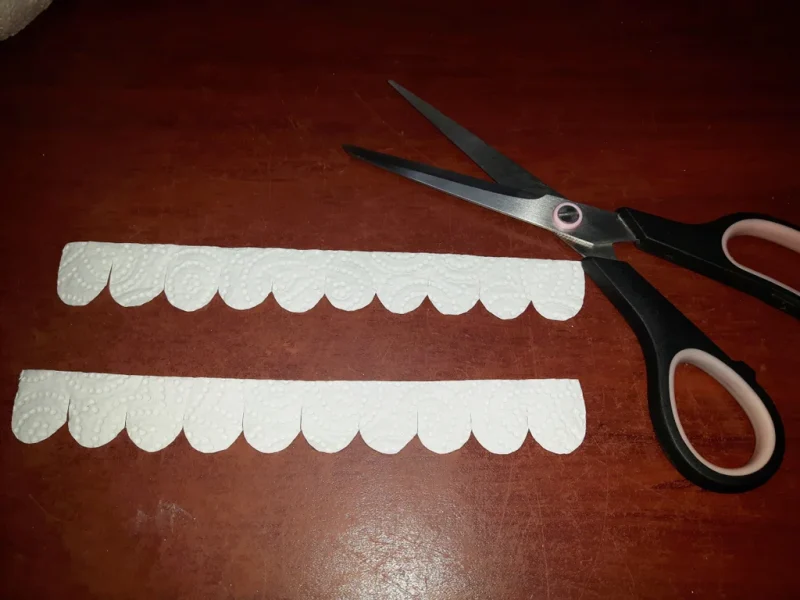
Trace the skirt on the kitchen towel, cut out and glue on the body.
Step 7: Light It Up
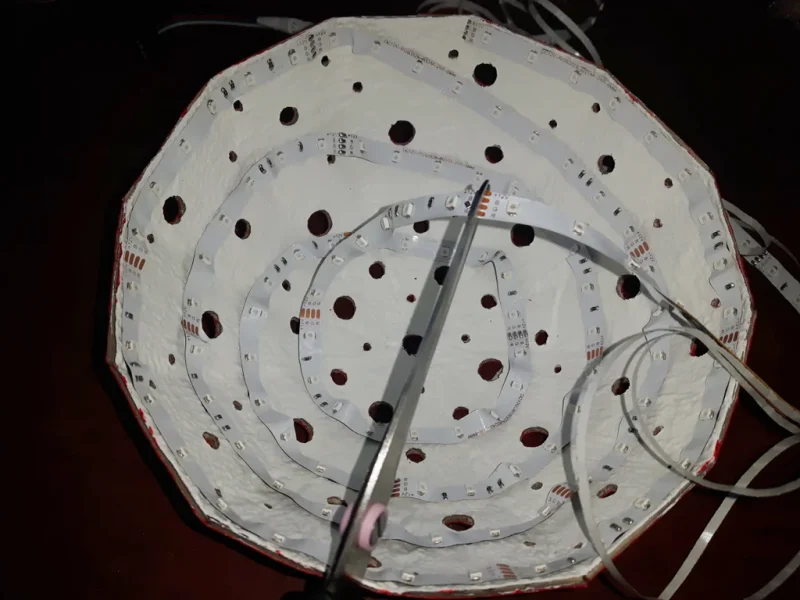
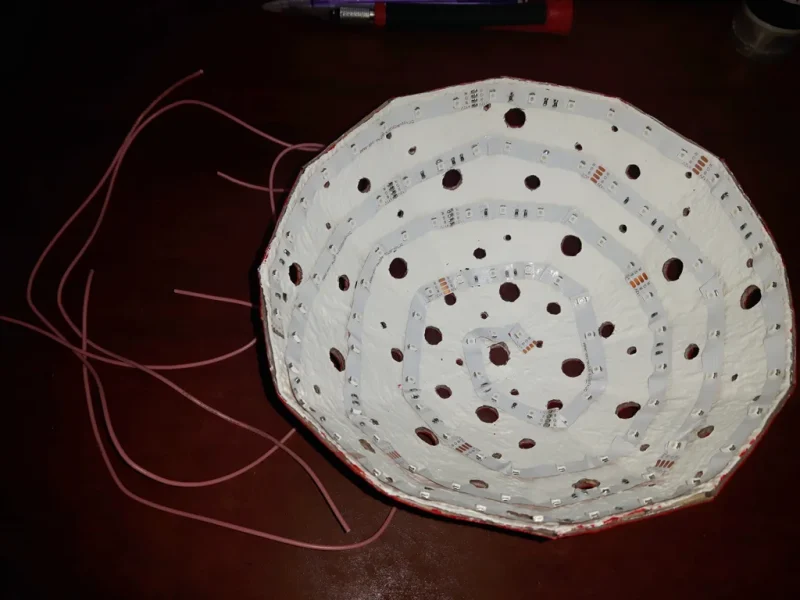
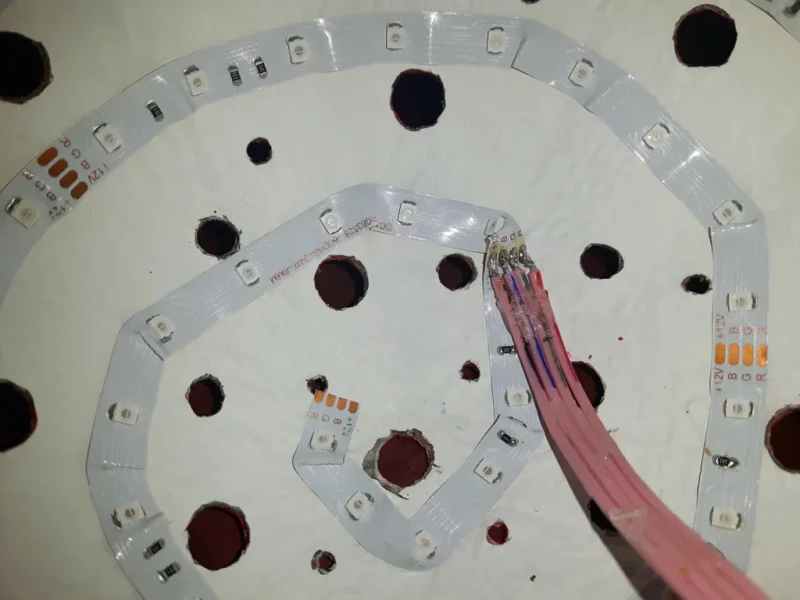
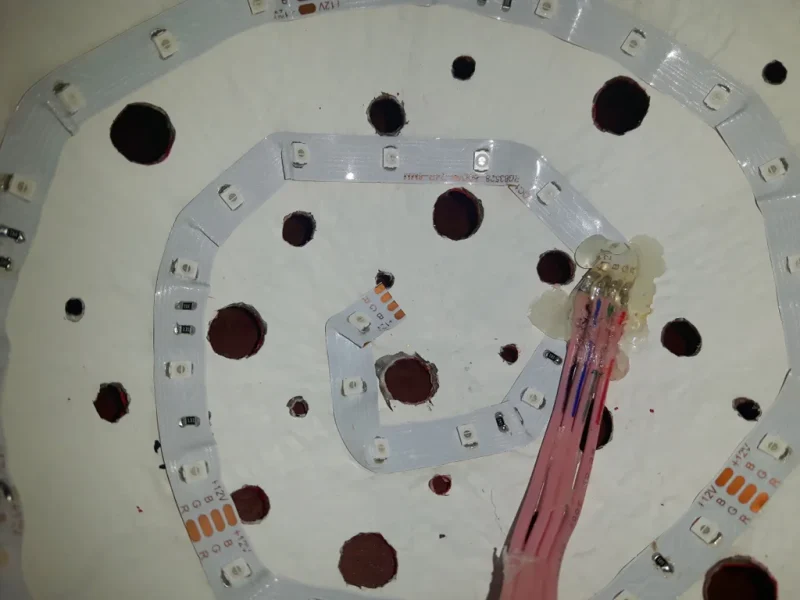
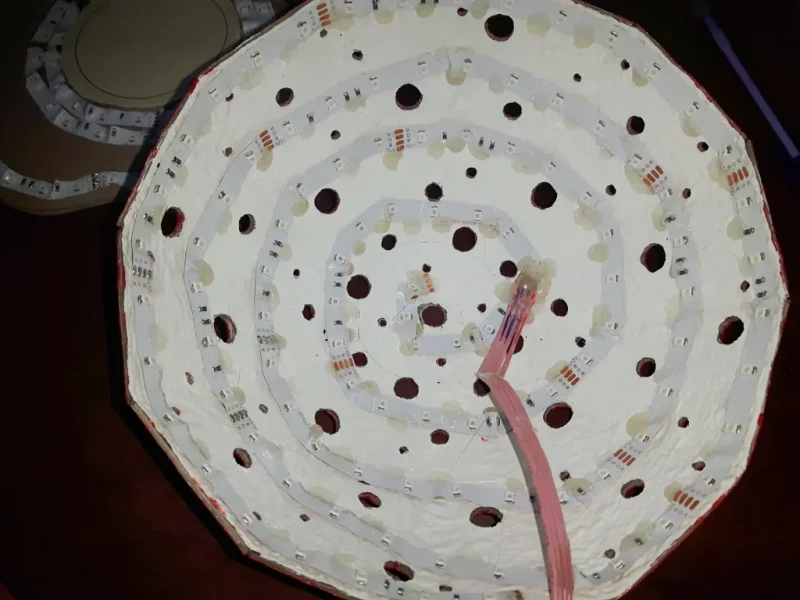
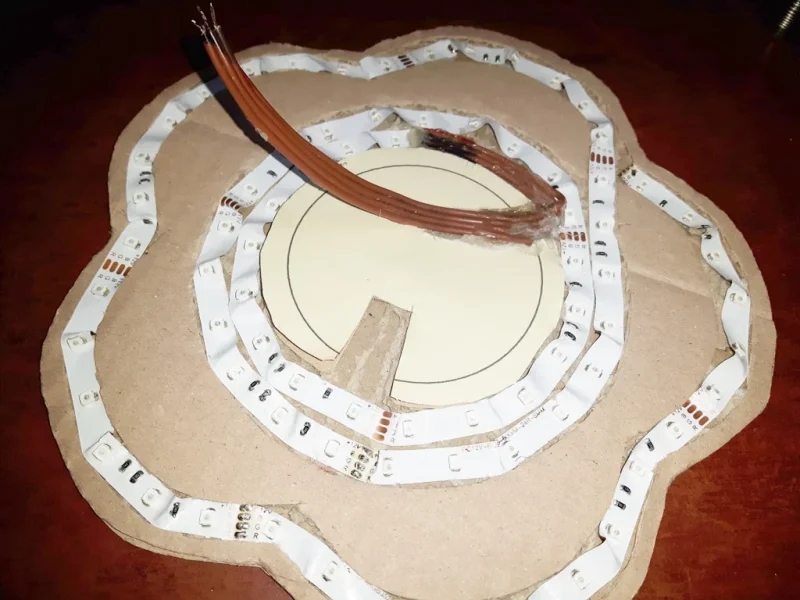
Begin attaching the LED strip in circles, until you reach the middle. Cut the strip with scissors at the nearest cut-off point. Try to be gentle when bending the strip into the place, they can tear and it wouldn’t be fun fixing them 😉
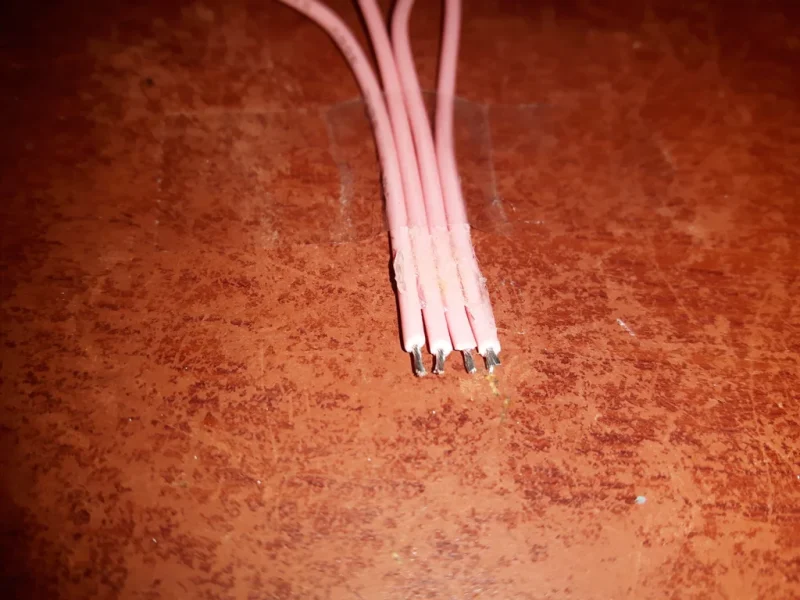
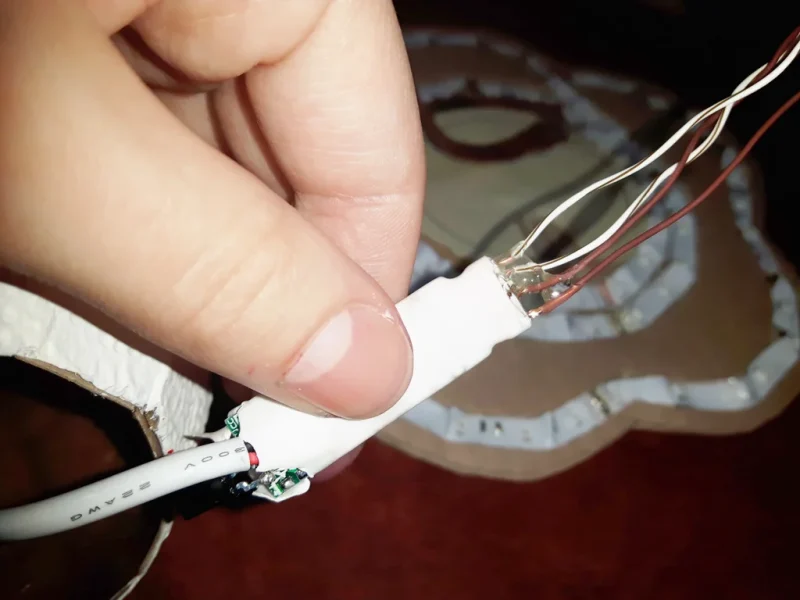
Chop the stranded wire into four 30-40 cm pieces and glue them together. Strip and Tin each end of wires and solder it onto the LED strip. Apply hot glue on the joints to make sure it stays in place. Mark the opposite ends of wire with a marker, so that you know where the negative one is (or positive, my strip had 3 positive and 1 negative ends, but I notices that on some of the more expensive LED strips this can be the other way) you can do this for the other colors as well. After that put tiny dabs of glue on the LED strip wherever it would be most likely to come off (I don’t really trust the sticky tape on the back of the strip, after some time it is likely to detach due to the light heat from LEDs).
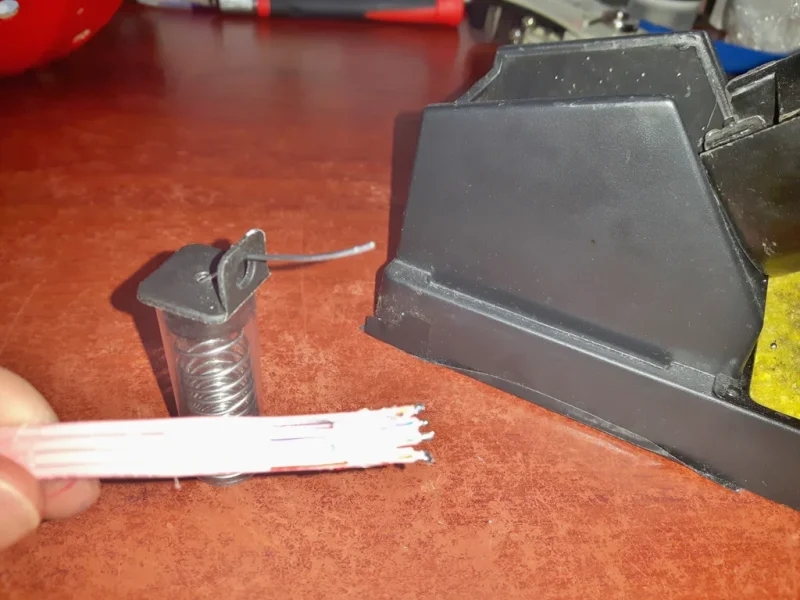
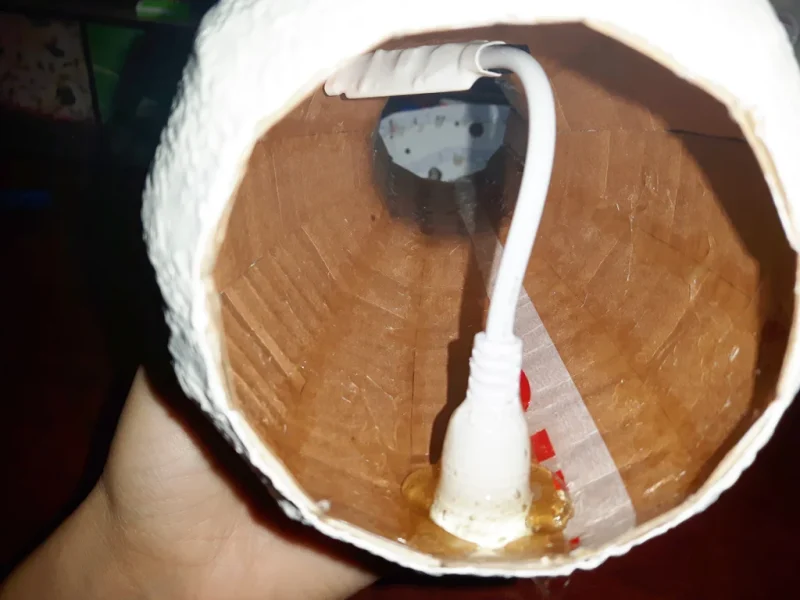
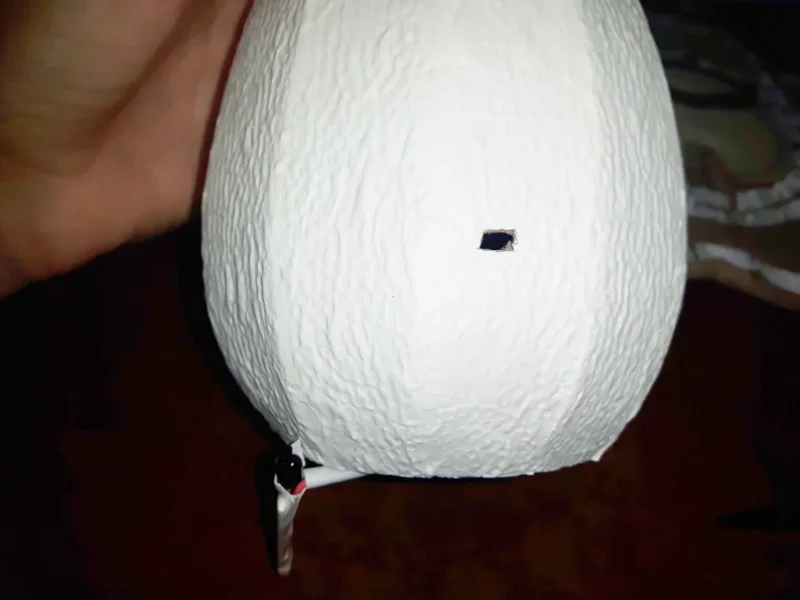
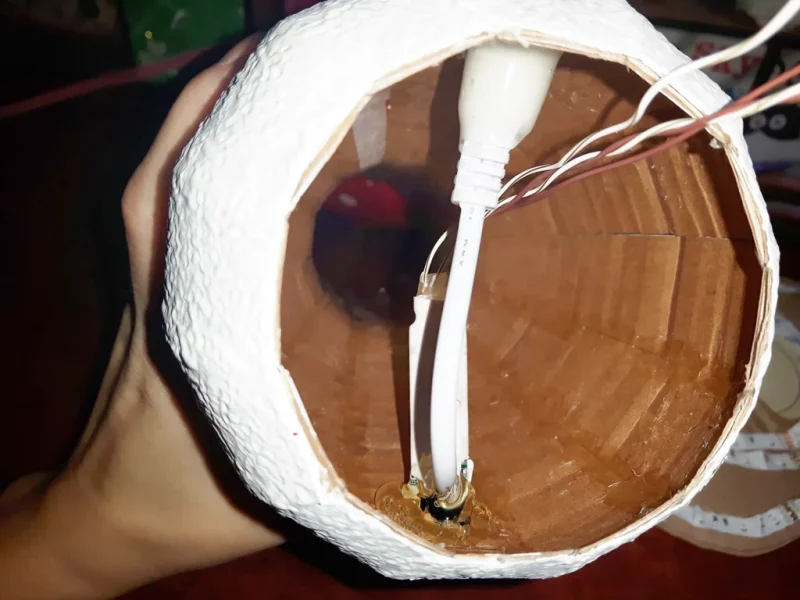
Glue the power jack side of the LED controller to the body from inside. Chop the solid core wire into four pieces, plug them in the controllers pin holes and glue around. Mark the opposite ends of wire. Cut out a little rectangular window for the IR side of controller and attach it from the inside of the body as well.
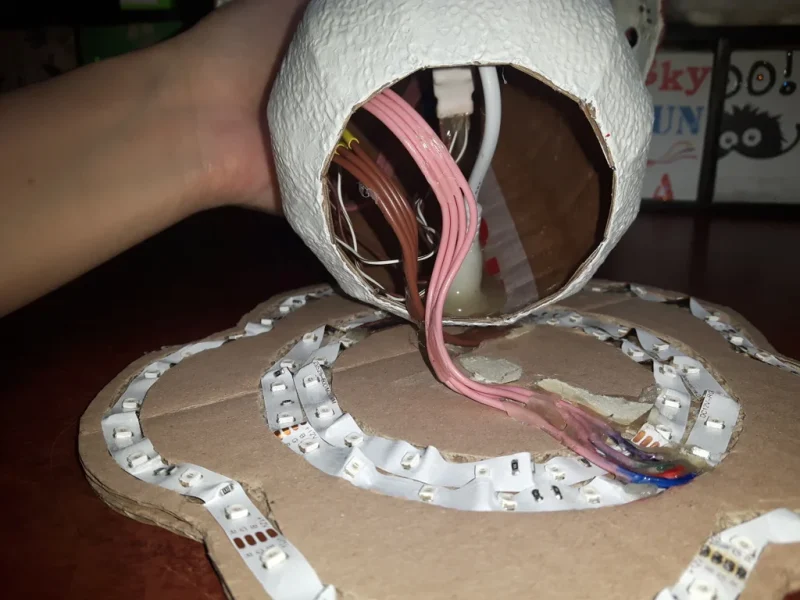
Find the middle of the head and roughly mark it with the pencil. Lower the body on one side for the LED cables to go through (if the cables from LEDs aren’t in the way, you don’t have to do this). Pull the wires through the body and glue the it to the head.
Step 8: Base
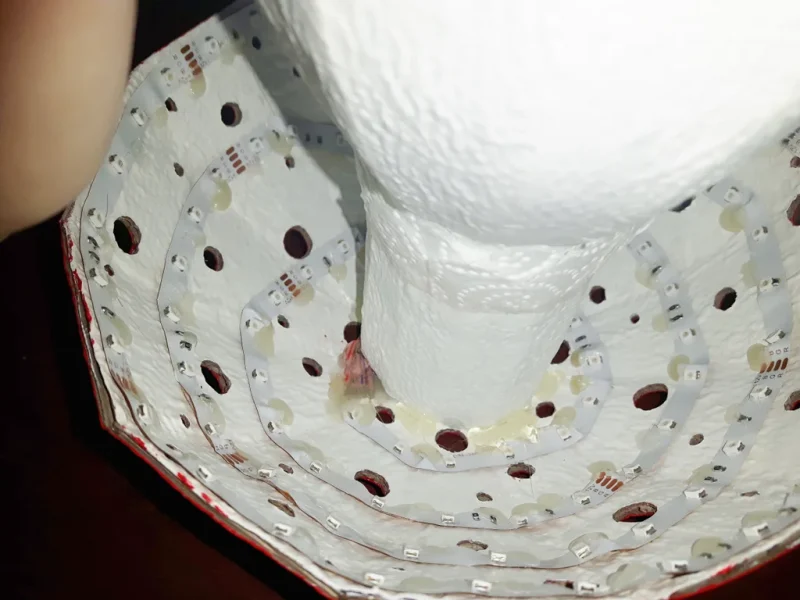
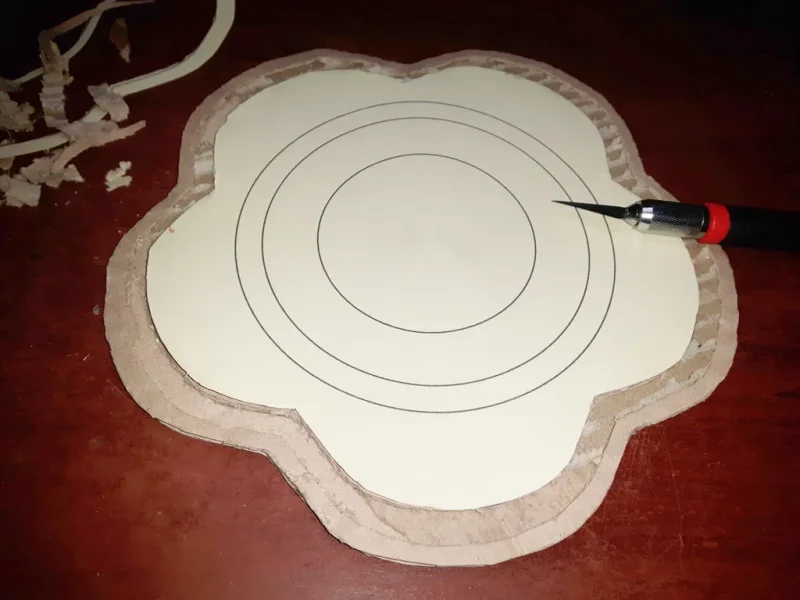
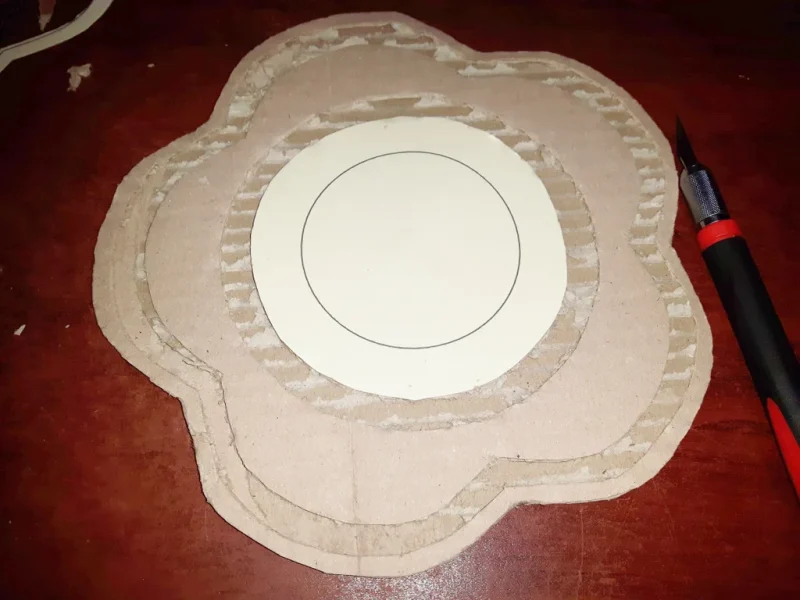
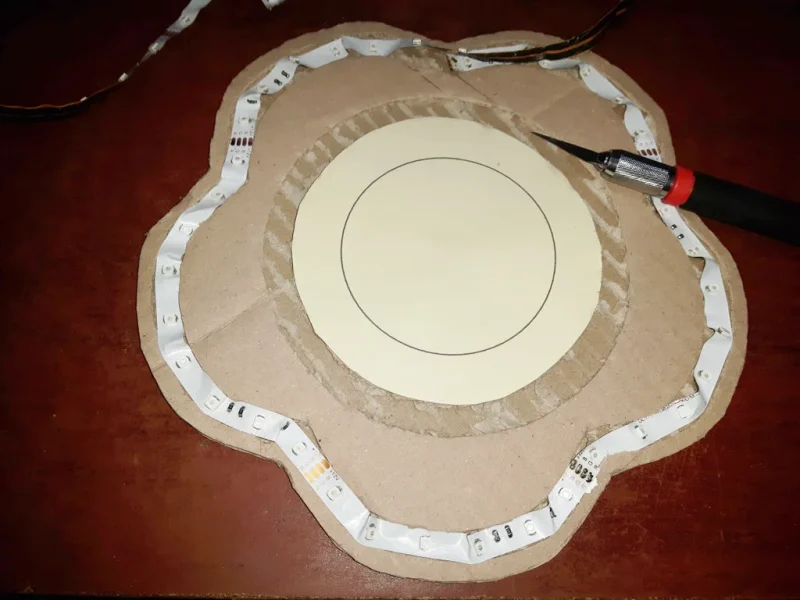
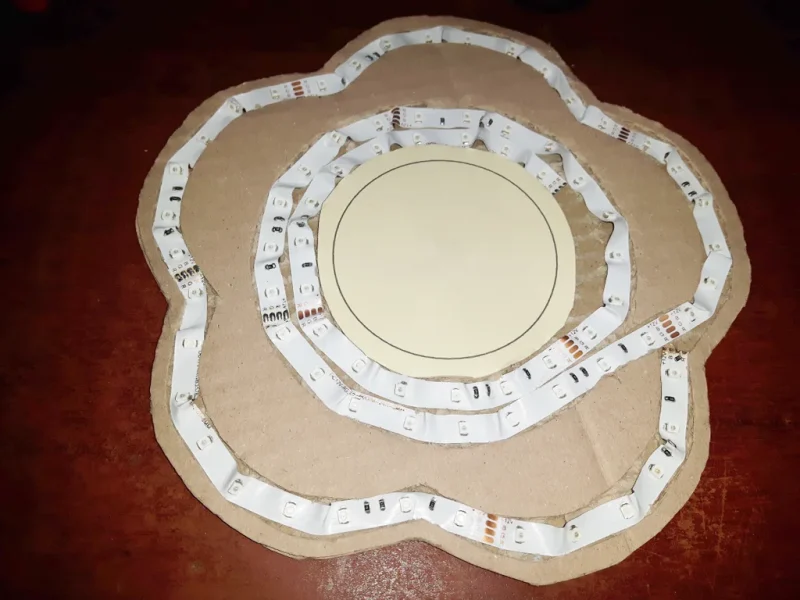
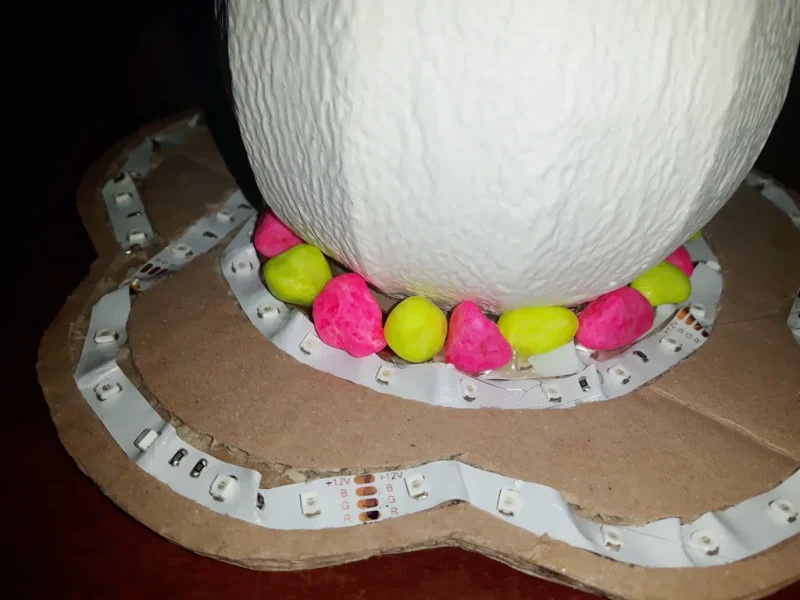
Trace the mushroom base on the cardboard twice and cut it out. Glue both of the pieces together and stick the template on top of it. With a hobby knife trace around the lines on the template and carve in the grooves for LED strip.
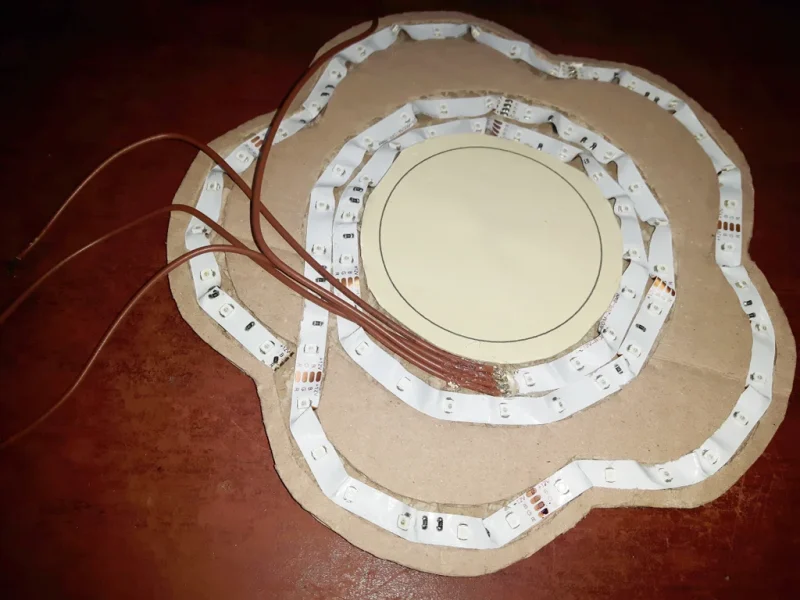
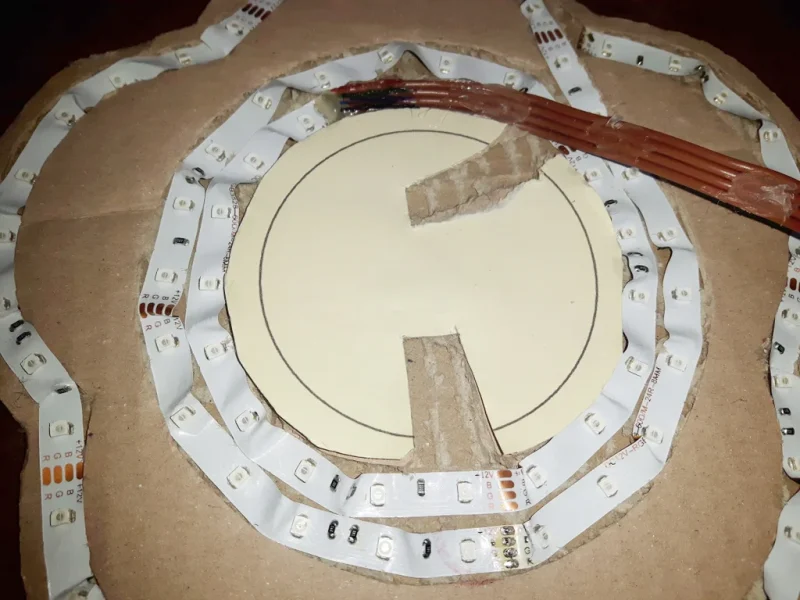
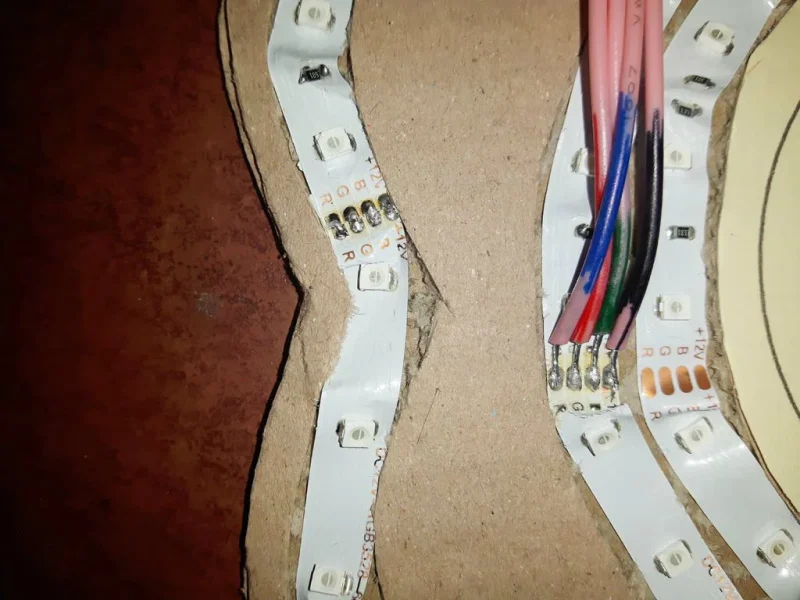
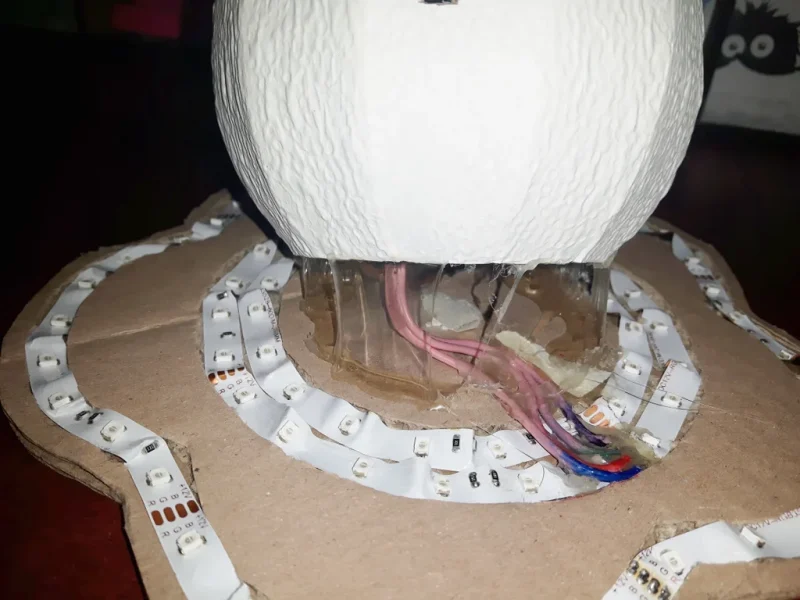
Affix LEDs around the base. Carve in more grooves wherever necessary. From the leftover stranded wire cut another four 10-15 cm pieces, strip and tin them and solder them on the end of the strip. Put a dab of glue on the joint and attach the rest of the wire to the base. Mark the ends of wires.
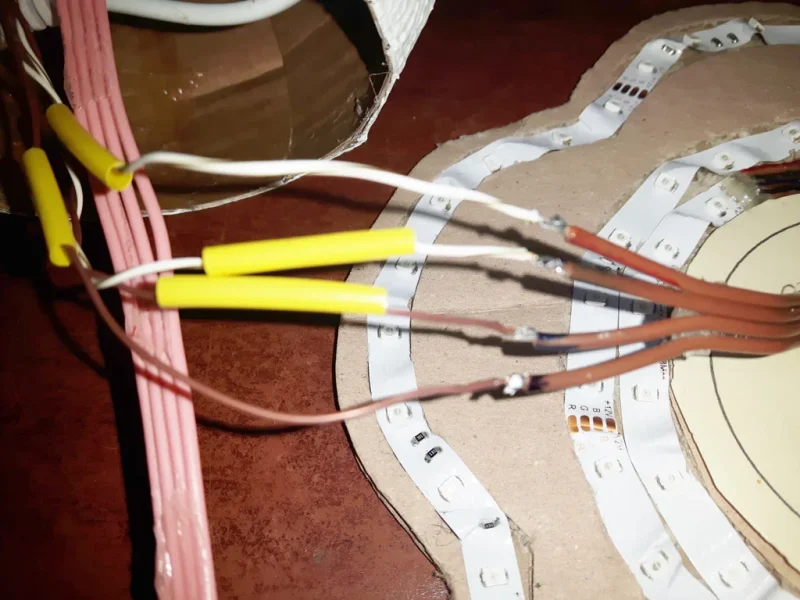
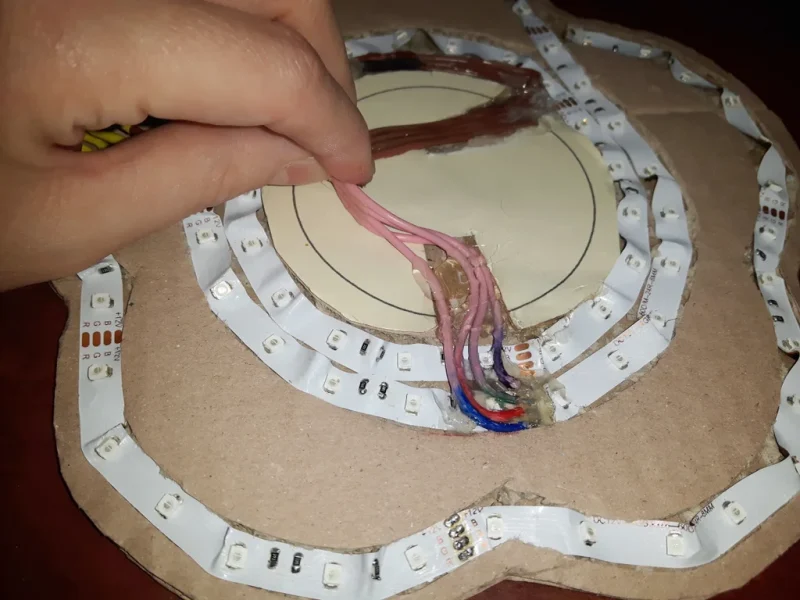
Slip four pieces of heat shrink on the wires. Solder the solid core wires and the base wires together, I did this randomly apart from the negative wire (I wanted the head to have different color than the base, so when I press red on remote only the head will light red but not the base). Slide the heat shrink over the joints and run a lighter over them.
Plug the lamp in and make sure the base still lights up. Turn if off but leave it plugged in. Solder the head wires onto the LED strip of the base. Start with the negative one, then turn the lamp on and match the colors with the remote control one by one, soldering as you go along.
If all is well and everything works as it should, go ahead and glue the body to the base.
Step 9: Decorating
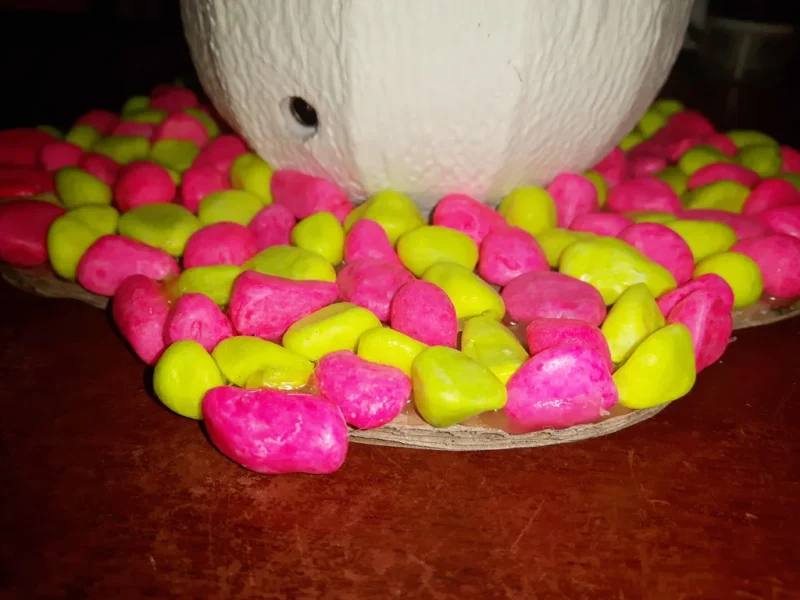
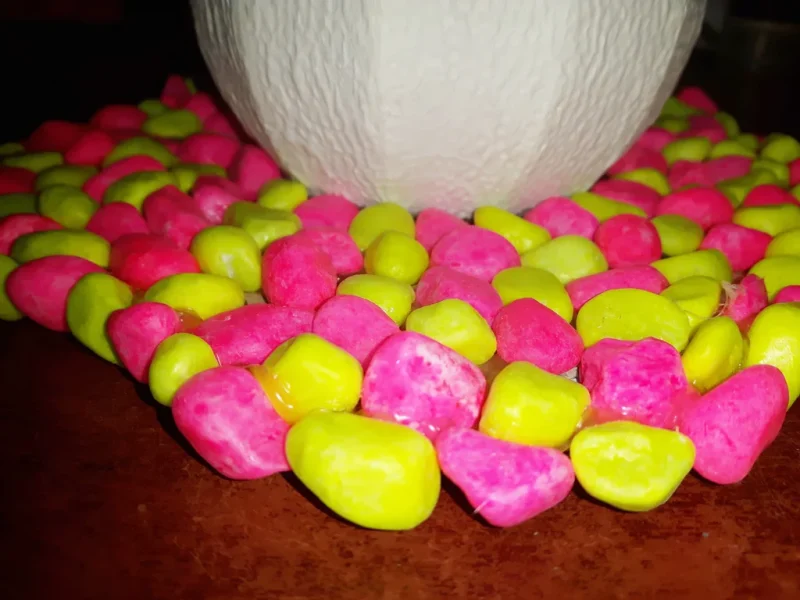
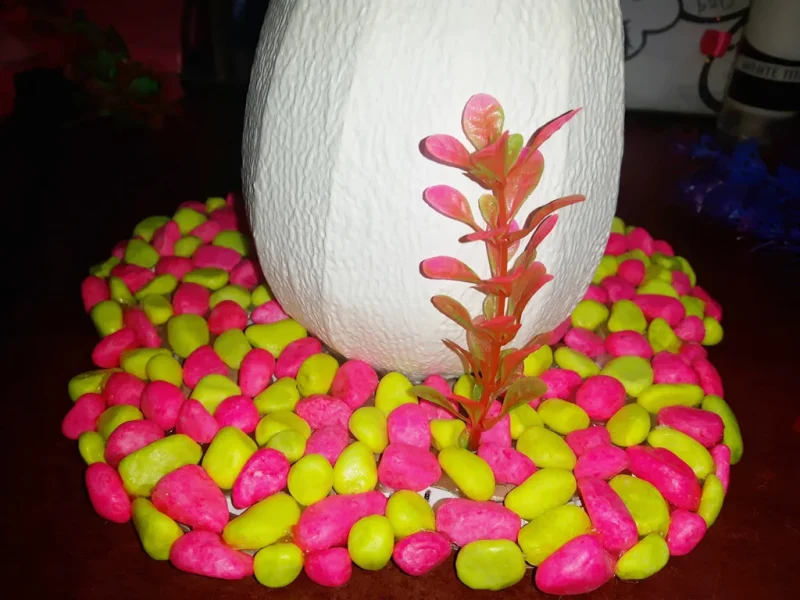
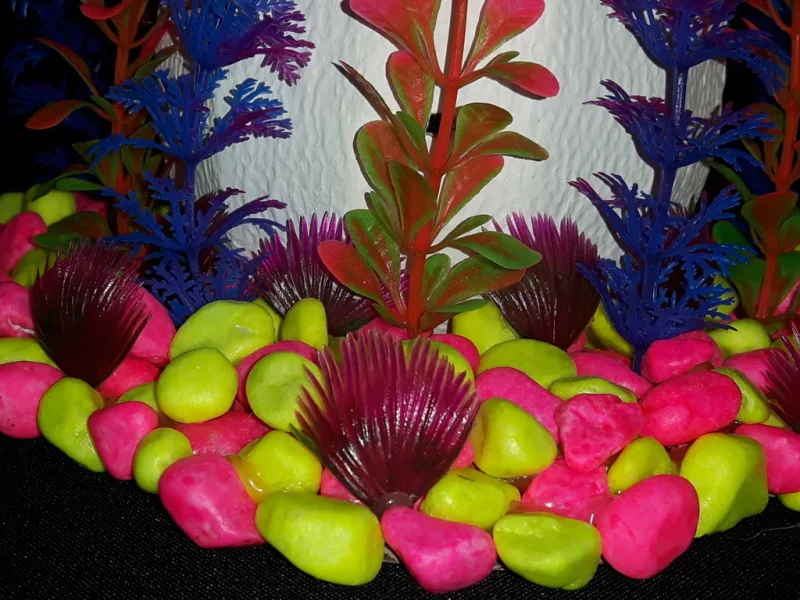
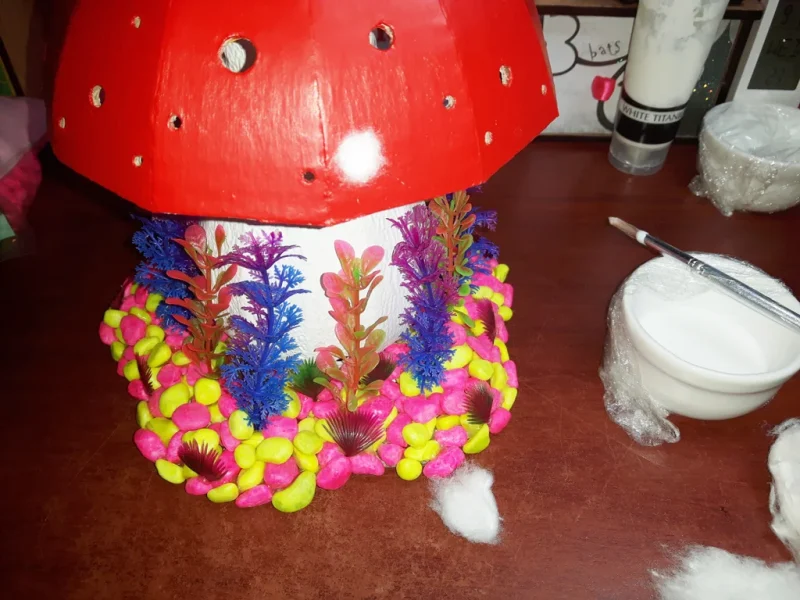
Glue the stones to the base one by one with the hot glue as close to each other as you can. Do this until the surface of the base is covered, then attach them from the side as well, so that you don’t see the cardboard anymore.
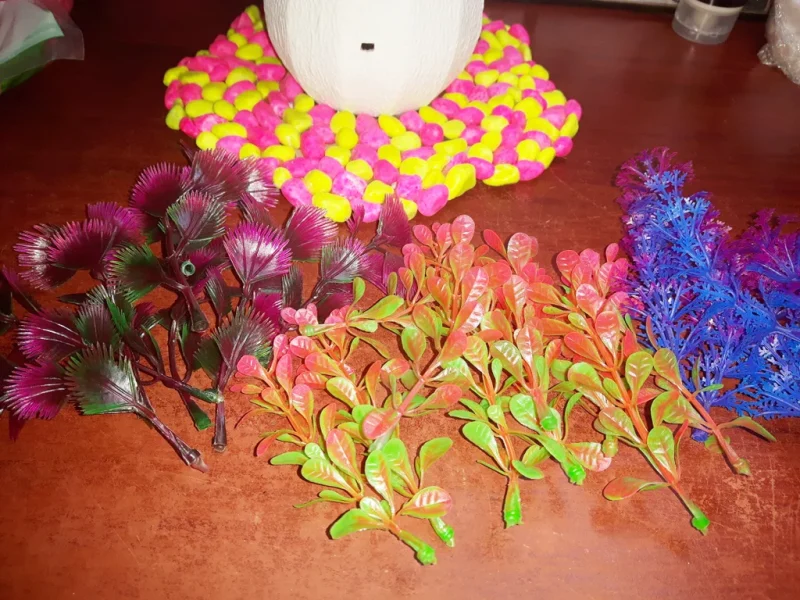
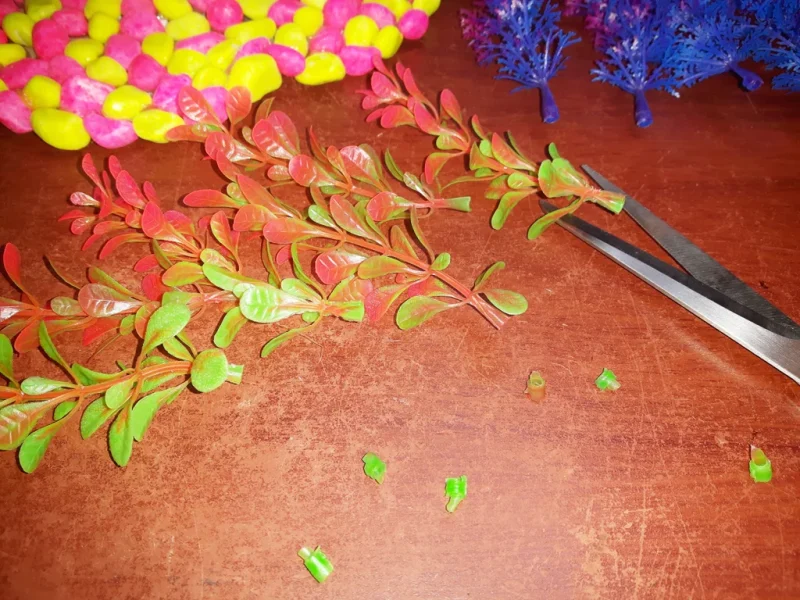
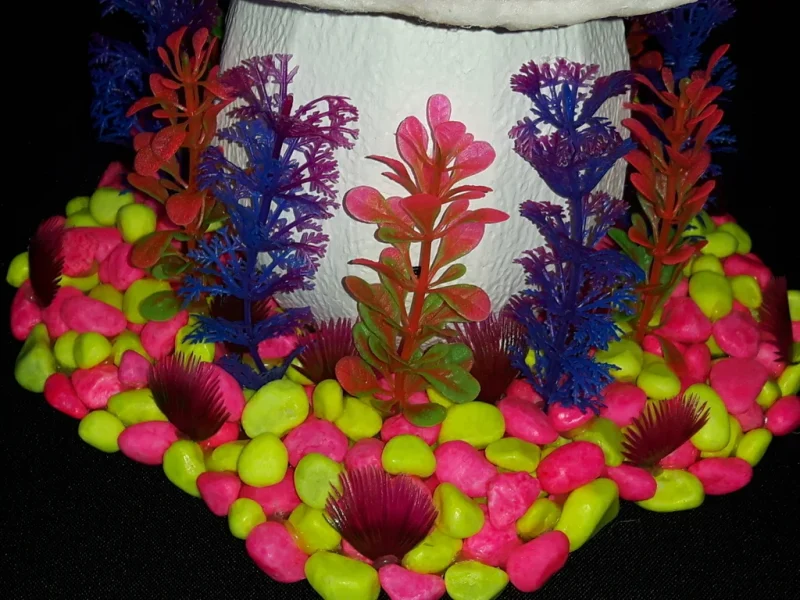
Pull the aqua plants apart and chop the ends off. Glue them around the mushroom. Glue more stones around the plants and wherever you see either the cardboard or LEDs. Cut some of the plants into smaller pieces and glue them in as well.
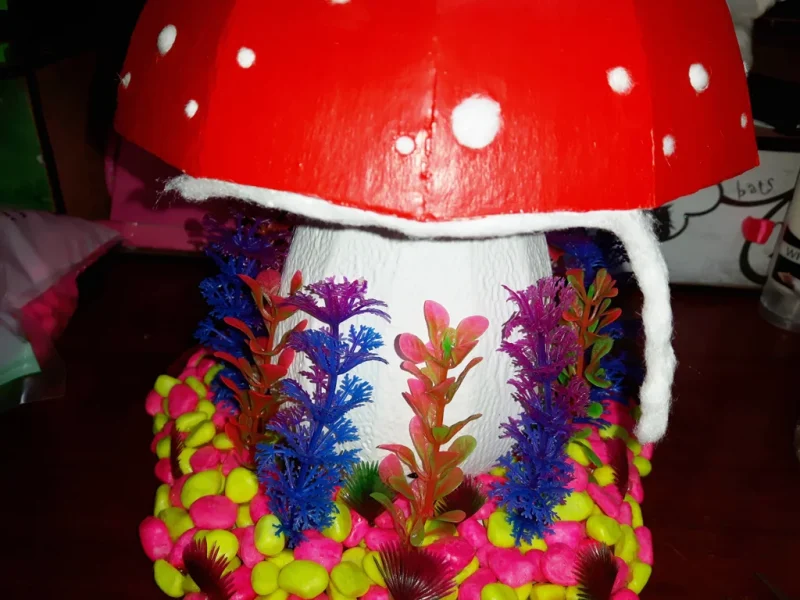
Add some water to the glue and mix well. Apply into few of the holes on the mushroom head. Tear a small piece of cotton wool and place it into a hole. I found with the smaller holes it was easier to push the wool in from the outside, but for the bigger holes you will get a nicer result if you push the wool in from inside. Do this for all of the holes on the mushroom head.
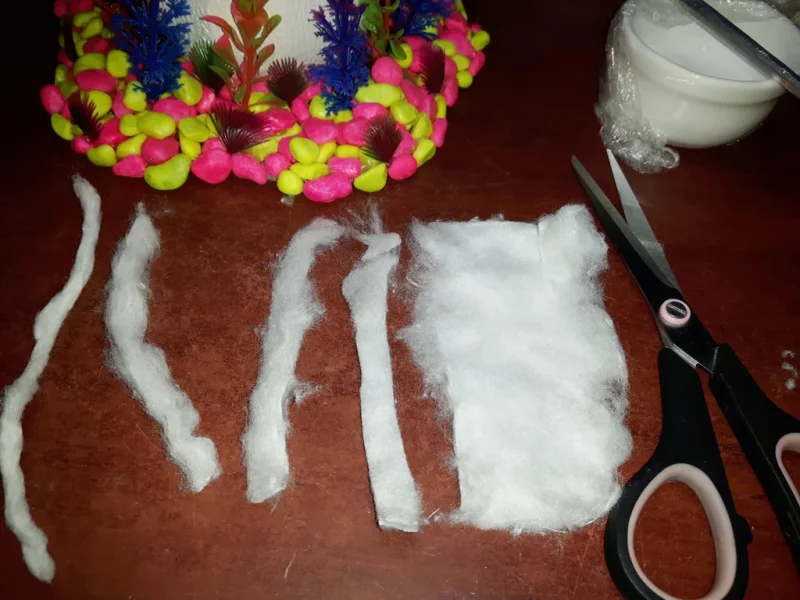
Cut the wool into strips, apply the glue on the edge of the head and attach the wool strip. Repeat around. Once in place, soak the wool with glue and shape it a little bit.
Step 10: Final Result
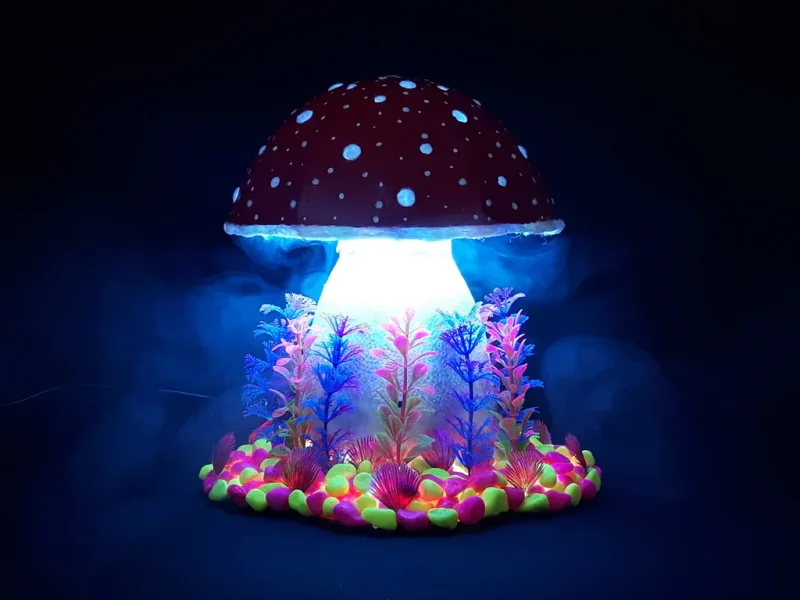
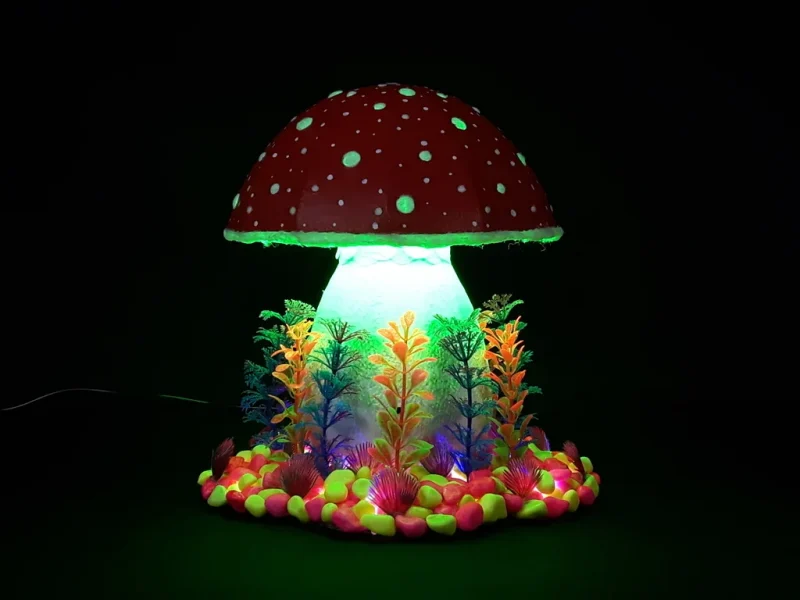
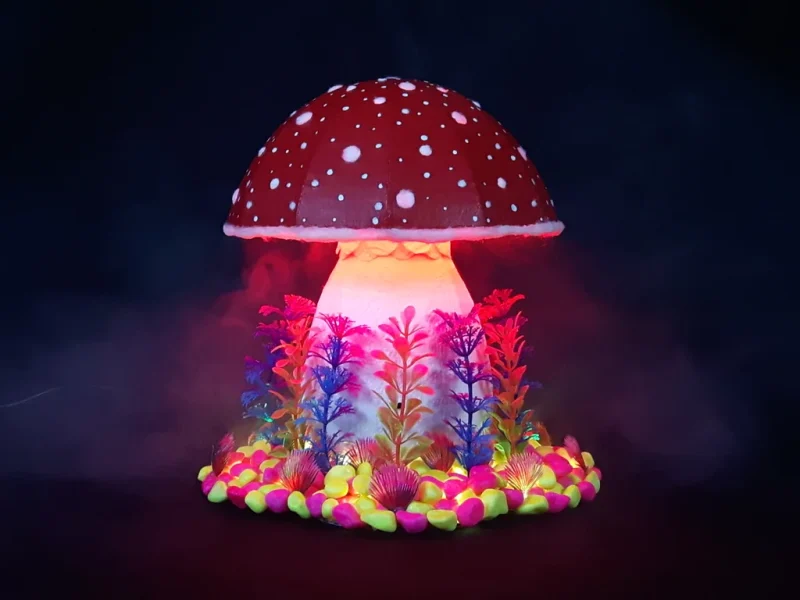
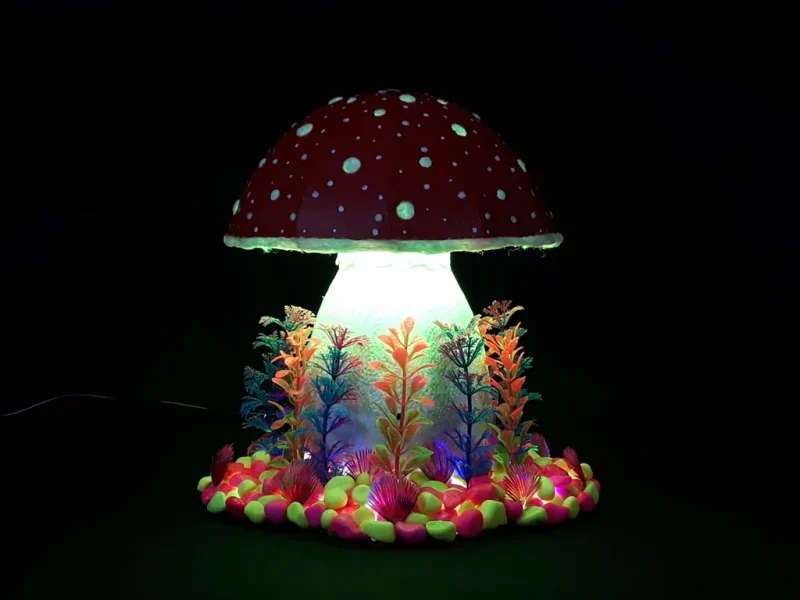
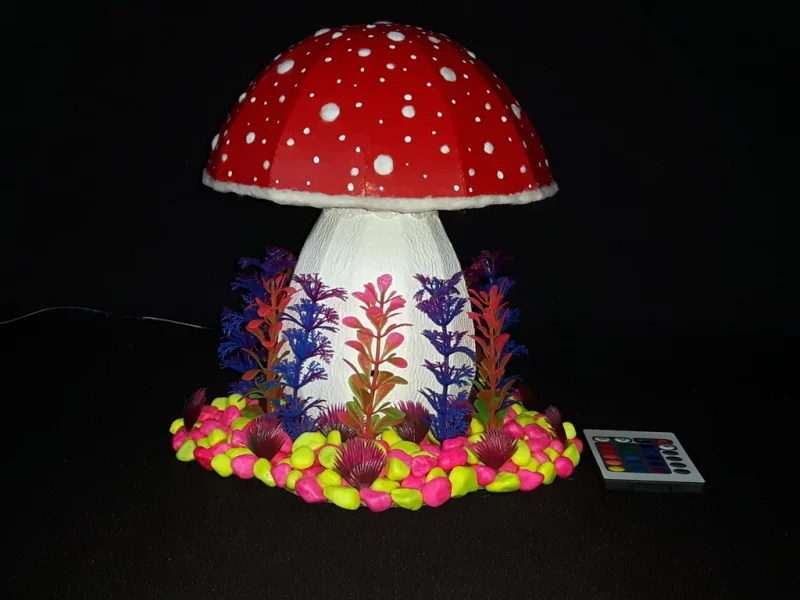
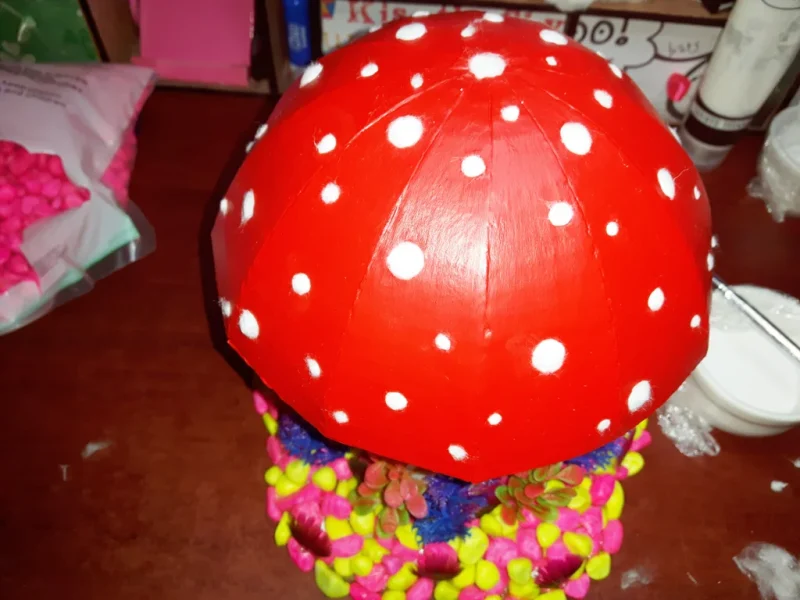
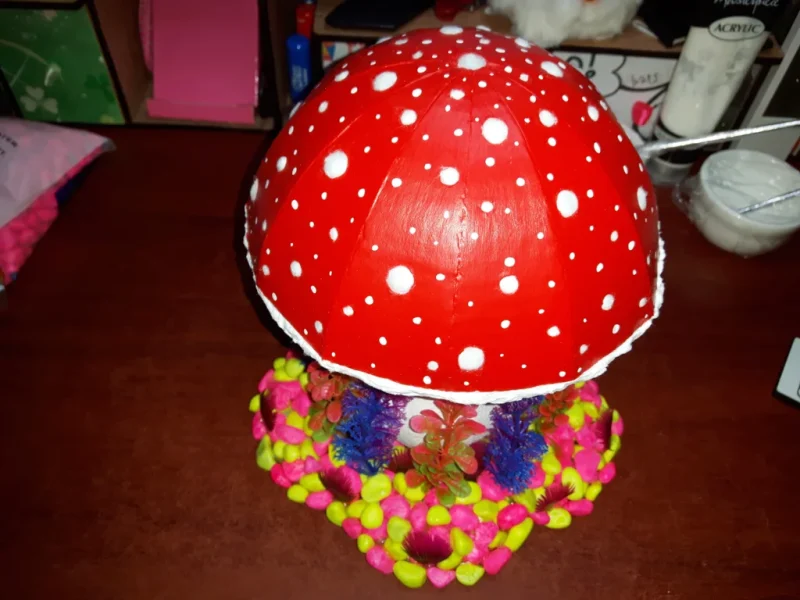
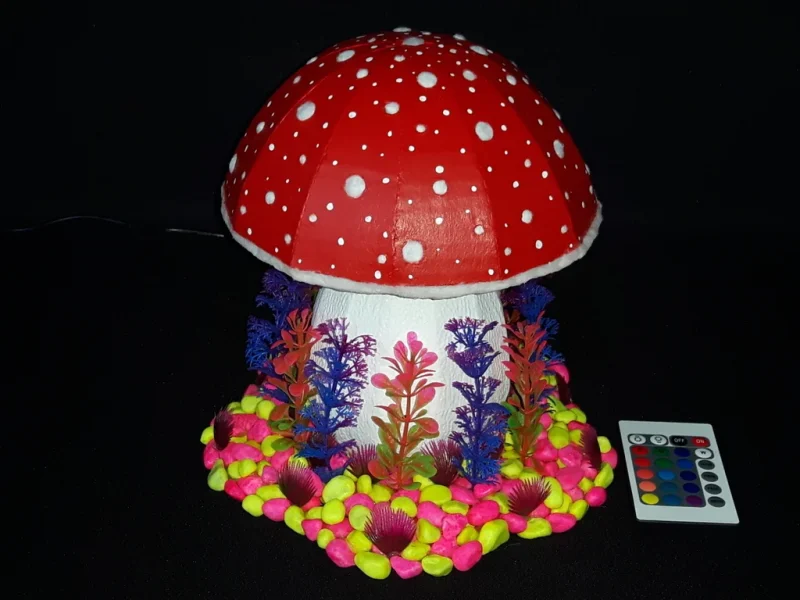
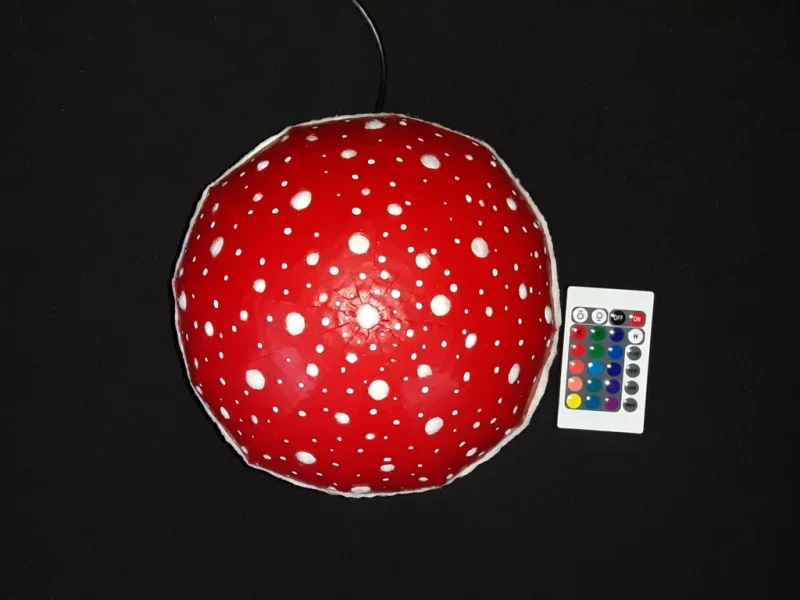
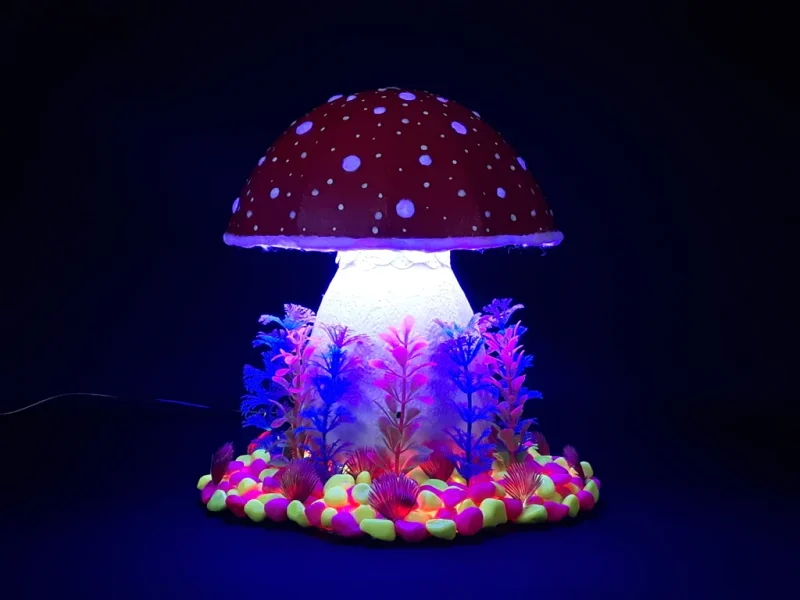
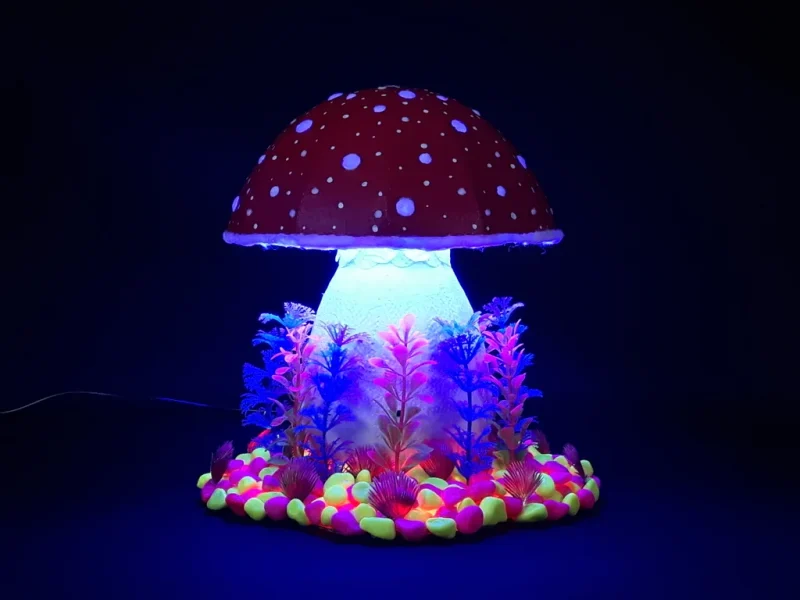
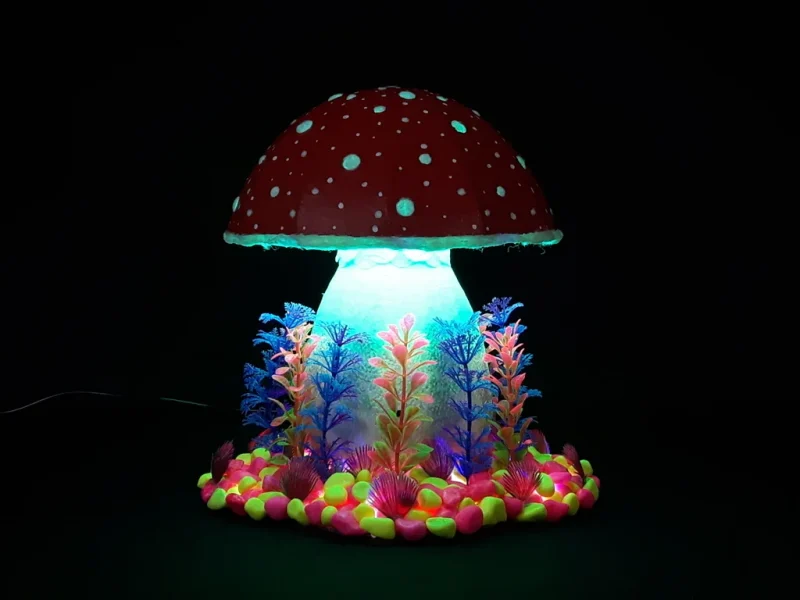
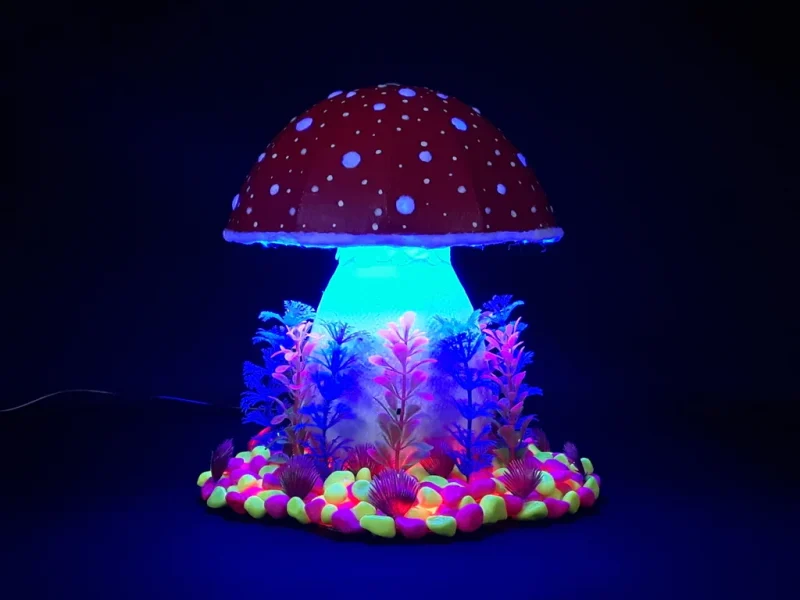
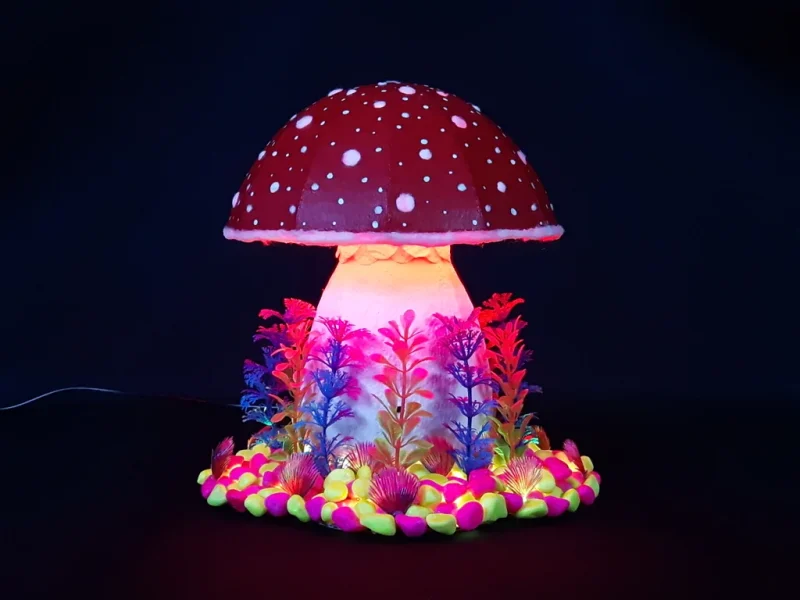
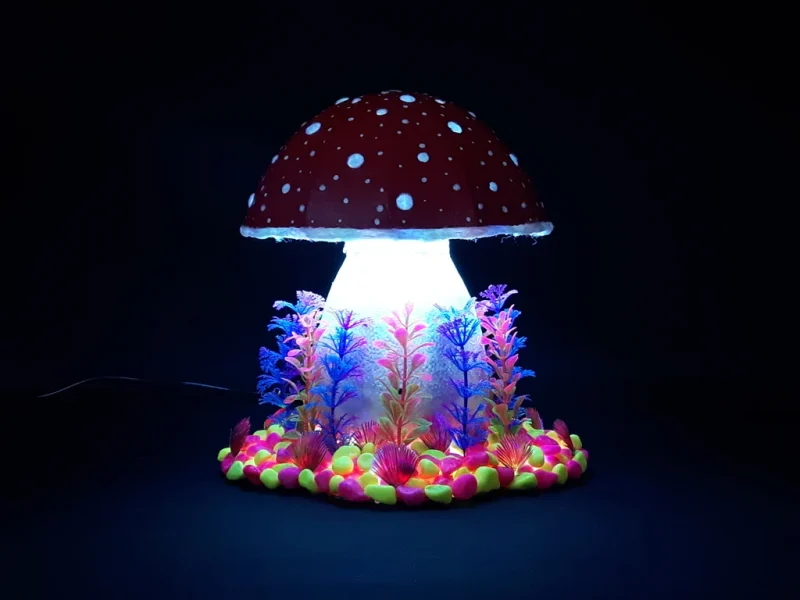
Here are few pictures of the finished Mushroom Lamp.
I would say that the lamp looks much better in real life, I’m not a very good at taking photos and for myself trying to take a good photo of an illuminated object was a challenge on it’s own.
I had lots of fun making it, it took about 15 hours to make, plus the overnight drying, but it was worth it.
If you don’t feel comfortable soldering, the whole process could be done without it. The LED strips are usually plug and play so you could either put them just around the head, without putting the lights on the base, in which case you could plug the lights in the controller, and then attach them around the head, starting from the middle. Or if you prefer to see the light through the stones as well, you could start just like I did, but instead of cutting the wire you could take it through the body, attach it to the base, starting from the middle all the way towards the edge of the base and then take it back to the middle and plug it into the controller.
There are plenty of different types of LED strips out there, mine was just a very cheap one, one where a single LED isn’t RGB but more like this, also it’s quite a low power, so the LEDs don’t get hot. You should be careful when it comes to choosing your LED strip, some of them can get very hot and should be mounted on an aluminium strip, witch would dissipate the heat. This type could be dangerous if used in combination witch cardboard and wool. But generally most of the cheap ones don’t get hot enough to cause a concern. Also the waterproof type wouldn’t be suitable for this project, because it isn’t as malleable.
Final Thoughts
I think the lamp would look even more interesting with some sort of a smoke machine and would quite possibly be an interesting Halloween decoration. I think there is certainly something magical about it 🙂
Also in the very lengthy process of me trying to take some good photos, I’ve accidentally managed to apply the negative effect and I though it would be worth sharing it, so here it is 😉
First Prize in the
Cardboard Contest 2016

Second Prize in the
LED Contest


