Blue Busy Book With QR Codes


With Christmas approaching, I was wondering what I could make for my little niblings (niece and nephew) and with these busy books becoming increasingly more popular I thought they might find something like this under the tree interesting. The books are not too difficult to make but are quite time consuming. The pink one took about 35 hours to make and the blue one about 22 hours. I’m not a professional by any means, so please excuse me if I used bad terminology 🙂
Materials And Tools
Materials:
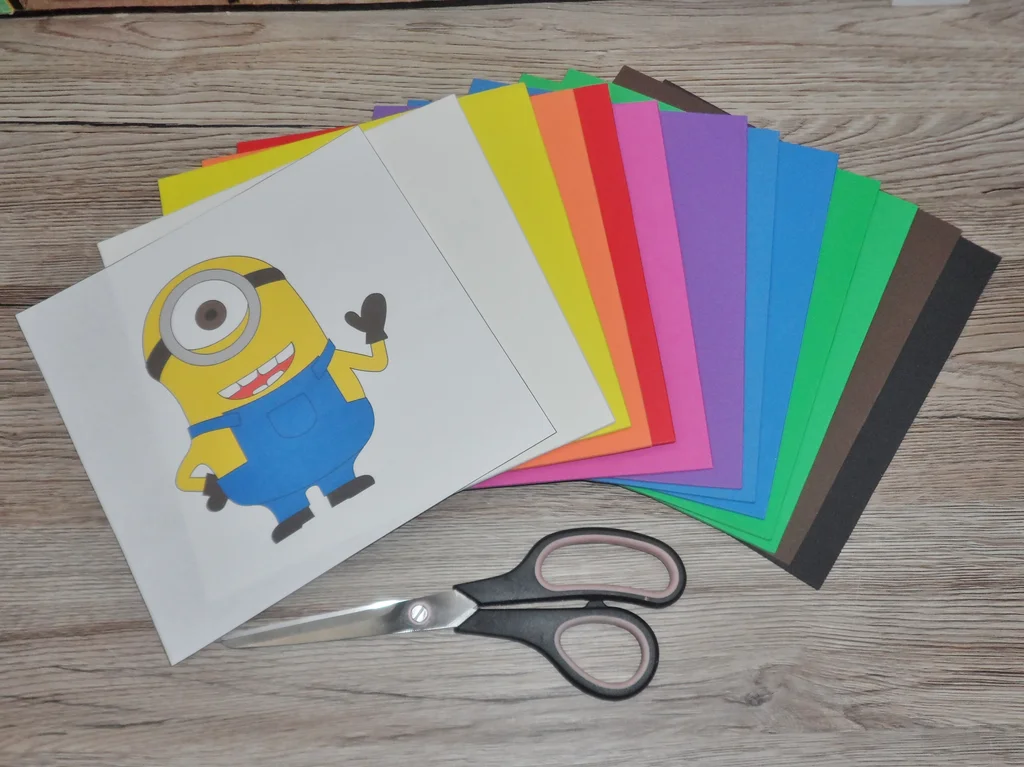
- 12 A4 foam sheets
- lots of felt sheets in different colours
- 12 pieces of fabrics at least 20cm x 20cm + extra for binding
- threads in different colours
- button
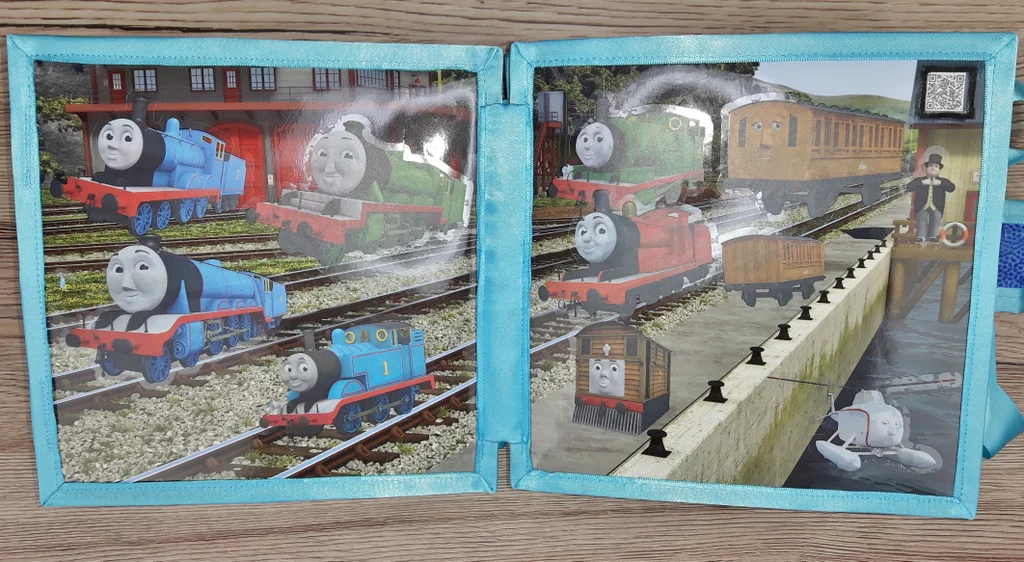
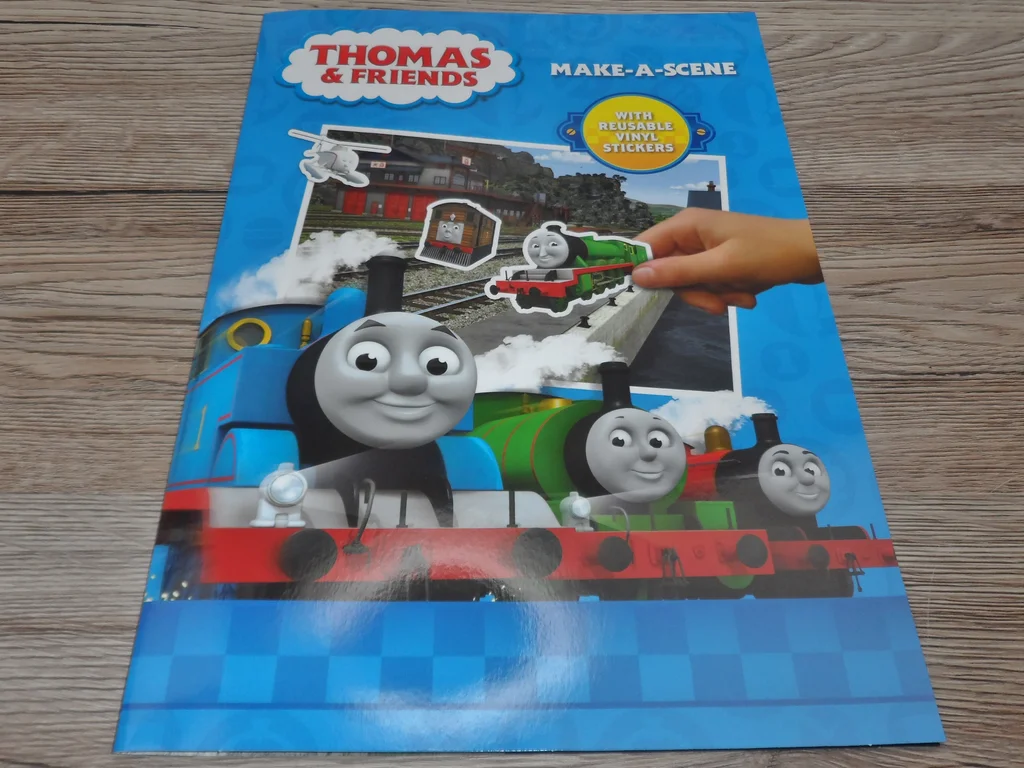
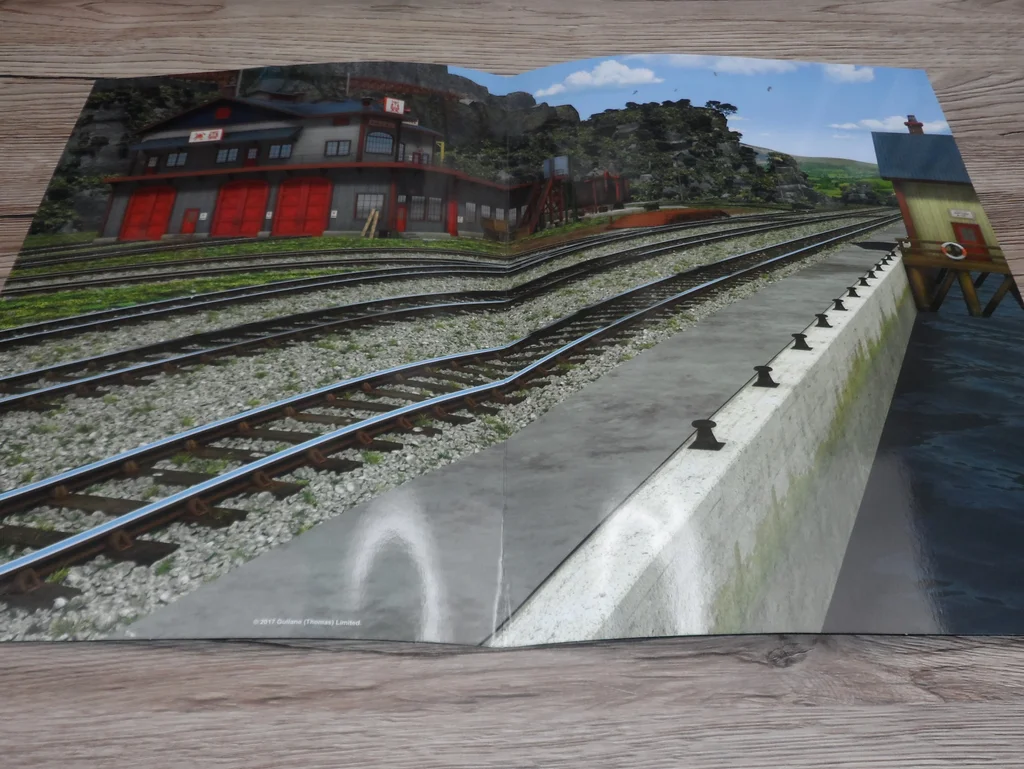
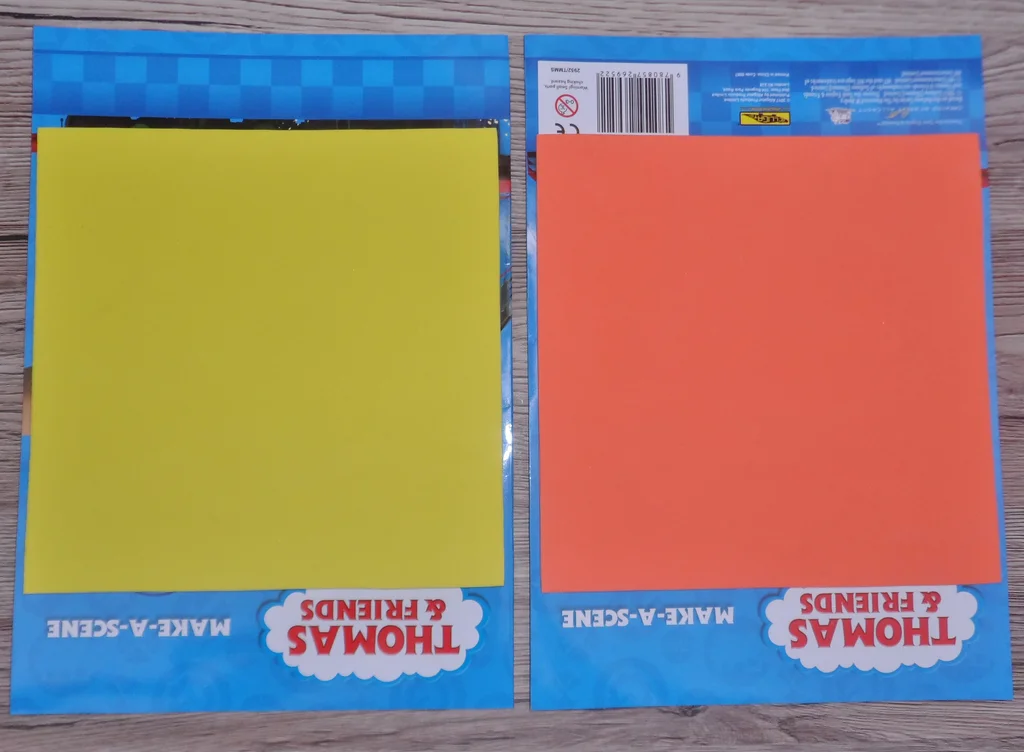
- Thomas & Friends make-a-scene
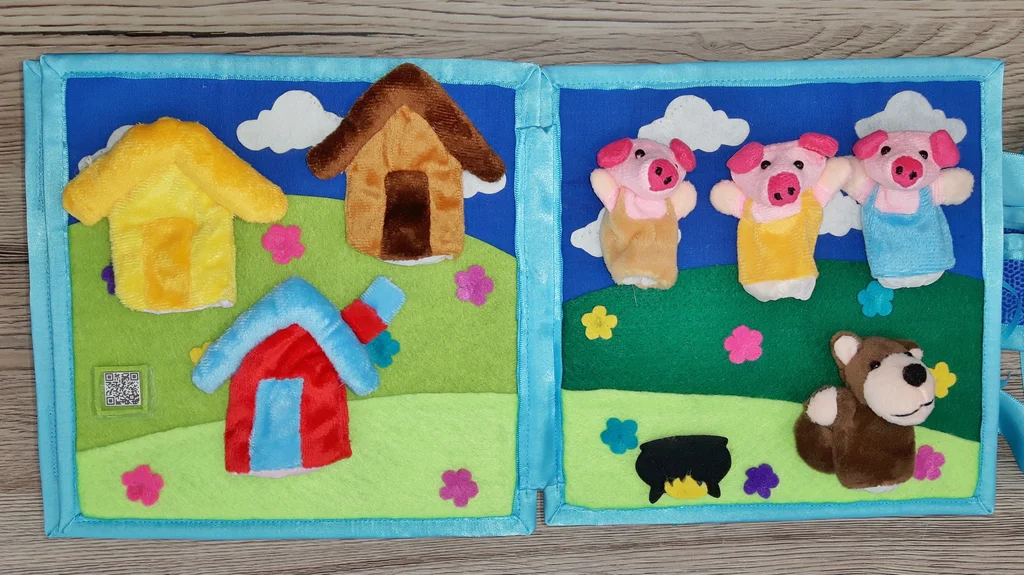
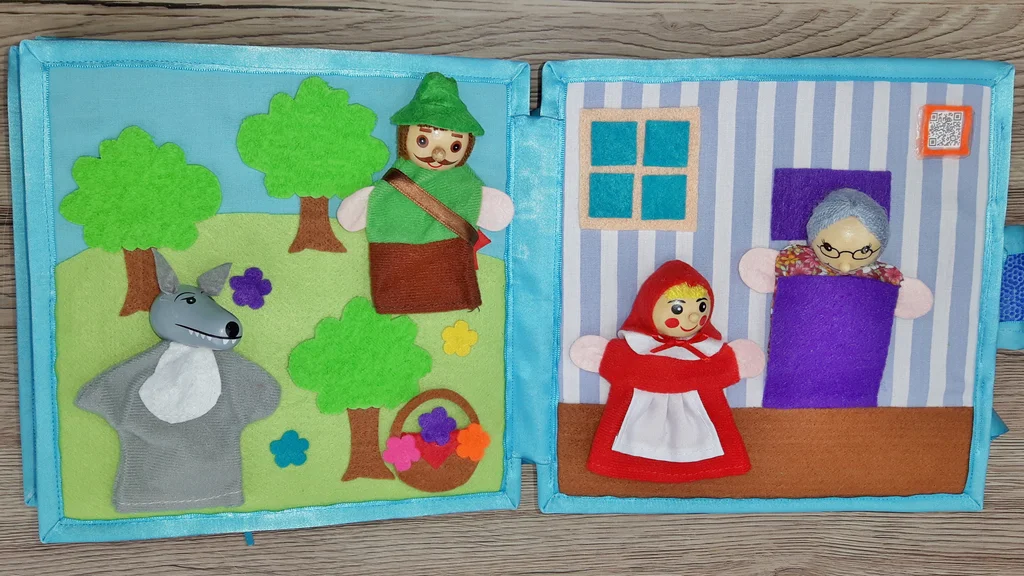
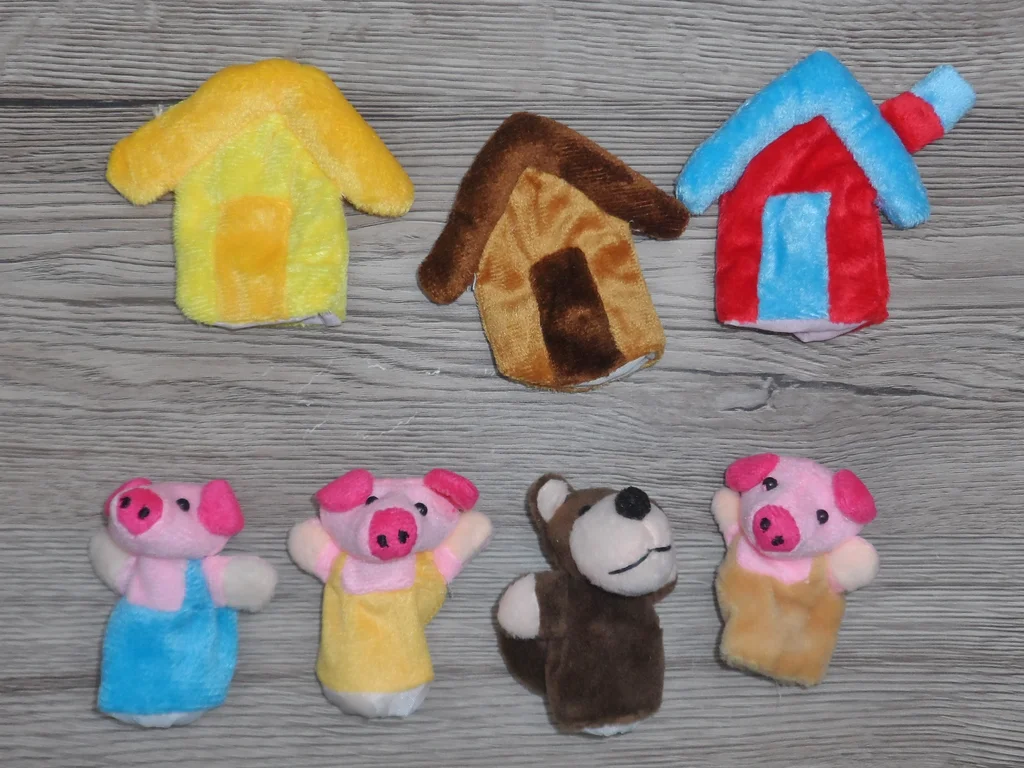
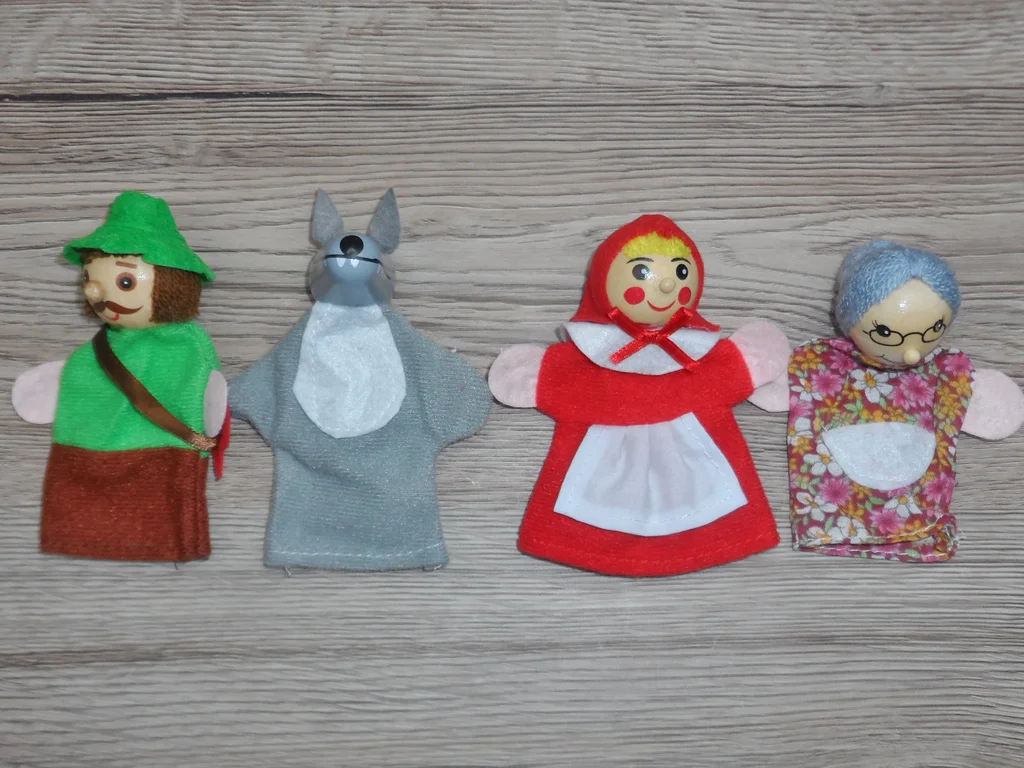
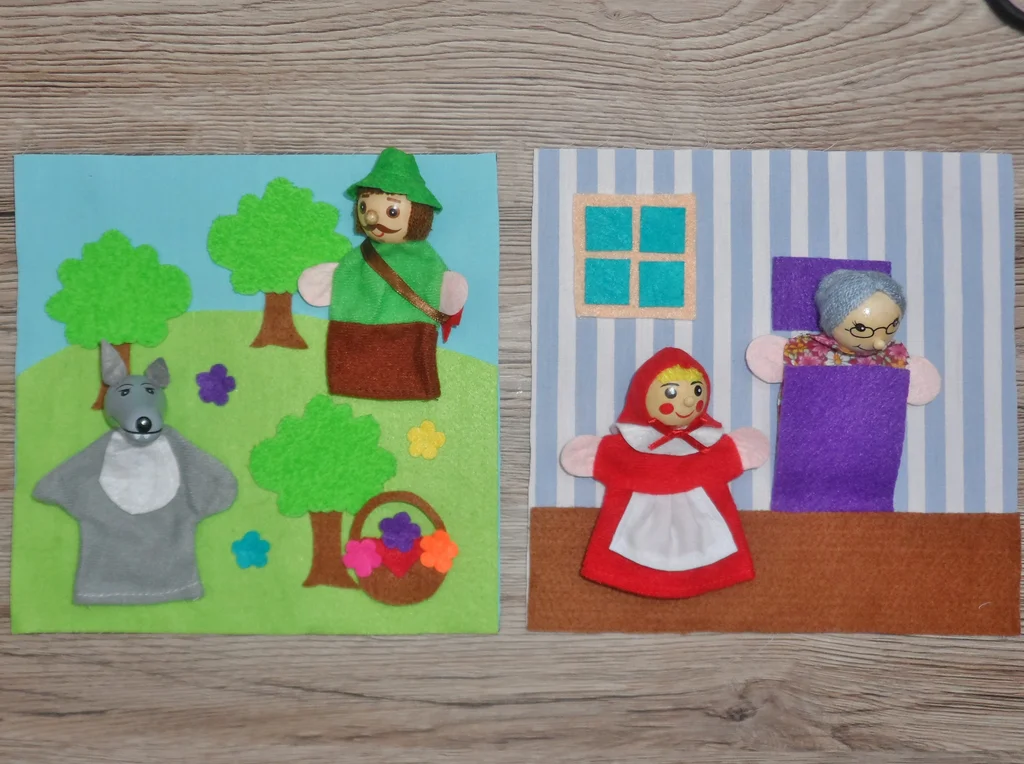
- finger puppets
- Velcro hook and loop
- eyelets
- ribbons 3mm and 25mm wide
- plastic joint for dolls
- transparent plastic sheet
Tools:
- scissors
- paper binder clips
- needle
- hot glue gun
- eyelet pliers
- sewing machine
- wire cutters
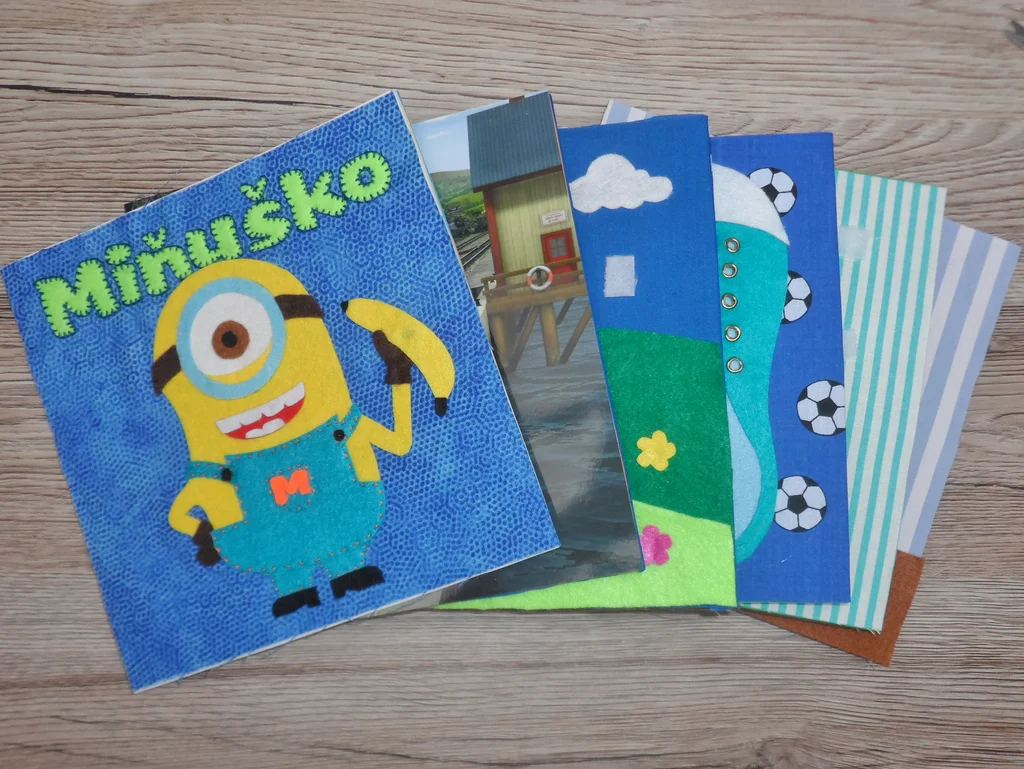
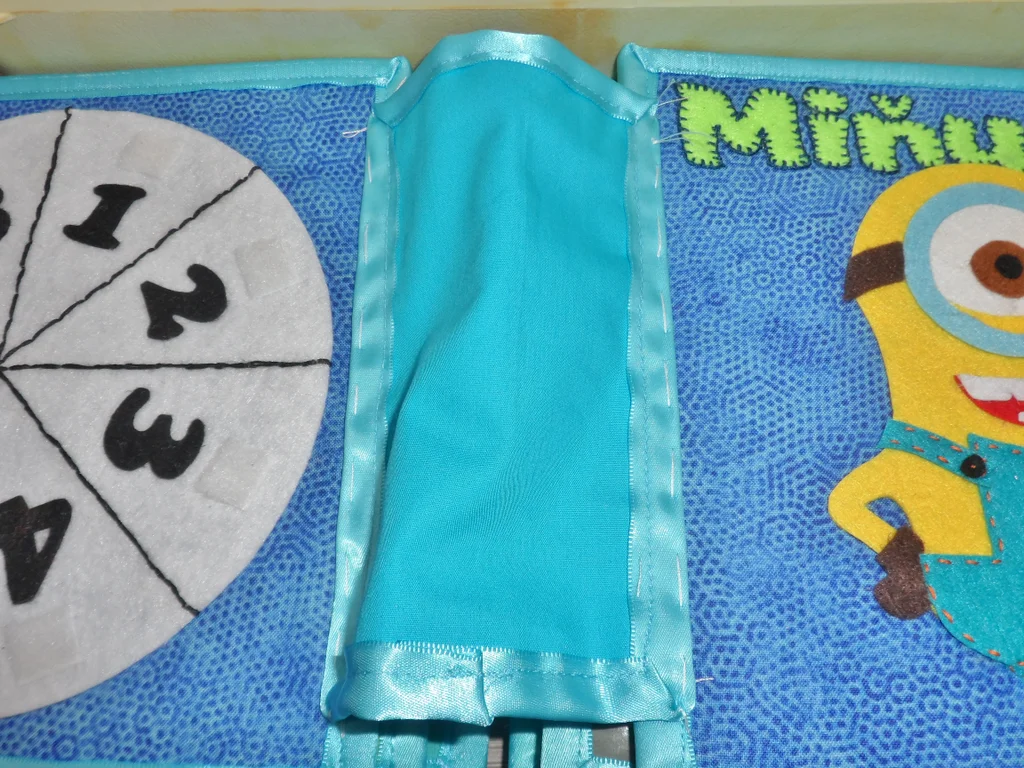
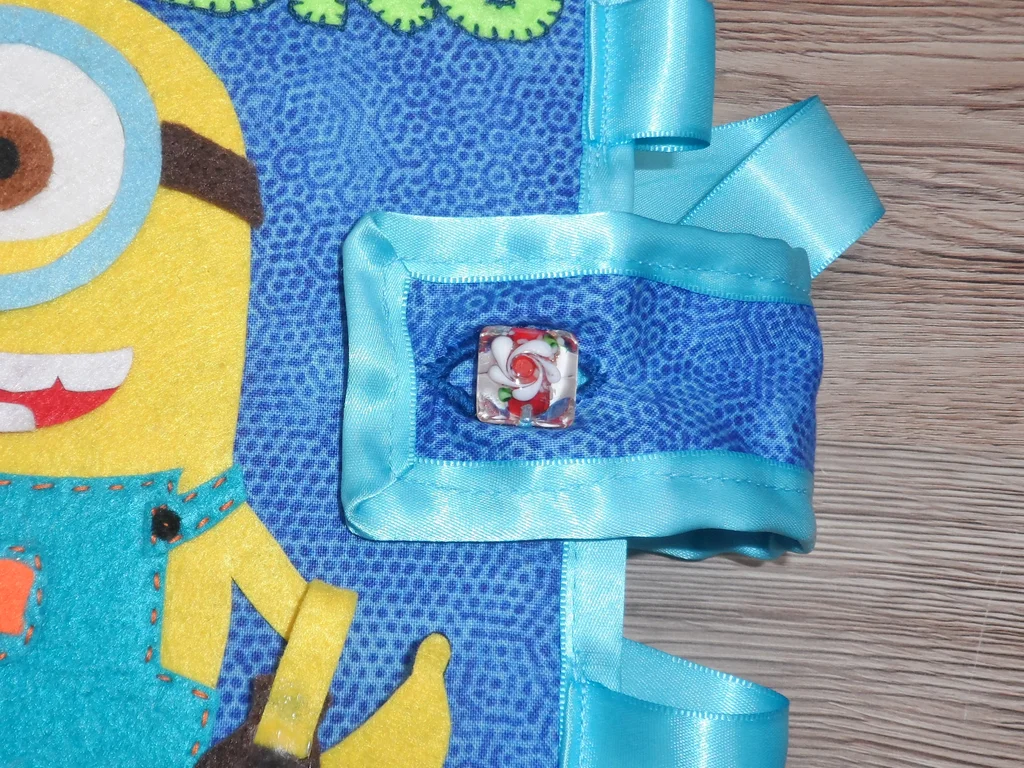
Blue Book Page 1


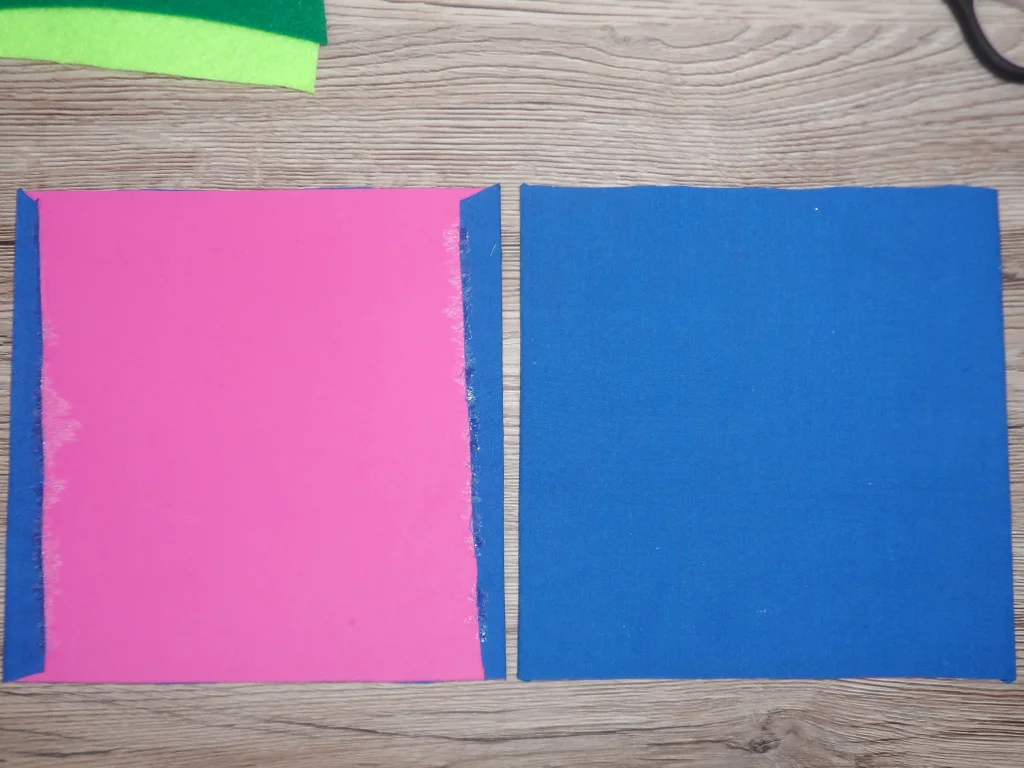
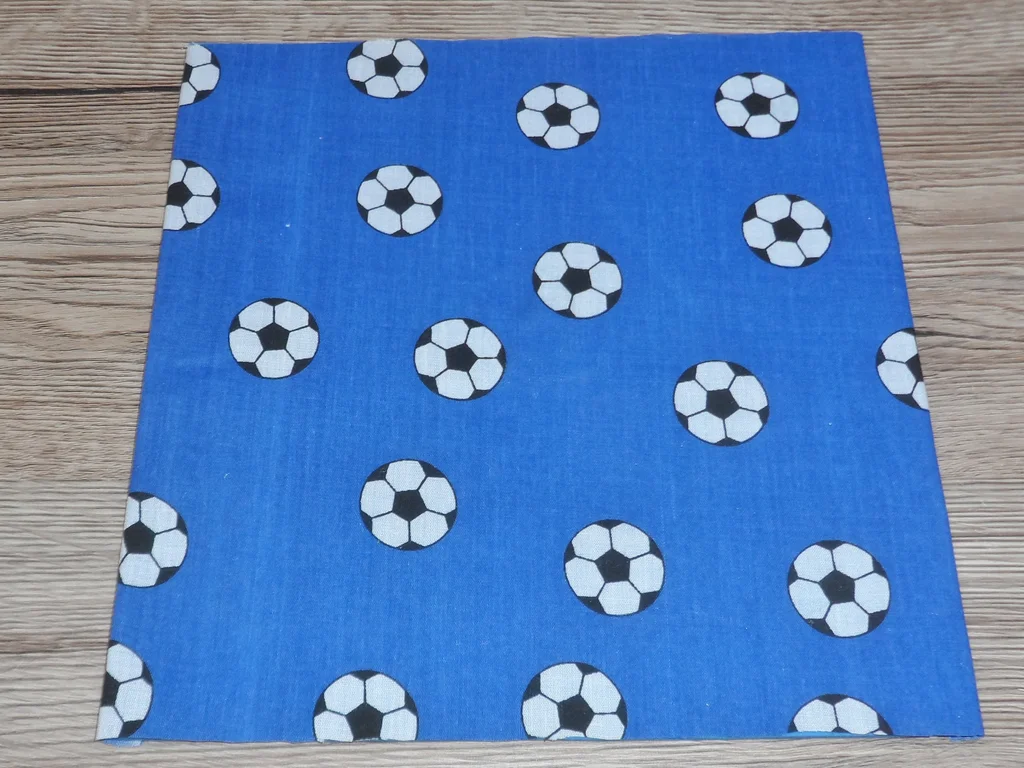
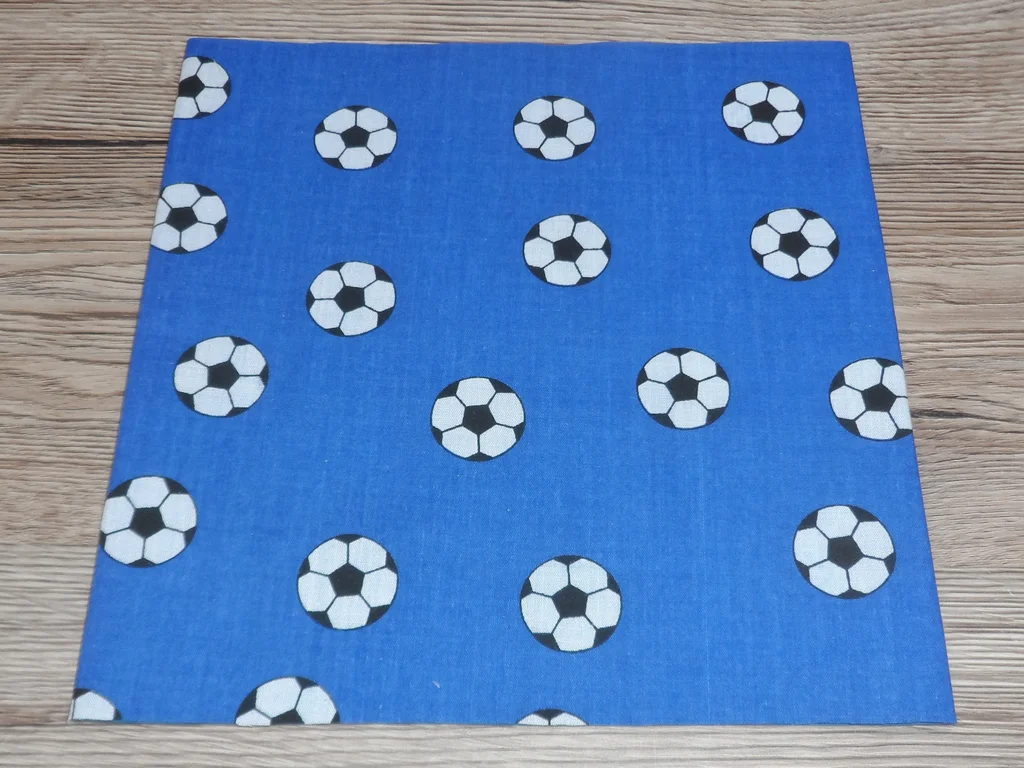
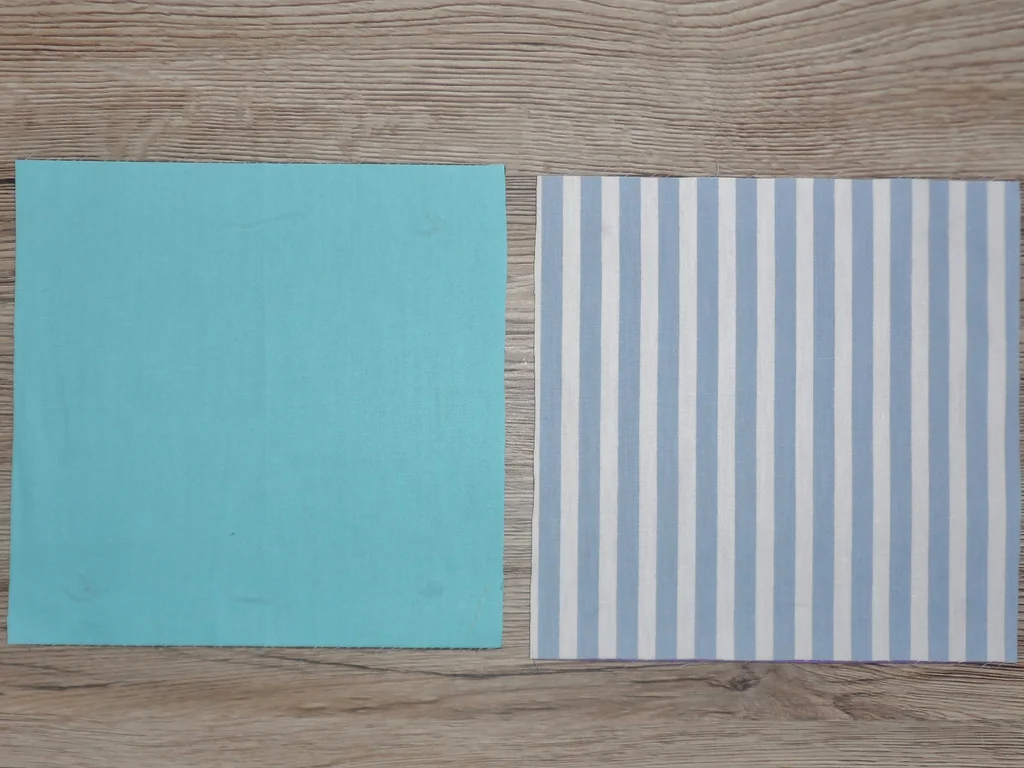
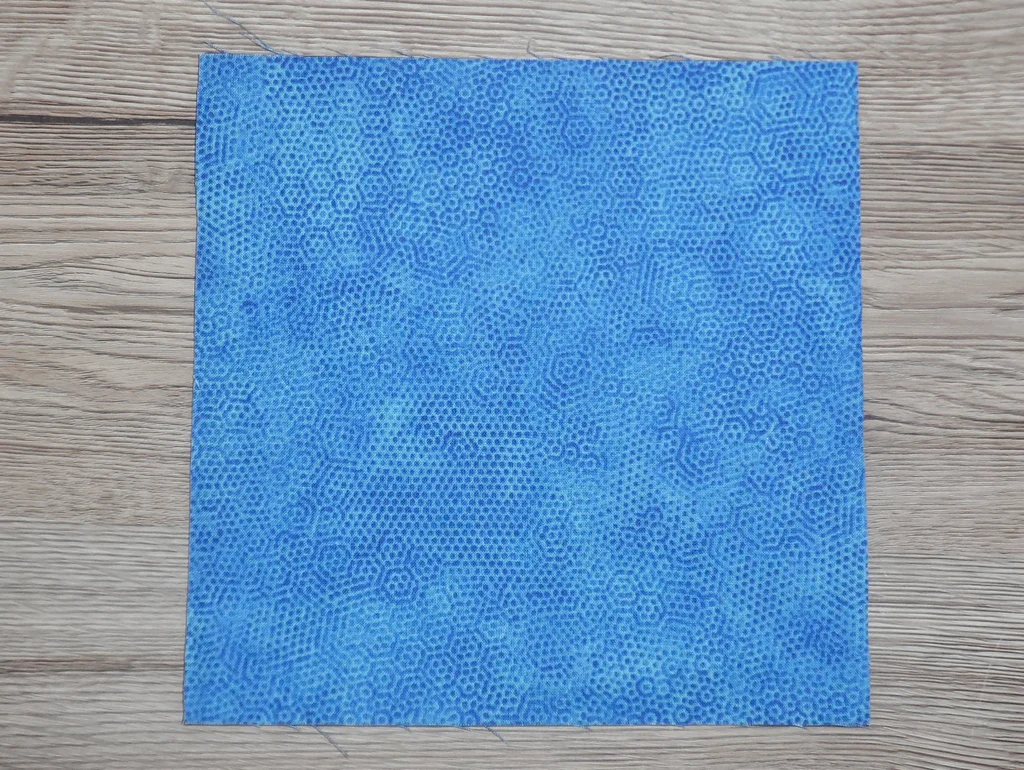
Print out the template. Cut out 12 20cm x 20cm foam sheet squares, these will be the backing for each page. Glue the fabrics of your choosing to each page with hot glue (leave the edges glue free for easier sewing).
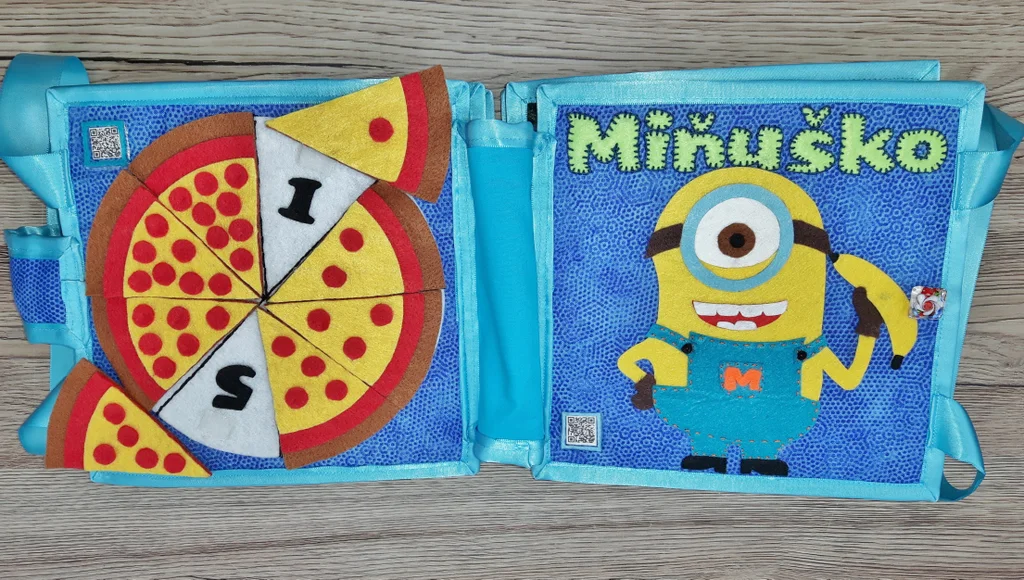
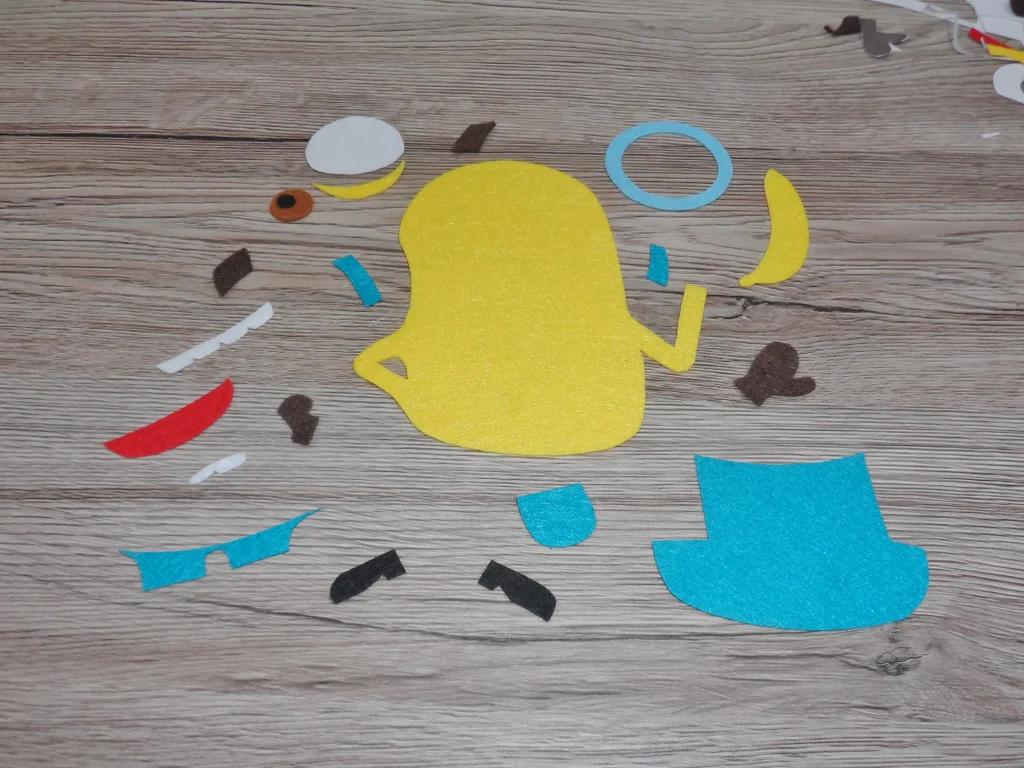
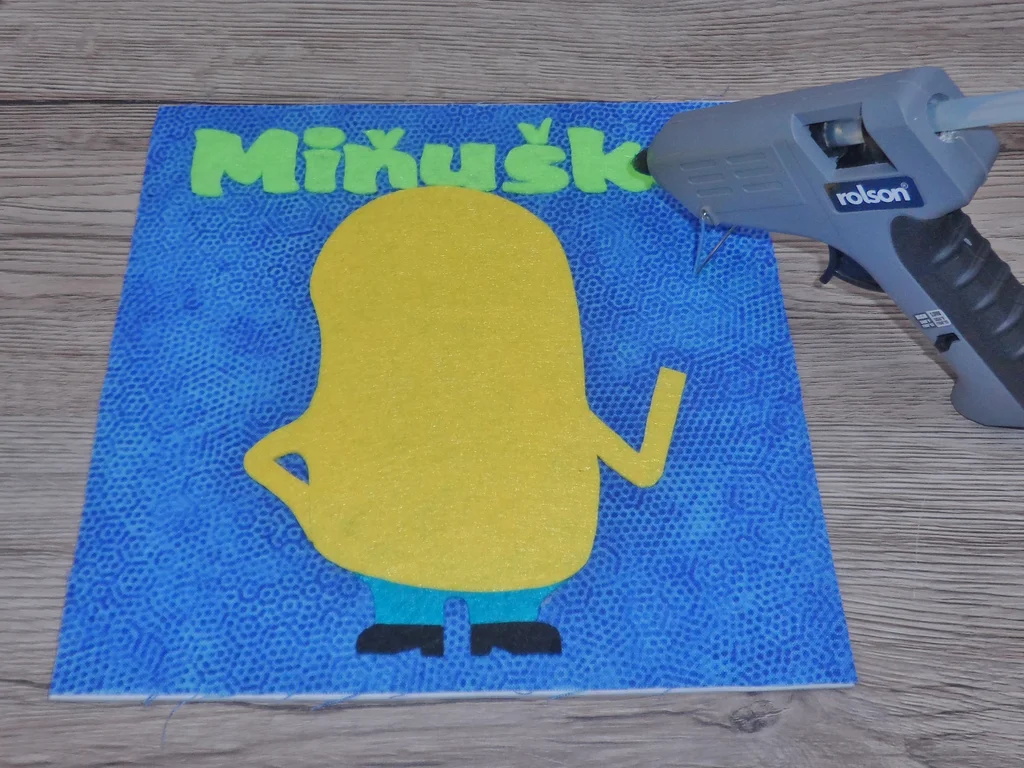
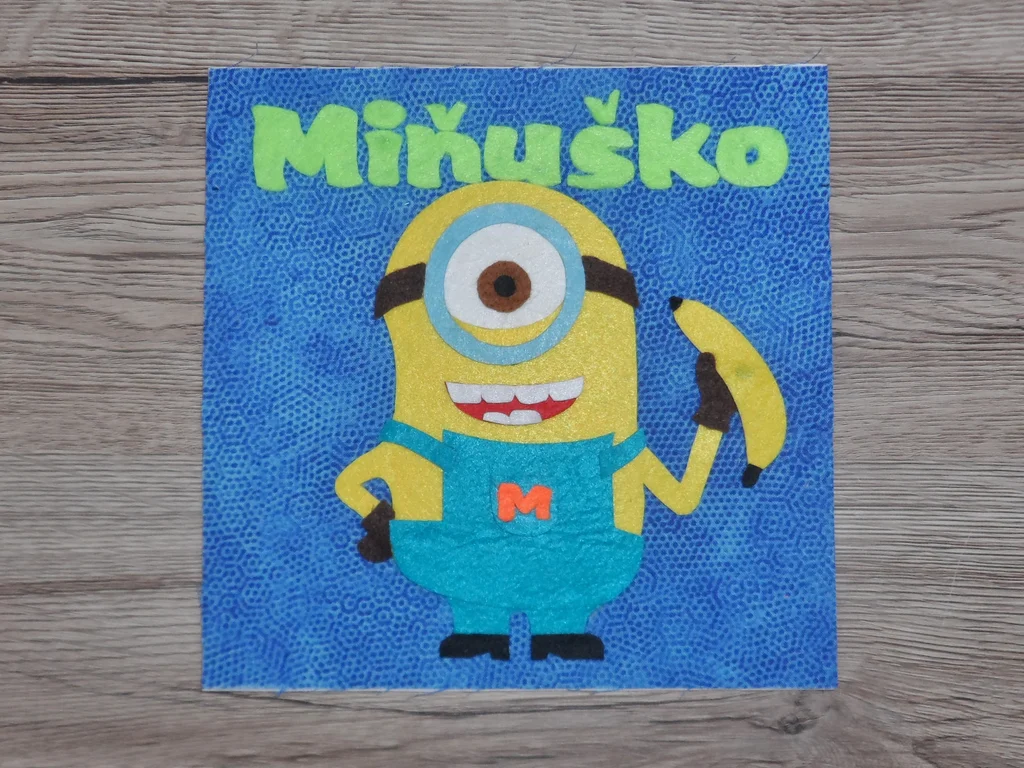
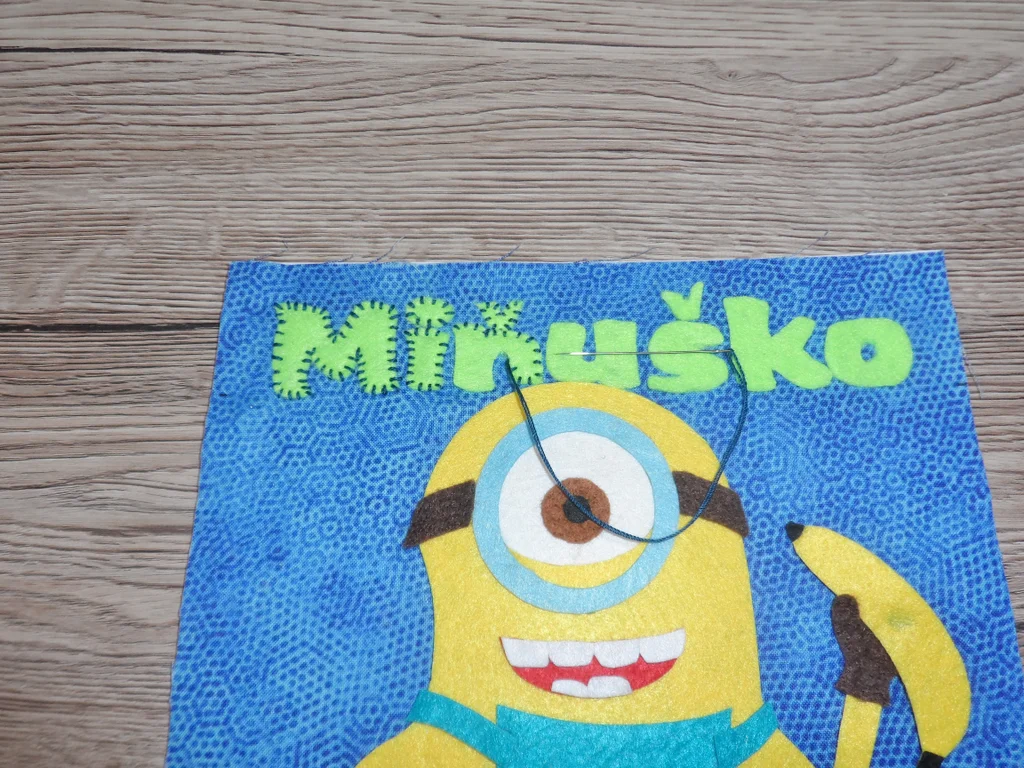
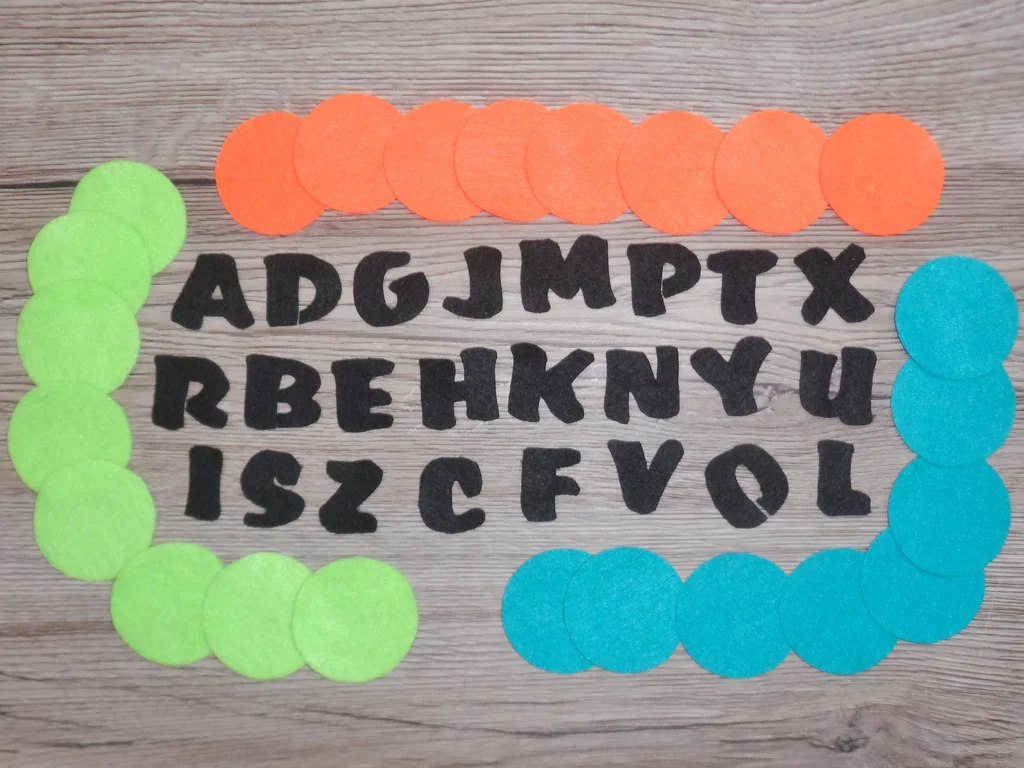
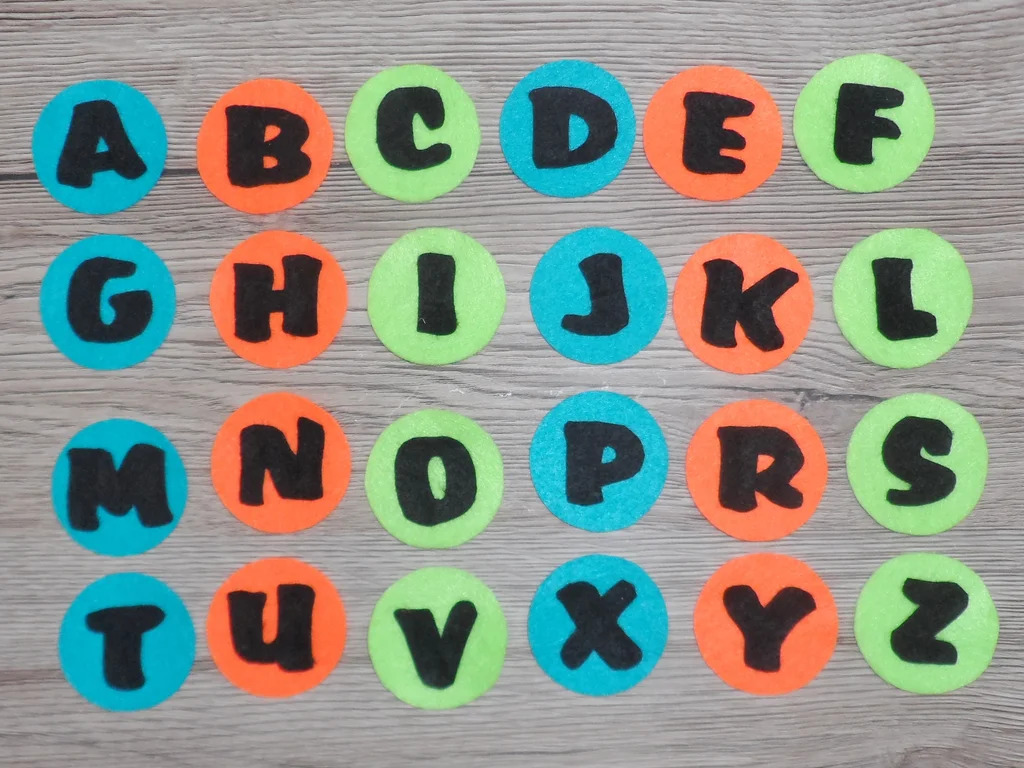
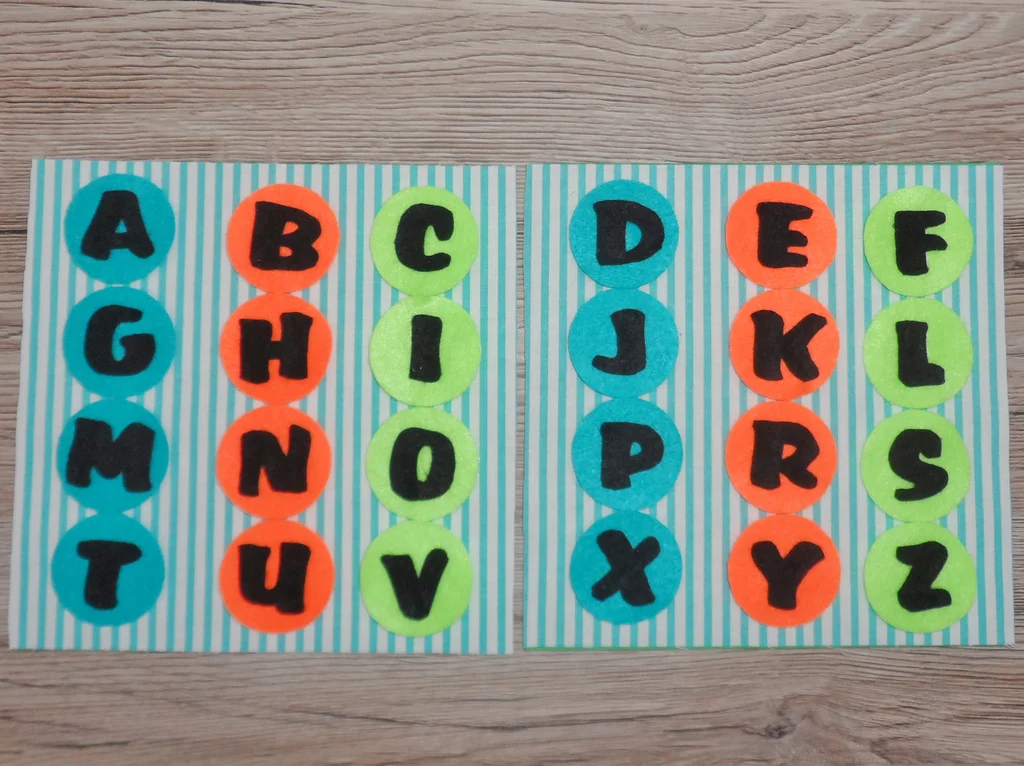
Cut out all of the pieces for minion (template page 1). Cut out the letters for the name from a felt of your chosen colour and glue them to the top of the page at least 1cm from the top. Glue the minion under the letters and stitch around the dungarees with an orange thread.
Use the hot glue sparingly as it might become difficult to sew through it later. Use the button hole stitch around the letters to make them stand out. Sew on a button.


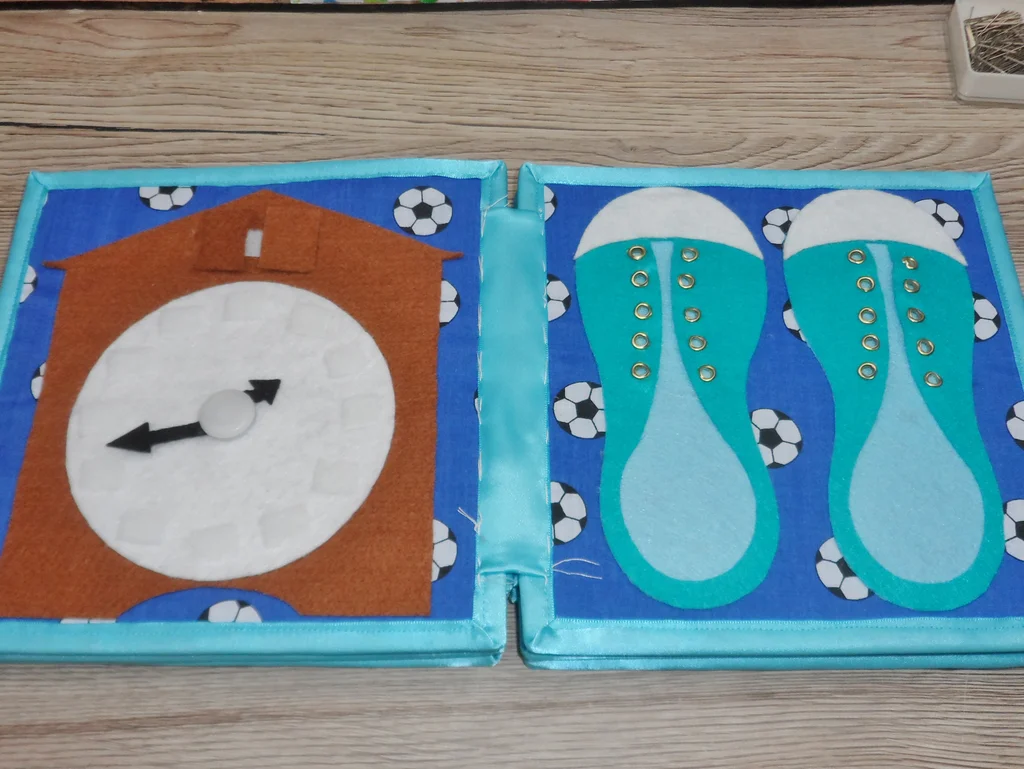
Blue Book Page 6


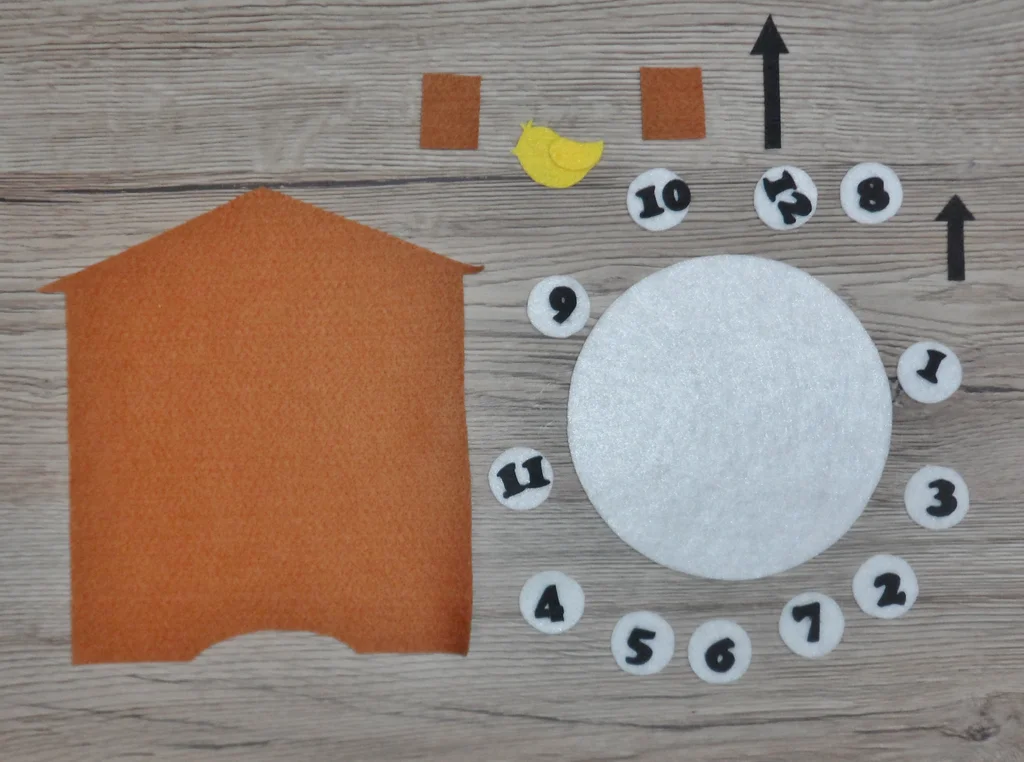
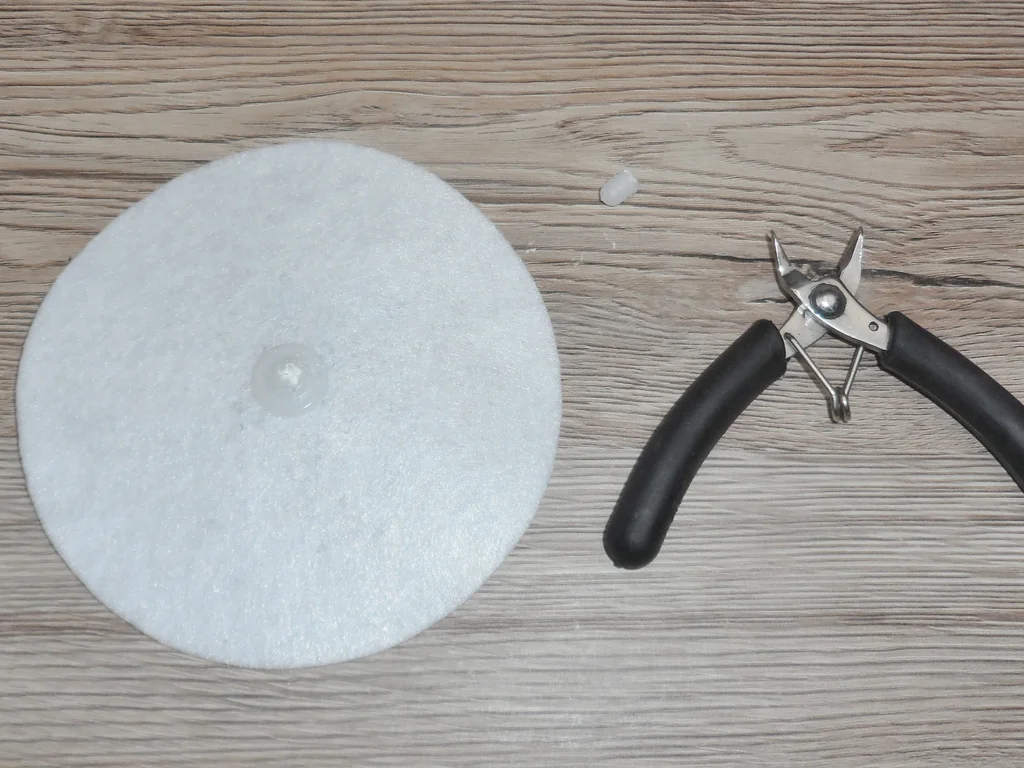
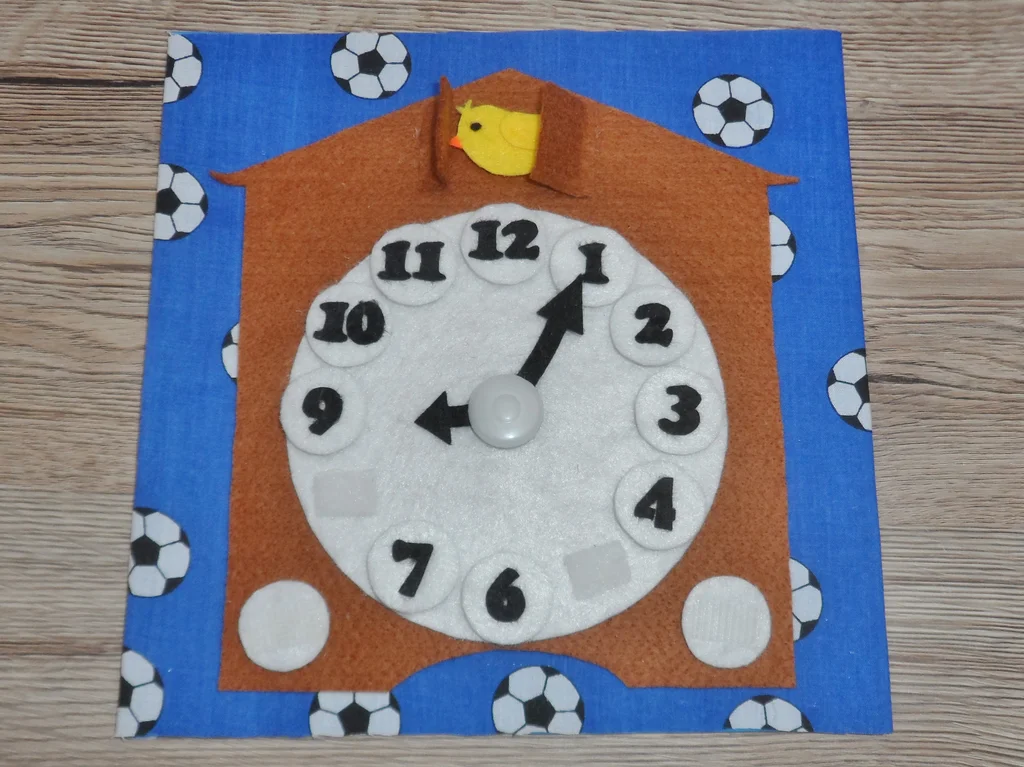
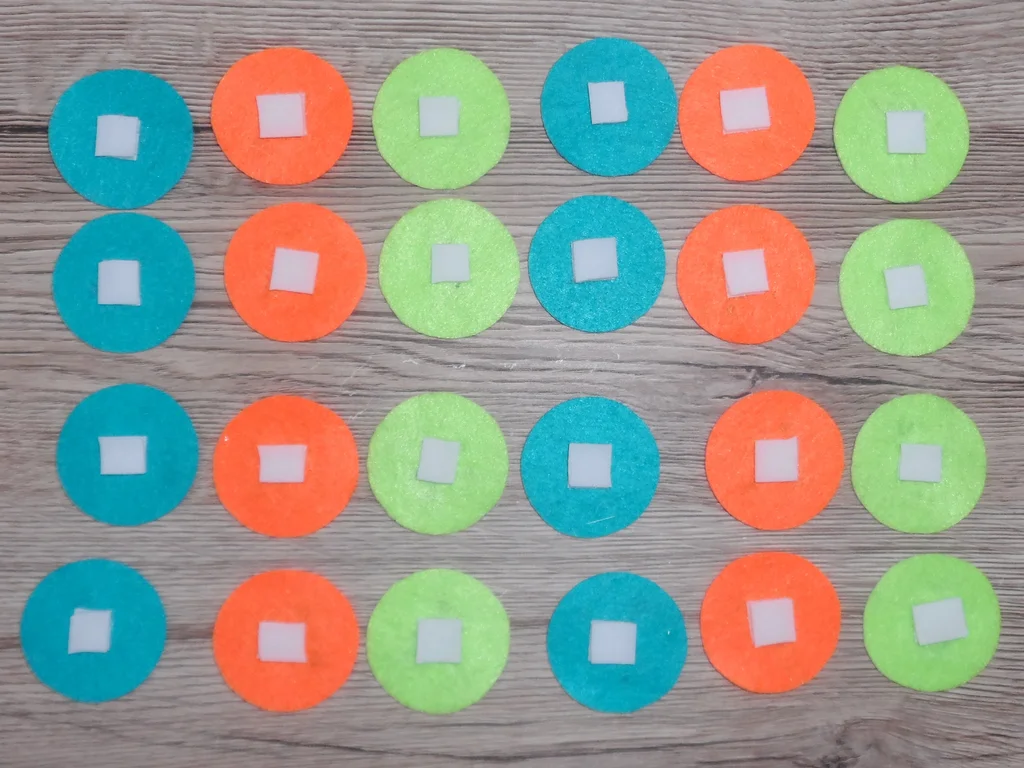
Cut out the clock pieces (template page 3). Connect the clock arms and the clock circle with the plastic doll joint and cut off the leftover of the joint with wire cutters. Glue the clock housing and the circle onto the page. Paste the numbers onto the smaller circles. Glue the velcro hooks onto the number circles and the bird and the velcro loops onto the clock.


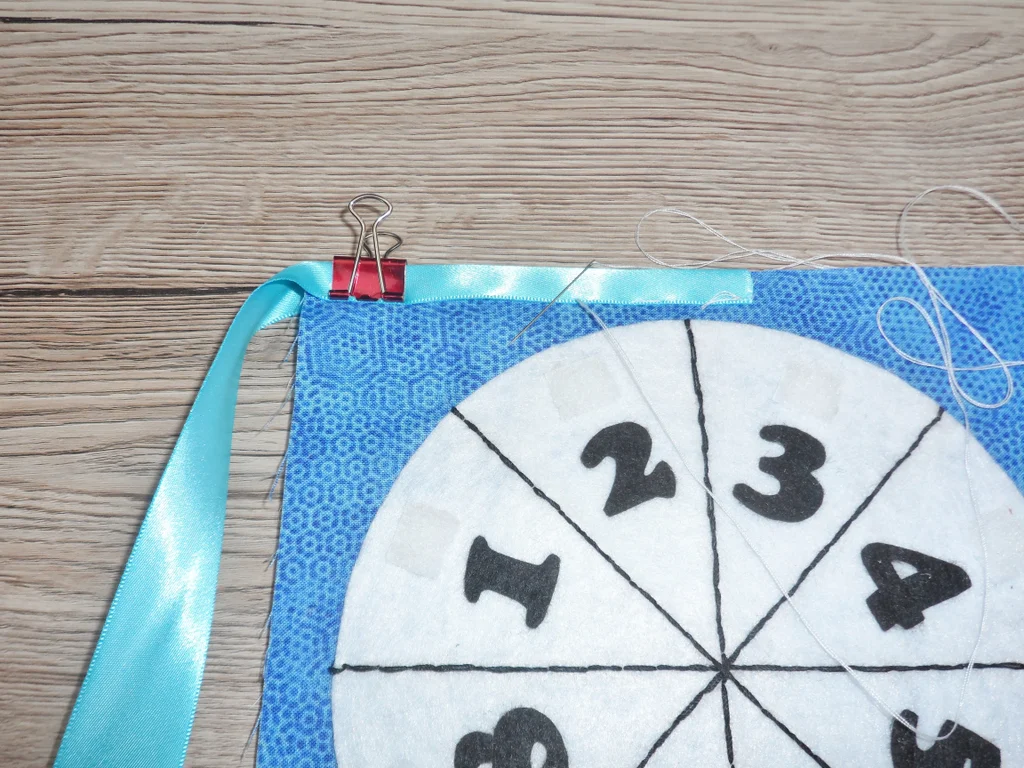
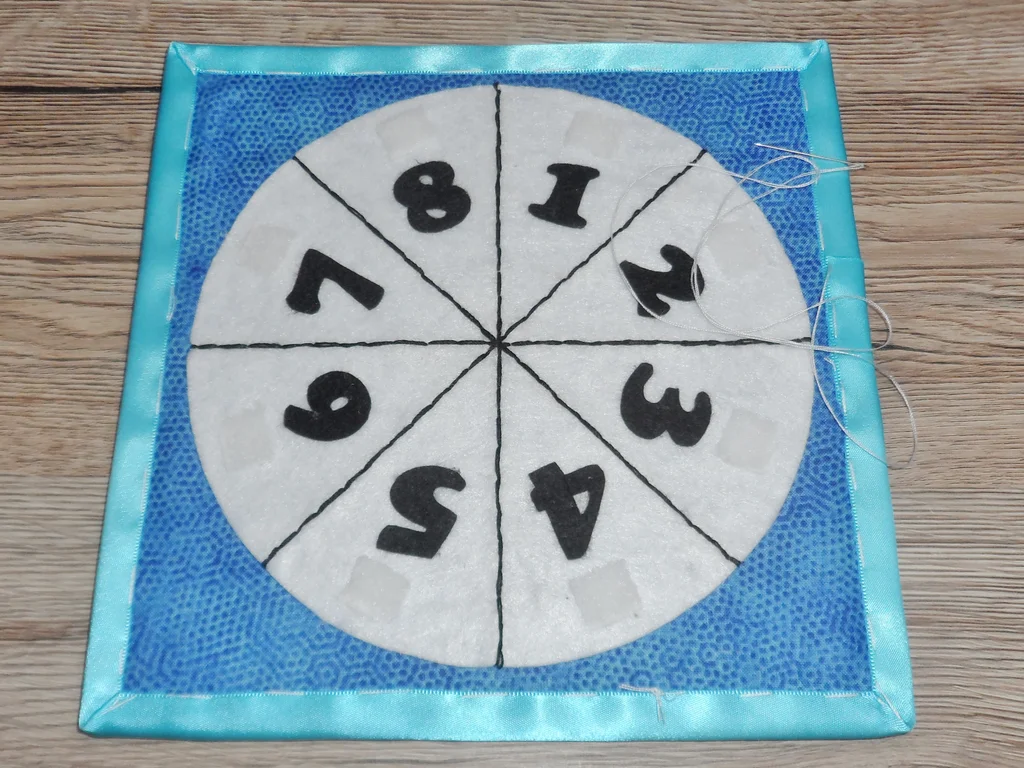
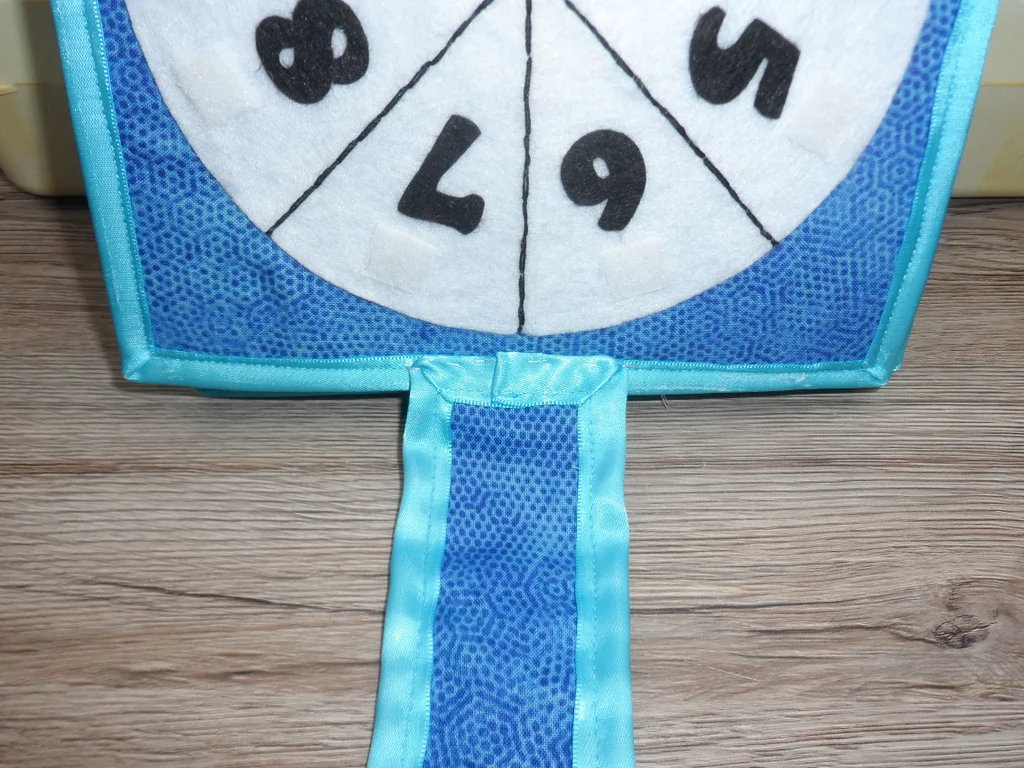
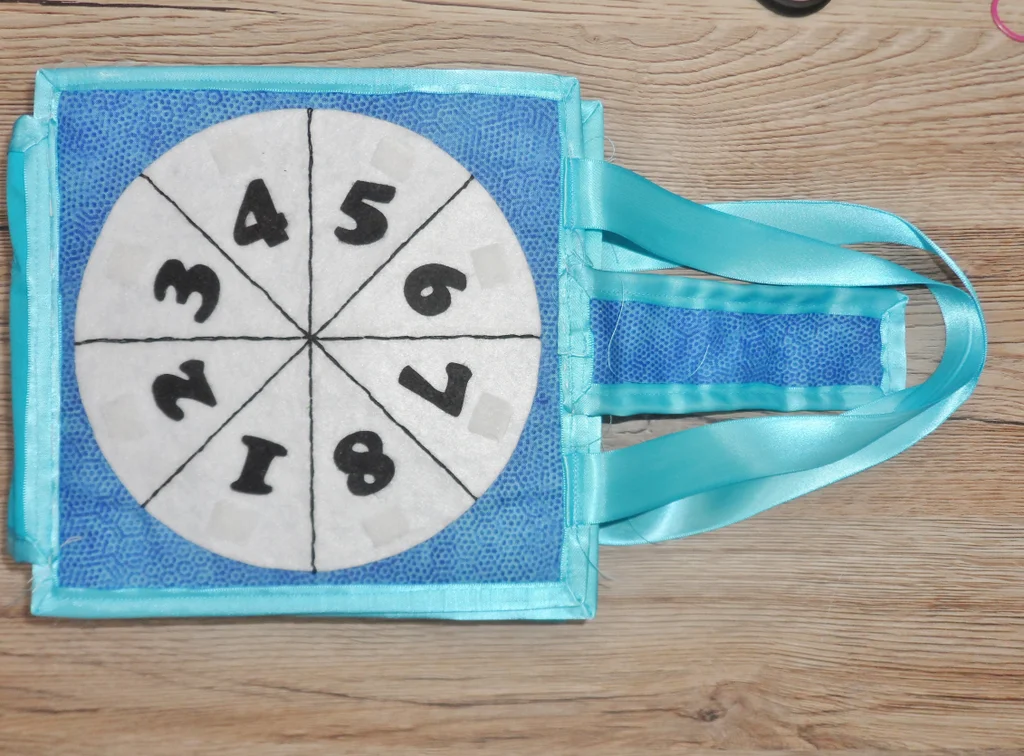
Blue Book Page 12


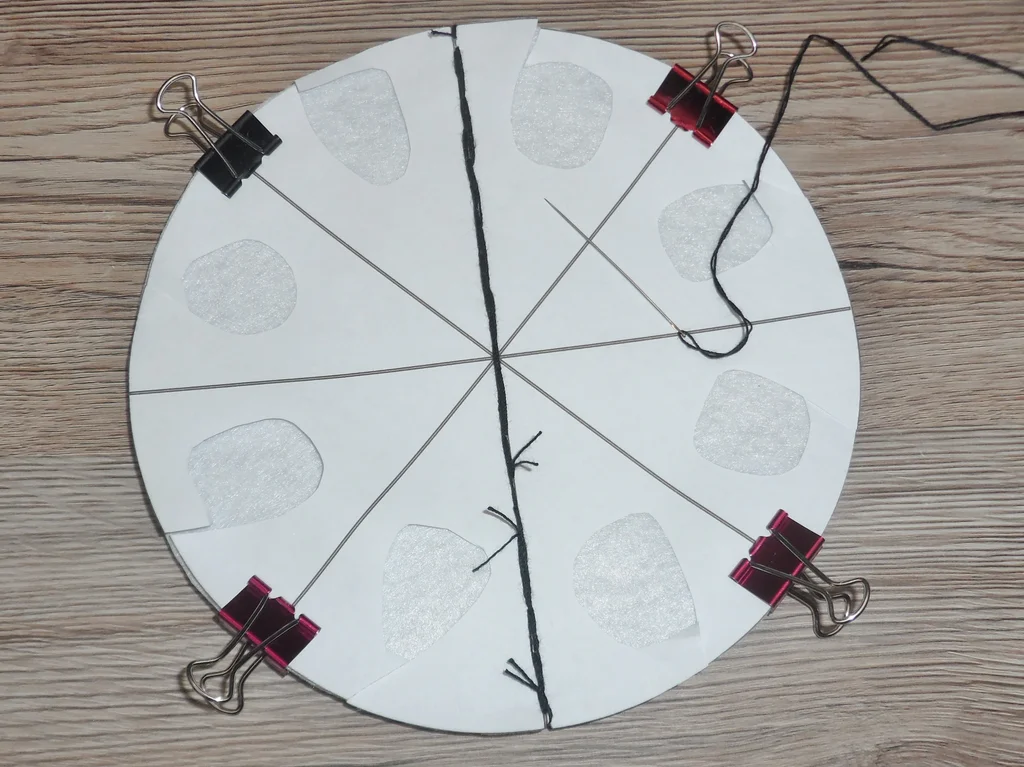
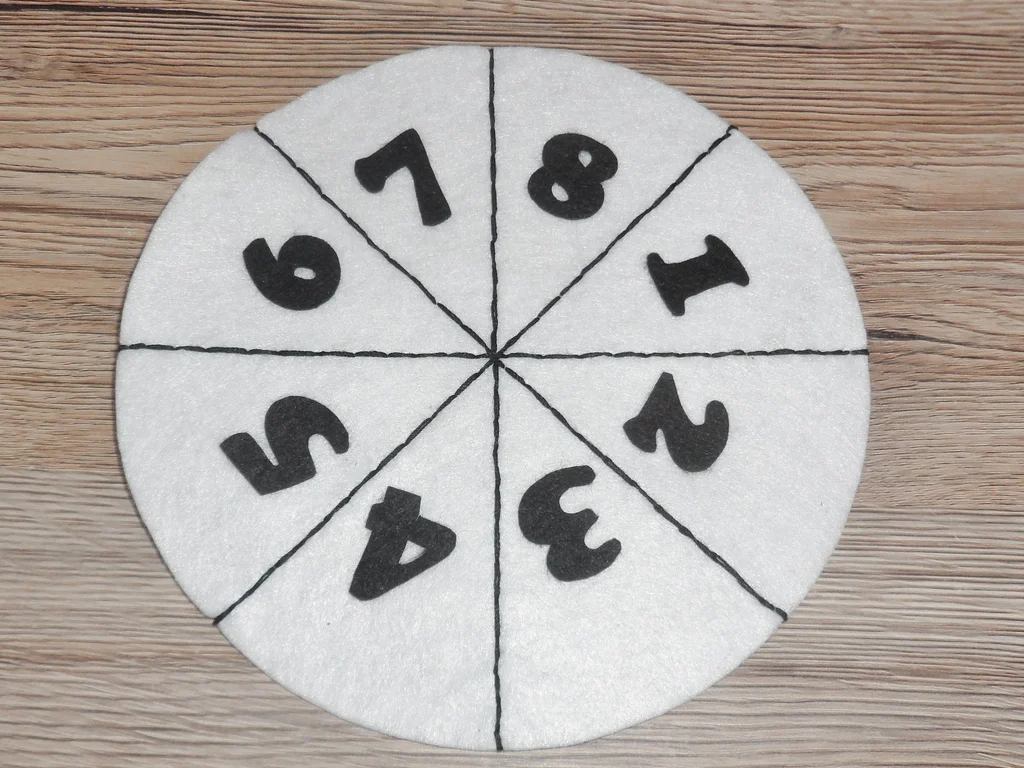
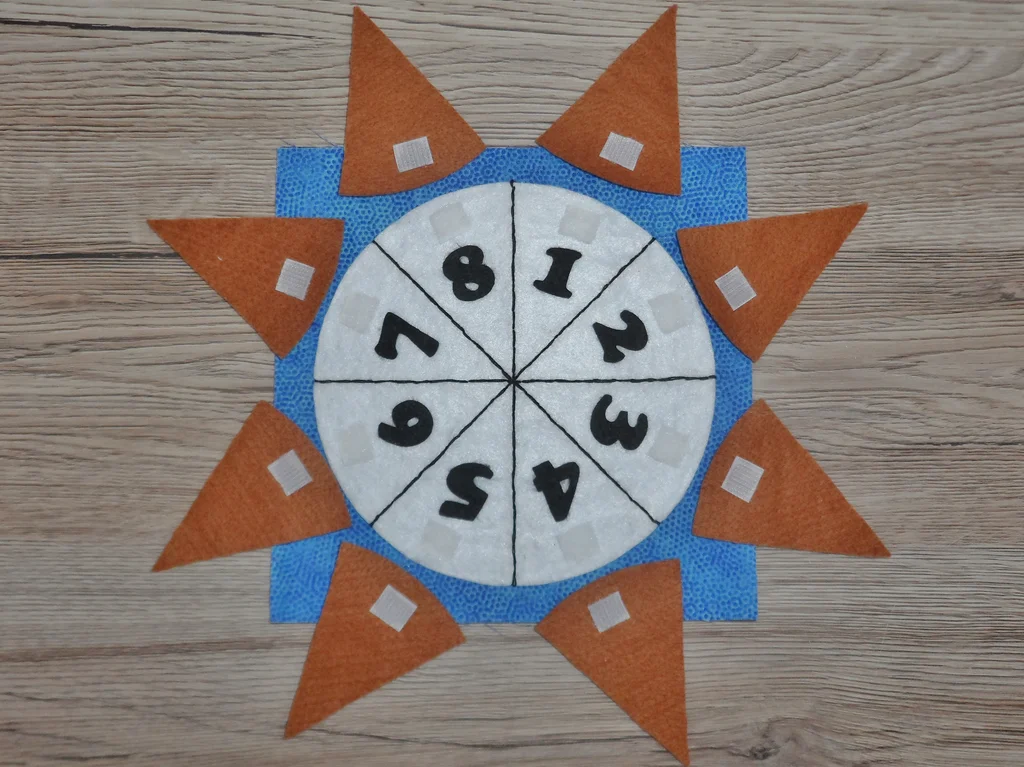
Cut out the pizza pieces (template pages 4-5). Back stitch the white circle so that you divide it into 8 pieces. Glue on the numbers and attach the circle onto the page. Glue the three pizza circles together and attach the little circles to the top. Cut into 8 pieces. Glue the velcro hoops onto the pizza pieces and velcro loops onto the white circle.


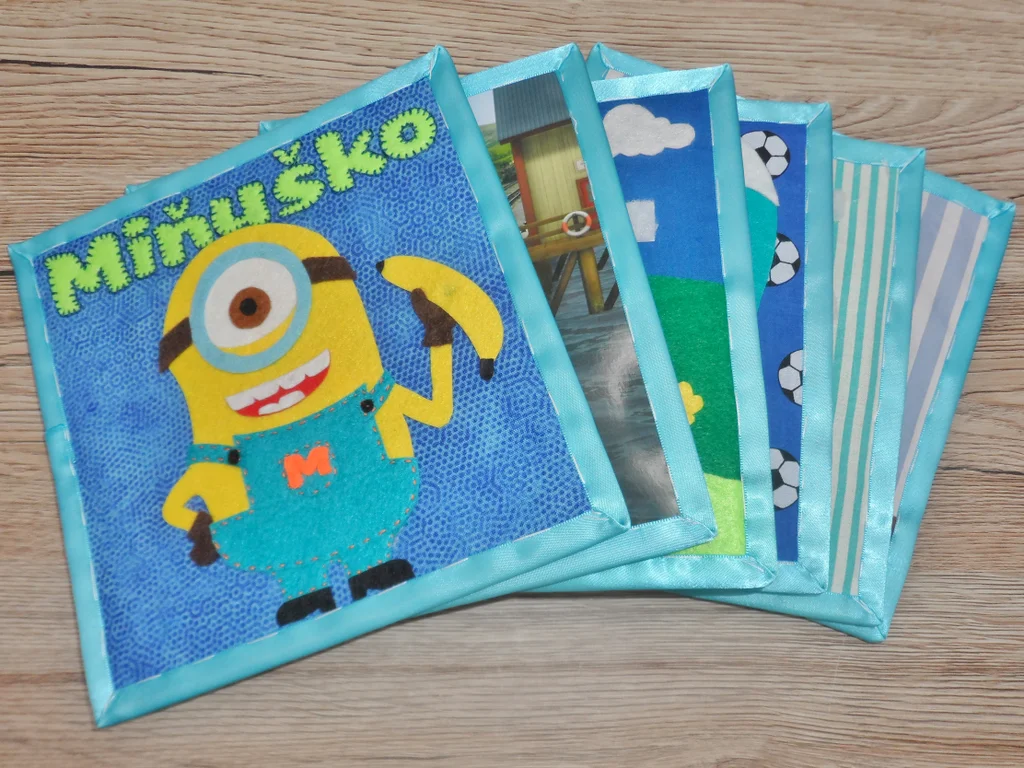
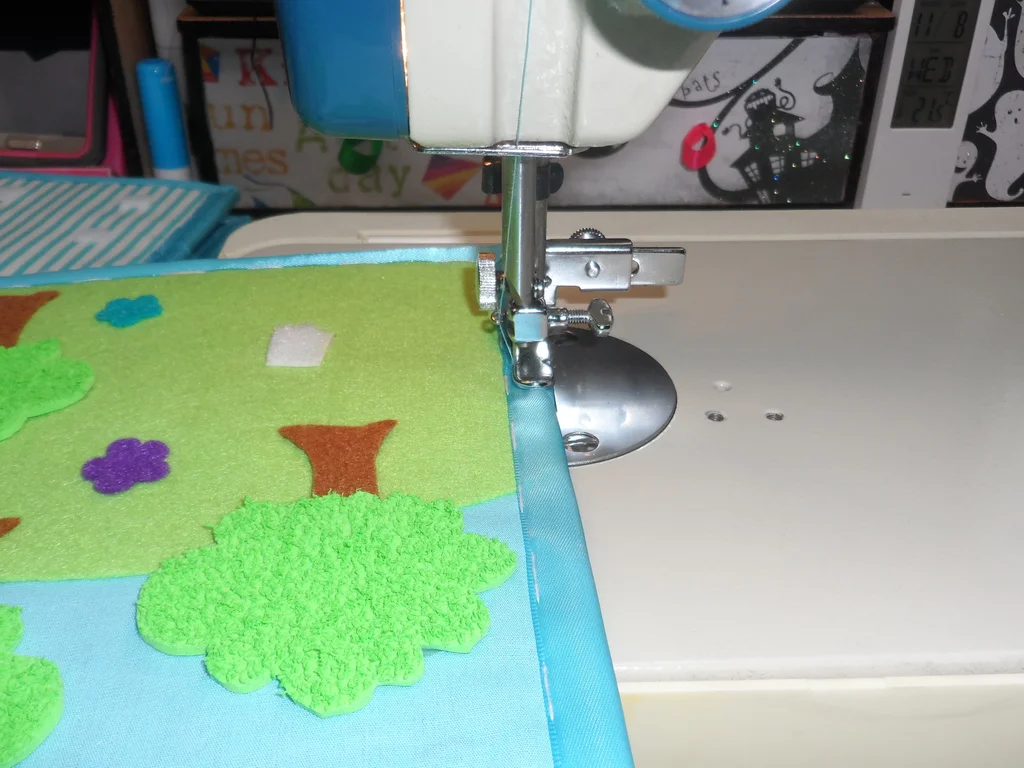
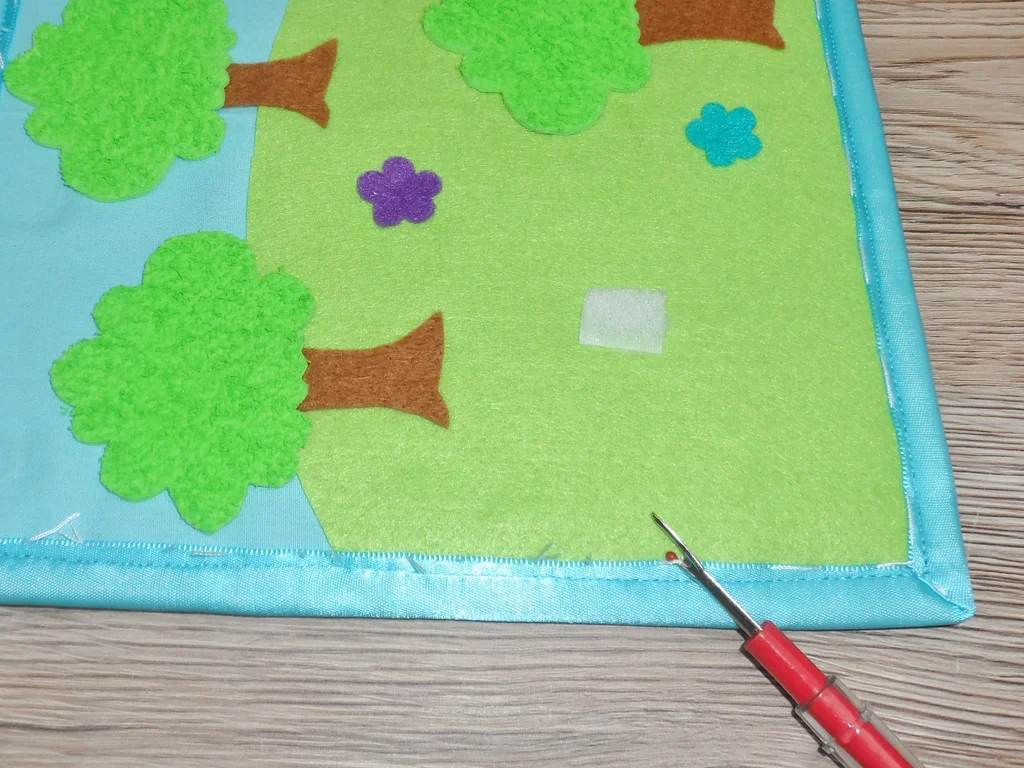
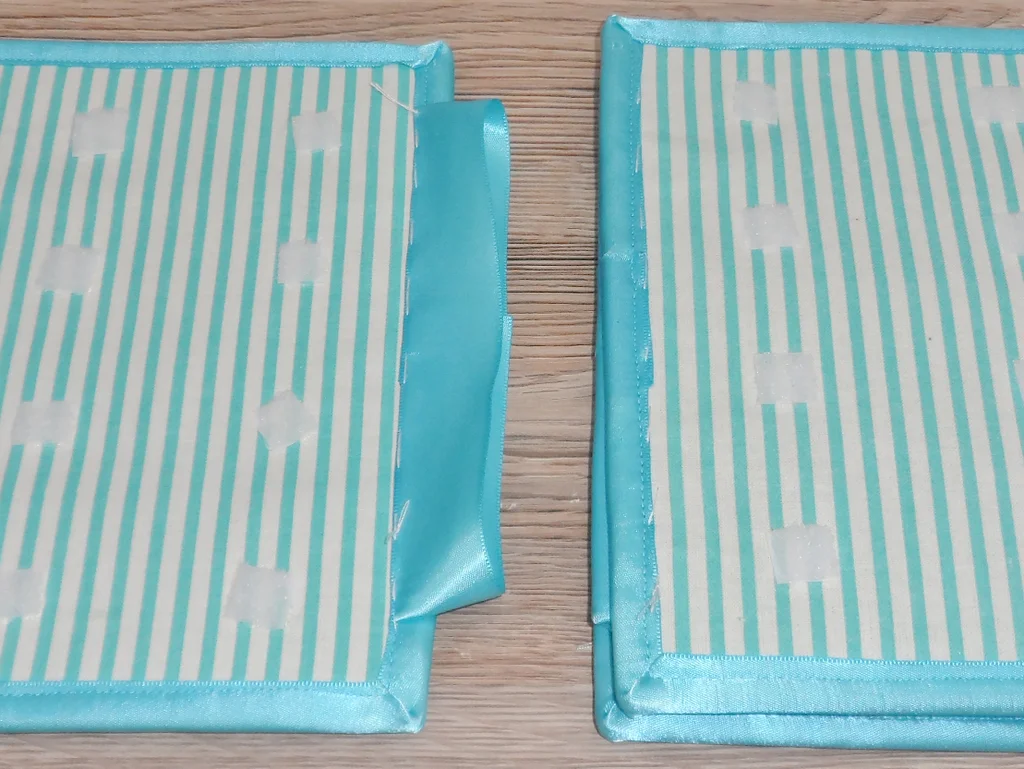
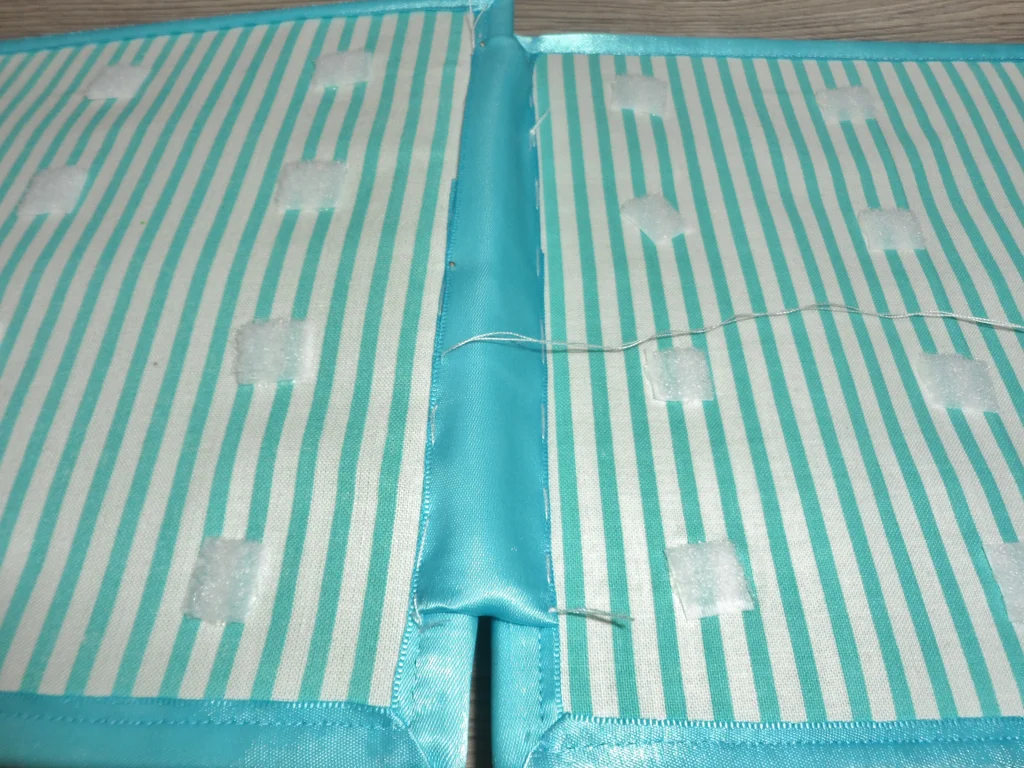
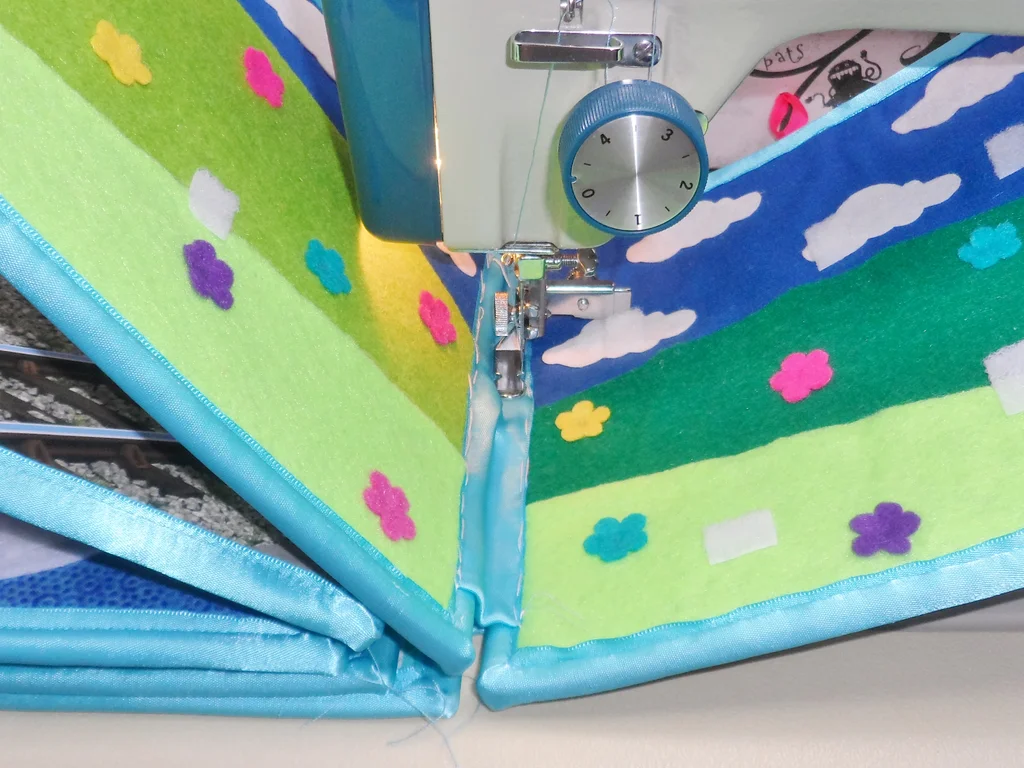
Blue Book Binding


Take 5 pieces of the wider ribbon, fold in the ends and stitch in the middle. Hand stitch each ribbon so that it joins two pages together. Repeat for all of the pages.
Take a piece of 20cm x 20cm fabric, fold in the edges and sew together. Hem the edges and hand stitch onto the front and back page of the book. Take another piece of a narrower fabric, sew, hem and stitch onto the other side of the back page.


Pink & Blue Book QR Codes


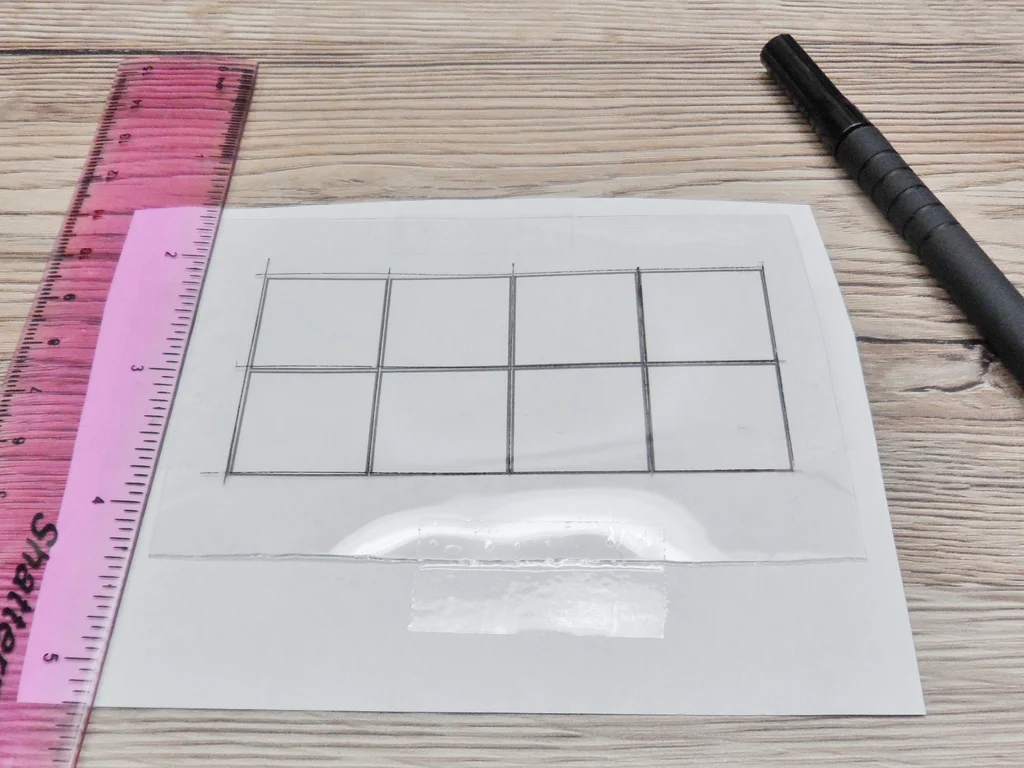
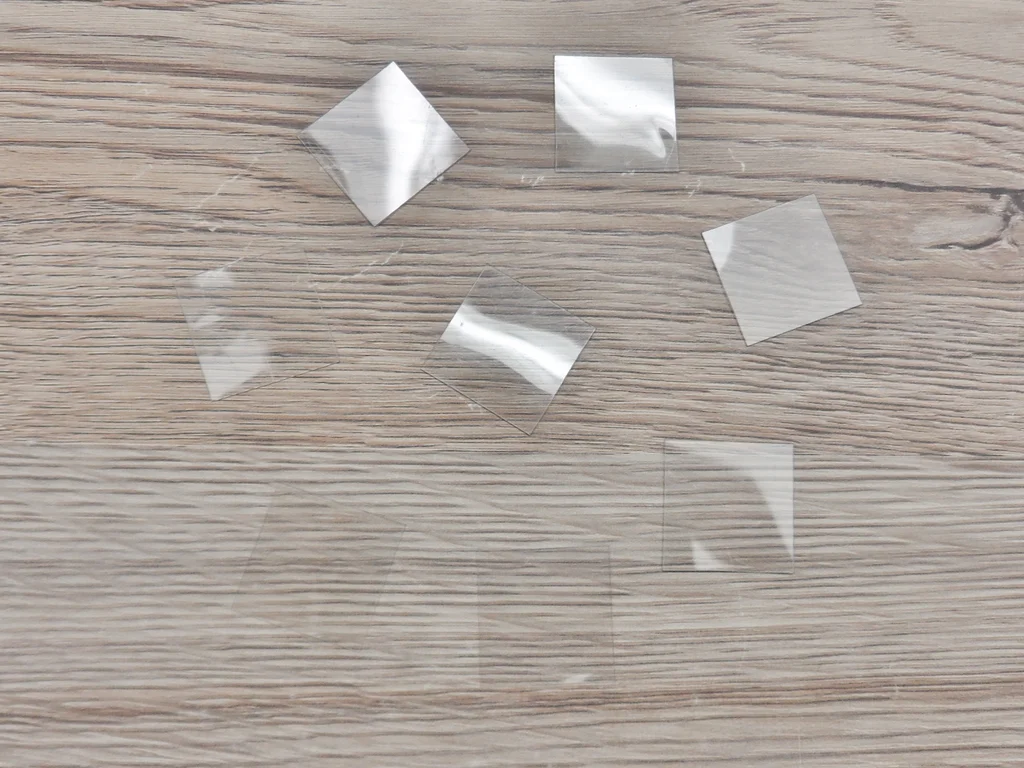
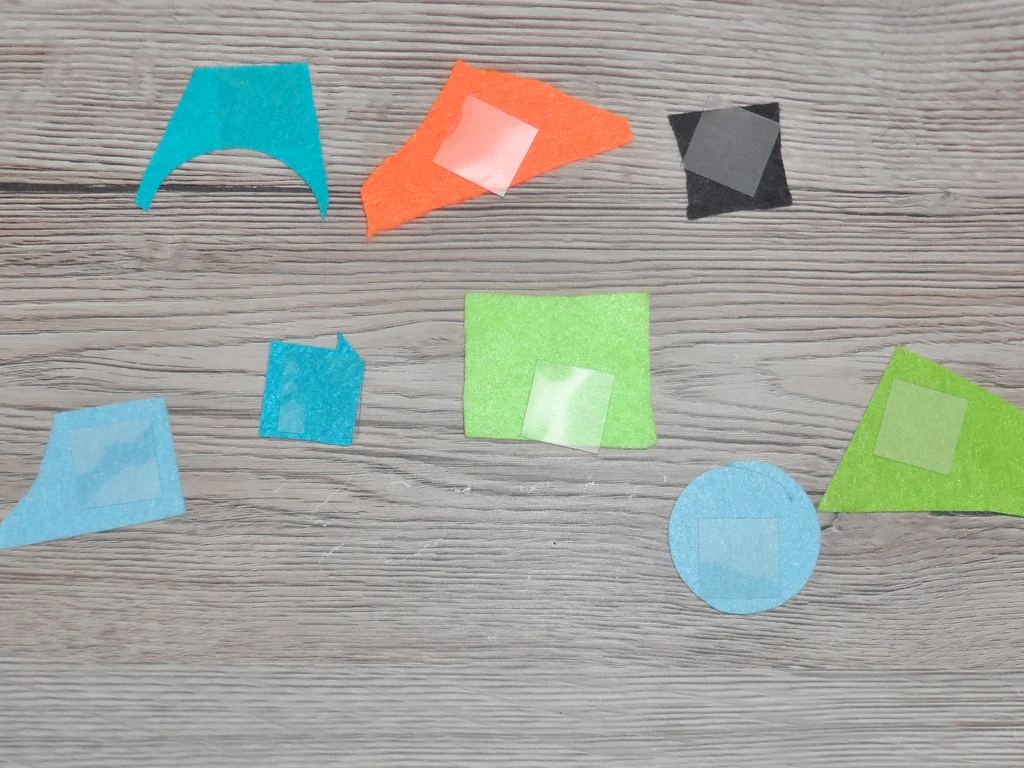
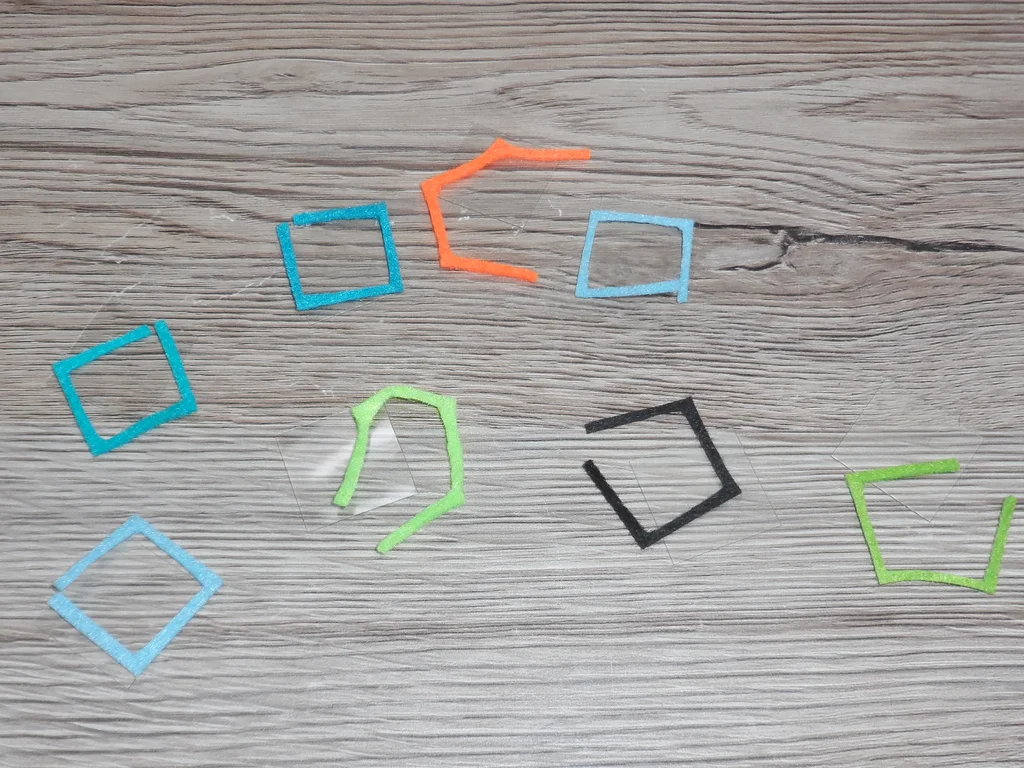
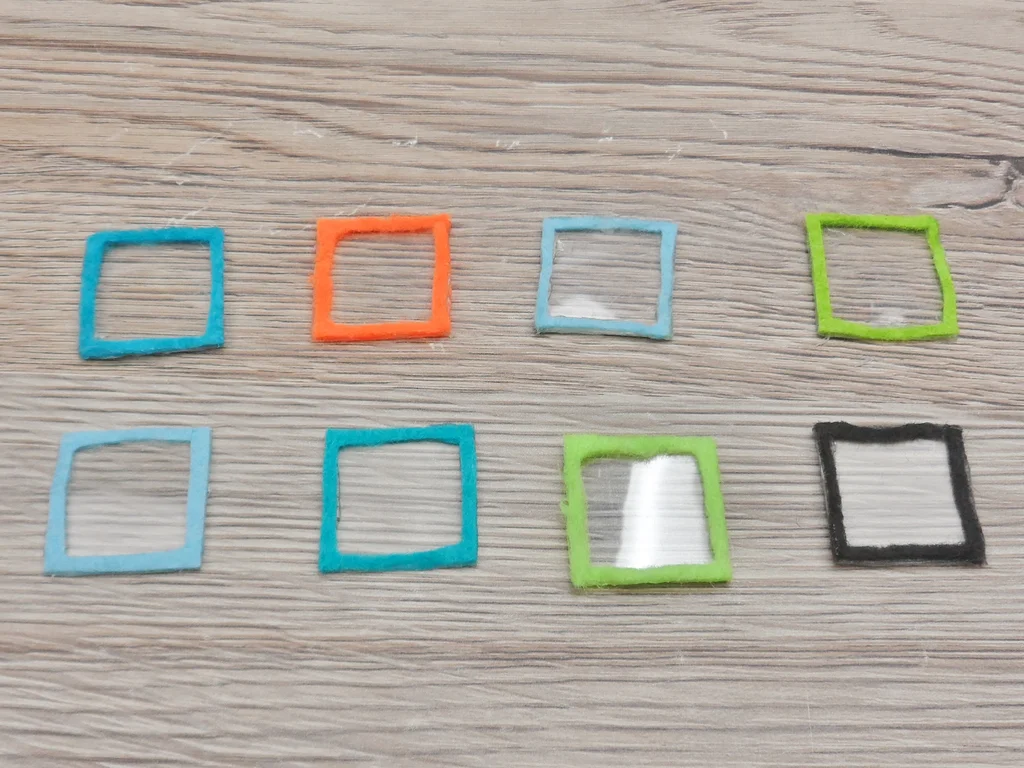
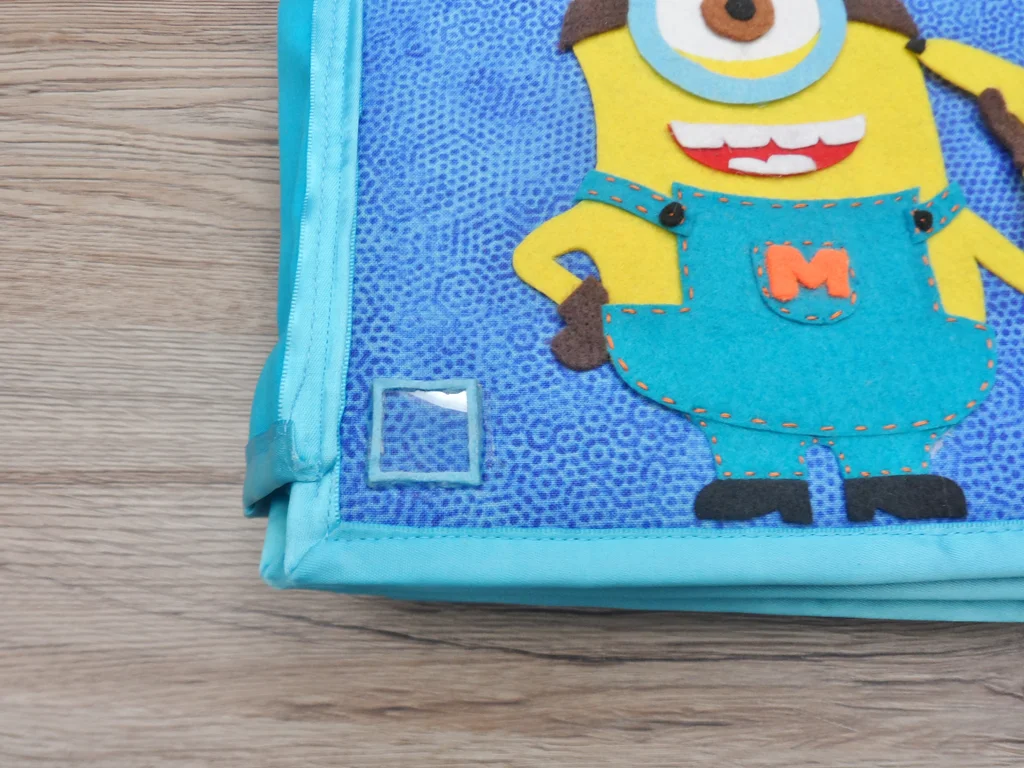
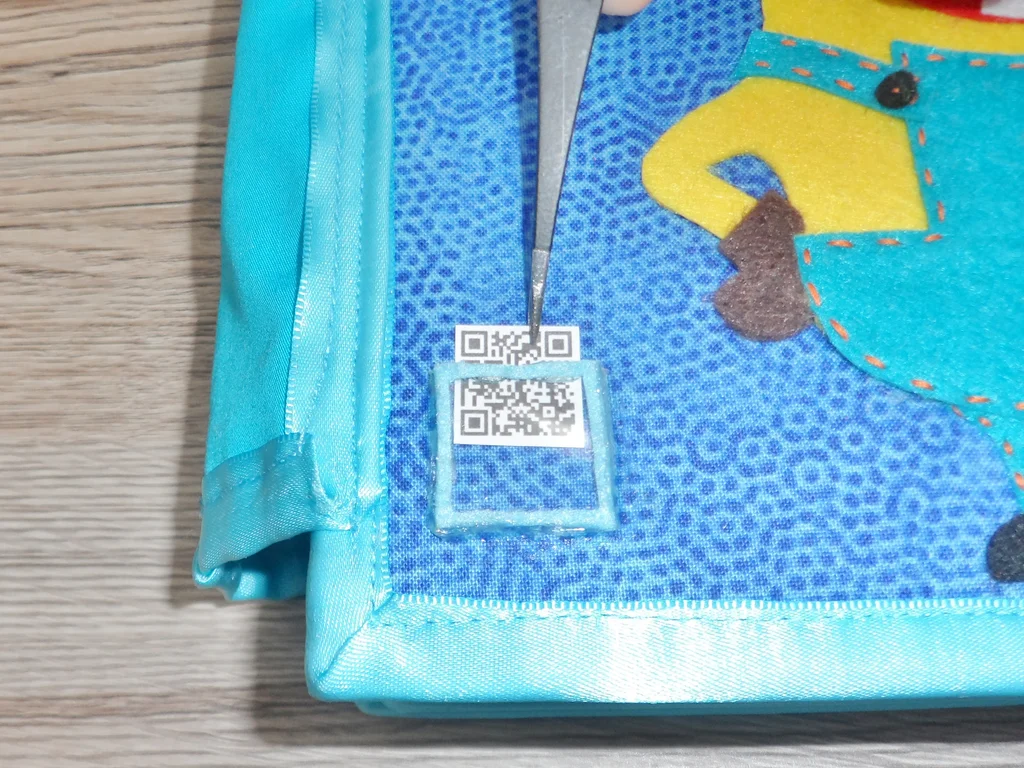
Cut out the plastic windows (last page of the template). Cut out frames for the windows from leftover felt and glue them together. Glue three sides of the window onto a page, so that you can slide in the QR code from the top.
Find an audio or video you would like to accompany a page and copy and paste a link into a QR code generator (I used this one http://www.qr-code-generator.com). Print it out and slide into the window. Repeat for any page you desire. You can than use something like the Google Goggles App to read the code and play the video on a mobile device.