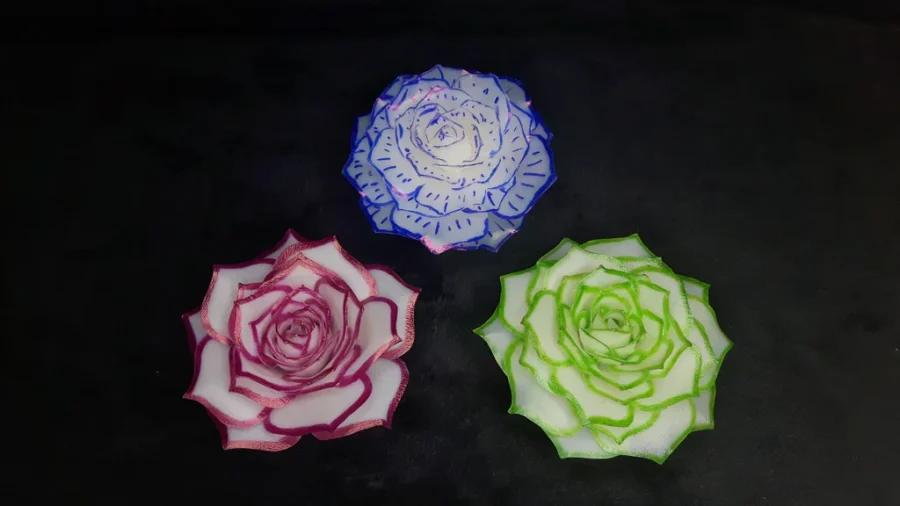
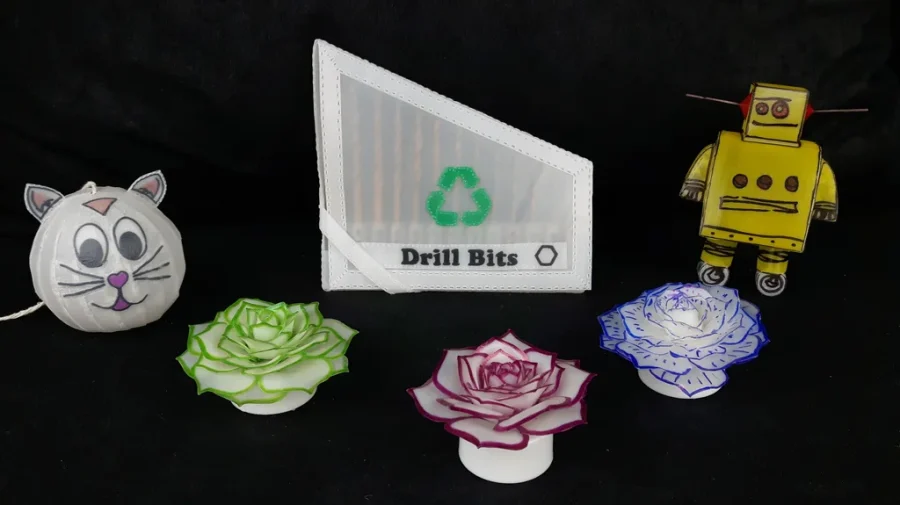
Welding Plastics: LED Flower
I decided to write a small series of Instructables to show that there are a lot of things you can make out of plastic bottles and how easy the plastic welding process is.
As I mentioned in my previous Instructable, I found welding plastics quite enjoyable and so here is the second installment of my milk bottles creations.
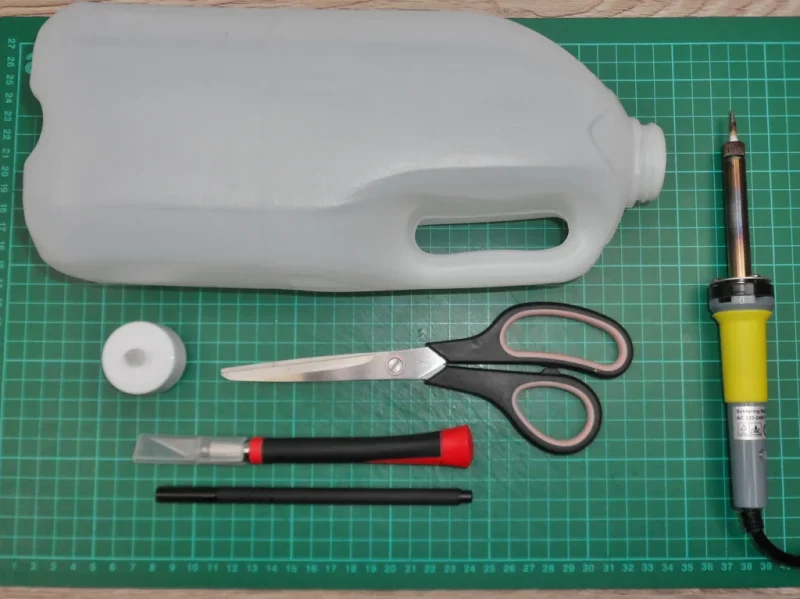
Materials And Tools
- plastic milk bottle
- LED tea light
- soldering iron
- scissors
- sharpies
- hobby knife
- marker
- lighter
Step 4: Stacking
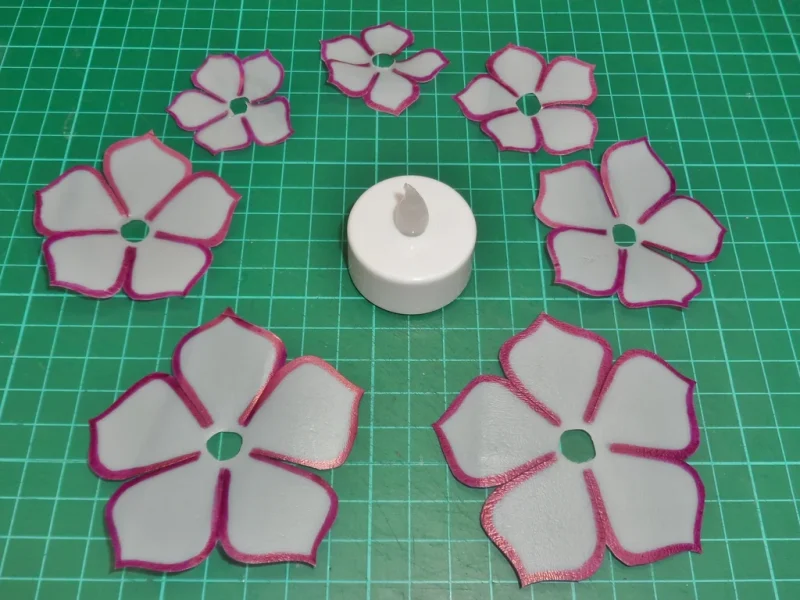
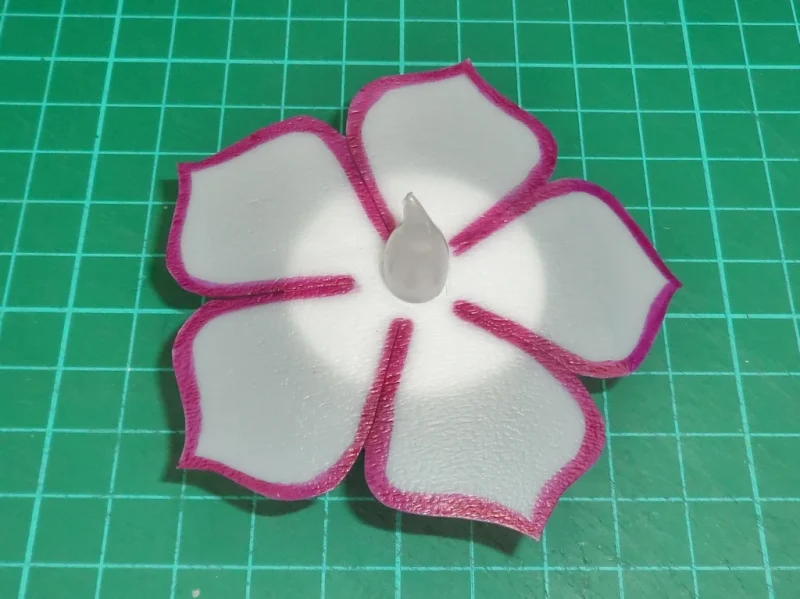
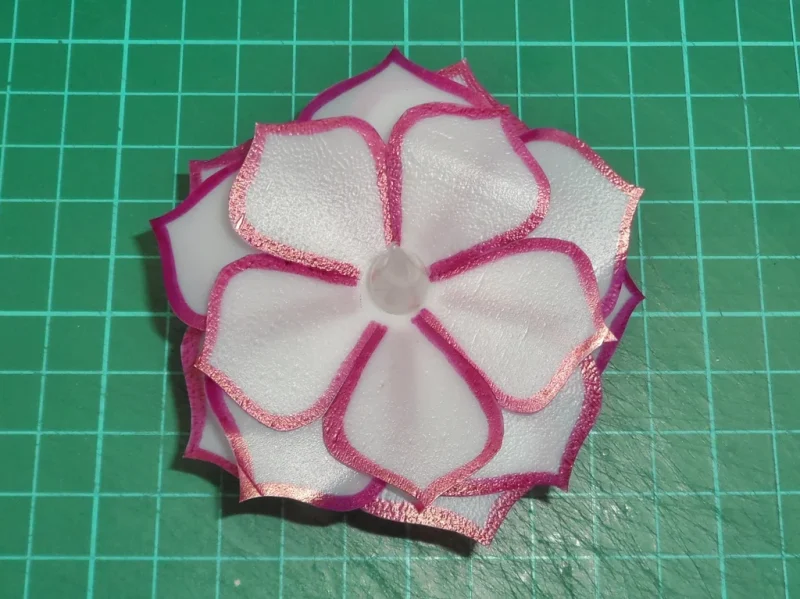
Place the flower pieces on top of the LED tea light with the candle flame poking through the hole of each piece. Start with the largest piece and end with the smallest one.
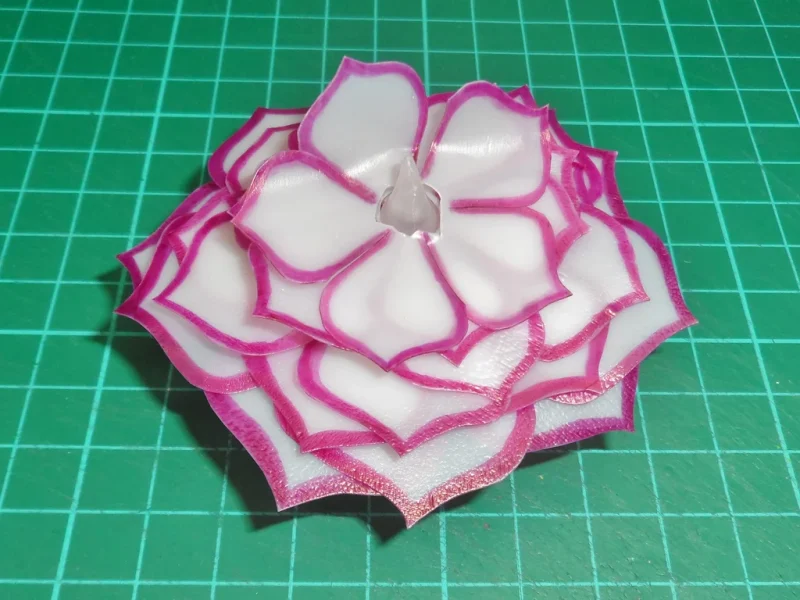
Press down the flower stack firmly and weld around the candle flame, so that you get an even joint between the flame and the top flower piece.
Step 5: Welding
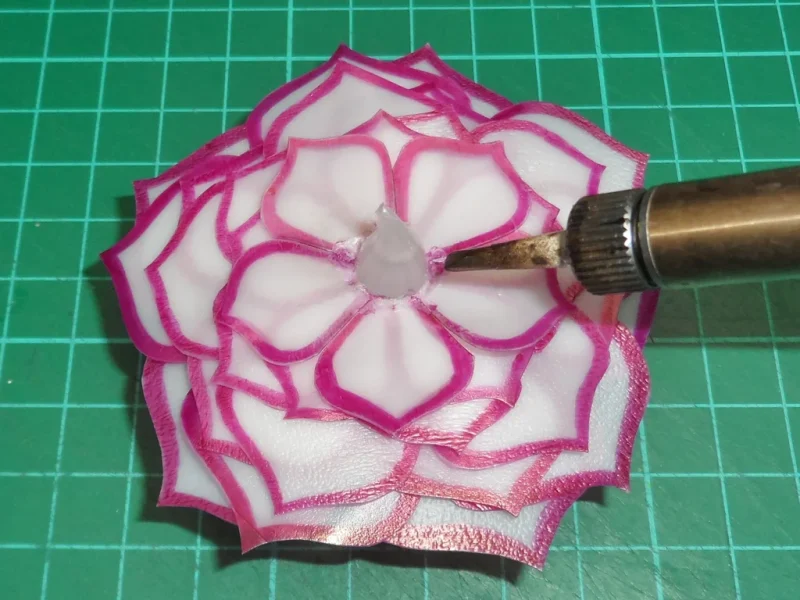
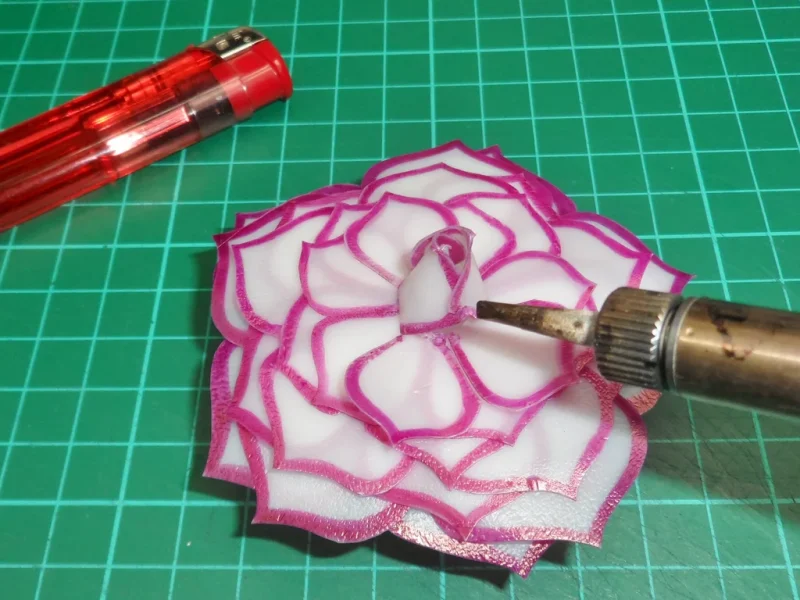
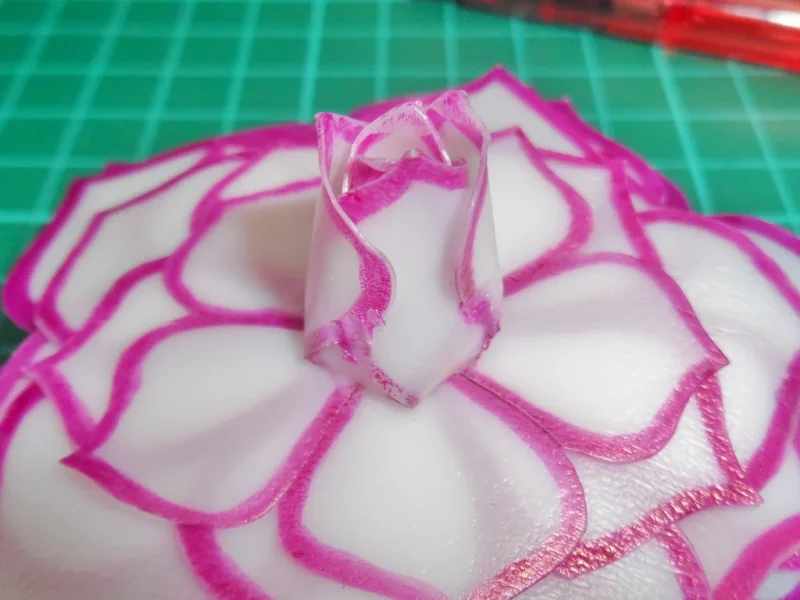
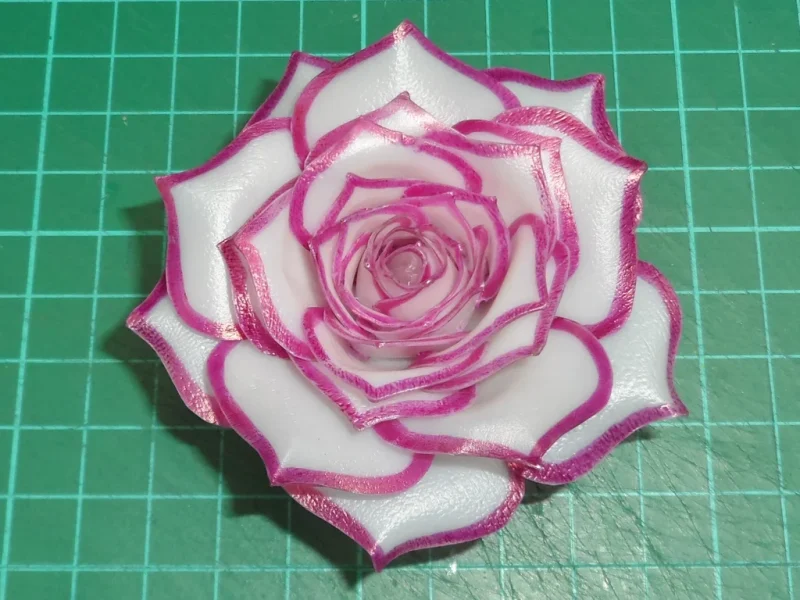
Set the soldering iron temperature between 200-230°C. Lift up one of the top petals and curl it around the candle flame. Whilst holding the petal press the tip of the iron into the bottom side of the petal, so that you melt the petal into the candle flame. Repeat for the other side. Warm up the top of the petal with a lighter and curl outwards.
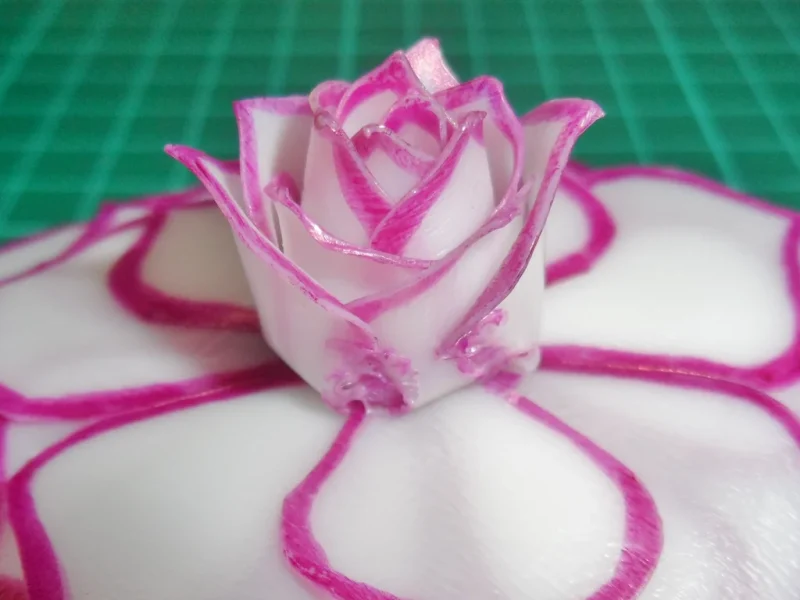
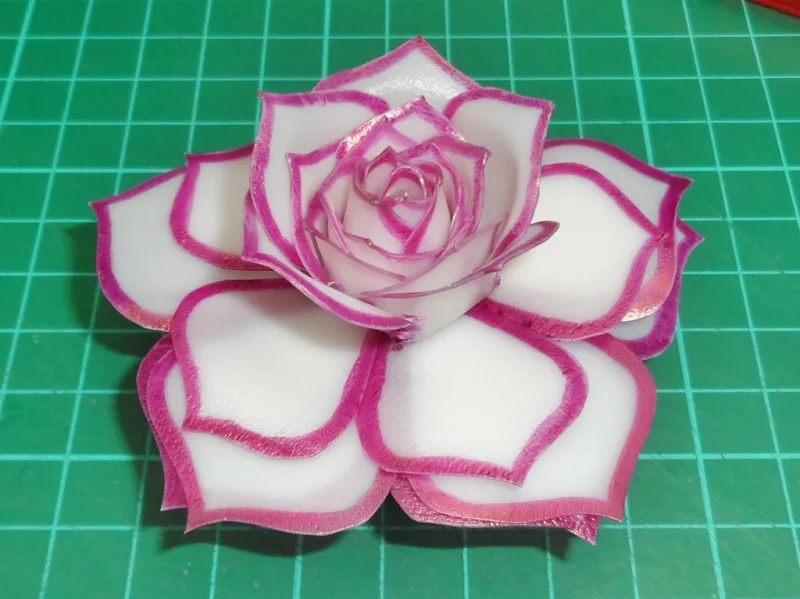
Lift up another petal, somewhat on the opposite site, weld one of the sides onto the first petal and without pushing too much curl around the flame and weld the other side. Warm up the tip of the petal and curl outwards. Repeat for all of the petals.
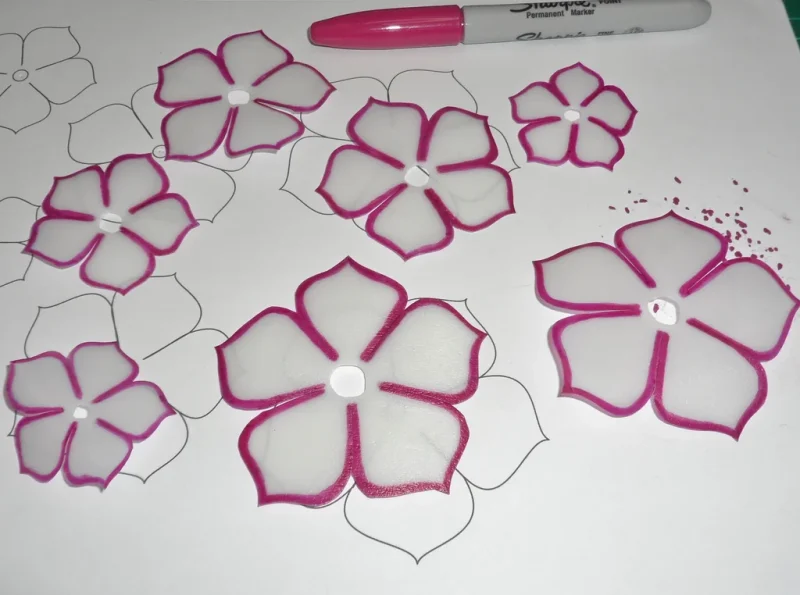
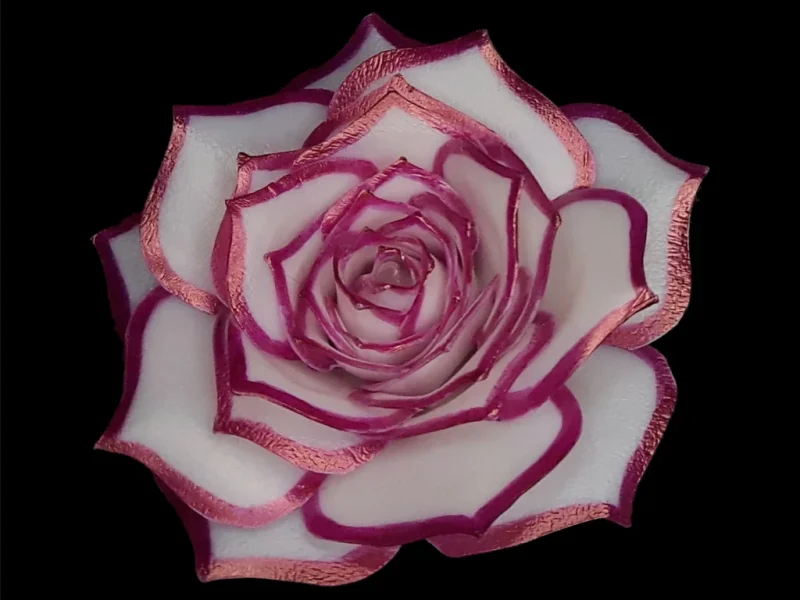
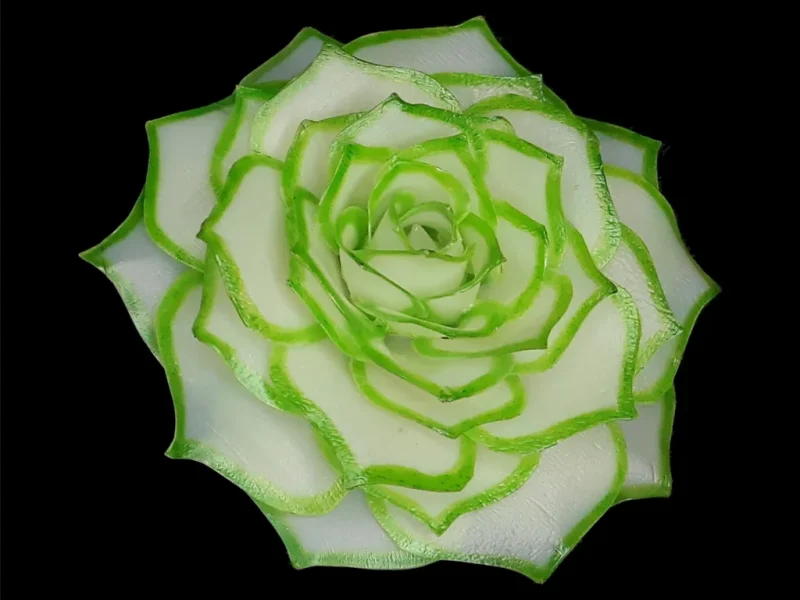
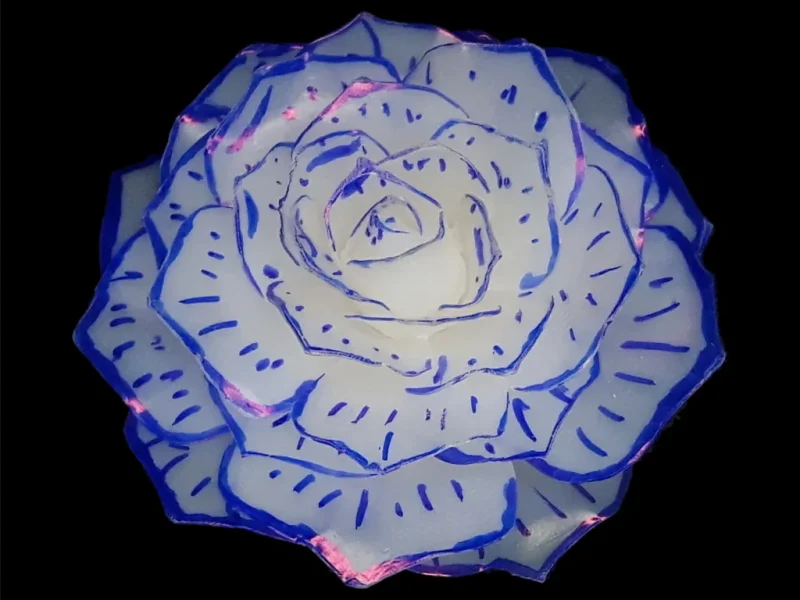
Once finished you might want to grab your sharpie and go over the edges again, since a whole lot of it will end up on your fingers 😀
Step 6: Changing the LED
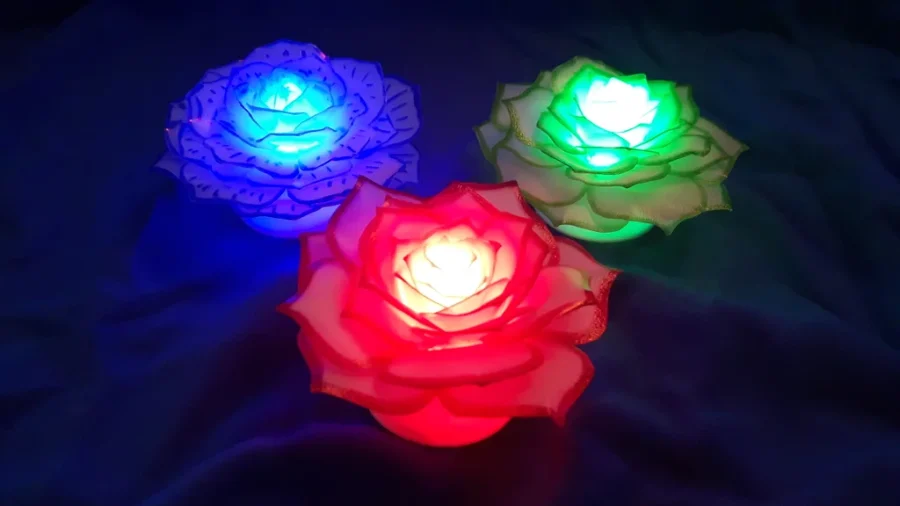
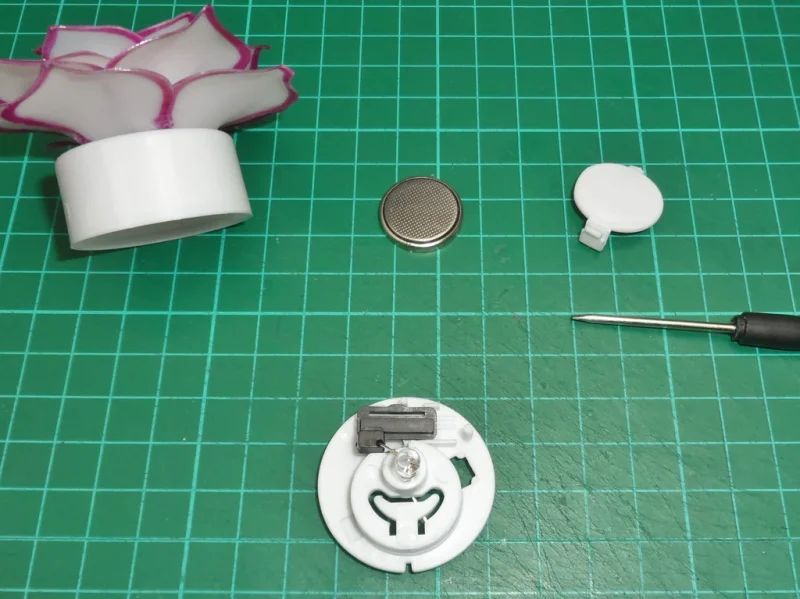
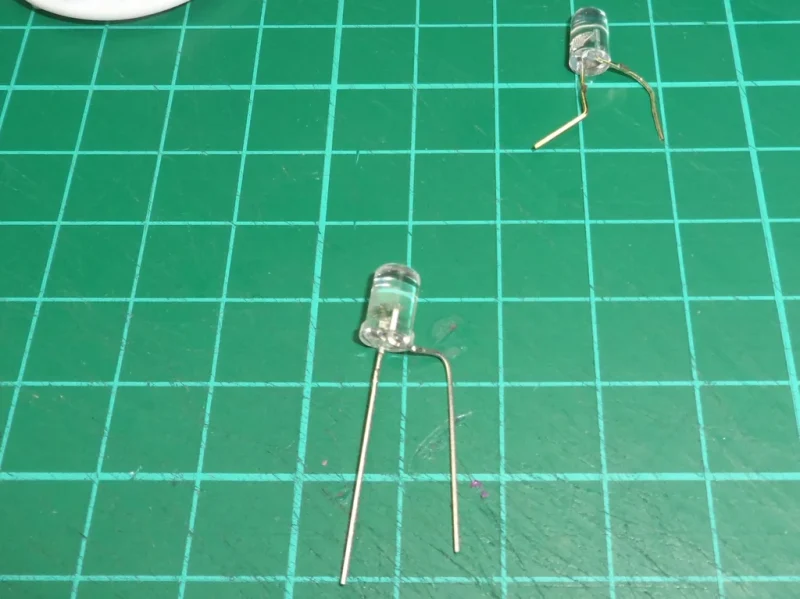
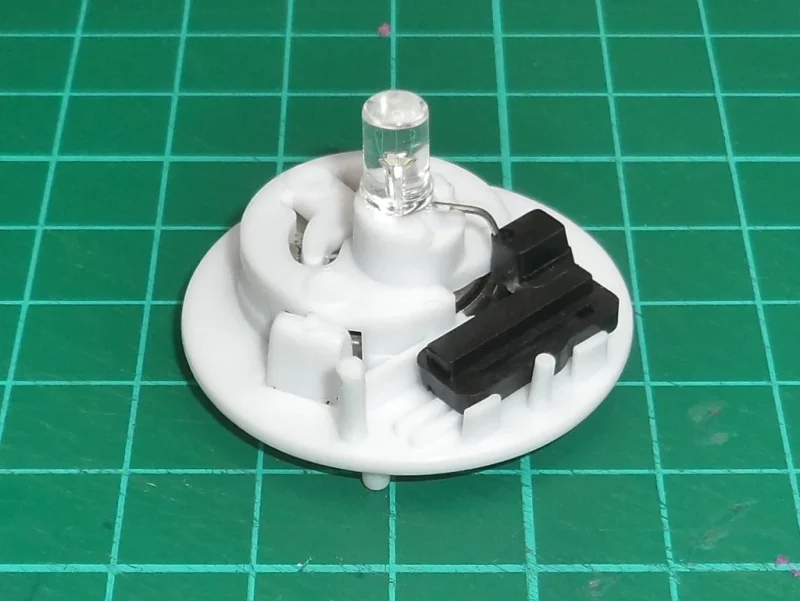
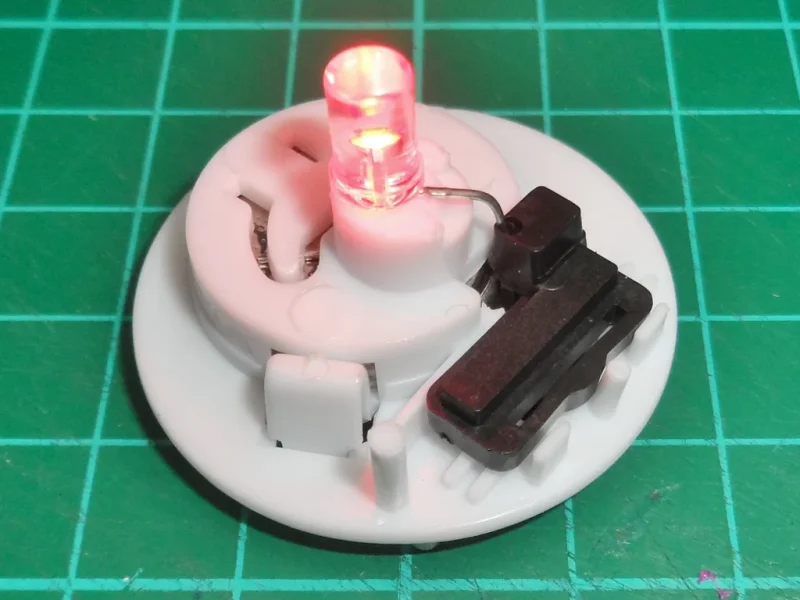
At this point you could just leave it as is, it looks quite nice with the yellow flickering LED that was originally in the tea light, but I had some spare coloured LEDs so I decided to spice it up a bit. The process is quite easy. Disassemble the candle base and take out the old LED. Bend the new LED into the same shape as the old one, pop it in and push the bottom back in.


