Step 2: Joining Together
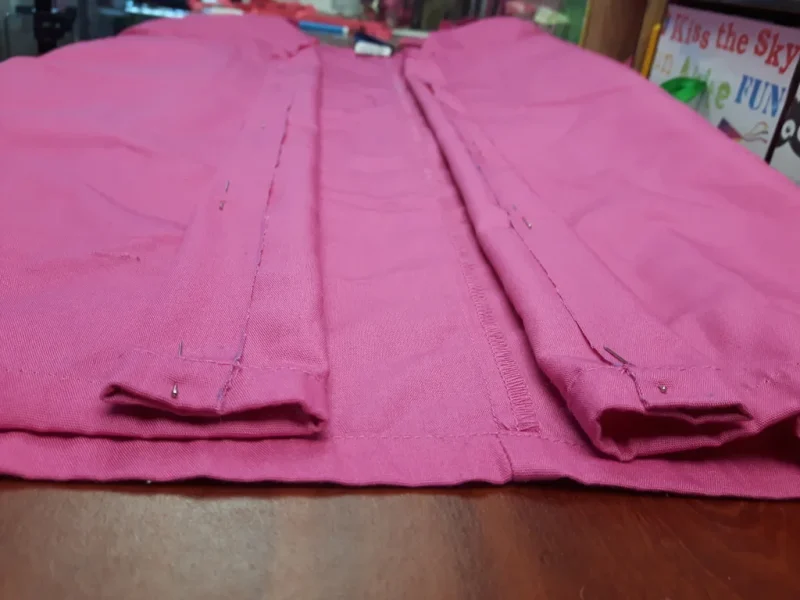
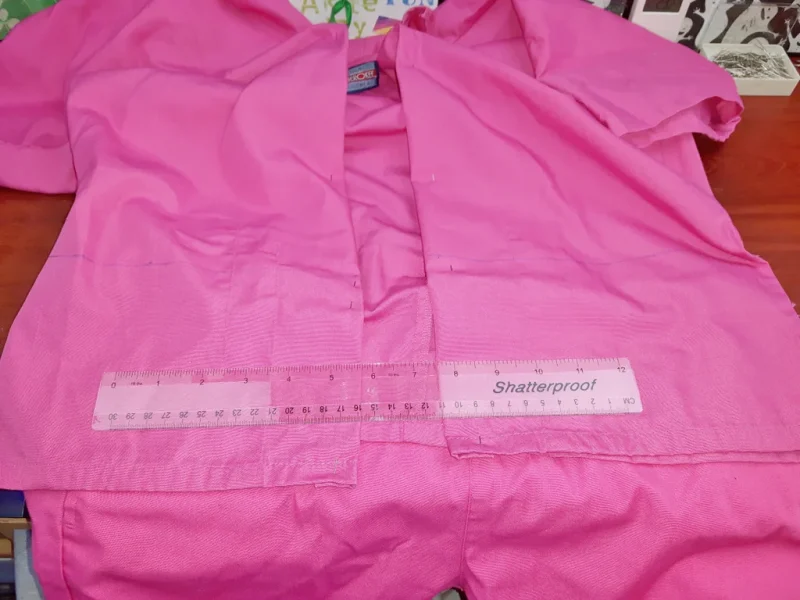
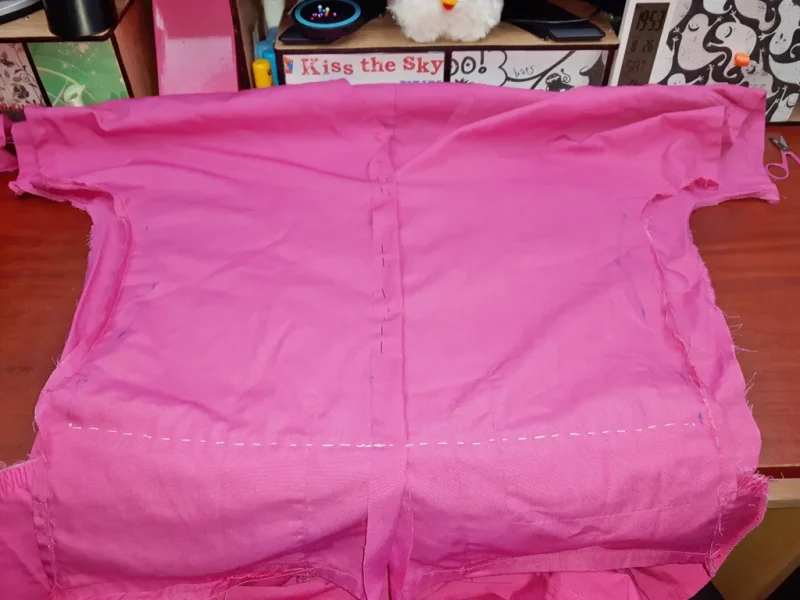
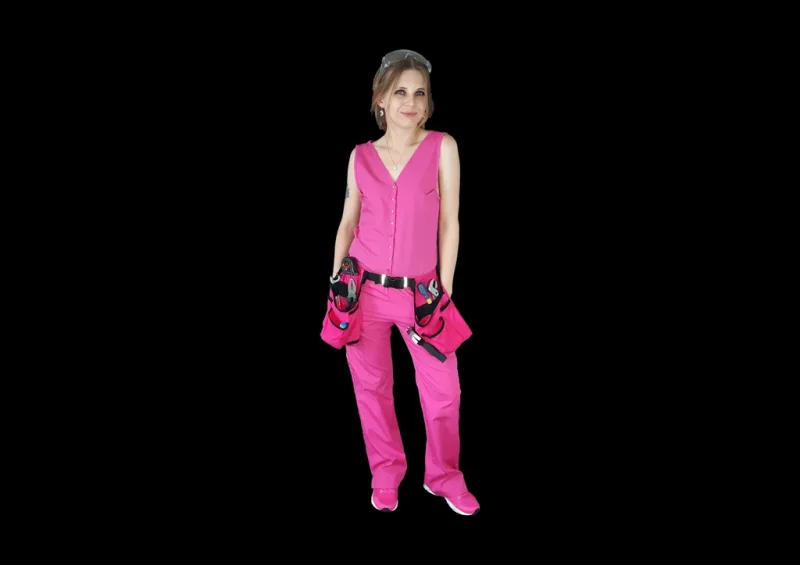
Turn the pants and top inside out and put on. Bend down and pin the top to the pants (this is to make sure you will still be able to bend down once finished). Measure the distance between the pin and the bottom of the top and make a horizontal line around the top.
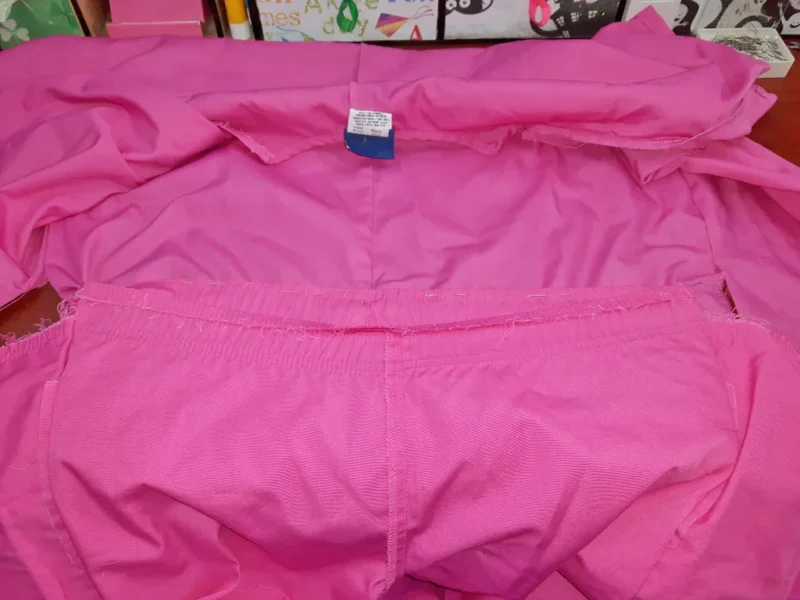
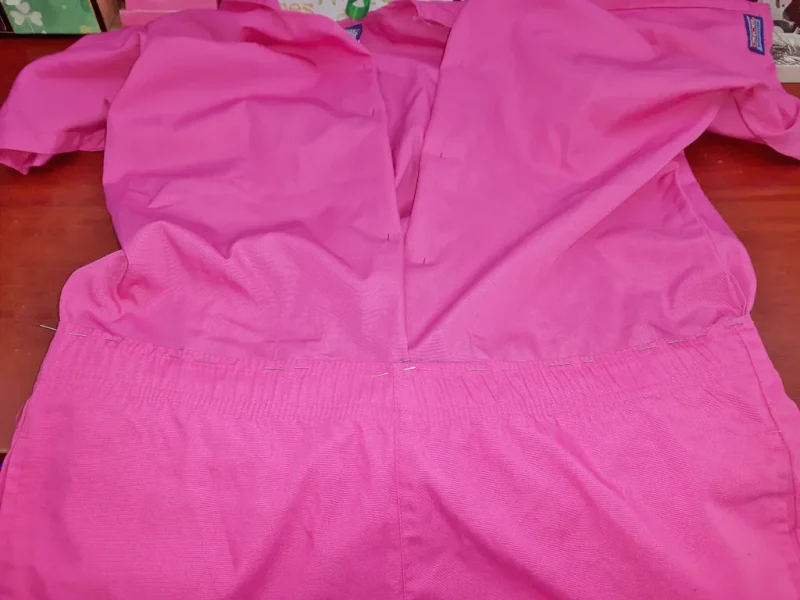
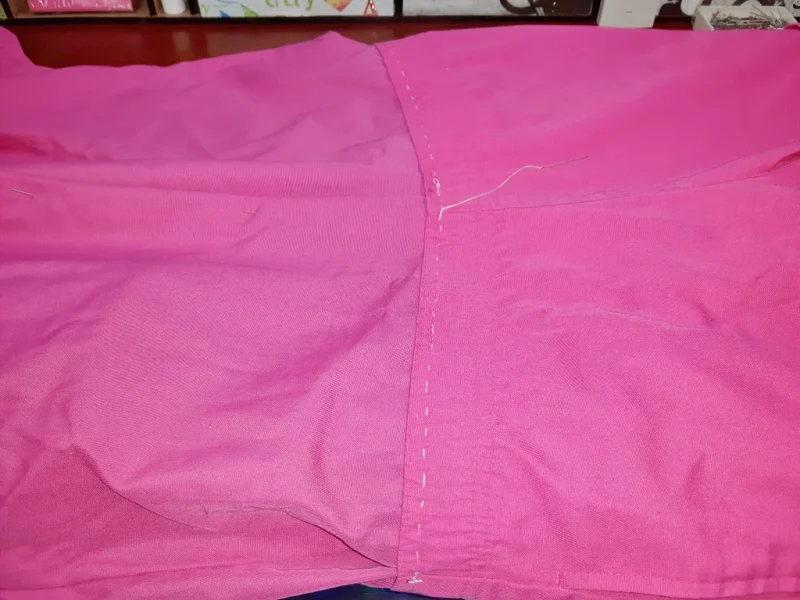
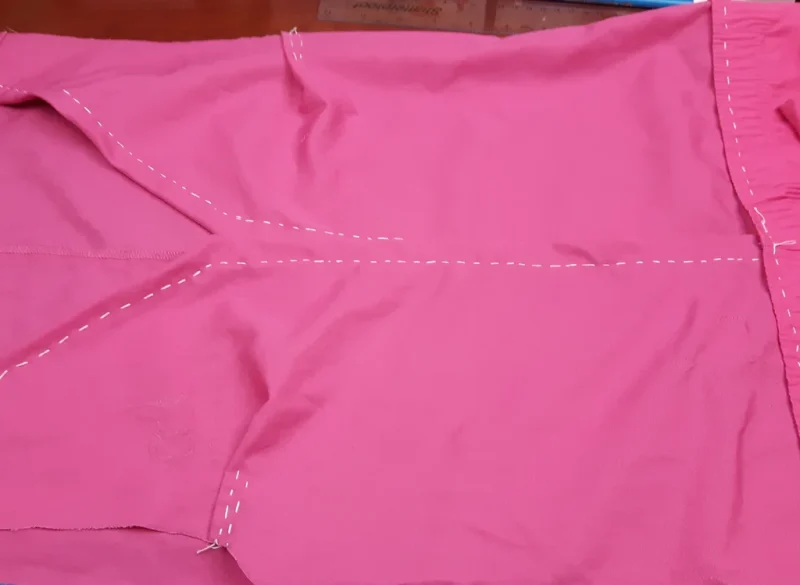
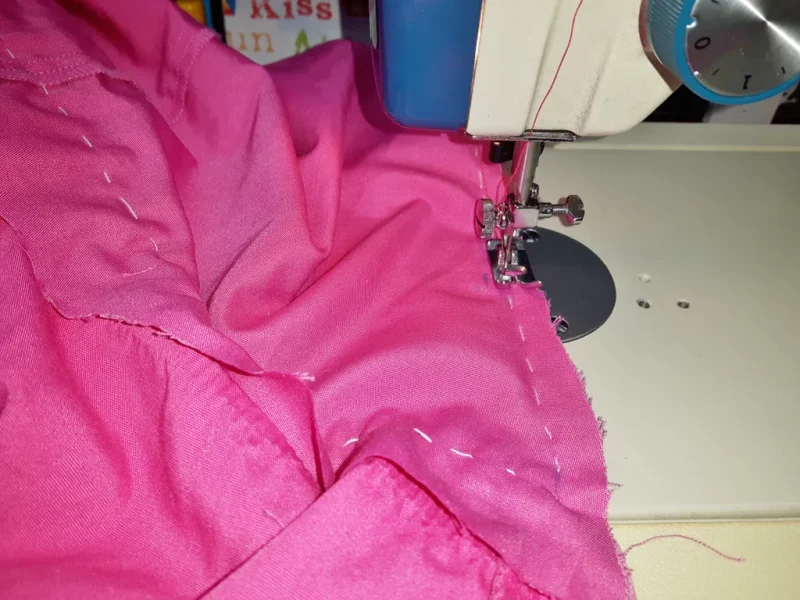
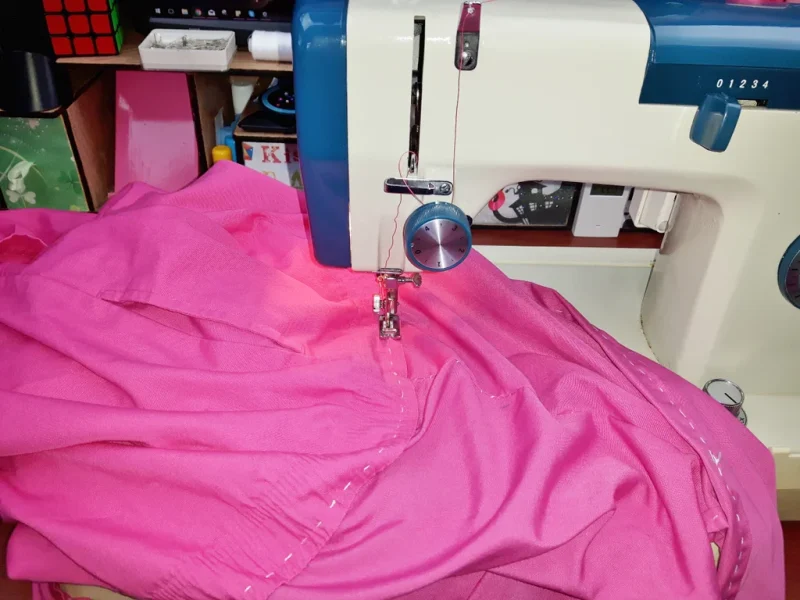
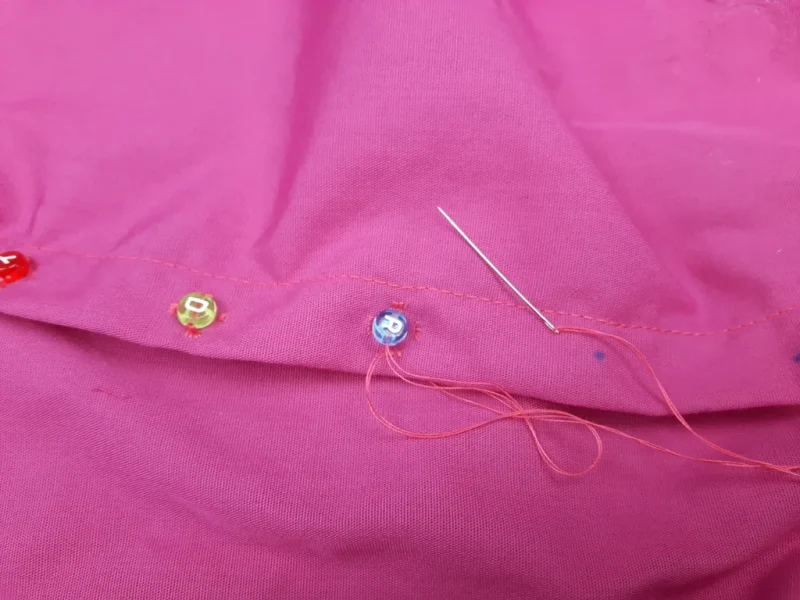
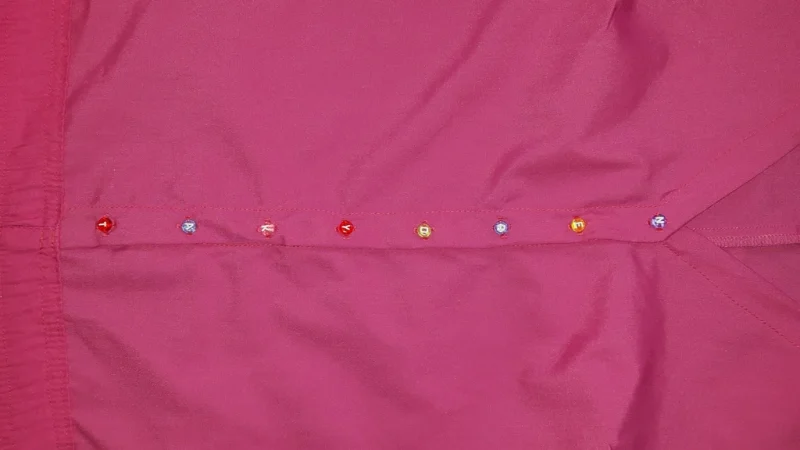
Tuck the top into the pants, align the waist with the horizontal line of the top and pin together starting at the center of the front and then back. Because I’m not very good at sewing, I like to hand stitch the pieces before machine sewing, but it’s not necessary.
Step 3: Shaping
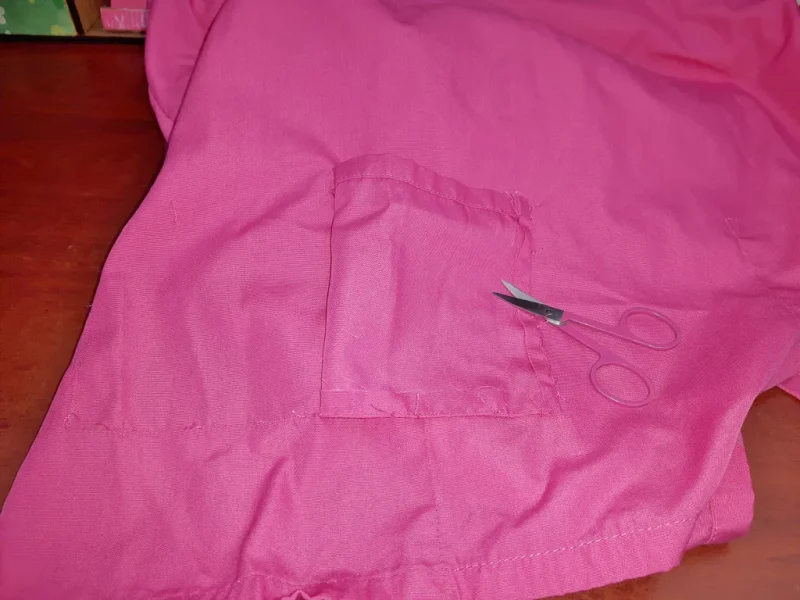
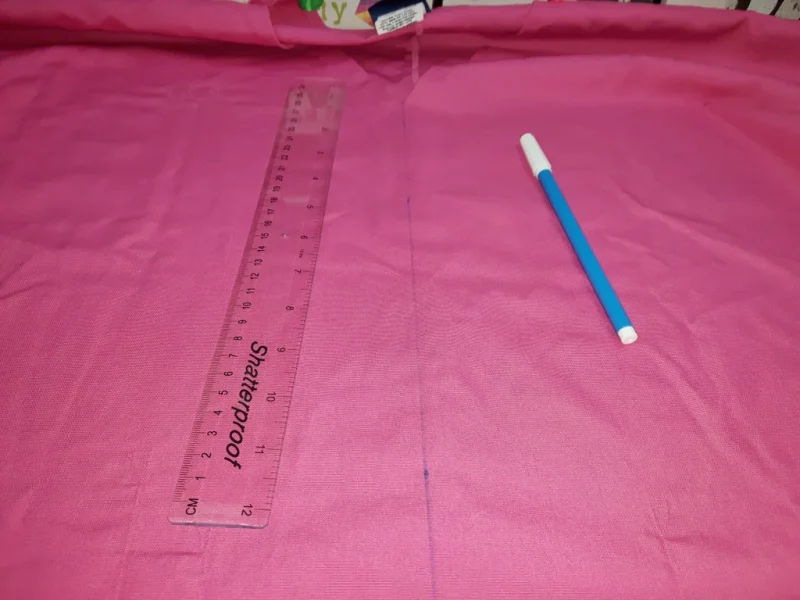
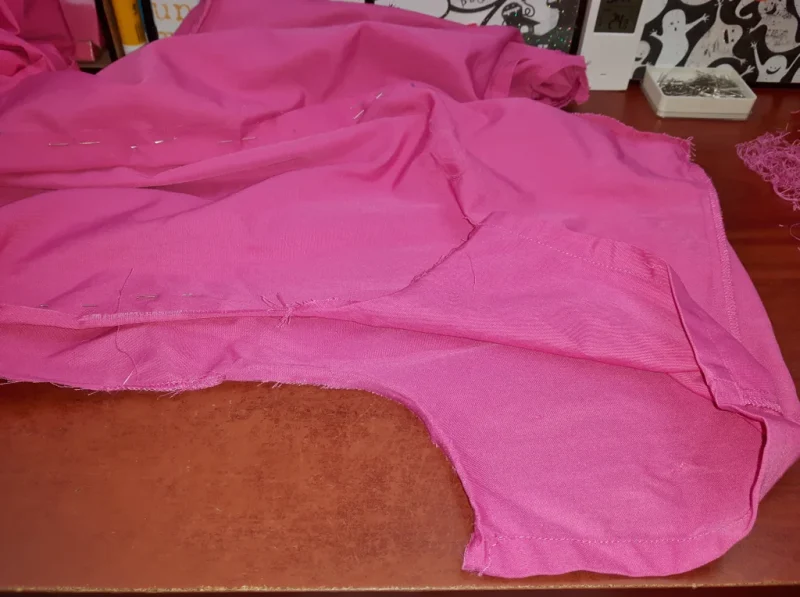
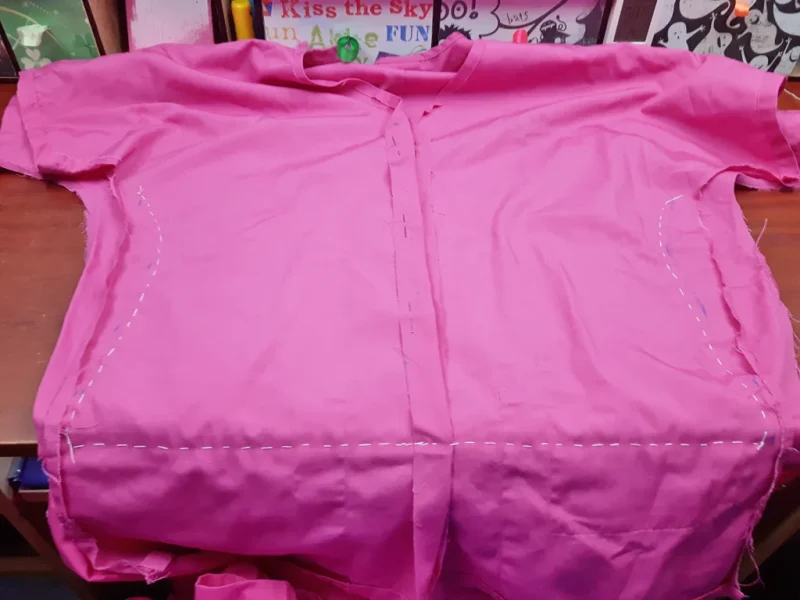
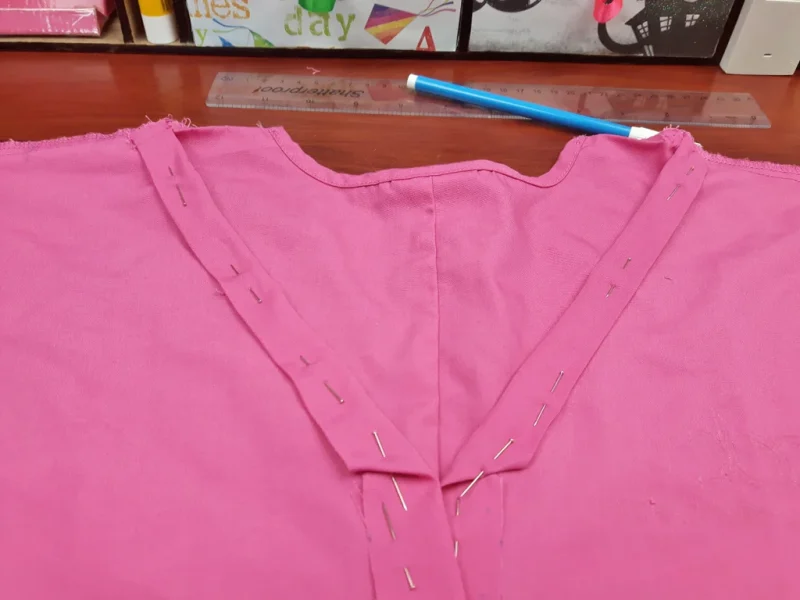
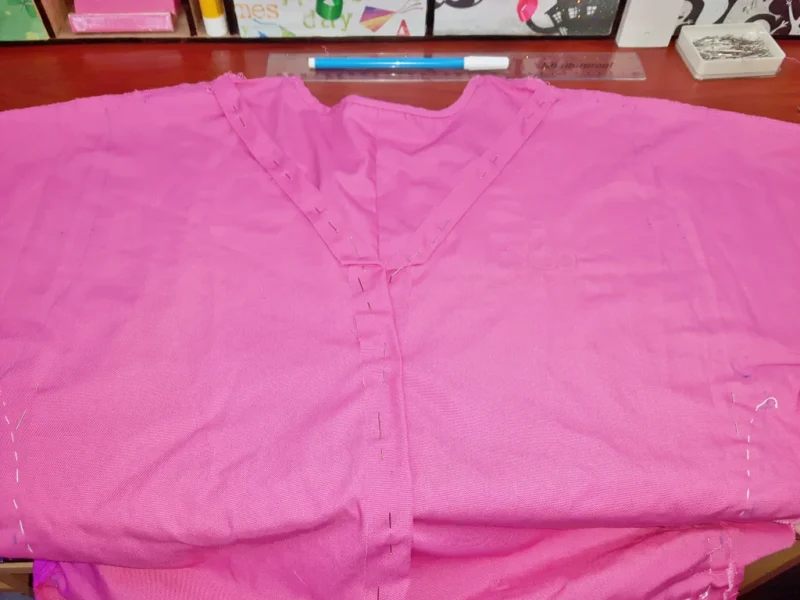
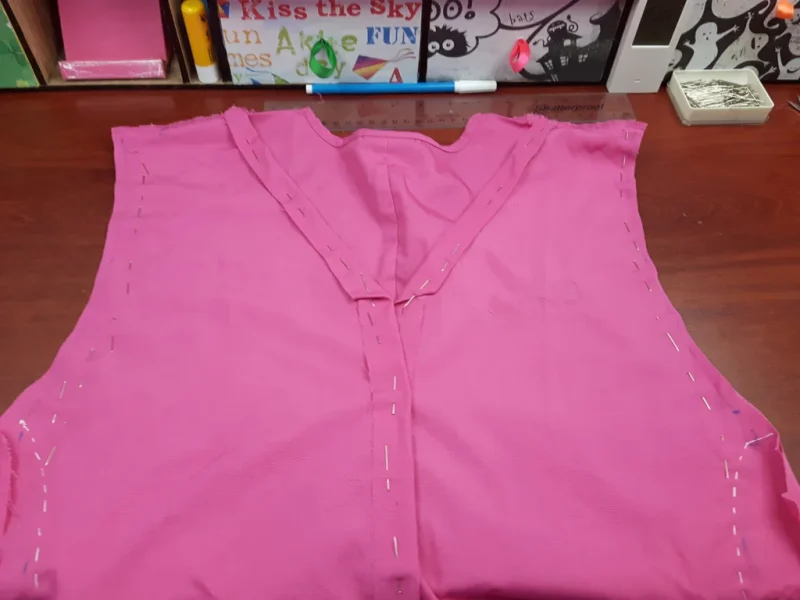
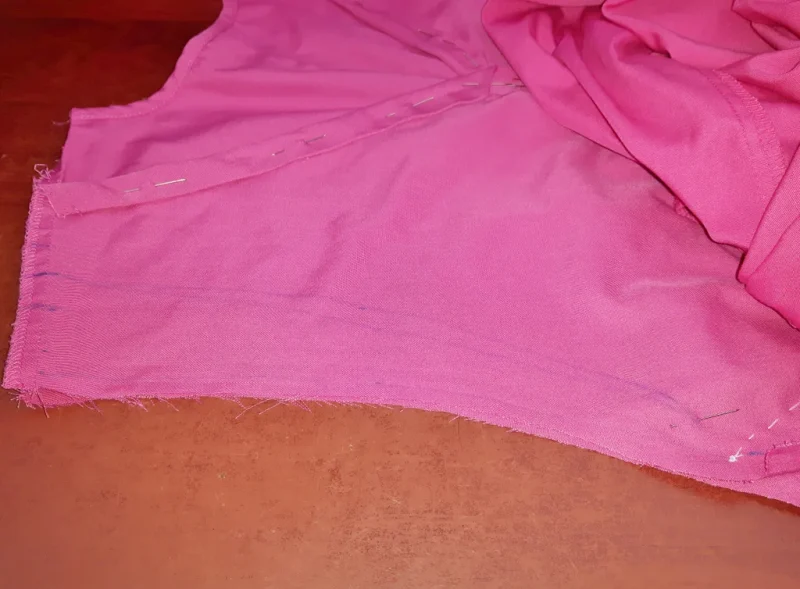
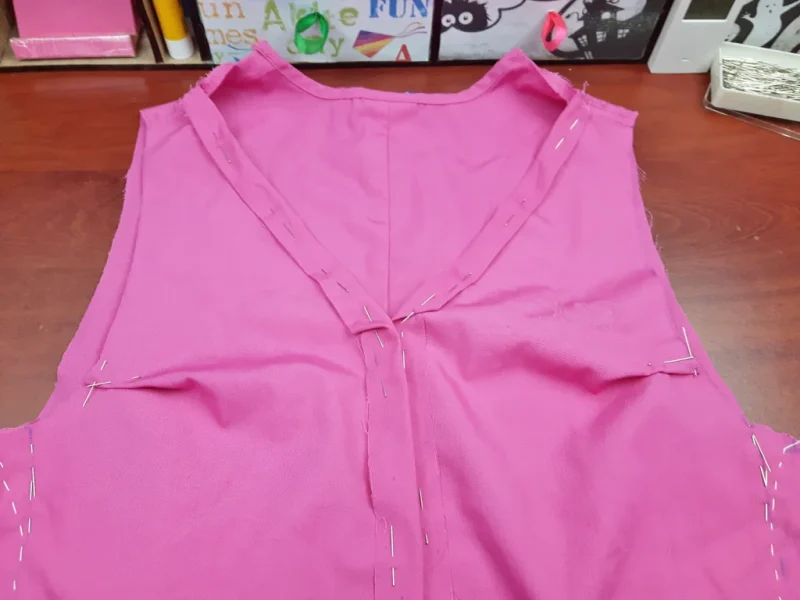
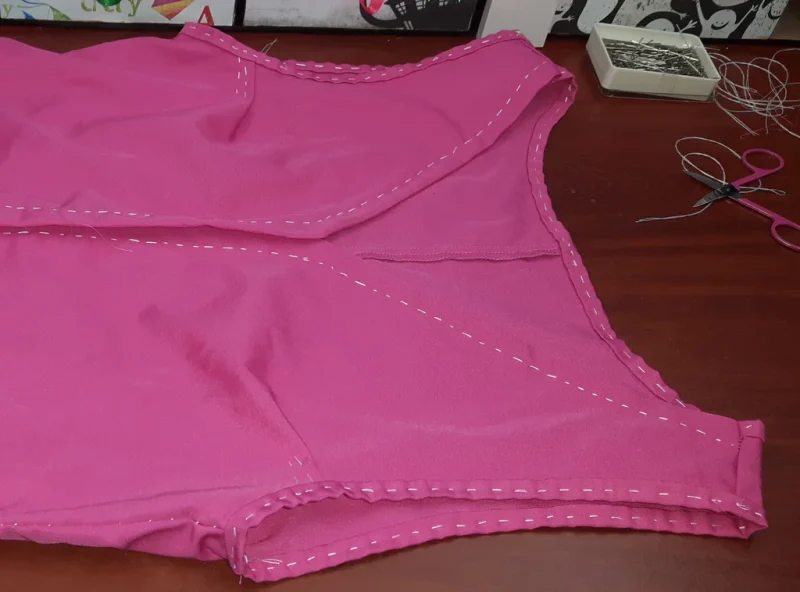
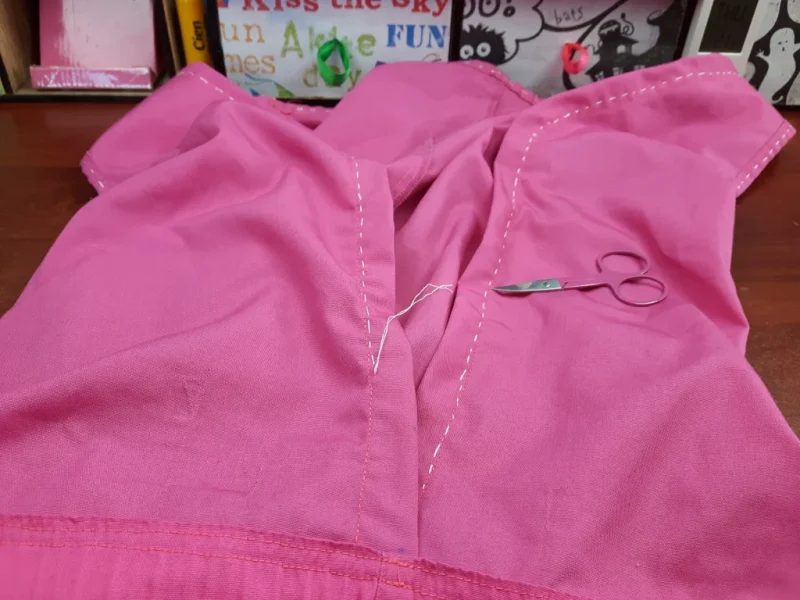
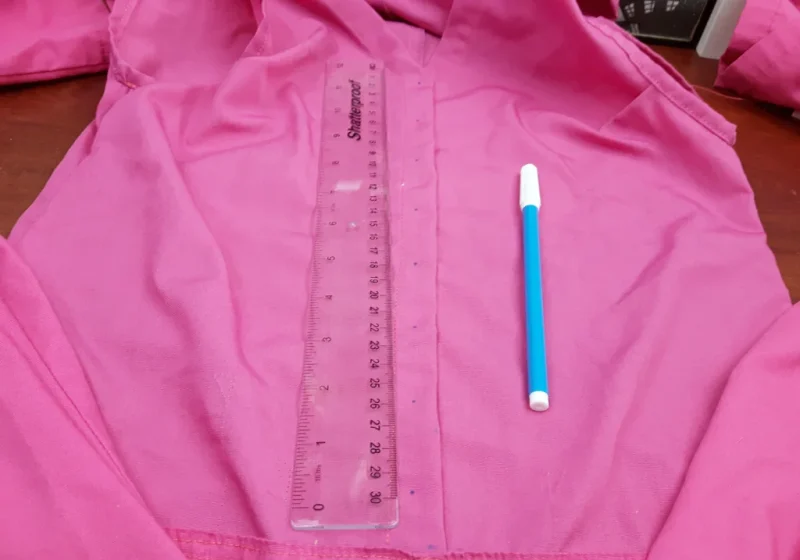
Un-stitch the sides of the top and put it on. Put a couple of pins just under your armpits, hips and somewhere in-between to join the front with the back. Try not to do it too tightly so you would still be able to breath later. Take it off and with the washable marker make a line from under the armpits down, following the pin line. Hand stitch along the line. Turn in and pin the fabric around the neck area.
Step 4: Arm Holes
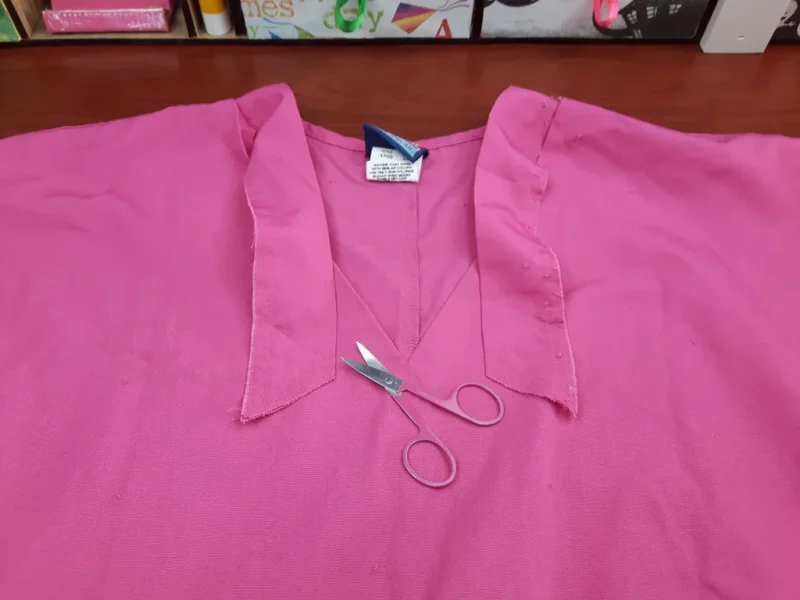
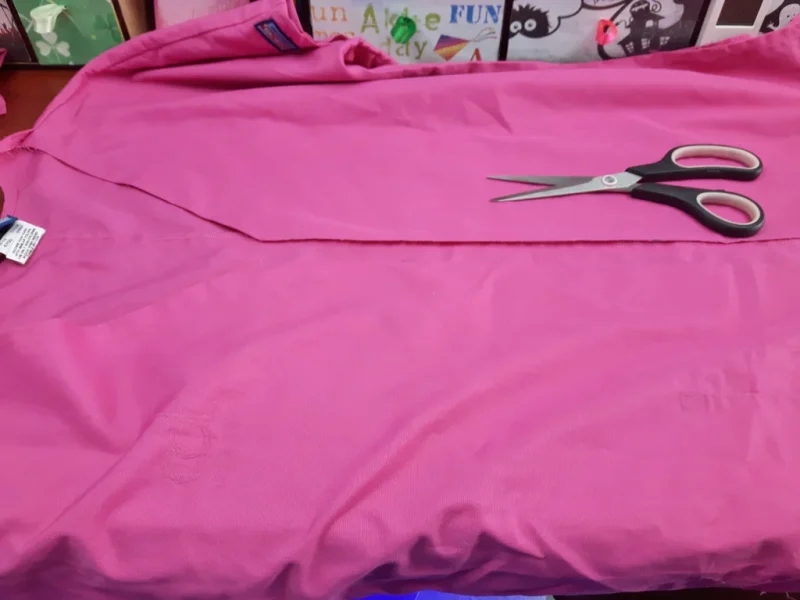
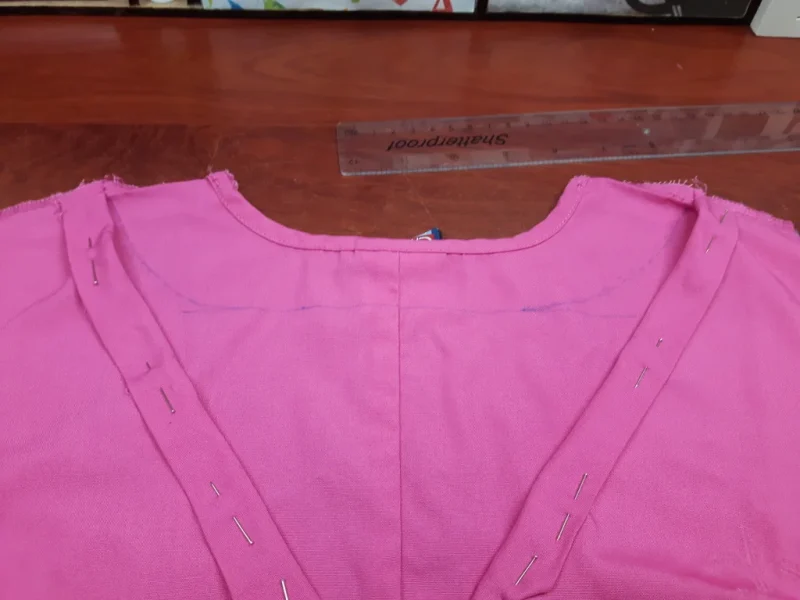
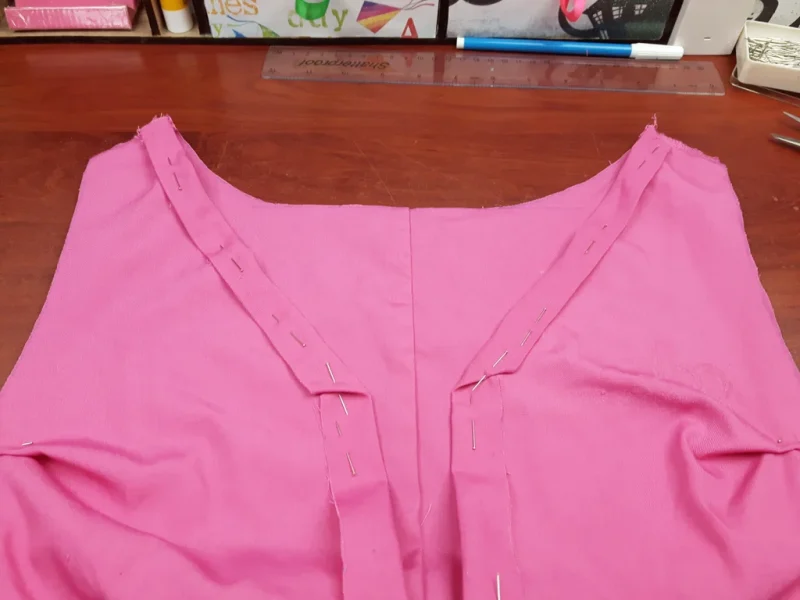
Draw a line from the shoulders down to the armpit area and cut off the sleeves. Put it on to make sure you’re happy with the shoulders width, if not cut off some more. Put it on again and pin the fabric around the bust area if necessary. Draw a line around the back of the neck area and cut off. At this point I hand stitched all of the areas where the pins were.
Step 5: Making Hems
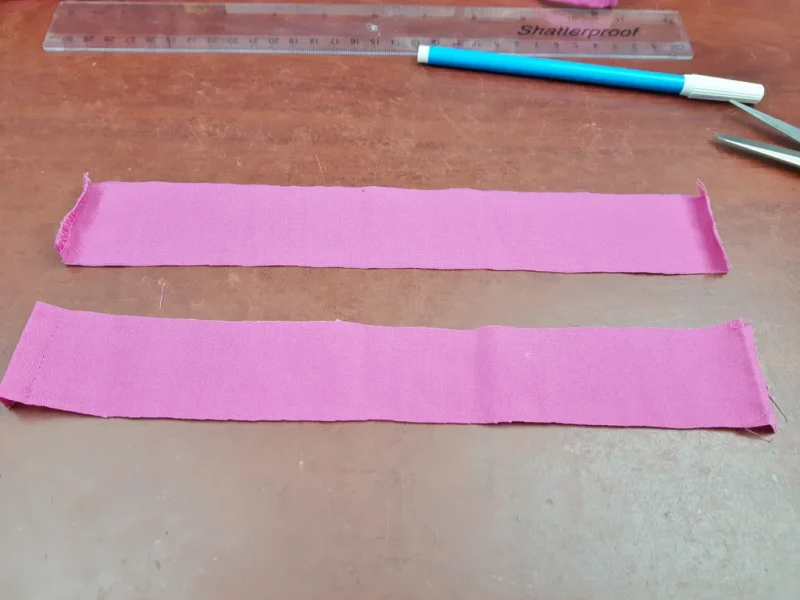
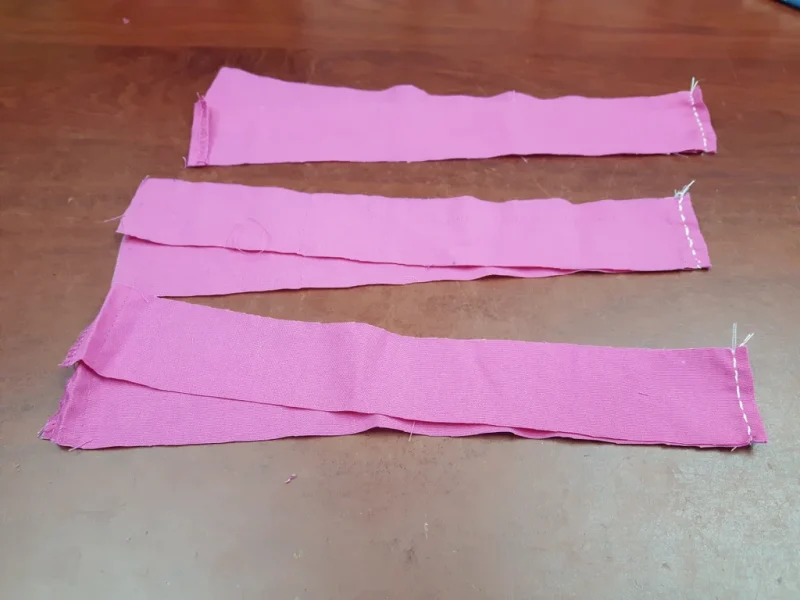
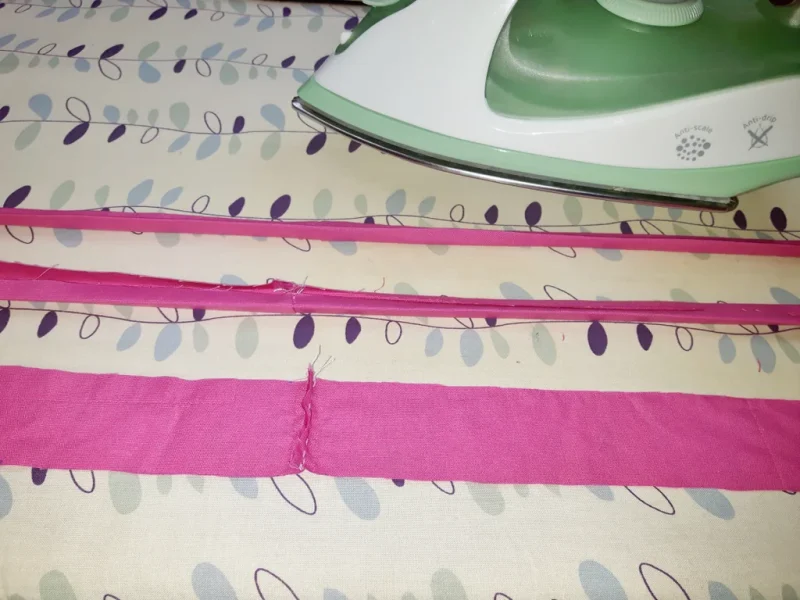
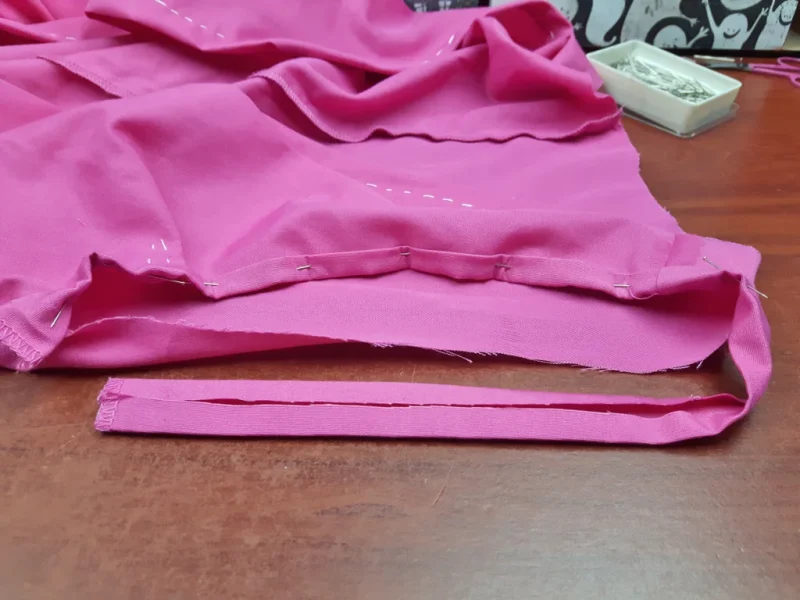
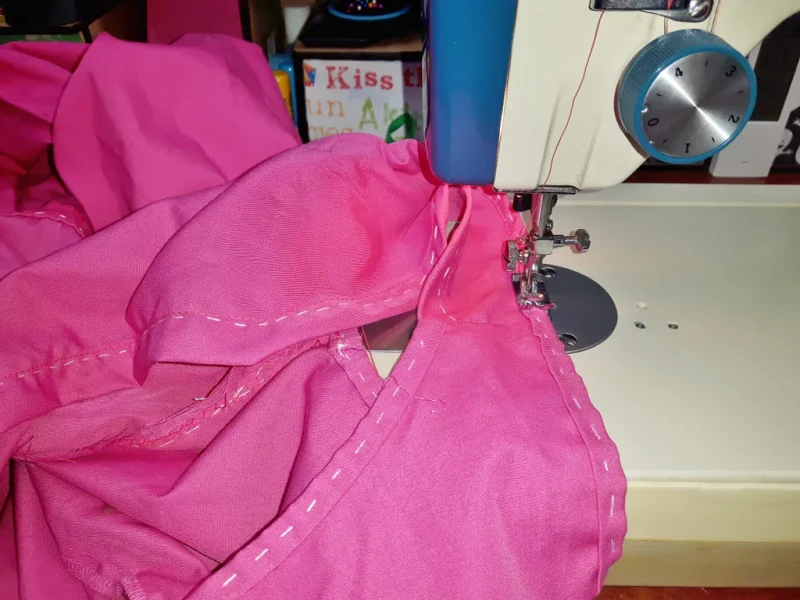
Cut out strips about 2cm wide from the leftover fabric. Stitch together to create longer pieces if needed. On each strip, turn in about 0.5cm on both sides and iron over. Fold in half and iron over again. Place the strip over the arm opening, pin around and stitch if you like. Do the same for the other arm hole and back of the neck area.


