Step 1: Ribbons Ribbons Ribbons
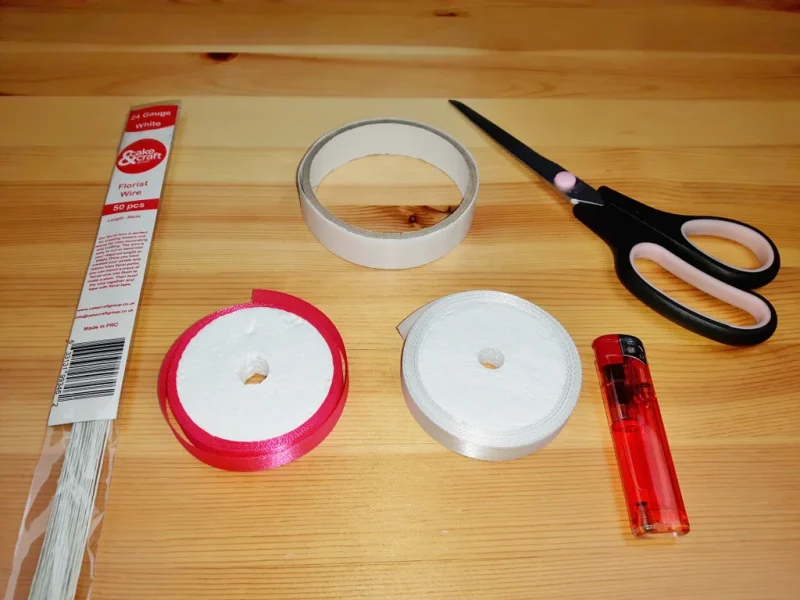
For this step you will need:
- 24 Gauge florist wire
- pink and white ribbon (or any other colour)
- double-sided tape
- scissors
- lighter
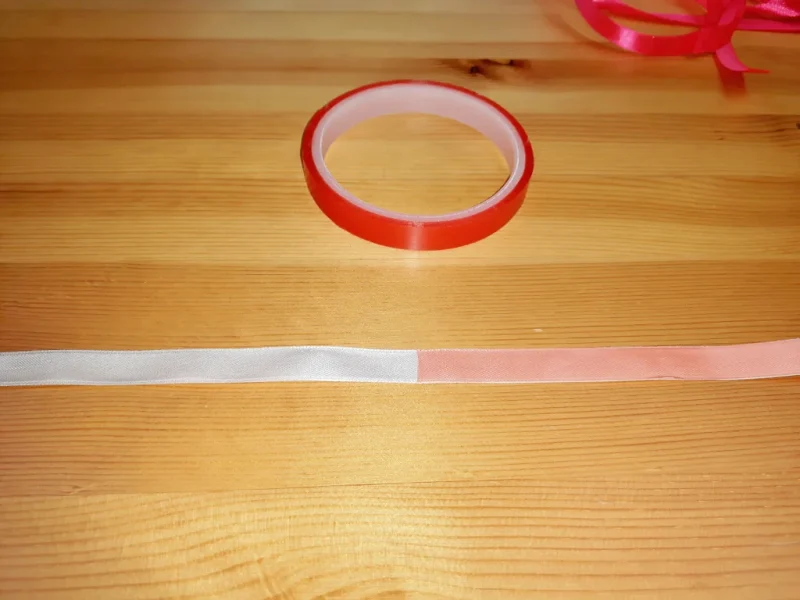
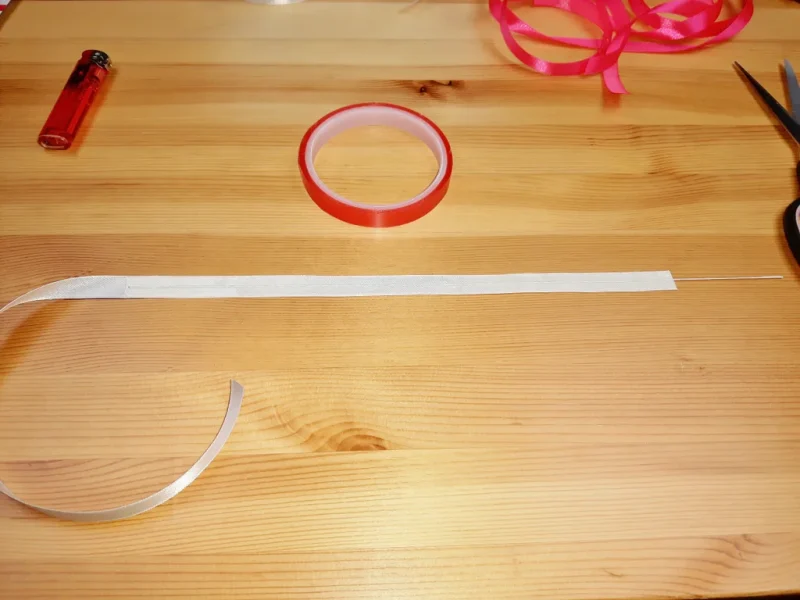
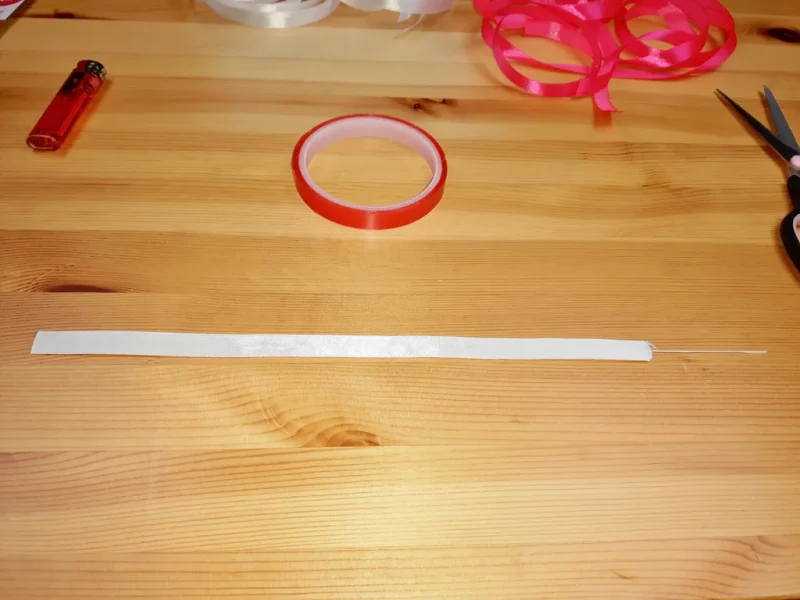
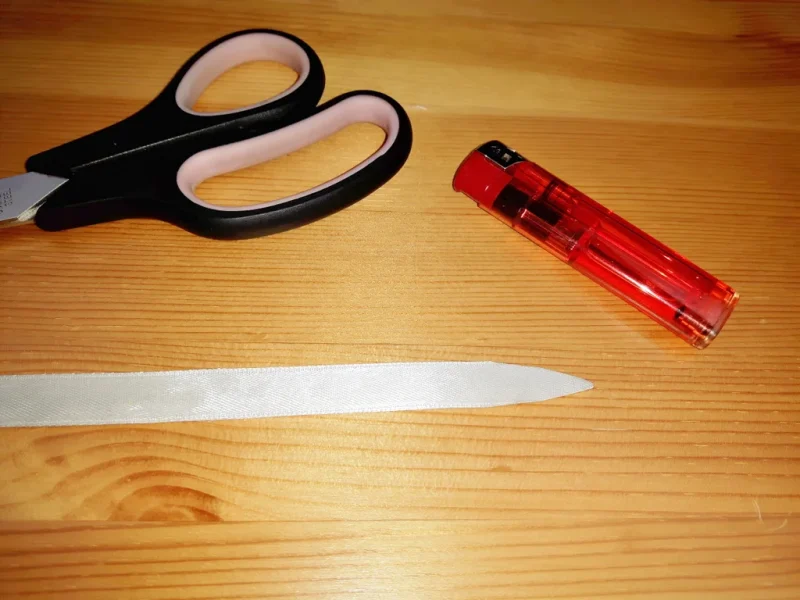
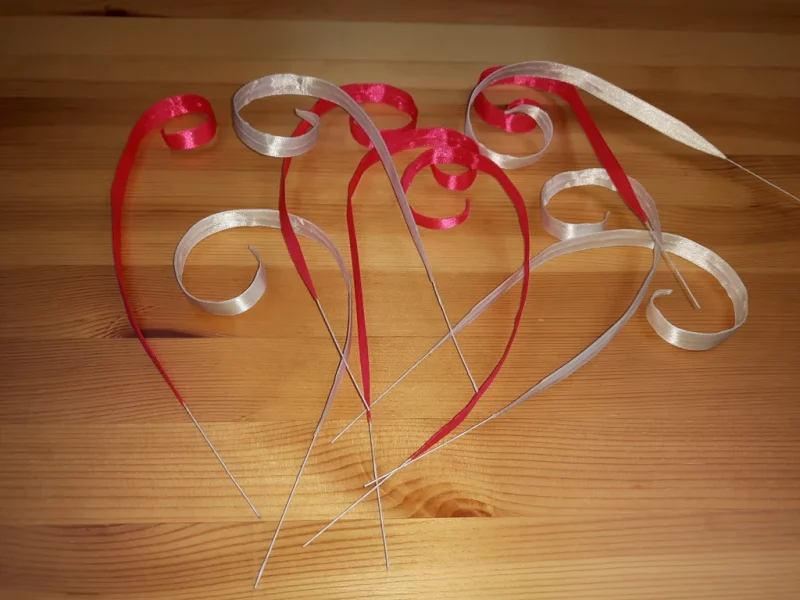
Cut the ribbon into 60 cm strips (5 x pink and 5 x white). Place double-sided tape on half of the ribbon strip, put the wire in the centre and fold over. Cut the ends into a V shape, run the lighter along the edges and coil the end. Repeat with the rest of the ribbons.
Step 2: Bake a Cake
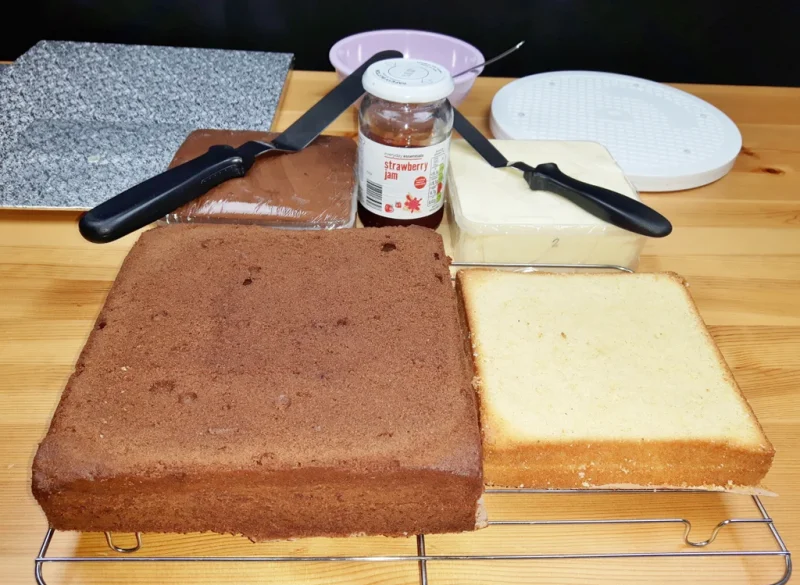
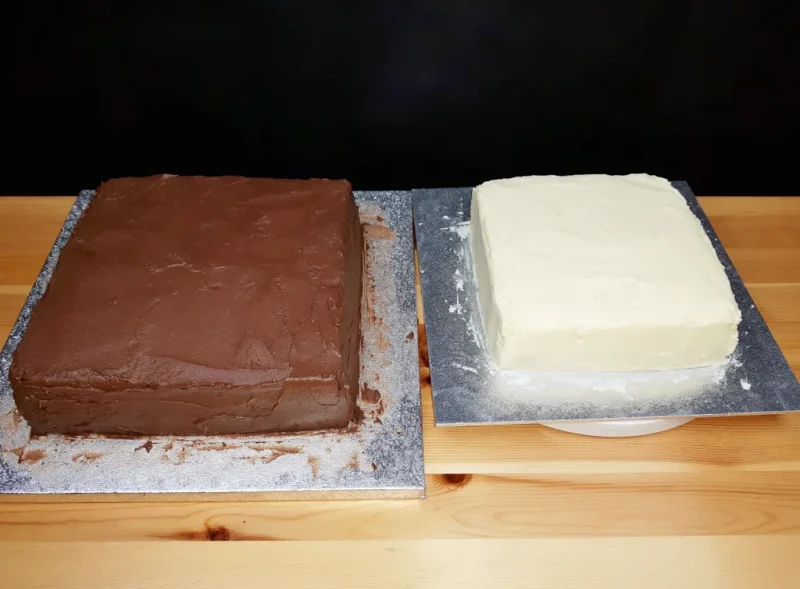
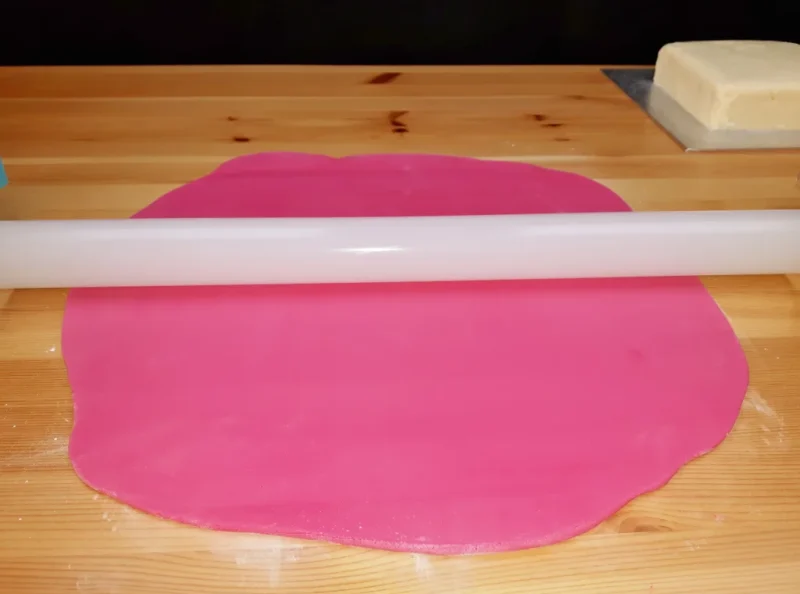
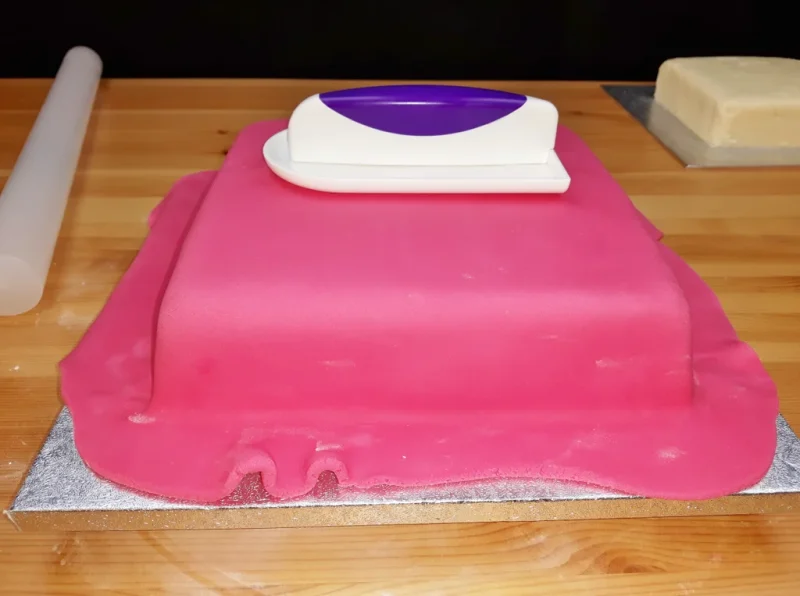
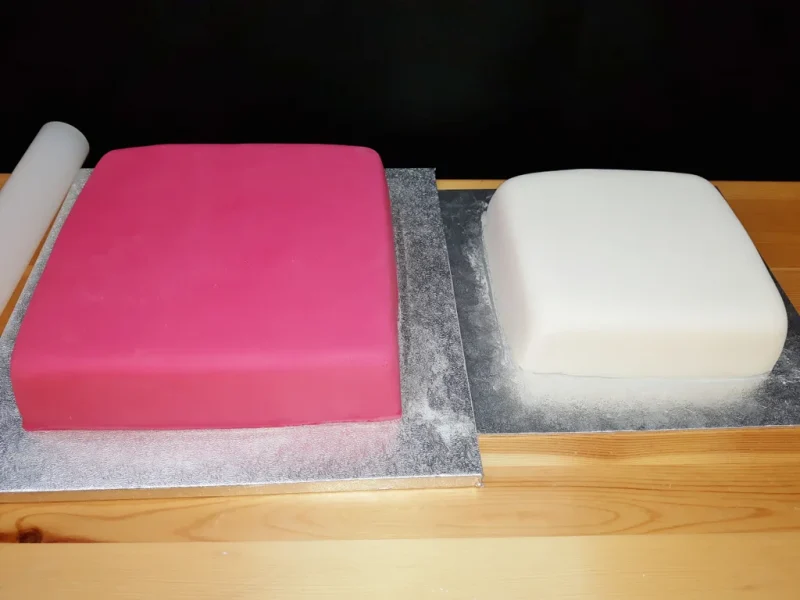
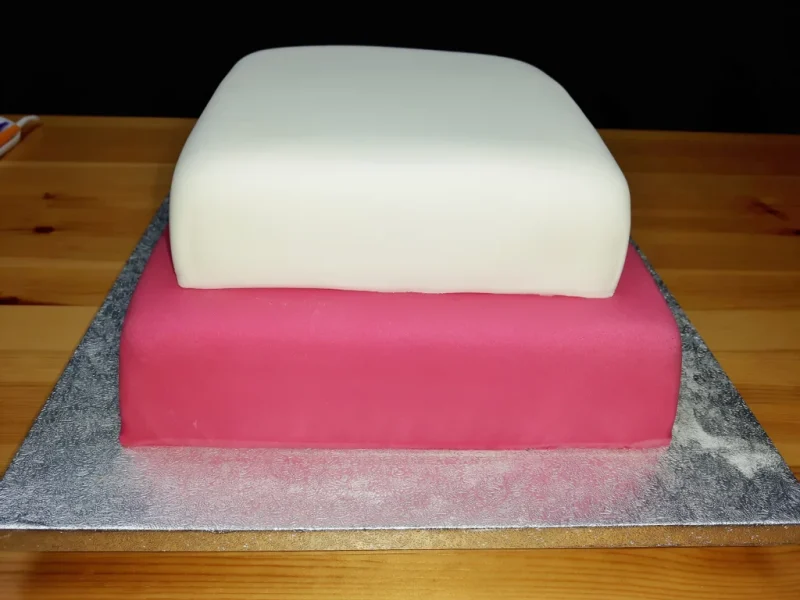
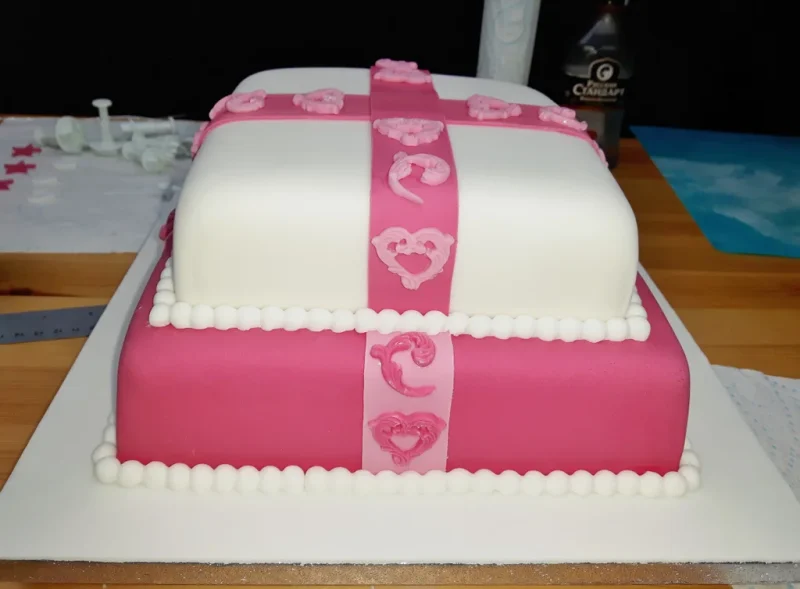
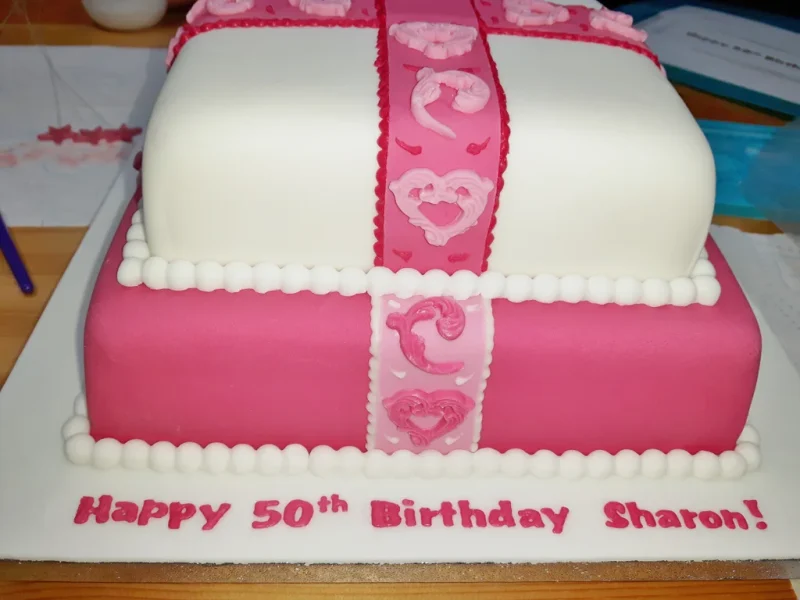
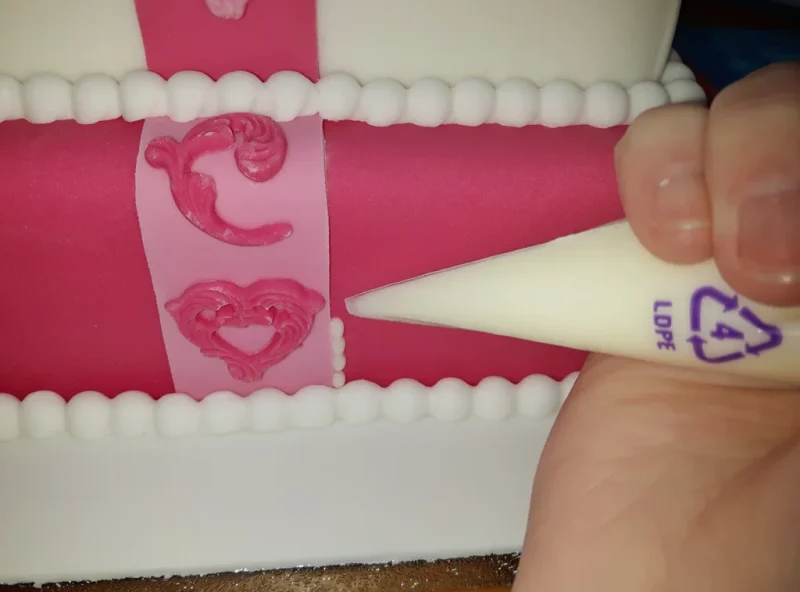
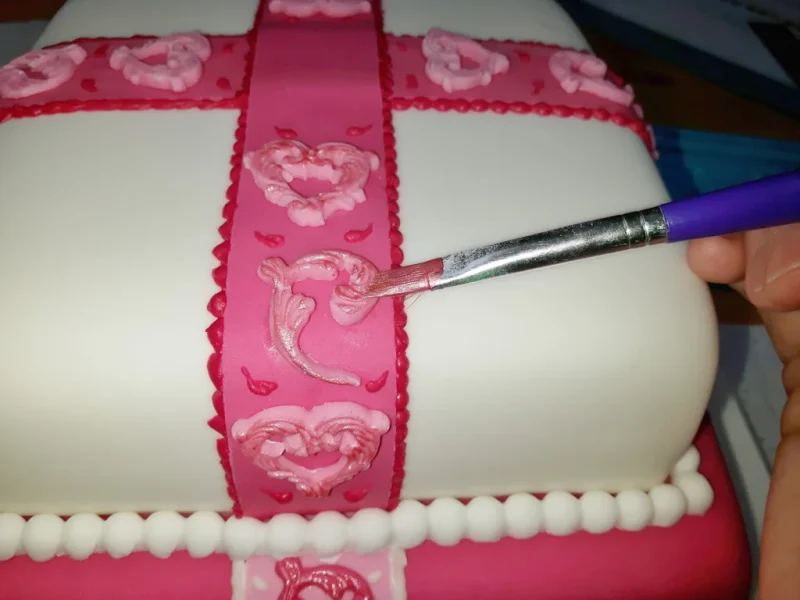
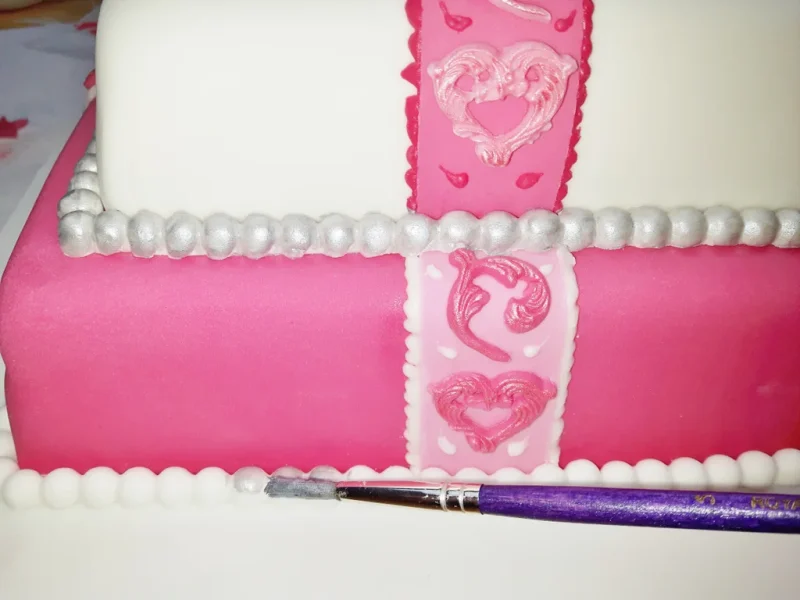
This cake was comprised of two layers, I made an 8 inch chocolate cake and 6 inch vanilla sponge cake. The 8 inch cake is sitting on a 12 inch cake board and the 6 inch cake on a 6 inch cake card with a hole in the centre. If you like you can have a look at my other instructables here and here where I go into more details about baking, cutting and covering cakes with icing.
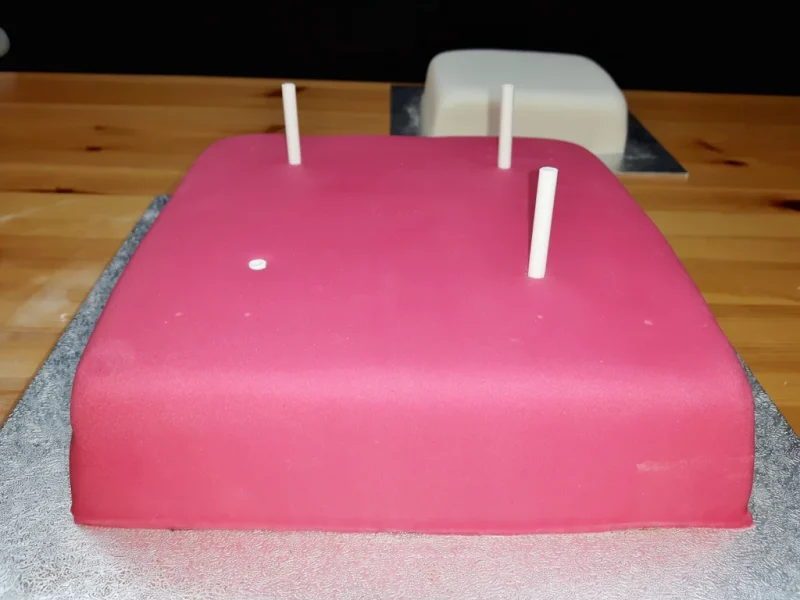
Once you have your cakes covered, pop in 4 dowel rods and affix into place with a slab of buttercream.
Step 3: Numbers & Shapes
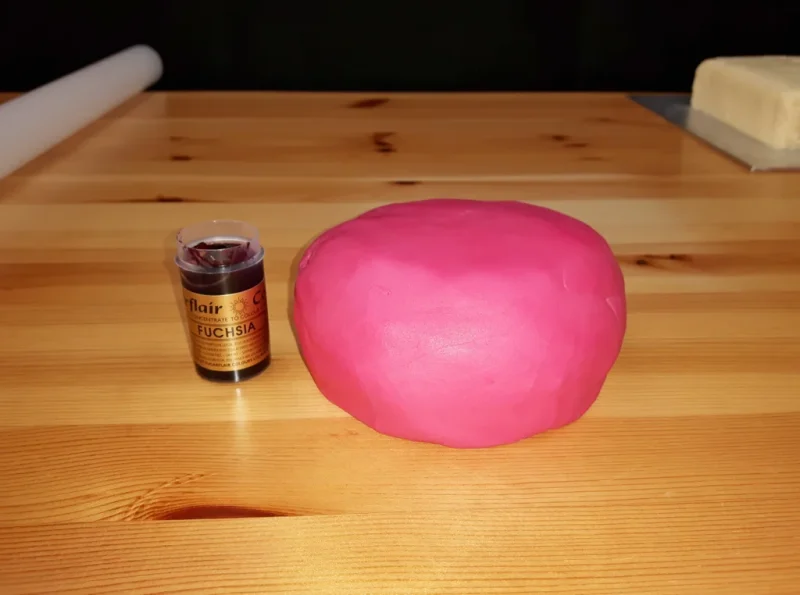
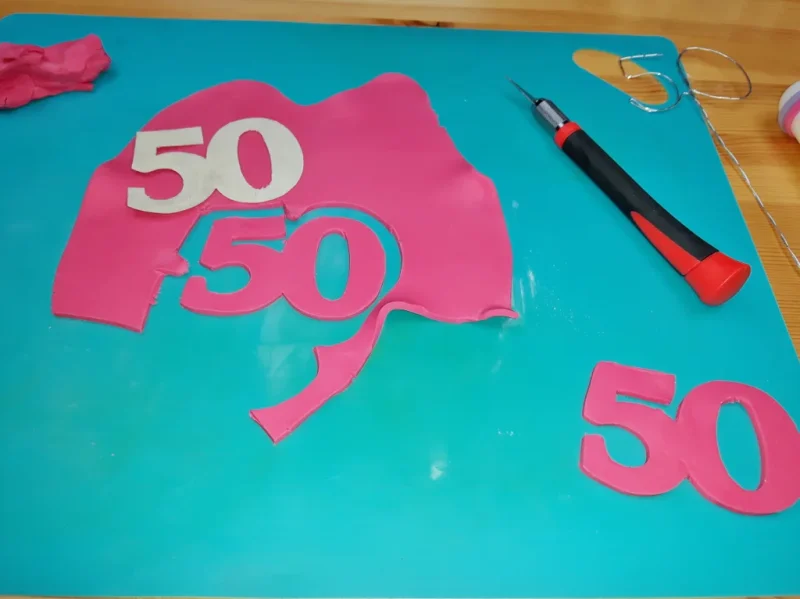
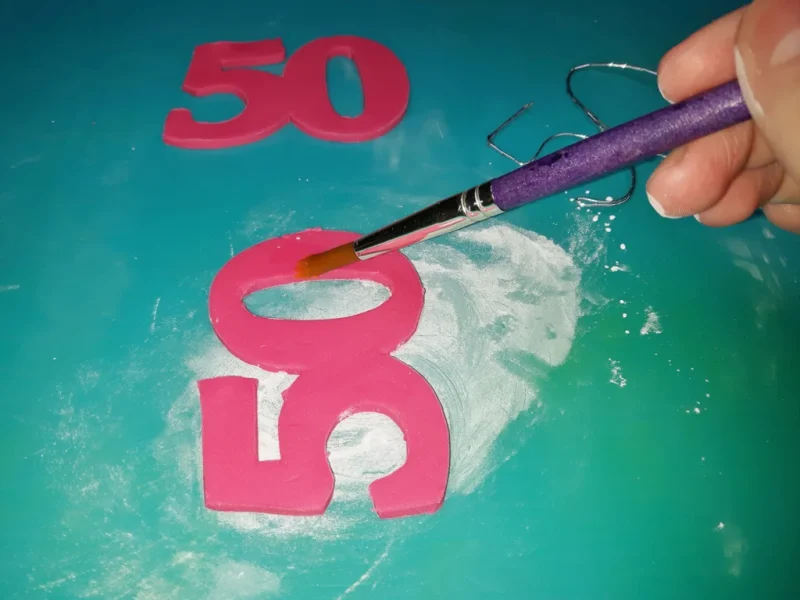
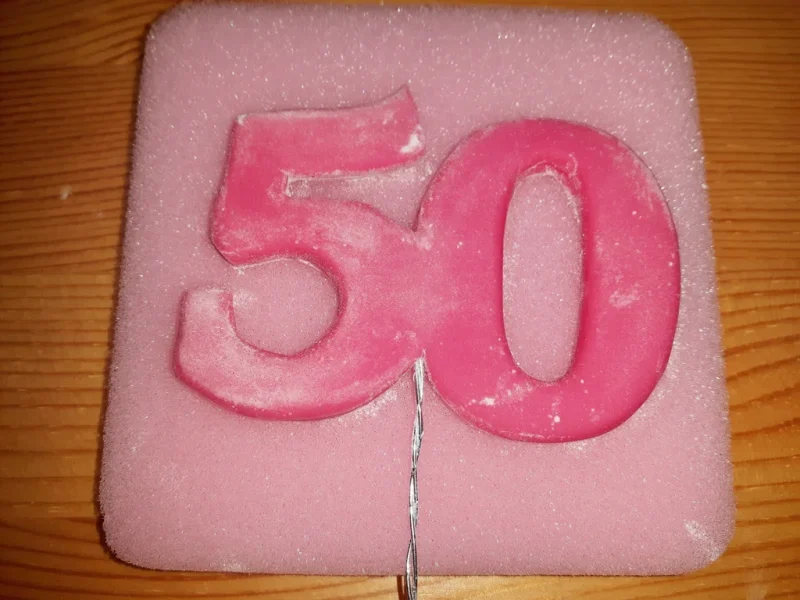
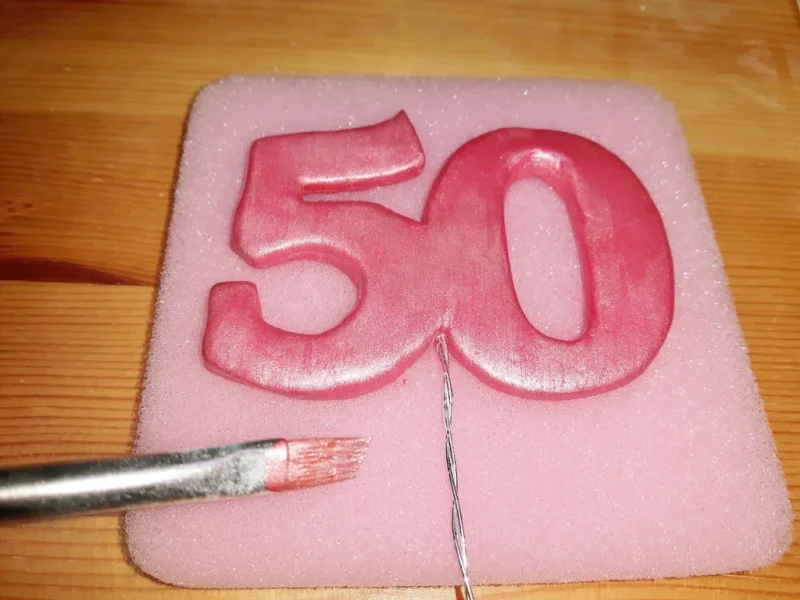
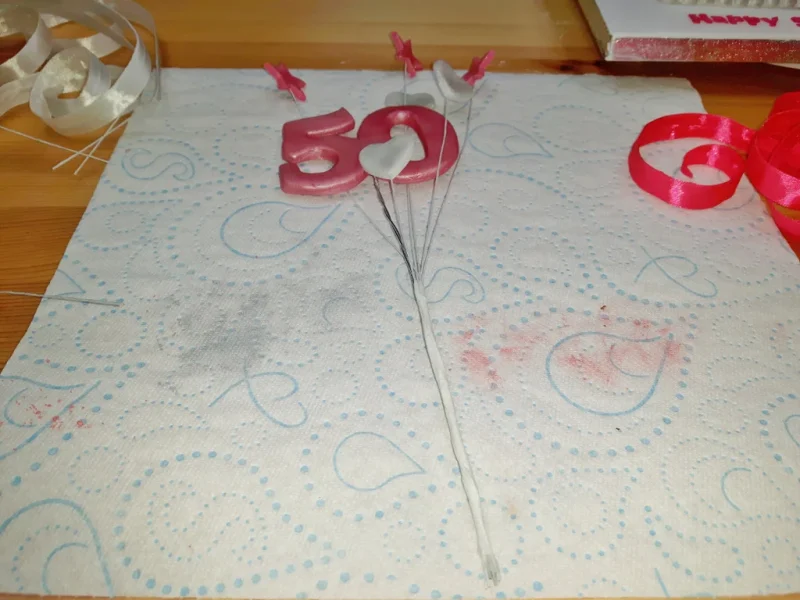
Make a card cutout of a number you require and bend the wires in that shape (I used 22 gauge silver florist wire). Cut the number out of the icing twice and apply some water onto one of the pieces. Place the wire on the bottom piece and cover with the top piece. Smooth the edges of the number with your finger and let it dry for few hours on a piece of foam or paper towel. Mix some luster dust with vodka and paint the number.
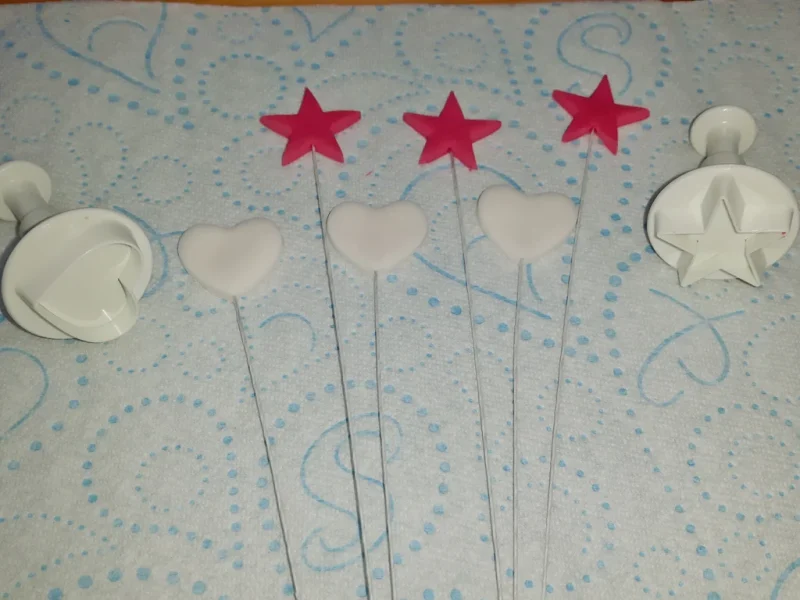
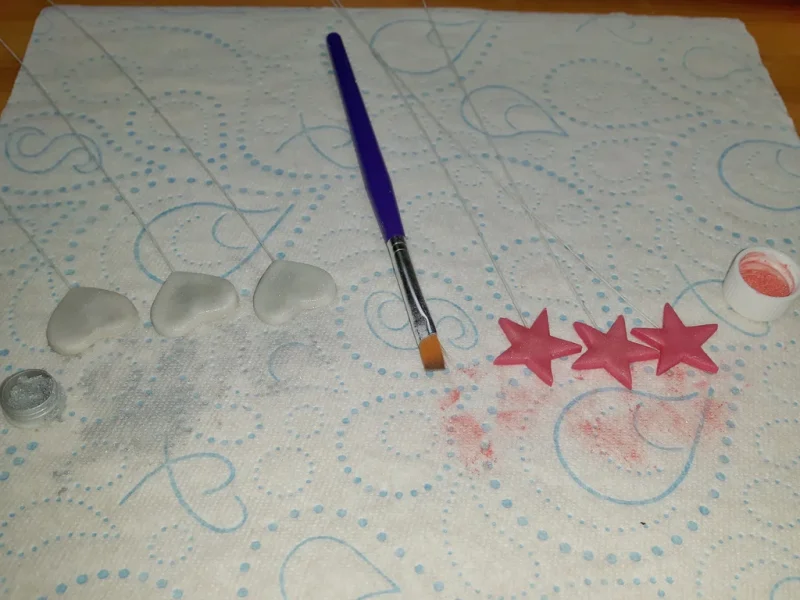
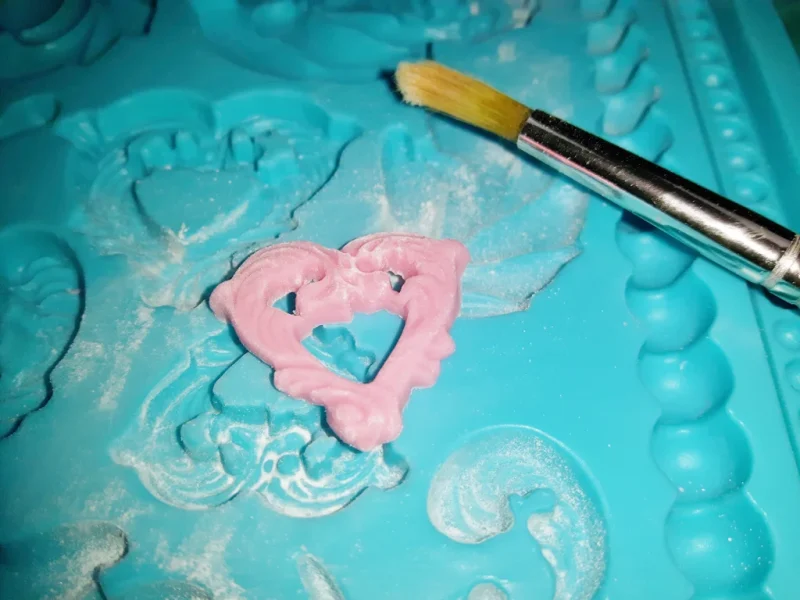
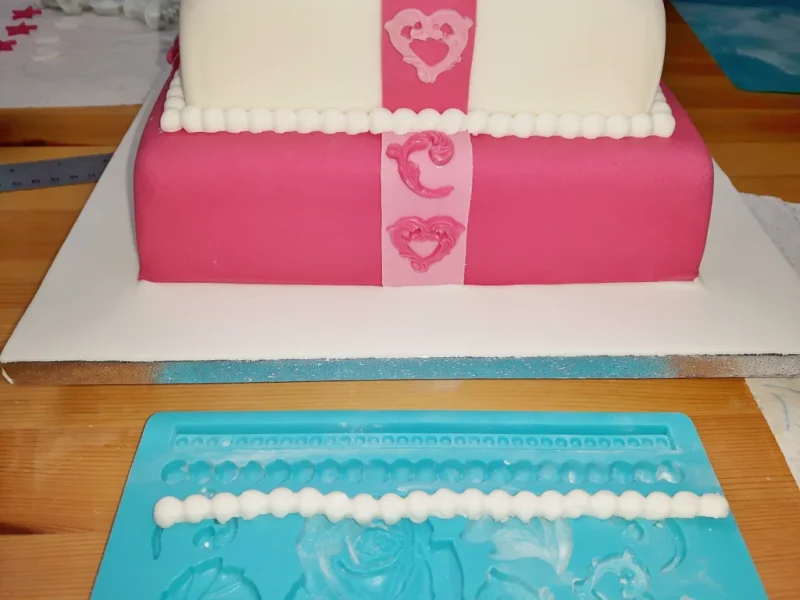
Cut 3 hearts and 3 stars out of the icing. Dunk each wire in water and pop it in the middle of each of the hearts and stars. Once dry paint it with luster dust. Using a mould create desired shapes for the icing ribbon. If you find that your icing is sticking to the mould, use a sprinkle of icing sugar.
Step 5: Birthday Message
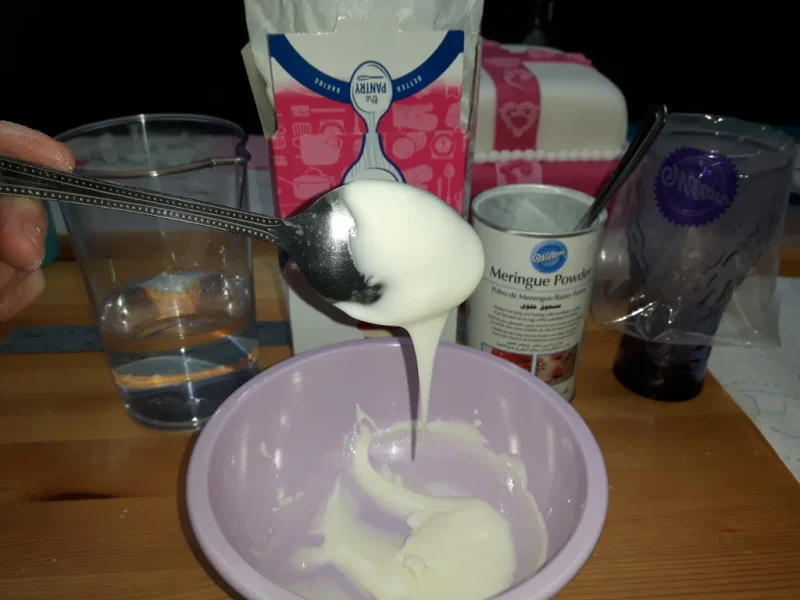
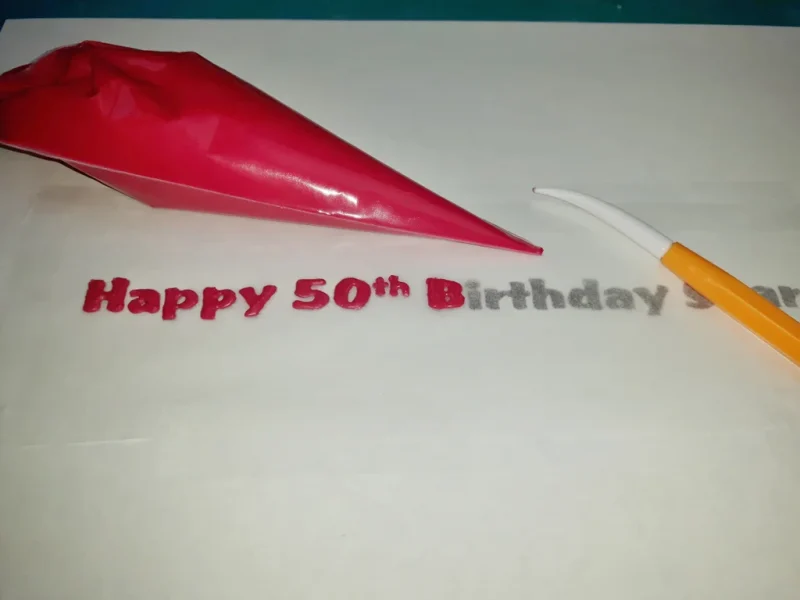
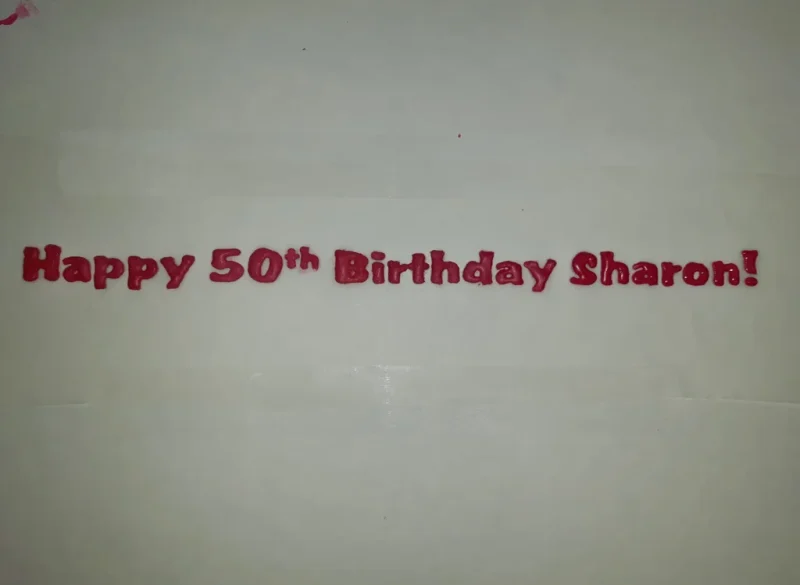
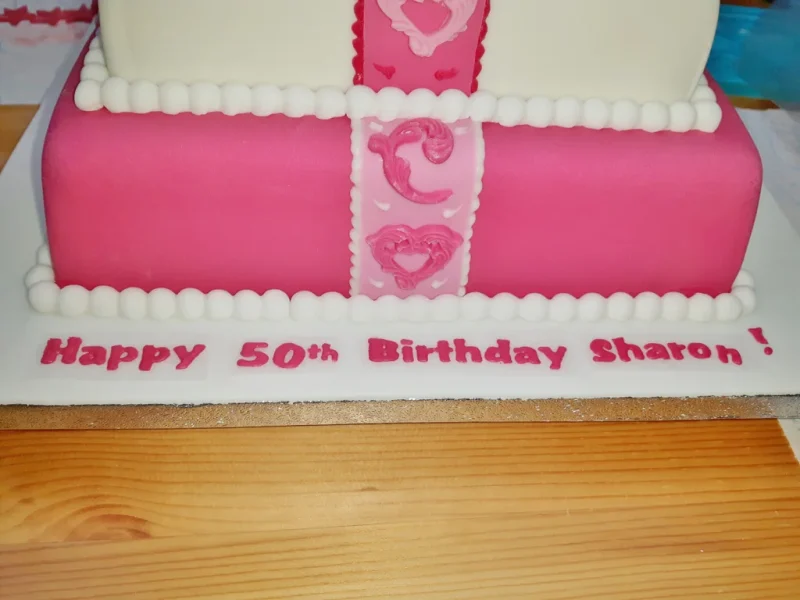
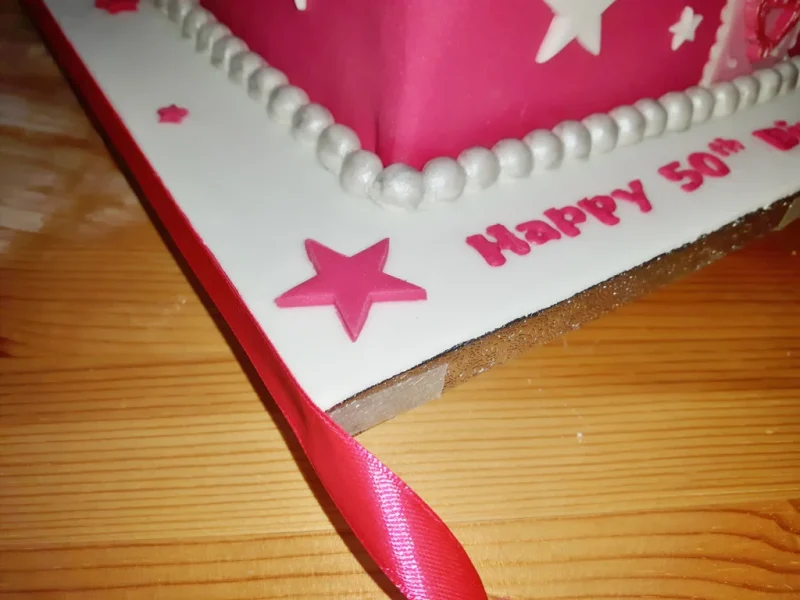
Mix icing sugar with a little bit of meringue powder, tiny amount of water and food colouring. Print out your message and place a piece of greaseproof paper on the top of it. Put your mixture into a piping bag and outline the letters. Once dried cut it into individual words and position it on the cake board. Loosen each letter and affix it in place with water.
Step 7: Finishing Off
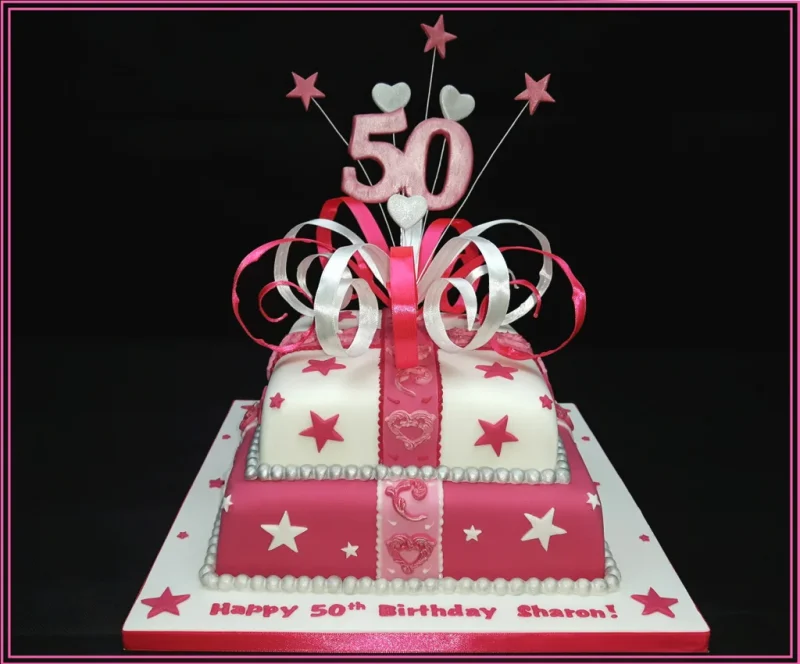
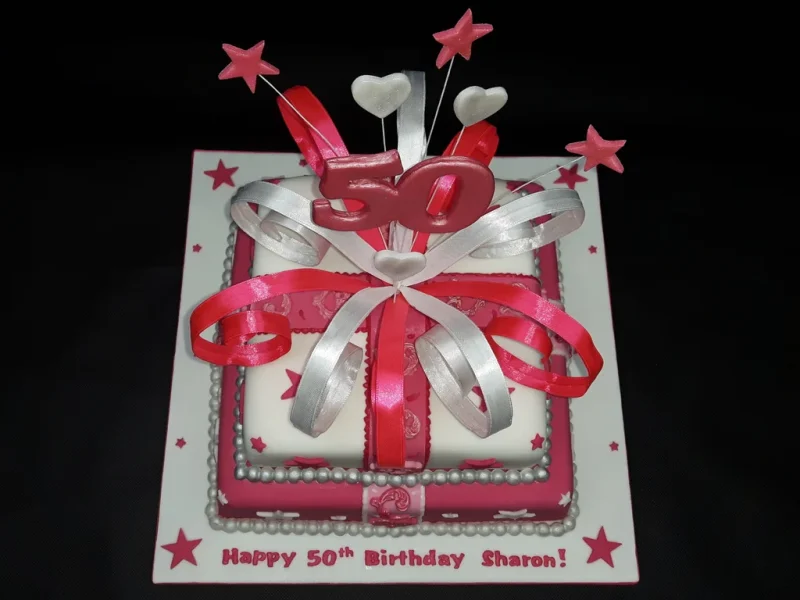
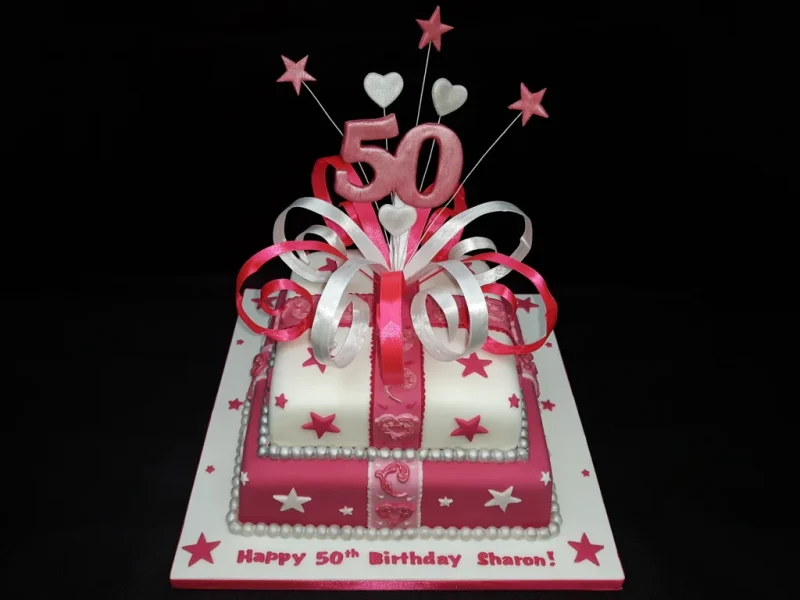
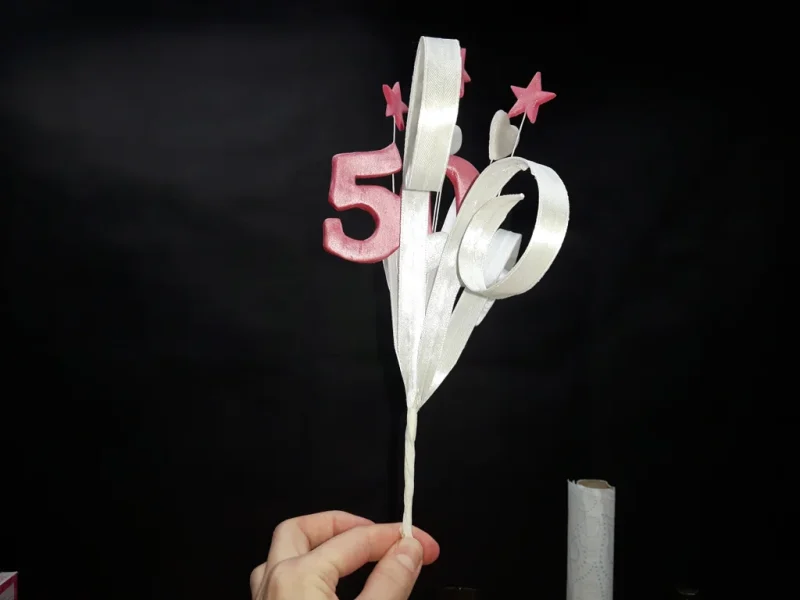
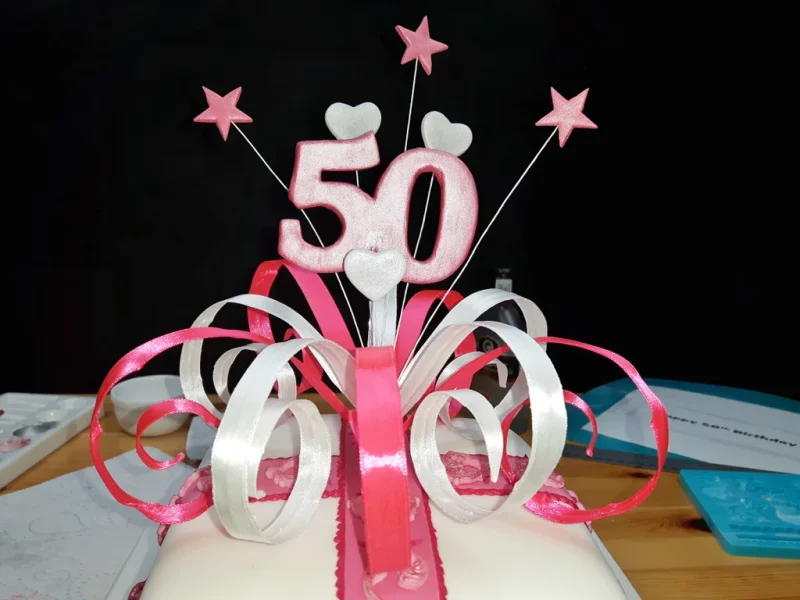
Position the numbers together with the hearts and stars then tape them together with florist tape. Add 5 of the wire ribbons you made earlier and apply more tape. Repeat for the second layer of wire ribbons.
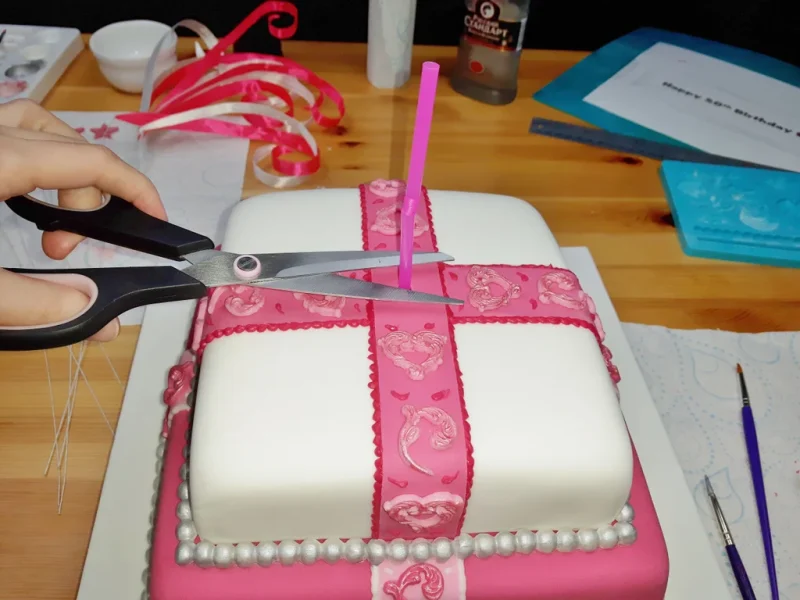
Poke a straw through the middle of the cake and cut off the end (this will make it easier to plant the number decoration in place and should also make it sturdier). Poke the number decoration into the straw. To stop the decoration from spinning, you could affix it in place with some icing and water.
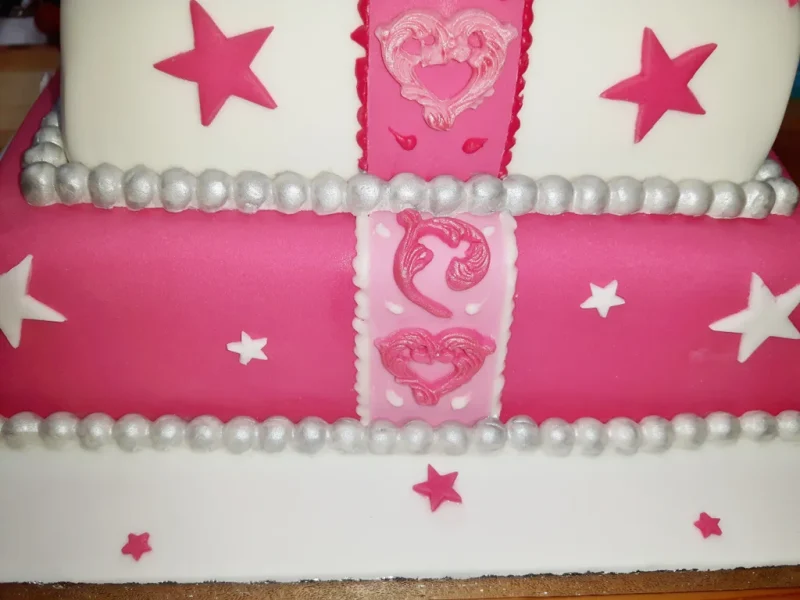
Cut and glue on the cake lots of white and pink stars. To finish off apply double-sided tape around the cake board and paste on ribbon for nicer finish.
For those that might wonder, it took me about 12 hours to make this cake to a standard I was satisfied with.

